How to use CPU-Z: the complete guide
CPU-EZ
Welcome to our guide on how to use CPU-Z. Whether you’ve picked up one of AMD’s latest eight-core Ryzen chipsets, or given your old Pentium chip a new lease of life with a globule of fresh thermal paste, it’s important to keep track of the processor running inside your PC.
The long-standing freeware tool CPU-Z is a stalwart of hardware monitoring, and outdoes its own name by monitoring not only your CPU, but also your memory, motherboard and GPU.
For the most part, CPU-Z is a quick way to look at the finer details of your PC like CPU core clocks and speeds, motherboard BIOS versions and the generation of your PCI-E bus.
But it also lets you test your system’s functioning and stability with features like benchmarking, stress tests and timers. These features are quite well hidden away, so here we’re going to help you uncover some of the great things you can do with CPU-Z.
CPU-Z validation
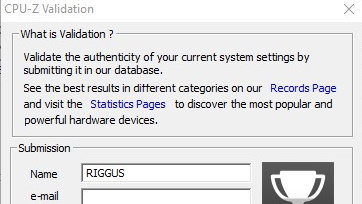
The first thing you’ll see once you’ve downloaded and installed CPU-Z is a window asking you to validate your PC. This creates an online report anonymously detailing your computer hardware, and highlighting your clock speeds so that you can share them or keep them for your records.
It’s a widely-used way of confirming CPU frequencies, which are then amassed and ranked on the CPU-Z validation database.
You don’t have to validate your PC. You can just close the window instead or, if you prefer, check the ‘Private validation’ box which ensures that your PC’s hardware info won’t be publicly visible on the CPU-Z validation database.
Get daily insight, inspiration and deals in your inbox
Sign up for breaking news, reviews, opinion, top tech deals, and more.
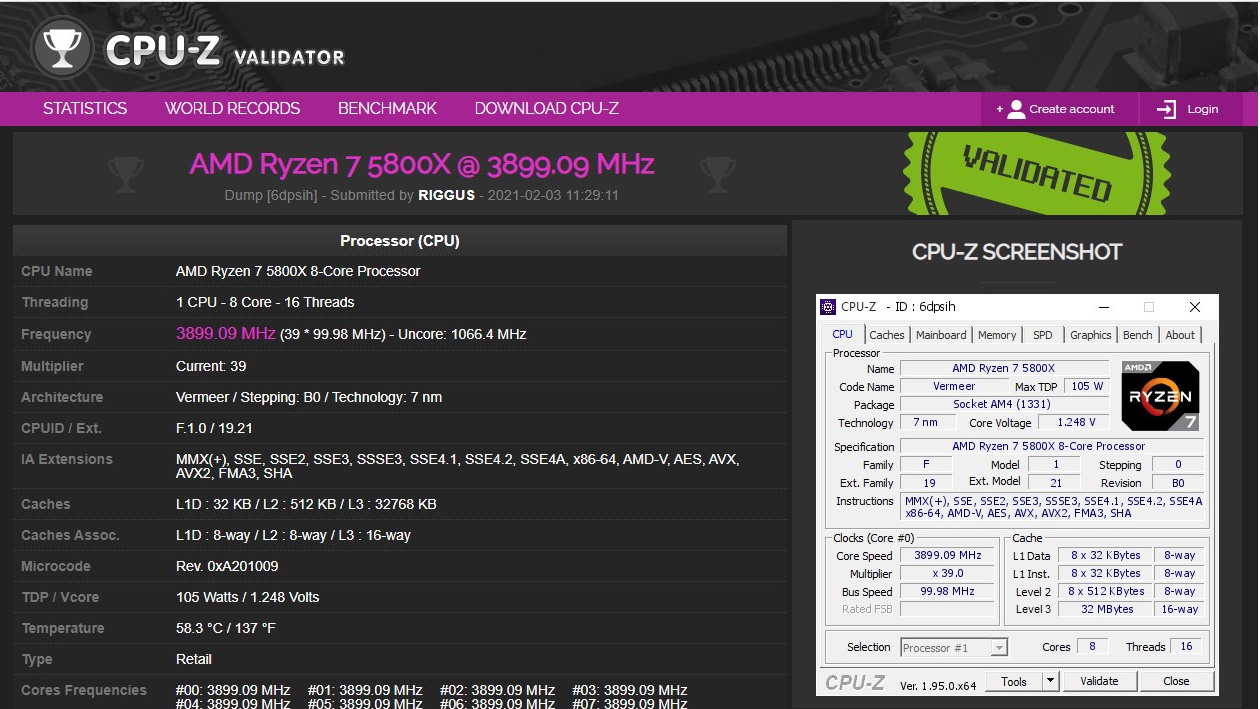
If you click ‘Submit’ in the Validation window, then CPU-Z will quickly scan your PC’s hardware and neatly display it all in your browser. You can save this information by going to Print in your browser then ‘Save as PDF’.
Getting familiar with CPU-Z
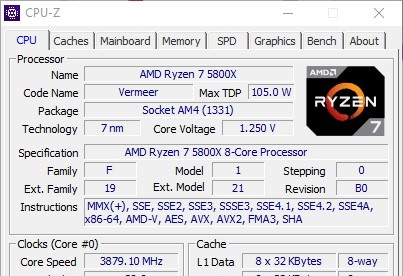
Once you get through validation, you’ll be presented with the main CPU-Z window in all its grey glory. But look past the Windows 95-style presentation, and each tab will give you detailed insights into the respective hardware inside your PC.
Most of the tabs should be self-explanatory - CPU, Graphics, Mainboard (motherboard), Memory (RAM) - but others maybe less so.
The SPD tab, for example, should really be an extension of Memory. SPD stands for Serial Presence Detect, and tells you the speed, bandwidth, manufacturer, voltage and other information about your memory (RAM) modules.
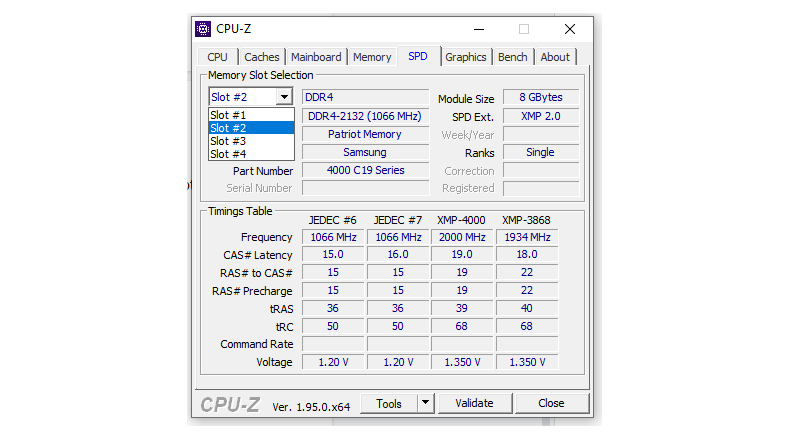
If you don’t see any information under the SPD tab, click the ‘Memory Slot Selection’ dropdown and try a different slot. There’s a good chance not all the RAM slots on your PC actually contain RAM sticks, and it’s useful to know which ones are empty and which are occupied.
The Caches tab, meanwhile, is really an extension of the CPU tab, showing you the size of the L1, L2 and L3 caches on your CPU and their descriptors. Realistically, you’re not going to be using this tab much, and the information here will vary little between modern CPUs.
CPU-Z benchmarking
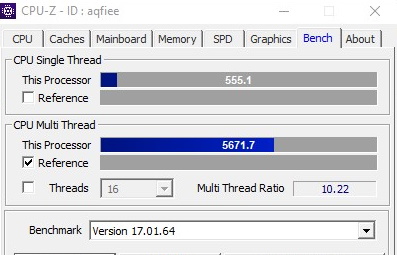
Then there’s the 'Bench' tab - the most interactive tab in CPU-Z. Using this, you can benchmark your CPU to receive a score, then submit your results and compare your CPU’s single-core and multi-core power compared to other peoples’.
To do this, click the 'Bench' tab, choose your benchmark version from the dropdown (I used the non-beta version to ensure a more reliable test result), then click ‘Bench CPU’. This will run a benchmark test for about 30 seconds then show you your score.
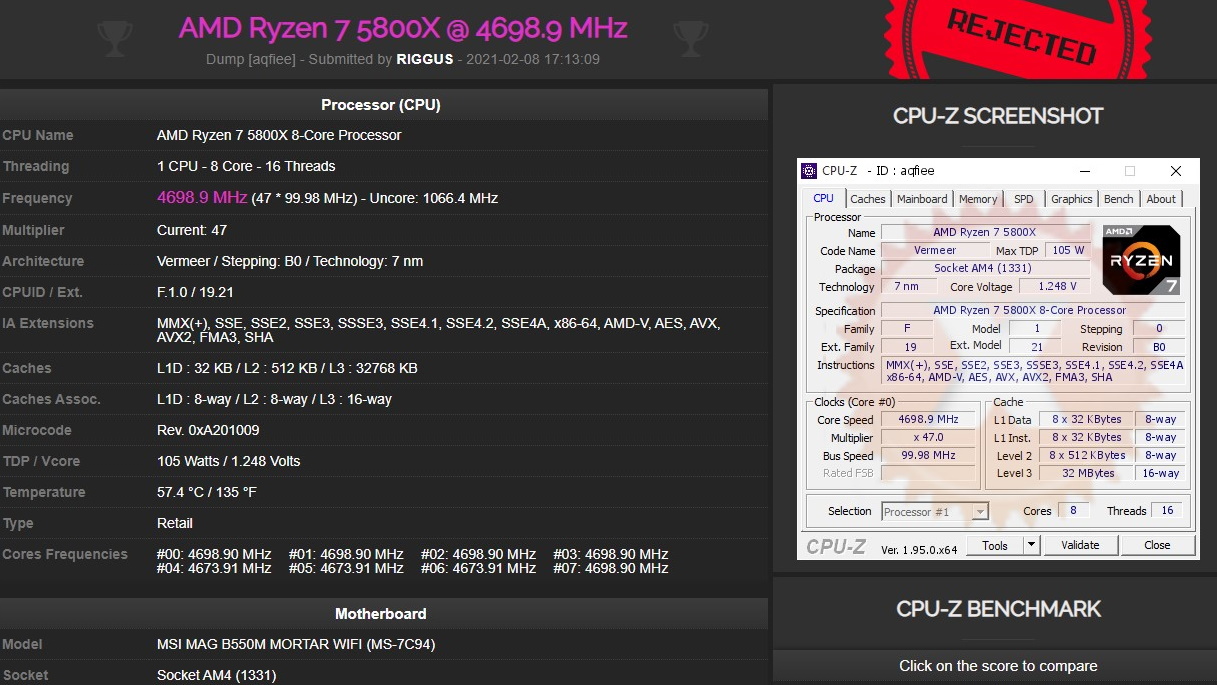
This might not mean much to you at first, but click ‘Submit and Compare’ to add your benchmark to your CPU Validator profile.
When the site opens, you’ll see your benchmark score in the right-hand pane. Click the graph to see where your CPU ranks in the benchmarks compared to the thousands of other people who have used CPU-Z Validator.
Under the same tab you’ll also find a CPU stress test, which you run for around 10-15 minutes to test your CPU’s stability. While it’s a welcome feature, this stress test isn’t as robust as dedicated CPU benchmarking tools like Prime95 and AIDA64.
CPU-Z tools
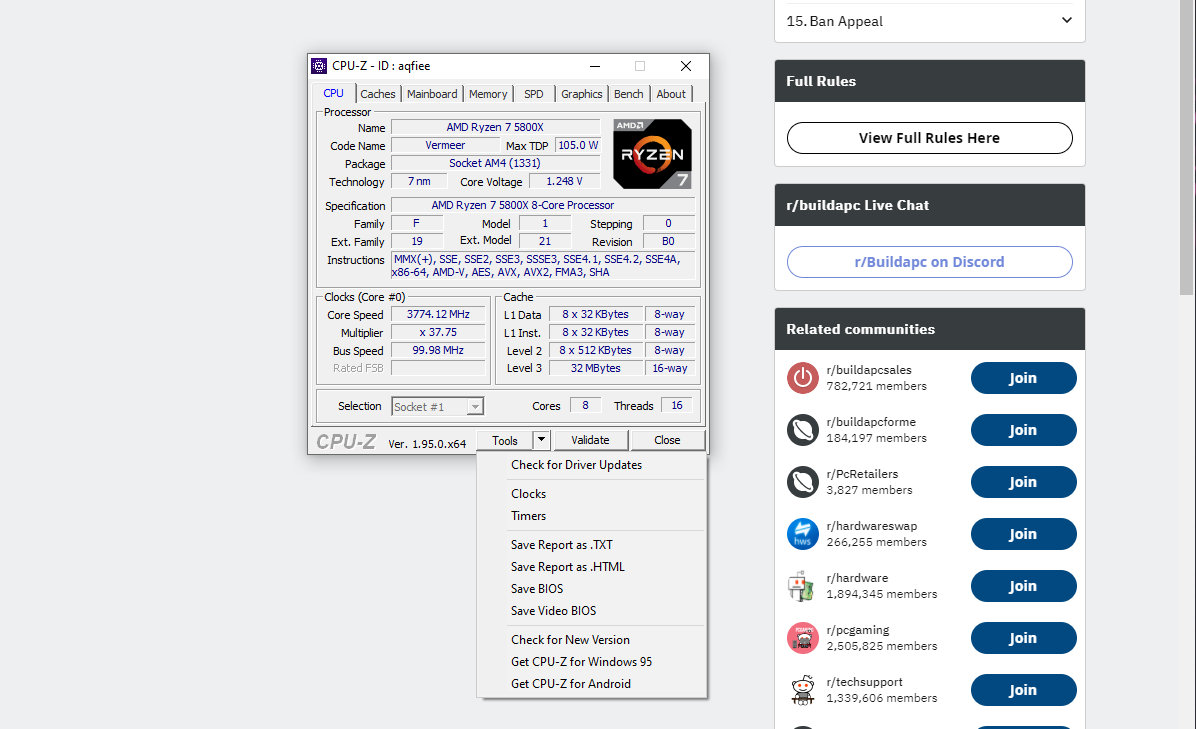
Moving on from the tabs, at the bottom of the CPU-Z window you’ll see a 'Tools' button. Click the dropdown arrow next to it to bring up several useful features.
Once of these is ‘Timers’, which lets you test the ACPI, QPC and RTC system timers. When you run these timers, they should stop every few seconds and display the exact same number each time they stop. If they’re displaying different numbers, then your system clocks are mismatching.
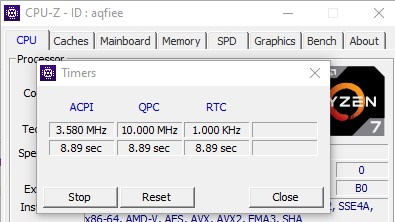
This could result from the motherboard not supporting the RAM or CPU (or them not being properly seated), or a bad RAM/CPU combination. Resetting the BIOS could also fix issues here.
The 'Clocks' tool is a nice way of monitoring the clock speed on each of your CPU cores in real-time, as well as the GPU clocks.
Rounding off the noteworthy features are options to save CPU-Z’s report on your PC as a text file, as well as saving the BIOS and video BIOS as text files.
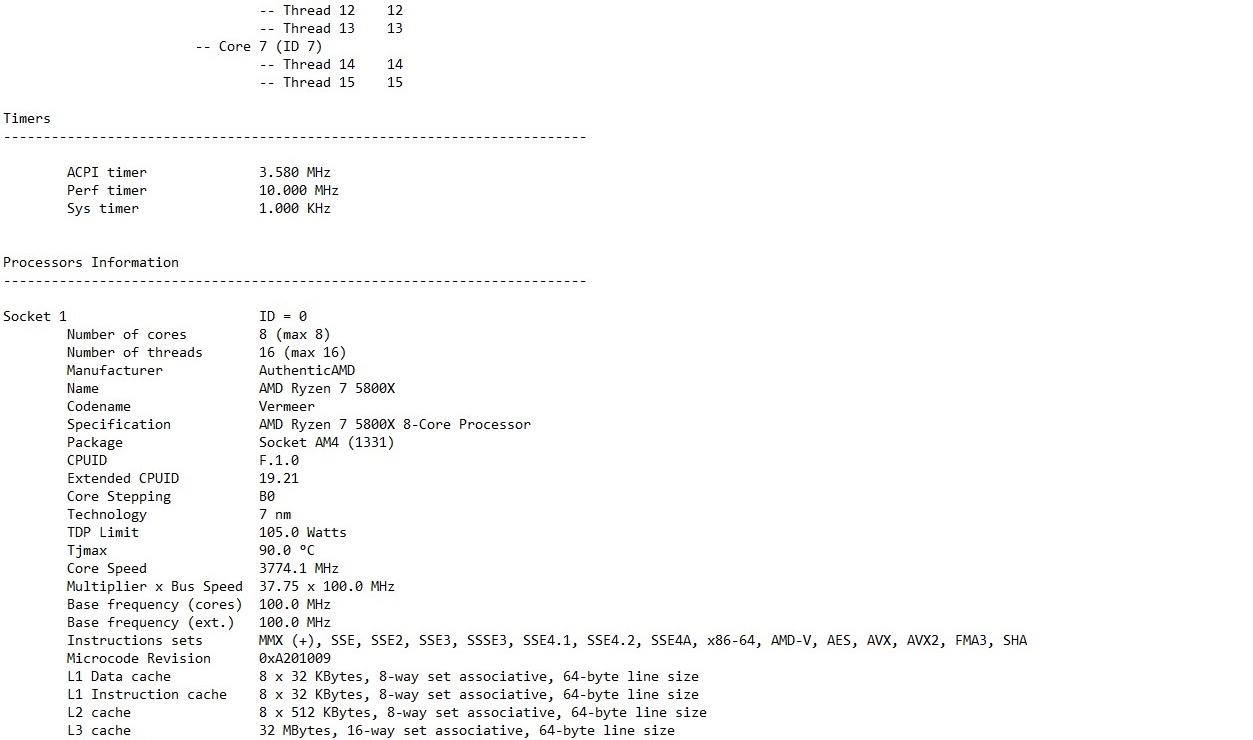
And with all that, you should have a complete overview over the goings-on inside your PC, thanks to CPU-Z.
- We show you how to overclock your CPU
Robert Zak is a freelance writer for Official Xbox Magazine, PC Gamer, TechRadar and more. He writes in print and digital publishing, specialising in video games. He has previous experience as editor and writer for tech sites/publications including AndroidPIT and ComputerActive! Magazine.
