How to build your own Raspberry Pi NAS
Network attached Pi
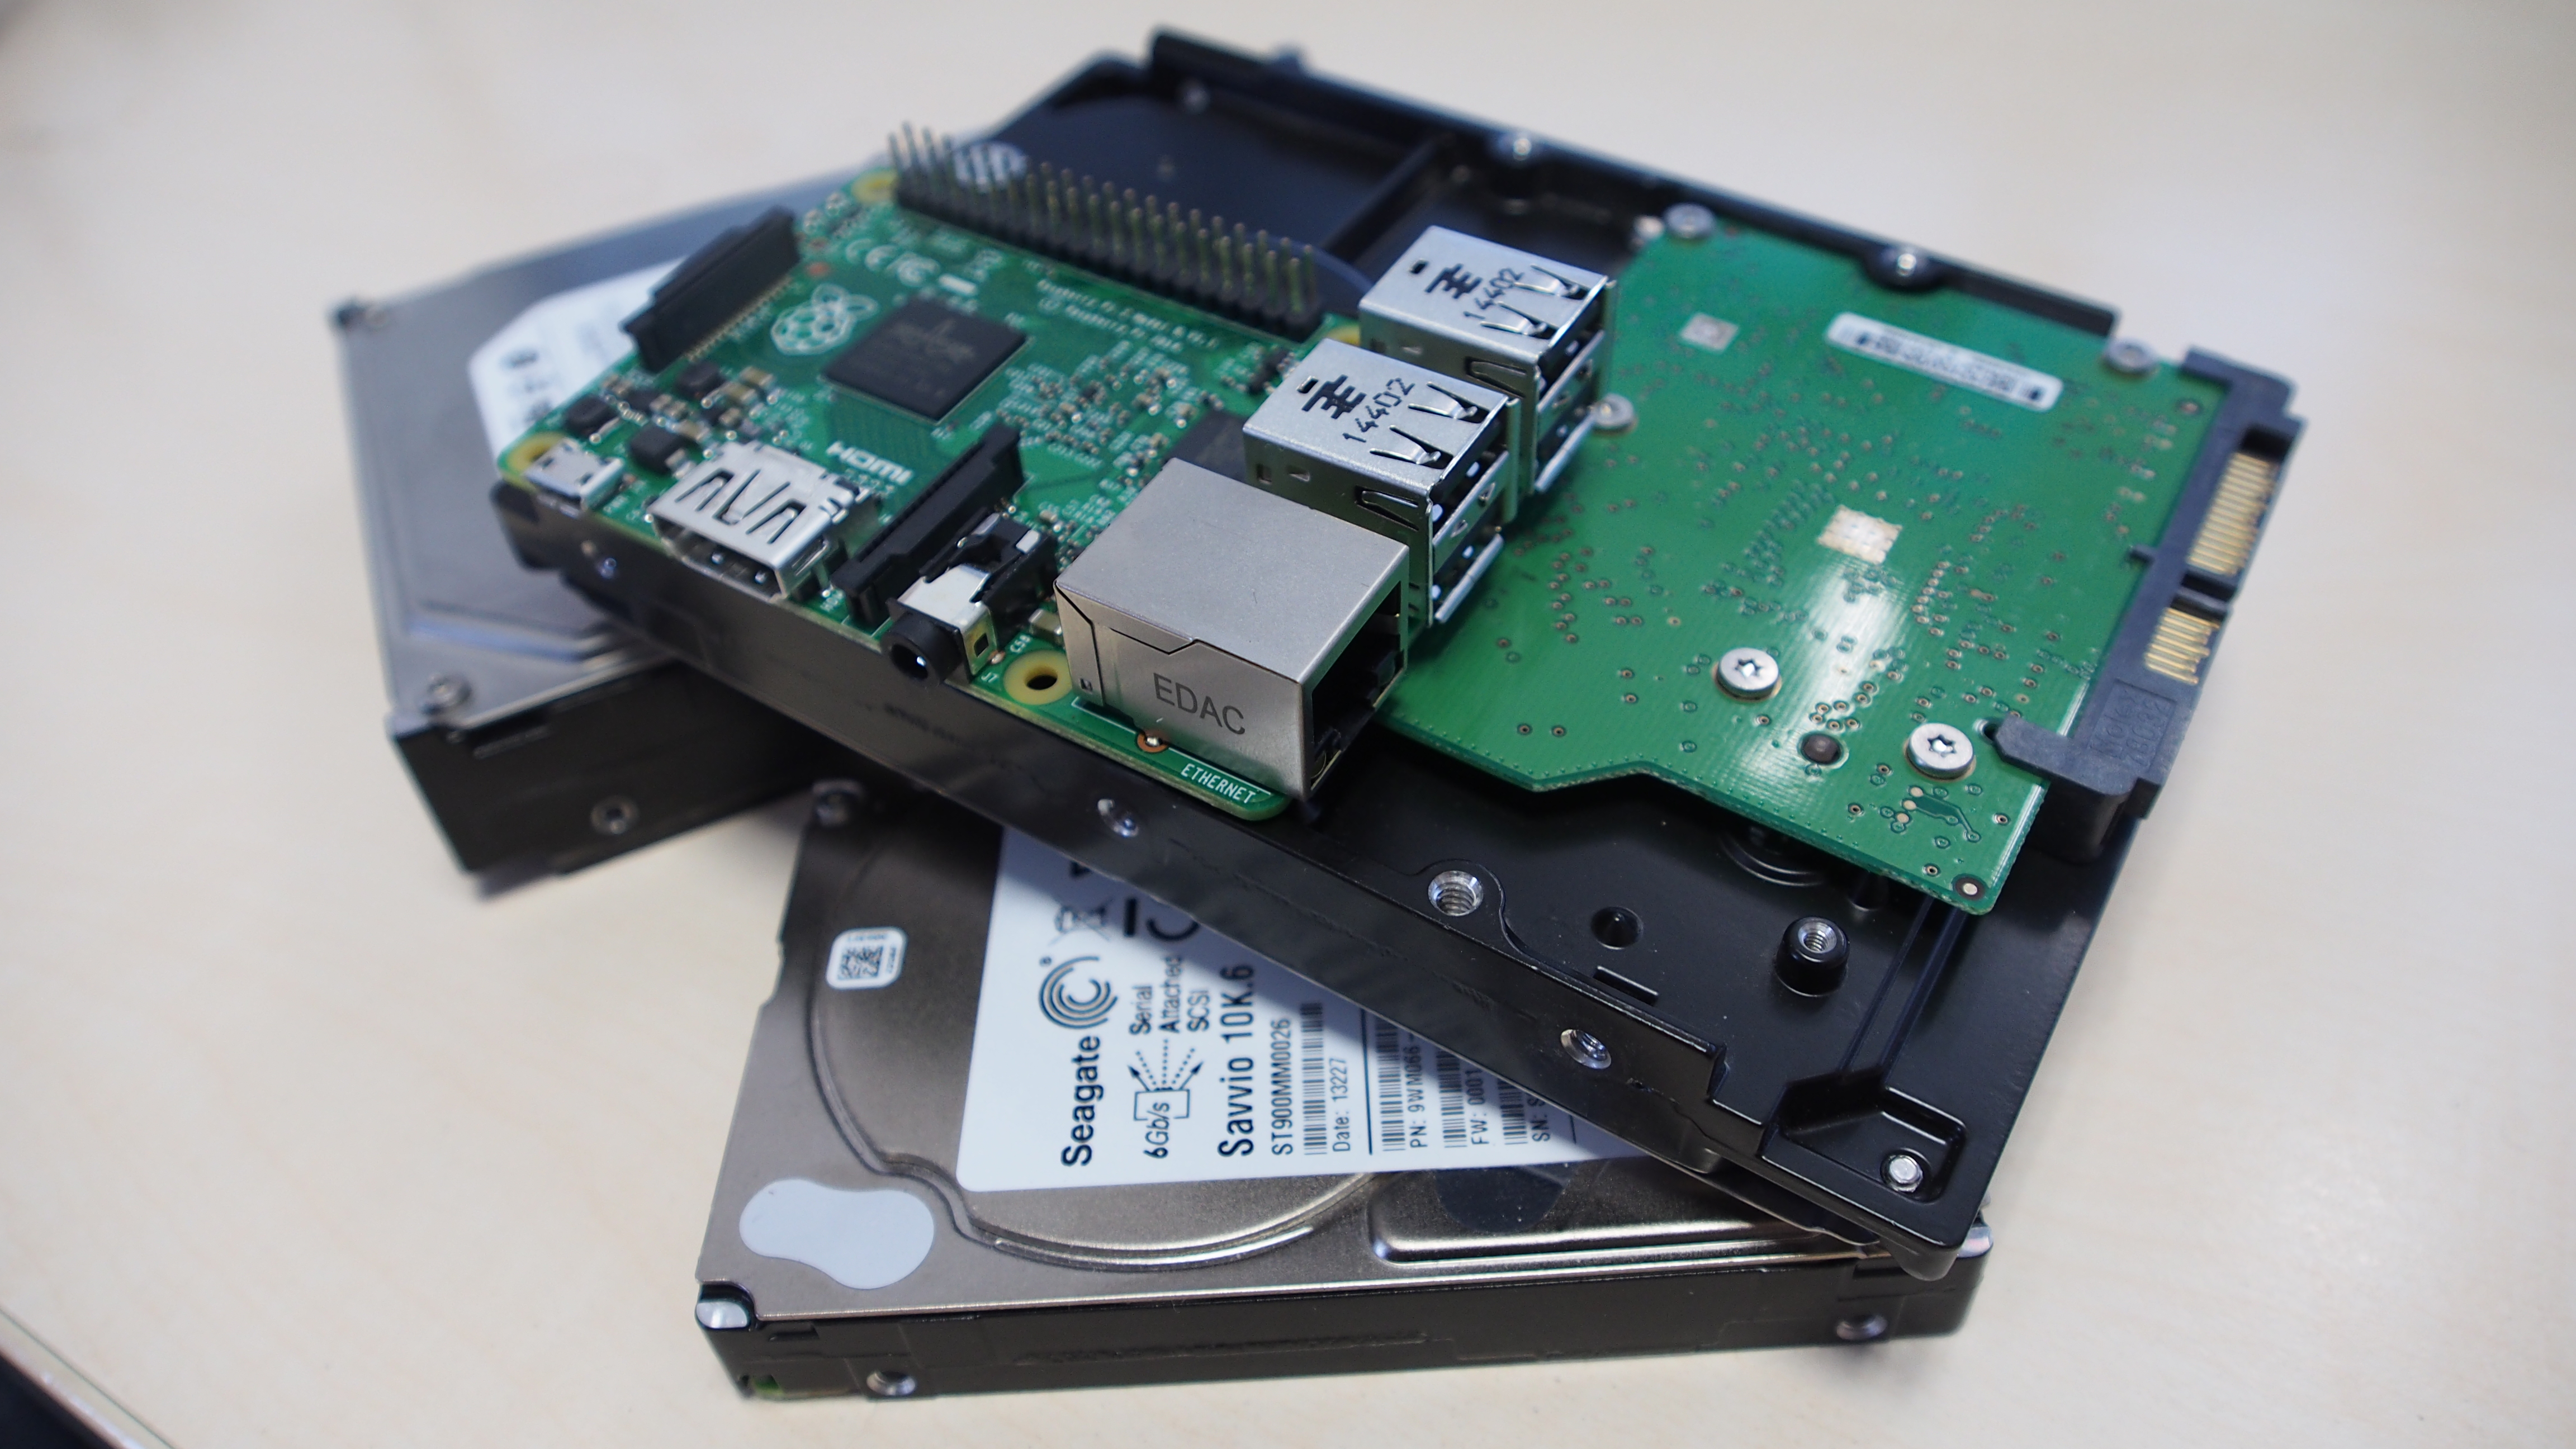
Do you have a bunch of USB disks that you juggle between your various computers? Did you know that you can plug all of them into a Raspberry Pi, which you can then use as a network attached storage (NAS) box?
Using the Raspberry Pi as an always-on NAS box sounds like a wonderful use of the silent little device. However, setting it up as one used to be an involved process. That's until the Debian-based OpenMediaVault (OMV) distro decided to roll out a version specifically tuned to the Raspberry Pi.
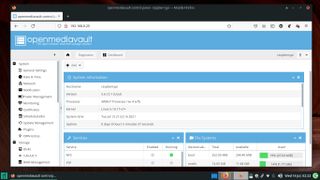
Once it's up and running, you can configure and manage the distro using its browser-based administration interface.
You can then use the USB ports on the Raspberry Pi to attach USB disks, which are then made available to your entire network for storage. Remember that for best performance, make sure you use self-powered removable disks. You can use the disks attached to the OpenMediaVault NAS individually, or assemble them in a software RAID array.
The distro has ample options to manage other advanced aspects of a NAS distro.
Get installed
OMV earlier used to create dedicated images for the RPi. However, the project now uses a script that you should run over a clean Raspberry Pi OS Lite installation.
You can grab the image for the Raspberry Pi OS Lite from the official Raspberry Pi Downloads page and flash it onto a SD card using a tool such as Etcher.
Are you a pro? Subscribe to our newsletter
Sign up to the TechRadar Pro newsletter to get all the top news, opinion, features and guidance your business needs to succeed!
By default Raspberry Pi OS expects the RPi it’s running on to be connected to a monitor and keyboard. However, since OMV is designed to run as a headless server, we’ll just make sure our Raspberry Pi OS Lite can mimic that functionality as well.
For users like us, the Raspberry Pi OS developers have crafted a nifty little workaround, which enables the SSH server on first boot. This works perfectly for our headless use case, since we can then connect to the RPi from a remote computer to install, and setup OMV.
For this, insert the flashed SD card back into your workstation, and bring up its contents of the boot partition in the file manager. Now right-click in an empty space and select the option to create a new blank text document. Now simply name the text file ssh without an extension, and you’re done.
Now plug the card in the RPi and power it up. Wait for a couple of minutes to ensure it has run through the rigmarole of bootup. Now head to your router’s administration page and find the IP address that’s been assigned to the RPi.
Use this address to either log into the RPi either using the PuTTY client from Windows, or the ssh command from Linux.
Once you’ve established a connection to the RPi you can log in with the default credentials: pi:raspberry
It’s a good practice to use the passwd command to change the default password of the pi user.
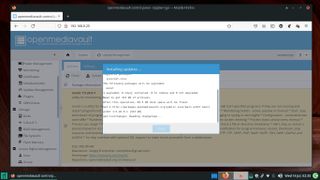
Before installing OMV, update and upgrade Raspberry Pi OS with sudo apt update followed by sudo apt upgrade -y. Once the installation has been updated, you can install OMV using Arron Murray's script:
wget -O - https://github.com/OpenMediaVault-Plugin-Developers/installScript/raw/master/install | sudo bash
This command will fetch the script, and run it to go through the motions of downloading and installing the necessary OMV components on the RPi and set everything up. The entire process might take some time depending on the speed of your Internet connection, and the speed of the removable media, and the RPi variant you’re using.
When the script is complete, the RPi will automatically reboot.
Again wait a few minutes for the RPi to boot up again. Then fire up a web browser on any other computer in your network and log into OMV’s web-based administration interface using the same IP address that was used for the SSH client.
You're asked to authenticate yourself, which you can do using the default credentials for the administrator – admin:openmediavault. However, you should change this default as soon as you log in. Head to System > General Settings in the navigation bar on the left, switch to the Web Administrator Password tab and enter the new password in the appropriate text boxes.
You can also use the System menu to configure several aspects of the NAS server, such as the server's date and time, enable plugins and keep the system updated.
Add storage
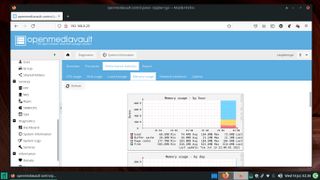
Once it's up and running, plug one or multiple USB disks into the Raspberry Pi. Head to Storage > Disks and click the Scan button to make OpenMediaVault aware of the disks.
Then use the Wipe button to clean the disks individually. If you've inserted multiple disks, OpenMediaVault can even tie them into a software RAID (see walkthrough over the page). OpenMediaVault supports multiple RAID levels and each requires a different number of disks.
For example, the default RAID level 5 requires a minimum of three disks, while RAID 1, which mirrors data across drives, only needs a minimum of two. If you don't plan to use the inserted USB disk inside a RAID array, then after you've erased a drive, head to Storage > File Systems to create a filesystem on the drive.
Here click the Create button and use the pull-down menu to select the device you wish to format. By default, the drives are formatted as Ext4 but you can select a different filesystem using the pull-down menu. Besides Ext4, OpenMediaVault supports the Ext3, XFS and JFS filesystems.
Repeat the process to create a filesystem on all of the attached USB disks. After creating the filesystem, select a drive and then click the Mount button to bring them online.
Adding Users
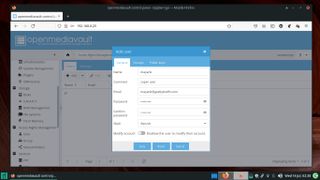
Before you can store data on the NAS device, you have to create one or more users. To do this, head to Access Rights Management > User. The Add button on this page is a pulldown menu that enables you to either add individual users or import a bunch of users by adding them in the specified format.
When adding an individual user, you can also add them to an existing group. By default, all users are added to the Users group. If you want users to have their own home directories in the OpenMediaVault server, switch to the Settings tab and tick the box to enable the home directory for the user.
You must also specify the location for the home directory by selecting an existing shared folder on the NAS server or creating a new one.
Shares and permissions
The next step is to define a shared folder. The chief consideration while adding one is whether the NAS will be used by multiple users or a single individual. In case you're going to be sharing the NAS storage space with multiple users, you can define several folders, each with different user permissions.
To add a folder, head to Access Rights Management > Shared Folders and click the Add button. In the dialog box that pops up, select the volume that'll house the folder from the pull-down list. Then give the shared folder a name, such as Backup, and enter the path of the folder you wish to share, such as backup/.
OpenMediaVault creates the folder if it doesn't already exist. You can also optionally add a comment to describe the type of content the folder will hold.
Pay close attention to the Permissions setting. By default, OpenMediaVault only allows the administrator and any users you've added to read and write data to this folder, while others can only read its contents.
This is a pretty safe default for most installations, but the distro offers several permutations and combinations of permissions that you can select from the pull-down menu.
Fine-tune permissions
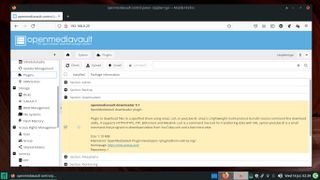
Even if you select the default Permissions setting when creating folders, which lets all users read and write data to the folder, you can fine-tune the access permissions and disable certain users from accessing or modifying the contents of a particular folder.
For this, after adding a user, head to the Shared Folders section, select the folder you want to control access to and click the Privileges button.
This opens a window with a list of the users you've added, along with tickboxes for controlling their access to that folder, so for example you can allow read-only access. With the users and shared folders set up, you're now ready to share the NAS storage with your network.
Follow the walkthrough to enable a network service that people can use to access the shared folders on the NAS. OpenMediaVault supports various popular protocols and services, including NFS, SMB/CIFS, FTP, TFTP, SSH, rsync and more.
Once you've created a network share, you can access the shared folders from anywhere on the network, irrespective of whether they reside on an individual disk or a RAID array.
You can either use your file manager's built-in Network feature to access the network shares, or enter the IP address of the NAS device in the location area, such as smb://192.168.3.111. You're prompted for a username and password before you can access the folders – unless, of course, you have marked them as public when adding them via Samba.
Enter the credentials of a user who has the appropriate permission to access the folder. After they've been verified, OMV mounts the shared folder. You can now upload files into the shared folder or delete them, if you have the permission, just as in the case of a regular folder.
It might take a little getting used to, but OpenMediaVault is a wonderfully versatile NAS option that helps you exploit the true potential of the Raspberry Pi.
Most Popular


