How to use the Windows 10 Photos app
Organise your photographs
If you store a lot of digital photos on your PC then finding them all when they are scattered over various hard drives can be a pain.
Thankfully Windows 10 comes with the Photos app, which makes it easy for you to organise, find and share your digital photos.
You can also make quick edits to your photos as well, ensuring your snaps look better than ever.
1. Find the app
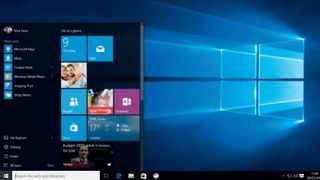
The Photos app should be sitting on your Start menu – look for a tile with a blue background. The app's live tile is probably activated, so if you've already added images to your Pictures folder (or you've uploaded photos to your OneDrive account) you'll probably find it's displaying some of your personal images, if it's not immediately obvious.
2. Your first run
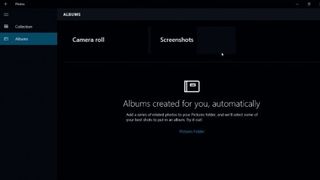
If you don't have photos in your OneDrive folder, and haven't added any pictures yet, Photos probably looks a bit bare – there's just a dark screen and a folder for screenshots.
Prove to yourself that it's working by taking a screenshot. To do this, press Windows + Print Screen together, or hold the Windows button and press the volume rocker if you're using a tablet.
3. Find your pictures
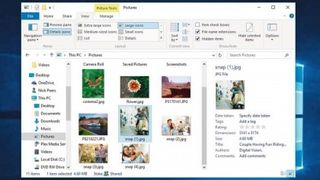
By default, screenshots are saved to a folder in your Pictures library. You can open the desktop and have a poke around if you'd like to see it for yourself.
Are you a pro? Subscribe to our newsletter
Sign up to the TechRadar Pro newsletter to get all the top news, opinion, features and guidance your business needs to succeed!
You should see that the screenshots you've taken have been added to the Pictures library section of the Photos app.
Copy more pictures to that folder, and they should follow suit.

4. Photos, everywhere
Photos is primarily designed to work with OneDrive, giving you access to all the photos you've previously uploaded from your other PCs and connected devices – if you've not already done so, install the OneDrive app on your Android or iOS phone, and then switch on the setting to automatically upload photos and video from your mobile to your OneDrive account.
These will then appear automatically in Photos – along with any locally stored pictures in your Pictures library – via the Collection section of the app, organised by date taken.

5. View file details
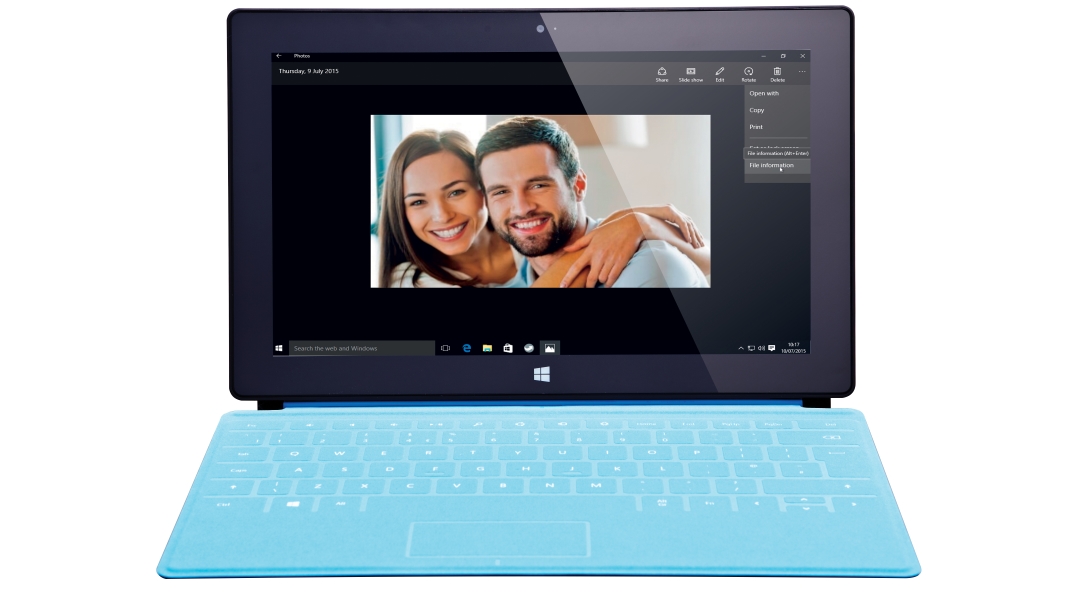
Your photos and other images are automatically organised by date – click a photo to view it, then click the '…' button in the top right-hand corner and choose 'File information' to get more info about that photo, including its filename, location (in the cloud or on your PC) and other useful information such as size, date and time taken and device the photo was taken on if present.

6. Post or share
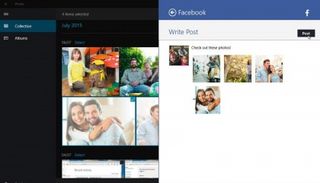
When viewing a photo, click the Share button at the top of the screen to reveal a list of apps you can share it with. Two obvious examples are Twitter and Facebook – select these and you can quickly post the selected photo to either network to show off to friends. If you want to share multiple photos at once, see the tip on the opposite page.

7. See a slideshow
The slideshow button can be found to the right of the Share button – click this and Photos will start displaying a slideshow of your images, moving through them in the order they appear in their album.

8. Auto albums
Return to the main screen and click the Albums button on the left to switch to Albums view. Photos will go through all the folders in your Pictures library and try to group related shots together into albums, providing you with an alternative way to browse your collection.
Click an album title to view the photos inside, which are arranged beneath the main header image. Keep an eye out for an 'Add or remove photos' button at the bottom of the list – click this and you'll see similar photos that haven't been selected for the album, allowing you to include them if you wish (or remove photos from the album that aren't a good fit).
9. Multiple selections
When browsing in Collection or Album view, click the Select button to the left of the '…' button and you can select a group of photos simply by clicking the tick box next to each.
Once done, you'll see a number of options appear at the bottom of the Photos window: 'Share' allows you to send all the photos to another app (for example, to share via social media), while 'Delete' will remove them from your PC (for locally stored photos) and all your devices (if stored on OneDrive).
You can also click '…' and choose 'Copy' to copy the files to another location on your device: open File Explorer, browse to the target folder and choose 'Paste' to copy the files there.
10. Tweak Photo settings
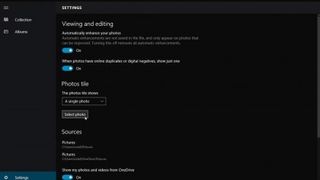
Click the 'Settings' button on the bottom-left of the Photos window to access its preferences. You can switch off automatic enhancements for photos, set a specific photo to show on the Photo tile on the Start menu and unlink your OneDrive account from the app if you only wish to use Photos for images stored on your own PC.
- Enjoyed this article? Discover how to get the most from your PC and new things to do in Windows Help & Advice. Take advantage of an exclusive offer in our sampler today.
Most Popular


