How to switch and transfer your files from iPhone to Android quickly and easily
Don’t like them Apples anymore? Here's how to jump ship
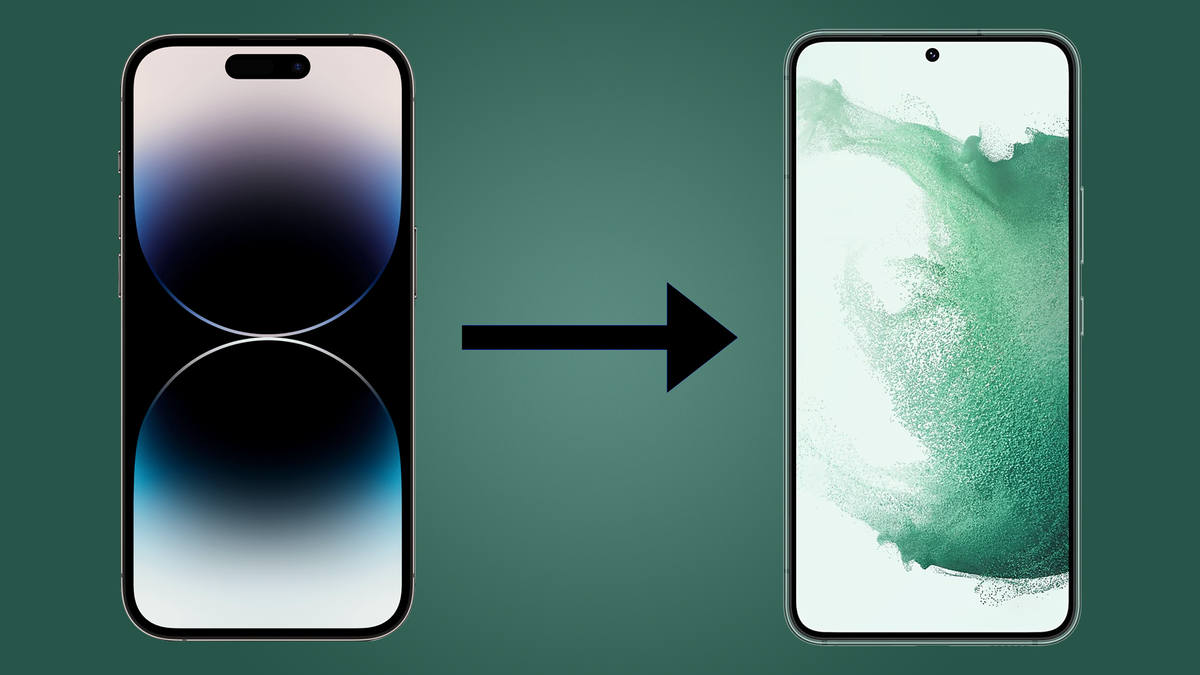
Are you looking to switch from iPhone to Android? Congratulations! There's nothing more exciting than heading to new and potentially greener pastures, and switching from iOS to Android is nowhere near as difficult as you might think it is. In this guide, we show you how to make the move.
While there's no denying that best iPhone maker Apple has a strong and devout fan base for its devices, the best Android phones are no slouch either. For starters, Android handsets are available at a wide range of price points, and many models are a lot more affordable than iPhones, which makes them super-attractive to those of us on a budget.
You also have more choices when it comes to the size, design and features, and most also offer expandable memory, a variety of widgets that you can put on your home screen, and more choices in terms of music services.
Granted, sometimes it works the other way around, and people are looking for how to switch from Android to iPhone, but those who make the move from iOS to Android are rarely disappointed. Once you've found one of the best cell phone deals and have your new Android phone in your hand, you're going to need to transfer your apps, contacts, photos and files from iOS to Android.
If you've owned an iPhone for any length of time, chances are you've become pretty enmeshed in Apple's ecosystem. Many mobile apps are cloud-based and dual-compatible, so you can start using them on Android without disruption; however, in other cases, you'll need to actively transfer data over.
But fear not; making the switch from iPhone to Android, and figuring out how to set up an Android phone aren't as difficult as you might think. Yes, a degree of preparation is required to make sure the process goes smoothly, and it can be a good idea to give your outgoing iPhone a spring clean before you start transferring data over, so that your new Android phone doesn't get cluttered up with stuff you no longer need.
To help make the switch from iPhone to Android as smooth as possible, and to ensure that your files are ready to be transferred, we've compiled a simple nine-step guide to making the switch.
Get daily insight, inspiration and deals in your inbox
Sign up for breaking news, reviews, opinion, top tech deals, and more.
1. Back up data on Google Drive


Before you switch from iPhone to Android and transfer anything, give your phone a bit of a spring clean: why transfer stuff you don't want such as unwanted photos or videos or contact details for people you don't speak to any more?
The Google Drive app makes it easy to transfer three key kinds of data from iOS to Android: your contacts, your calendar, and your camera roll.
Simply install the app, sign in to your Google account (or create a new one if you don’t already have one) and then go into Settings > Backup. If you don’t want to back up particular data, such as your calendar, then you can set that option here.
Watch out for the photos section, because there are two options here: if you want to upload your photos in original quality, they’ll count towards your Google Drive storage limit. If you select High Quality instead the quality will be lower (yes, it’s confusing), but the difference is hardly noticeable, and you get unlimited storage for those photos.
You won't be able to back up iCloud documents using this method. For that, you'll have better luck downloading these documents to a computer, then uploading them to Google Drive manually.
2. Back up or transfer your photos
When you switch from iPhone to Android and activate your new Android phone, you'll have the option to sync it to your old iPhone over Wi-Fi or cable. At that point, you can manually transfer over all of your iPhone photos (and other files) to your new phone.
If you own gigabytes of photos, that transfer could take hours and delay you from playing with your new phone. Thankfully there are different ways to expedite this process, one of which is the Google Drive backup option above.
If you currently keep your photos backed up on iCloud, resetting your iPhone could cause all of your photos to be deleted. The good news is that Apple iCloud photos can now be moved to your Google Photos account so we recommend transferring them over.
The Google Photos app is very likely where you will store your new Android photos, and its AI tools for organizing and optimizing photos are super useful. Even if you don't use iCloud, you should consider downloading the Google Photos iOS app and directly backing up your photos to it before transferring your other data.
You can also speed up this process by learning how to delete all photos from your iPhone in bulk before backing them up, so you're only saving the ones you really want to keep.
3. Convert your contacts
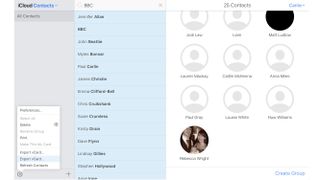
If you’d rather not do it through the Google app, you can export your contacts manually from your computer. Provided you use iCloud sync for your data – and you almost certainly do, because it’s on by default – you can log into iCloud.com and export data from there.
To export your contacts, go into the Contacts section and look for the gear icon at the bottom left of the screen. Click it, choose Select All, then click it again and choose Export vCard. This will download a vCard file to your computer.
Now, go to contacts.google.com and sign in. Look at the bottom left of the screen where you’ll see the Import link. Click on that to select the vCard file you just downloaded.
If you didn’t clean up your contacts before exporting them you can fix any duplicates by clicking on Merge and Fix. This gets Google to scan your contacts for duplicates and for the most up-to-date contact information.
You can export a subset of contacts too: use the Search field to find the contacts you want to export then click on settings > Select All > Export vCard.
4. Move your music
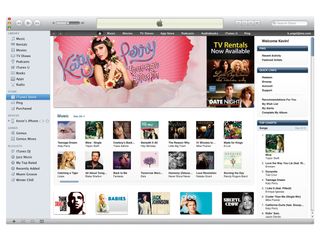
If you use one of the best music streaming services for your music library, you don't need to worry: Spotify, Apple Music and the rest all have an Android app, so you can simply download them and start streaming.
Apple Music for Android is also useful if you have a large iTunes library. Subscribe to Apple Music and choose iTunes Match, and Apple will upload a list of songs that you own, then allow you to download them on your devices – including your new Android phone.
You can also upload your Apple Music for Mac / Windows library to YouTube Music. At that link, sign into your Google account, and from there you can simply drag-and-drop your Apple Music/ iTunes .m4a files. They'll upload to your account, at which point you can listen to them all through the YouTube Music app. Keep in mind that, like with Apple Music, you'll need to subscribe to YT Music to easily listen to your library.
If you're hoping to transfer your iTunes/ Apple Music playlists to a new streaming app, services like Soundiiz or Tune My Music can help automate that process.
If you actually want to store your local music files on Android, wait until you've fully set up your phone. Then you'll want to download a third-party app that specializes in local music files, then connect your phone to your computer and transfer your music files manually.
Your best paid option is Poweramp, an extremely popular music app that supports most file types and has robust EQ settings. For a simple, free option, try Music Player GO. You might also like to check out the best music and podcasting Android apps.
5. Sync your iPhone and Android phone
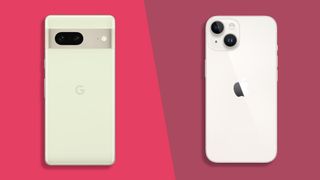
Now that you've backed up your files, you're ready to start setting up your Android phone. Turn it on and follow the provided steps.
Whether you're using a Pixel, Galaxy, OnePlus or something else, at some point you'll be asked if you want to copy apps and data from an old phone to a new one. Samsung, for example, has a tool called Smart Switch that automates the iPhone-to-Android transfer, while Google will want you to pull in files from Drive.
At this point, you'll have the option to connect your two phones via a Lightning-to-USB-C cable – or more likely, a USB to USB-C adapter connected to your Apple USB charging cable. If you don't have these, you can instead connect the two devices over a shared Wi-Fi network.
You can then choose what data you want transferred from iOS to Android. Hopefully you've backed up most of your data so this won't take too long; still, this is handy because your Android phone can detect all iOS apps you have downloaded, then offer to download all available Android apps automatically to your App Drawer.
6. Sign into your account to download your replacement apps
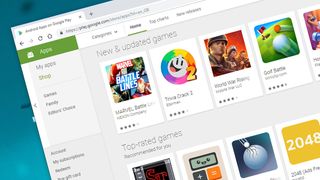
Most of the big-hitter apps you know and love from iOS are available on Android, though both ecosystems have their exclusives. iOS has Apple Arcade; Android has Google Play Pass.
If you chose to import your iOS apps to Android, you should compare your list of apps on both phones and make sure they all transferred over properly. If they didn't, you'll need to go to the Google Play Store and start looking for replacements.
Some of your iOS apps won't transfer over automatically because they're paid apps. In the majority of cases, an app you bought on iOS will not be available for free on Android – so the game you paid $4.99 for in the iOS App Store will be another $4.99 if you want to play it on Android.
Otherwise, some apps may just be exclusive to iOS, in which case you'll need to find an equivalent app to take its place. We've collected the best Android apps to replace them, organized into photography, design, education, entertainment, fitness, music, productivity, customization, and weather.
You can also check out the best free Android apps or the best Android games.
7. Sync your browser bookmarks
If you’re already using Chrome on iOS to sync with Chrome on your desktop computer, you don’t need to worry about this step. But if you’ve been using the stock Safari browser on your iOS device you’ll need to export your bookmarks. Safari syncs with the desktop version, so go into that and choose File > Export Bookmarks. You can then import them into Chrome on your desktop, which will then sync with Chrome on your Android device.
It’s important to note that this will not export your stored passwords or autofill entries, so make sure you’ve got a note of any passwords you need to keep.
Always make sure you’ve disabled Find My Phone, signed out of iCloud and erased all of your data before selling or passing your iPhone or iPad on.
8. Disable iMessage
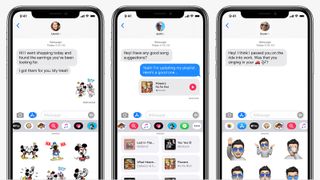
If you switch your SIM card and phone number over to an Android phone without turning off iMessage, then your new phone may have trouble receiving text messages from other iPhones.
Essentially, Apple will still think your phone number belongs to an iPhone, so texts sent from iMessage will only be readable in iMessage – which isn't available on Android.
If you're following our guide, you should still have your iPhone. Go into your phone Settings and scroll down to find both 'Messages' and 'FaceTime'. In both submenus, toggle the option to turn both of them Off. This will free your future phone from any weird Apple mix-ups.
If you already erased or traded in your phone, don't despair. Go to Apple's Deregister iMessage page and enter your phone number near the bottom of the page. You'll receive a 6-digit confirmation code; submit it, and Apple will do something on the backend to free your new phone from the iPhone label.
9. Turn off Find My iPhone, then erase it
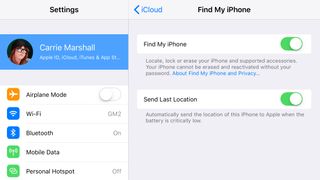
If you’re transferring all your stuff because you’re selling or giving away your device, it’s crucial that you do two things: turn off Find My Phone, and learn how to reset an iPhone. If you don’t do the former, then the next owner won’t be able to use the device; if you don’t do the latter, it’s a potential privacy disaster.
We can’t stress this enough: don’t erase your phone until you are absolutely certain that you have everything you need on your new device. Erasing an iPhone or iPad is irreversible, so it’s always wise to check absolutely everything first.
When you’re sure everything’s okay, go to Settings and tap on your profile information at the top. Now, tap on Find My and set Find My Phone to 'off'. Go back to the main Settings menu, scroll down to General and tap on Reset. Now, tap on Erase All Content and Settings.
That’s it: you’re done. Happy Androiding!
Writer, broadcaster, musician and kitchen gadget obsessive Carrie Marshall has been writing about tech since 1998, contributing sage advice and odd opinions to all kinds of magazines and websites as well as writing more than a dozen books. Her memoir, Carrie Kills A Man, is on sale now and her next book, about pop music, is out in 2025. She is the singer in Glaswegian rock band Unquiet Mind.
- Daryl BaxterSoftware & Downloads Writer
