The 10 laws of landscape photography
Discover how to capture your best ever landscape photos
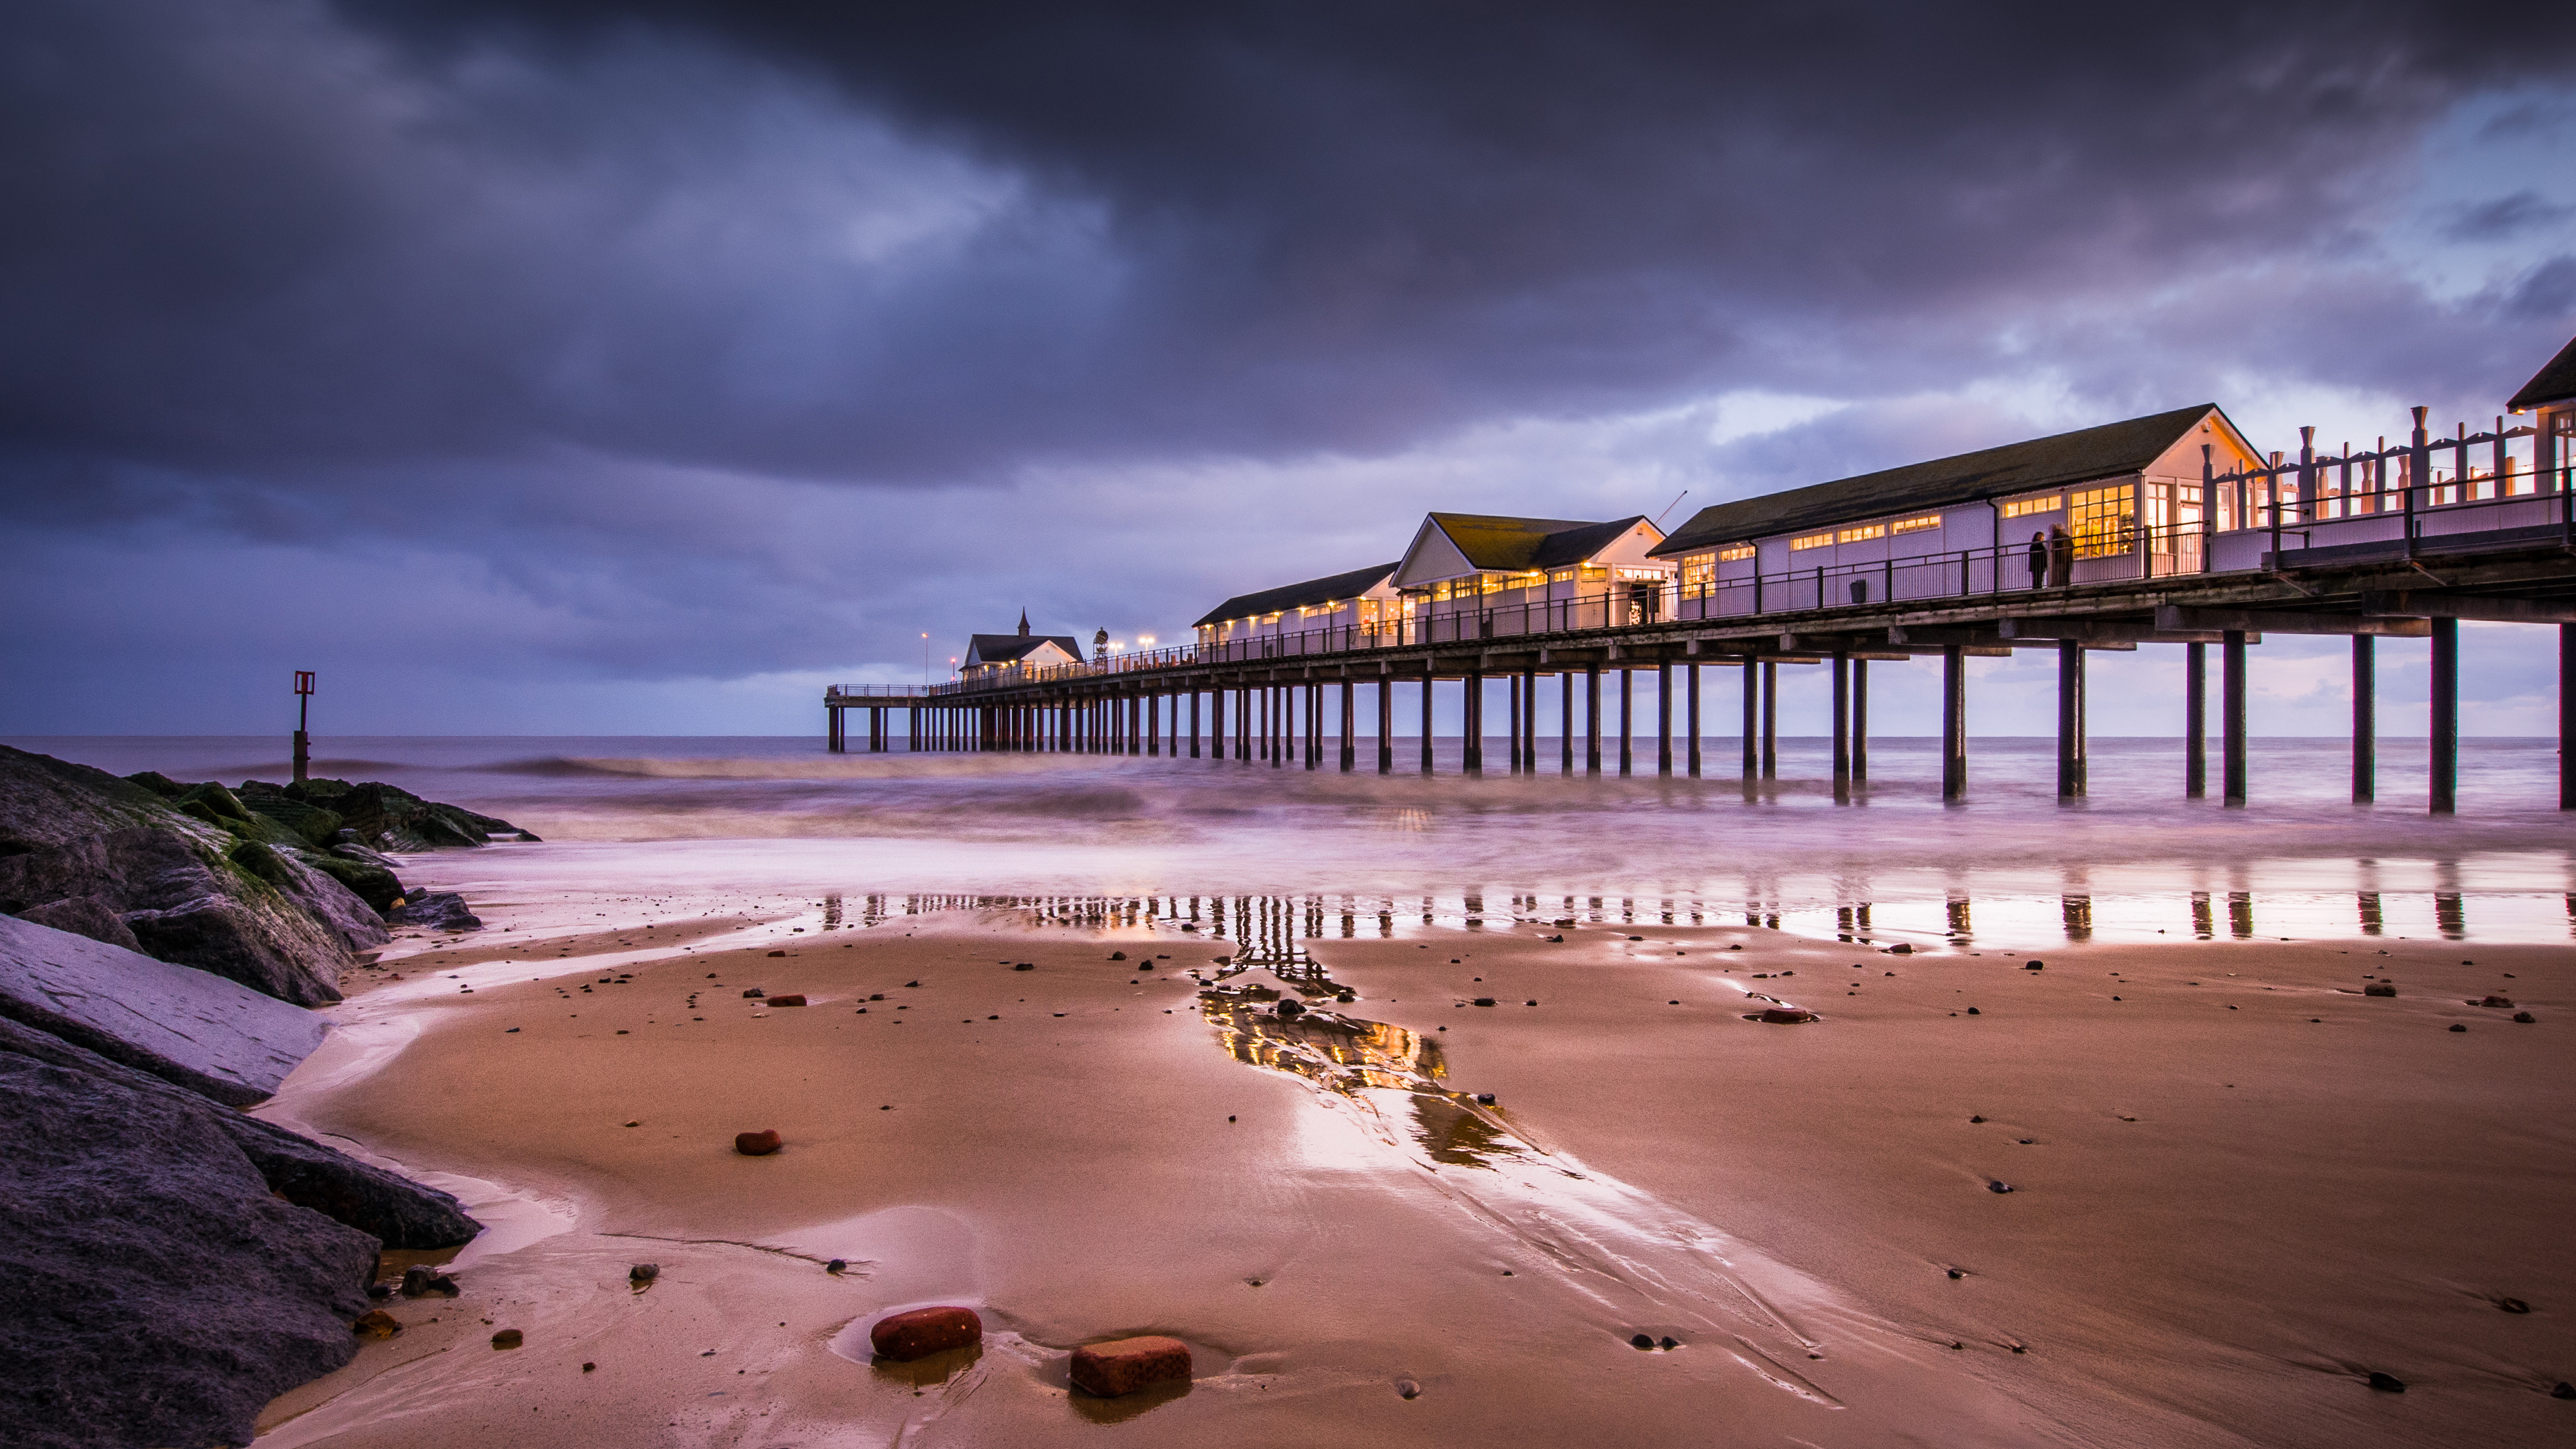
Landscapes can be one of the easiest of all photographic subjects to shoot. Basically, all you need to do is find a nice view in the right lighting and snap away. Look a little closer at landscape images that really hold your attention, however, and you’ll often find that there’s much more to this simple subject than meets the eye.
To improve your landscape photography skills, you need to find visually compelling locations, and then you need to work out the right time of day and the right season to visit them, so they’re looking their absolute best.
We’ll reveal the ten ‘laws’ that will help you plan more effectively, compose your shots, and understand when a trick or two might help
Once all of this research and planning is done, you need the technical and artistic skills to make the most of the scene. All of this comes with practice – but where do you start, and how can you give yourself the best chance of landing some great shots? That’s where this guide comes in.
Rather than simply tell you to set your camera to an aperture of f/16, fit a wide-angle lens and use the rule of thirds, we’ll reveal the ten ‘laws’ that will help you plan more effectively, compose your shots, and understand when a trick or two might help. You’ll improve your success rate by going to the right places at the right times, and you’ll know how to get amazing images at any location.
So, don’t let your landscape photography get stuck in a rut: read each of these laws and take your landscape photography to the next level.

Law 1: Don't leave locations to chance
Learn everything you can about your landscape location before you go there – from likely viewpoints to where to park
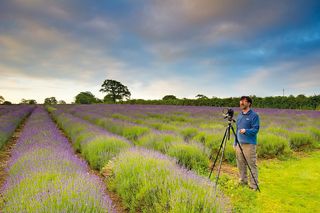
You’re unlikely to stumble across great landscape locations by just going out into the country. It may seem like a lot of work to do, but it’s easy to check out the location, sun position, weather and tides before you set off.
Get daily insight, inspiration and deals in your inbox
Sign up for breaking news, reviews, opinion, top tech deals, and more.
The first port of call for most locations is an online map service, such as Google Maps. The amount of detail available on the satellite view, along with the Street View facility, is invaluable for getting an insight into the basic features and landscape.

We came across this location on Google Maps and, after a few minutes’ research, decided it was worth a visit. Through the map, we found a car park not far from the escarpment, so we only had to walk for 30 minutes to get to the top. The cliff faces east, so it would only be bathed in light at sunrise.
We wanted a still, clear morning, which would mean that mist would hang in the valley. The mist didn’t materialise on the day, but we were rewarded with a beautiful sunrise.
Check out online photos of the location. We’re not suggesting you copy the approaches and styles employed by other landscape photographers: the images we use are more likely to be shots taken by tourists, say, who simply want to record the sights. These shots are perfect for getting a good idea of what to expect from a location, without the risk of subconsciously imitating what other photographers have done.
It’s worth doing this process even for areas you think you know well. It’s amazing how many hidden gems we’ve found just by using online maps and images.
Dig deep
Once you’ve narrowed down the area that you’re interested in, look at detailed maps like the Ordnance Survey series. These give precise details of paths and access, although you should check an online map as well to see if there are any other options. Look for likely car parking spots.
Next, check when and where the sun will rise and set. There’s little point going to a location if the main subject is in shadow because the sun’s behind a mountain. There are plenty of online resources, plus apps such as the Photographer's Ephemeris.

Law 2: Don't stick to your plan, regardless
Caught out by an unexpected shower? Make sure you have the flexibility to get the most out of your day
Even though you should always go out with a researched plan of what you want to shoot, it’s never set in stone. Mother Nature has a habit of regularly throwing plenty of curve-balls at you when you’re out on location. Expect the unexpected.
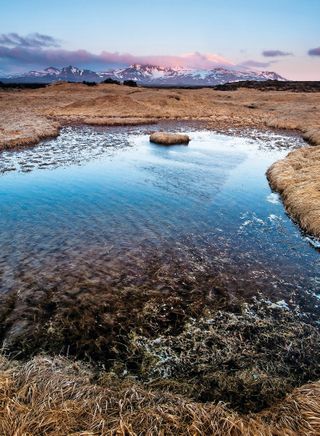
The plan for this location was to shoot the mountains and glacier in the middle of the peninsula from the rocky shore on the north coast.
The light was perfect, but the northerly wind meant that the moment we got the camera out, the lens and filters were covered in spray.
We had to quickly find a new location: a small lagoon just inland from the shore, where the wind wasn’t quite as strong and the spray didn’t always reach.
From surprise rain showers to strong wind and even pea-souper fog, it’s usually the weather that will scupper the best-laid plans. Along with the weather, you might also encounter unexpected alterations to a landscape, such as changes in the trees or flora, changes in water levels and even more dramatic events like landslides, which can all alter the scene dramatically, or simply prevent you from getting to your chosen location on time.
Time for Plan B
This is where it pays to have a back-up plan – and also to give yourself plenty of time to arrive at your shoot if you’re planning on working around sunrise or sunset. We usually try to get to a location at least 30 minutes before we think we might want to start shooting – even if it’s a place that we’ve visited before and know well – to give ourselves the time to explore the surroundings and come up with an alternative if things go wrong.
The bottom line is that no plan is perfect, however good your research is – but quite often we’ve found that having to think on our feet produces some fresh ideas that work even better than the original concept.

- Best camera accessories: 21 essential bits of kit for your camera
- 10 essential accessories for your new camera
- 10 must-have accessories for every Canon DSLR owner
- 10 must-have accessories for every Nikon DSLR owner
- Best travel tripod: 5 carbon fiber stands for your camera
- Best tripod: 10 options to suit all budgets
- Best camera bag: 10 options to protect your camera kit
- Best flashgun: dedicated strobes for Canon and Nikon DSLRs
- Best ND filters: 6 top models tested
- Best ND grad filters: 6 top models tested
Phil Hall is an experienced writer and editor having worked on some of the largest photography magazines in the UK, and now edit the photography channel of TechRadar, the UK's biggest tech website and one of the largest in the world. He has also worked on numerous commercial projects, including working with manufacturers like Nikon and Fujifilm on bespoke printed and online camera guides, as well as writing technique blogs and copy for the John Lewis Technology guide.

