10 reasons why your photos aren't sharp (and how to fix them)
If your images aren't as sharp as you'd like, then read this

Getting sharp photos is one of the fundamental goals in photography. If your images aren't as sharp as you'd like, take a look at our ten-point guide to work out where you're going wrong and how to get it right next time.
Reason No. 1. Your Photos Aren't Sharp: Shutter speed too low
In the days of film photography there was a general rule that in order to get sharp images from a hand-held camera the shutter speed needed to be at least one second divided by the focal length of the lens.
So if you were shooting with a 100mm optic the shutter speed needed to be at least 1/100sec, which because of the way shutter speed is set usually translates to a setting of 1/125sec or faster.
This rule still holds today, but it is somewhat complicated by the focal length magnification factors of sub-full-frame sensors and image stabilisation systems.
For example, if a 100mm lens is mounted on a Nikon APS-C format DSLR like the D3300, which has a focal length magnification factor of 1.5x, the photographer would need to set a shutter speed of at least 1/150sec.
Canon APS-C format DSLRs like the EOS Rebel T7i / 800D have a 1.6x focal length magnification factor, so the shutter speed would need to be at least 1/160sec.
Many lenses now claim a 4 stop compensation - that's the difference between shooting at 1/125sec and 1/8sec
The image stabilisation systems built into some lenses and cameras have a mechanism to compensate for accidental camera movement and this allows slow shutter speeds to be used when the camera is handheld.
Get daily insight, inspiration and deals in your inbox
Sign up for breaking news, reviews, opinion, top tech deals, and more.
Many lenses now claim a 4 stop compensation - that's the difference between shooting at 1/125sec and 1/8sec.
Even with image stabilisation some people are better at handholding a camera steady than others. The amount of coffee and alcohol that you've drunk can make a difference as well.
- Learn more: The A to Z of Photography: Shutter speed
Reason No. 2 Your Photos Aren't Sharp: Camera shake

If you can't use a shutter speed fast enough to freeze accidental camera movements or camera shake, and can't or don't want to push the sensitivity, then you need to put the camera on some form of support.
A monopod can be extremely useful when you're using a long, heavy telephoto lens and you want take some the weight off your arms and reduce the shaking that becomes very apparent as soon as you look through the viewfinder.
It is light and easy to move allowing plenty of freedom to move the lens around and track a moving subject.
However, when you need maximum stability, a tripod is the way to go. If you don't need the full height of the tripod only extend the thicker leg sections and don't pull-out the centre column to get the best results.
Reason No. 3 Your Photos Aren't Sharp: Vibrations from touching the camera
Just touching a camera mounted on a tripod can be enough to set it wobbling a little and this can make your images soft. Fortunately, it's relatively easy to resolve the problem with a remote release.
Remote releases come in two forms, wired and wireless. As a general rule wireless remote releases are more expensive but more effective than wired ones.
A wired release has to be connected to the camera and any movement of the cable, perhaps as result of it blowing in the wind or you moving it, can transfer to the camera and soften the image, so take care how you handle it.
One downside with wireless remote releases is that they usually work via infrared light and this can make them trick to use in bright sunlight. They also usually need the trigger to be in the line of sight of the receiver/camera.
Remote releases are especially useful when you want very long bulb exposures because they avoid you having to press the camera's shutter release button throughout the duration of the exposure.
- Learn more: 10 essential accessories for your new camera
Reason No. 4 Your Photos Aren't Sharp: Mirror-slap
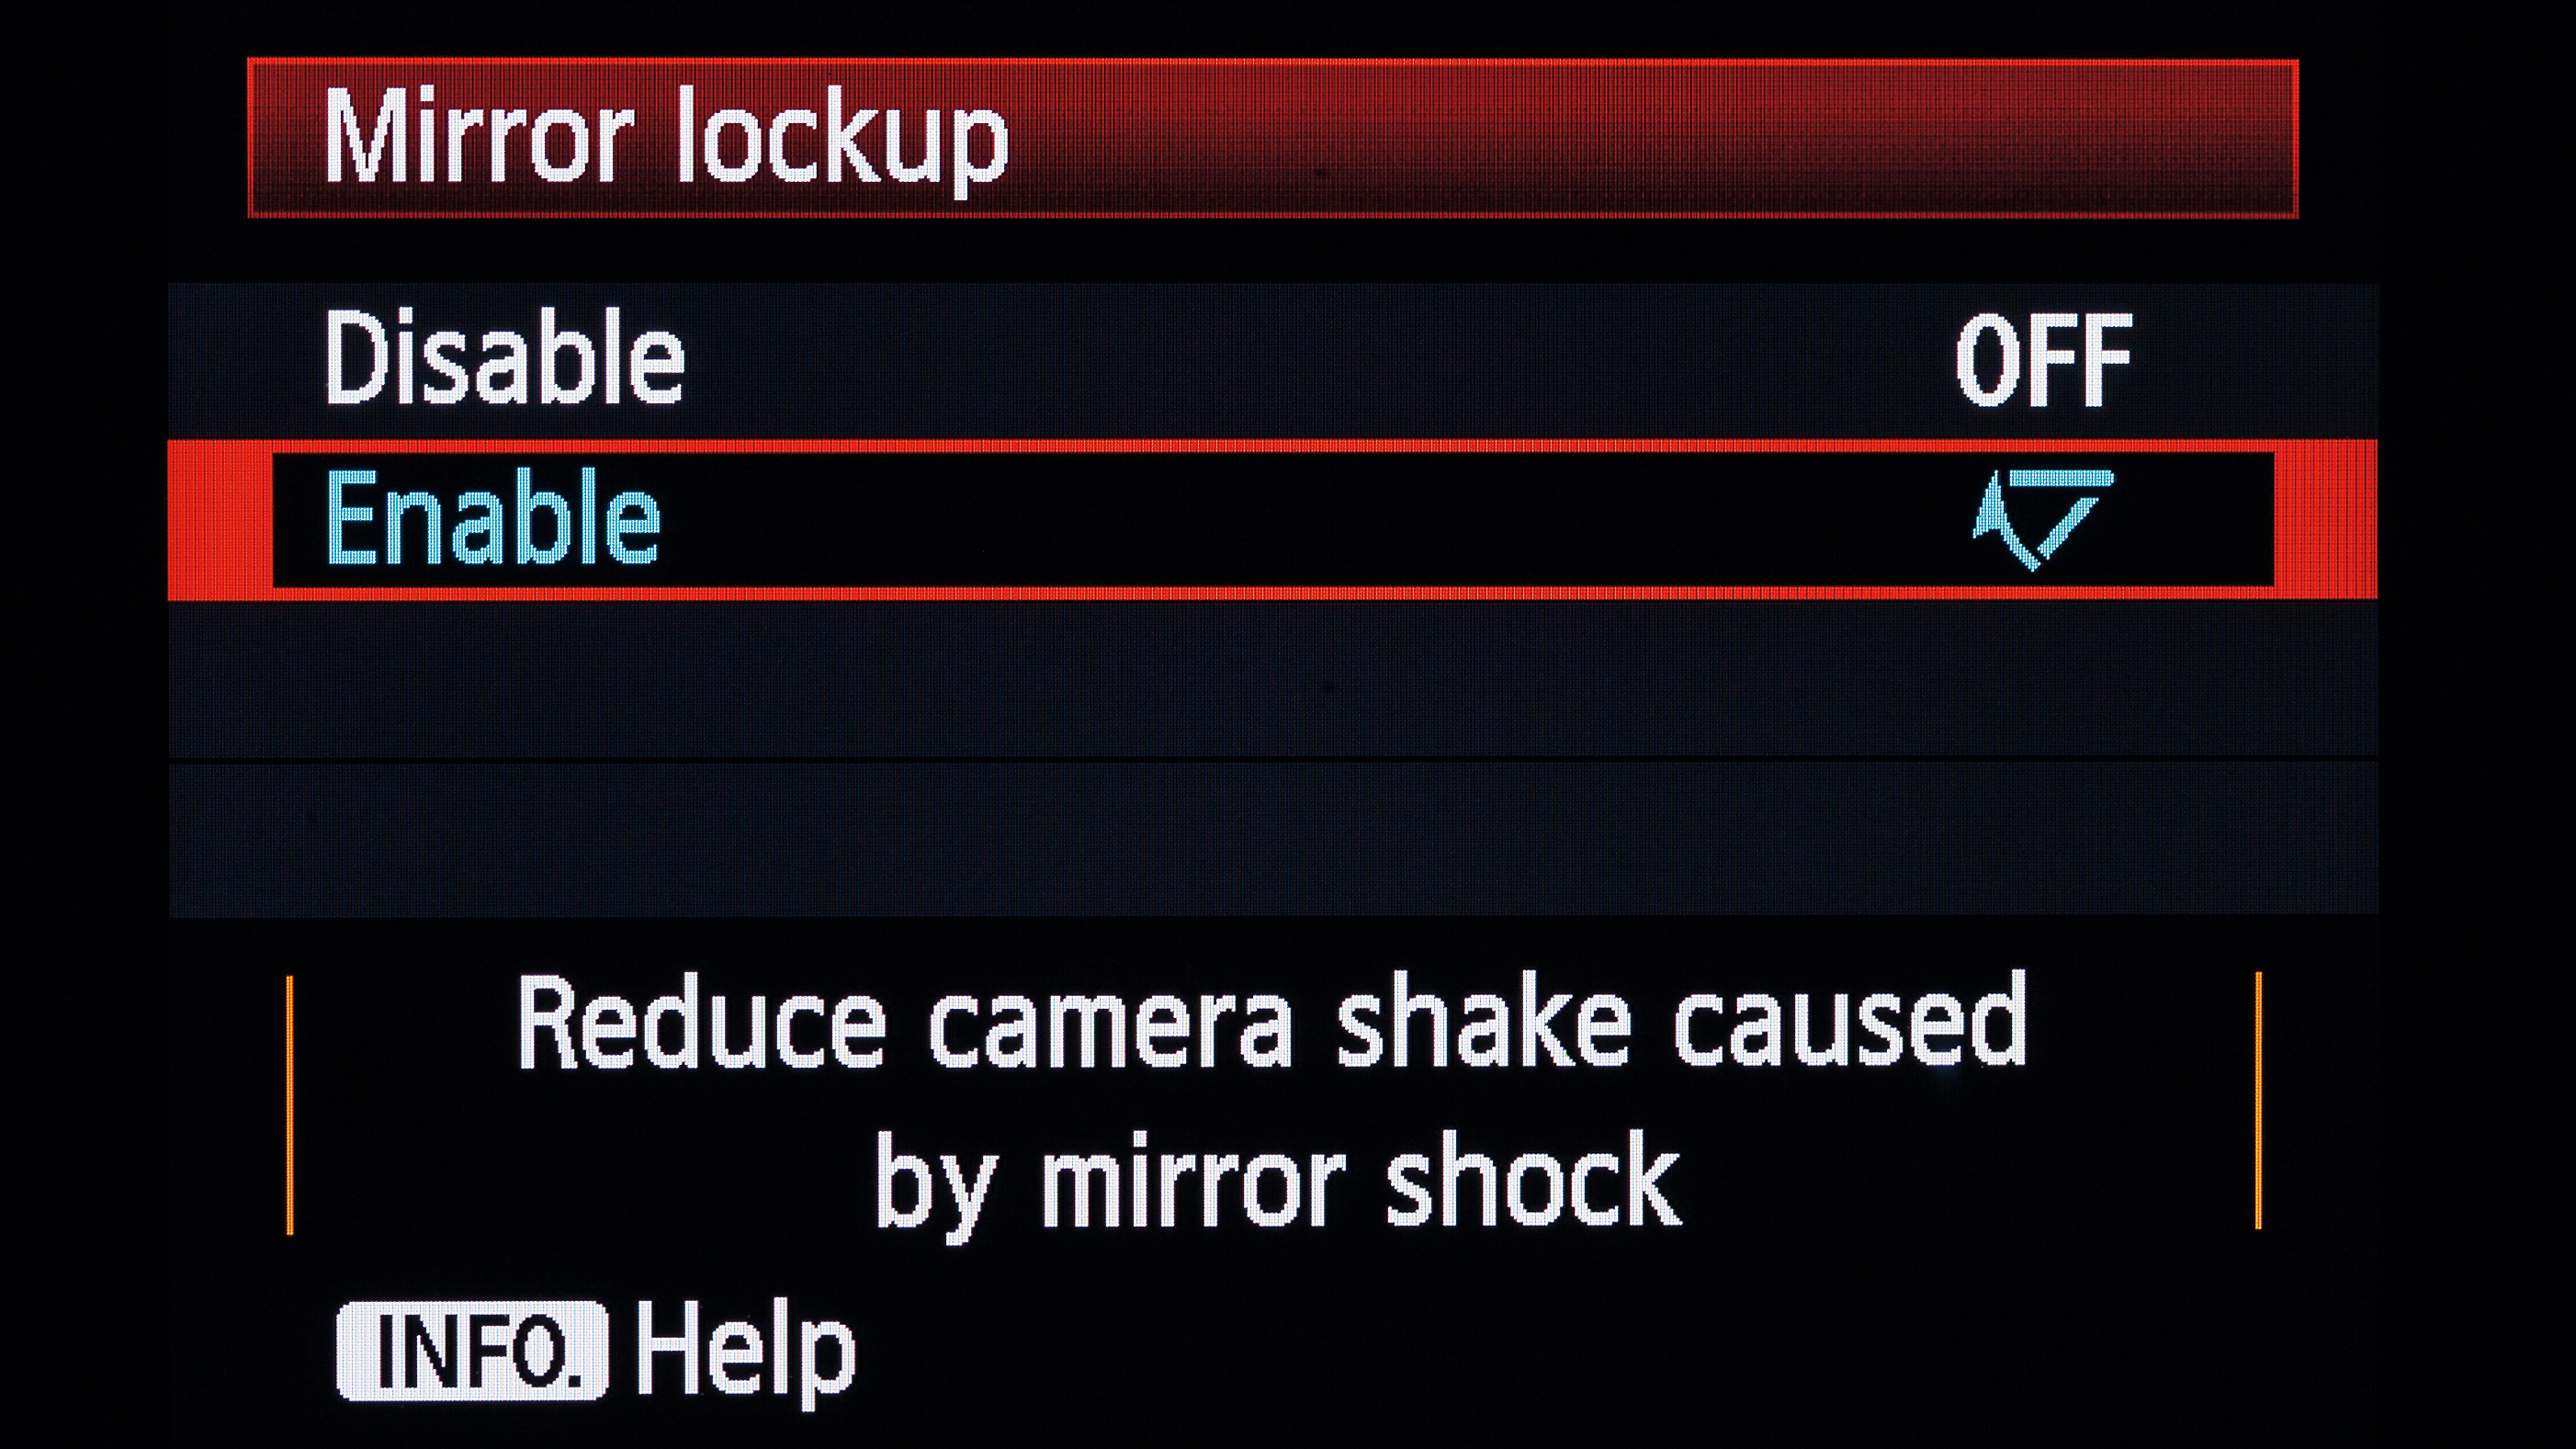
If don't have a remote release to hand the camera's self timer can be a good stand-in as it triggers the shutter to fire after the vibration from pressing the shutter release has died down.
However, DSLRs can actually create image softening vibration themselves because the action of the mirror flipping up to allow the exposure is enough to start things wobbling.
Mirror-slap is more of an issue with some cameras than others. Some have a more dampened mirror movement, which makes it less problematic, for example.
However, if you want to get the full benefit of all those pixels on high-resolution cameras like the Nikon D850 you need to go the extra mile and use mirror-lock up mode.
When mirror-lock up mode is selected the first press of the shutter release (on the camera or a remote release) lifts the mirror.
Then, when any vibration resulting from the mirror movement has died down you press the release again to trip the shutter and take the shot.
Reason No. 5 Your Photos Aren't Sharp: Subject movement

It doesn't matter how rock-steady the camera is, if the subject is moving the image will be blurred. If you're shooting a moving subject and you want it sharp rather than blurred the shutter speed has to be fast enough to freeze the movement.
But how fast is fast enough?
A shutter speed of 1/60sec or 1/125sec is usually fast enough to freeze a walking person, but you'll need to push the shutter speed up with faster moving subjects.
If you're photographing sports like football and hockey a shutter speed of around 1/500sec is often fast enough to freeze a player's body, but the fastest moving parts such as their legs or the hockey stick may still be blurred and an even shorter exposure time is required.
Using fast shutter speeds means using a higher sensitivity (ISO) setting and/or opening up the aperture to let more light into the camera.
Although it's a good idea to avoid raising the sensitivity setting when you're shooting landscapes and still life subjects, it's often essential when shooting sport and action.
Provided that you avoid the very top sensitivity values most modern DSLRs and CSCs produce decent images. It's also worth remembering that a little bit of noise is usually preferable to a badly burred image.
- Learn more: The Exposure Triangle
Reason No. 6 Your Photos Aren't Sharp: AF focused on wrong subject
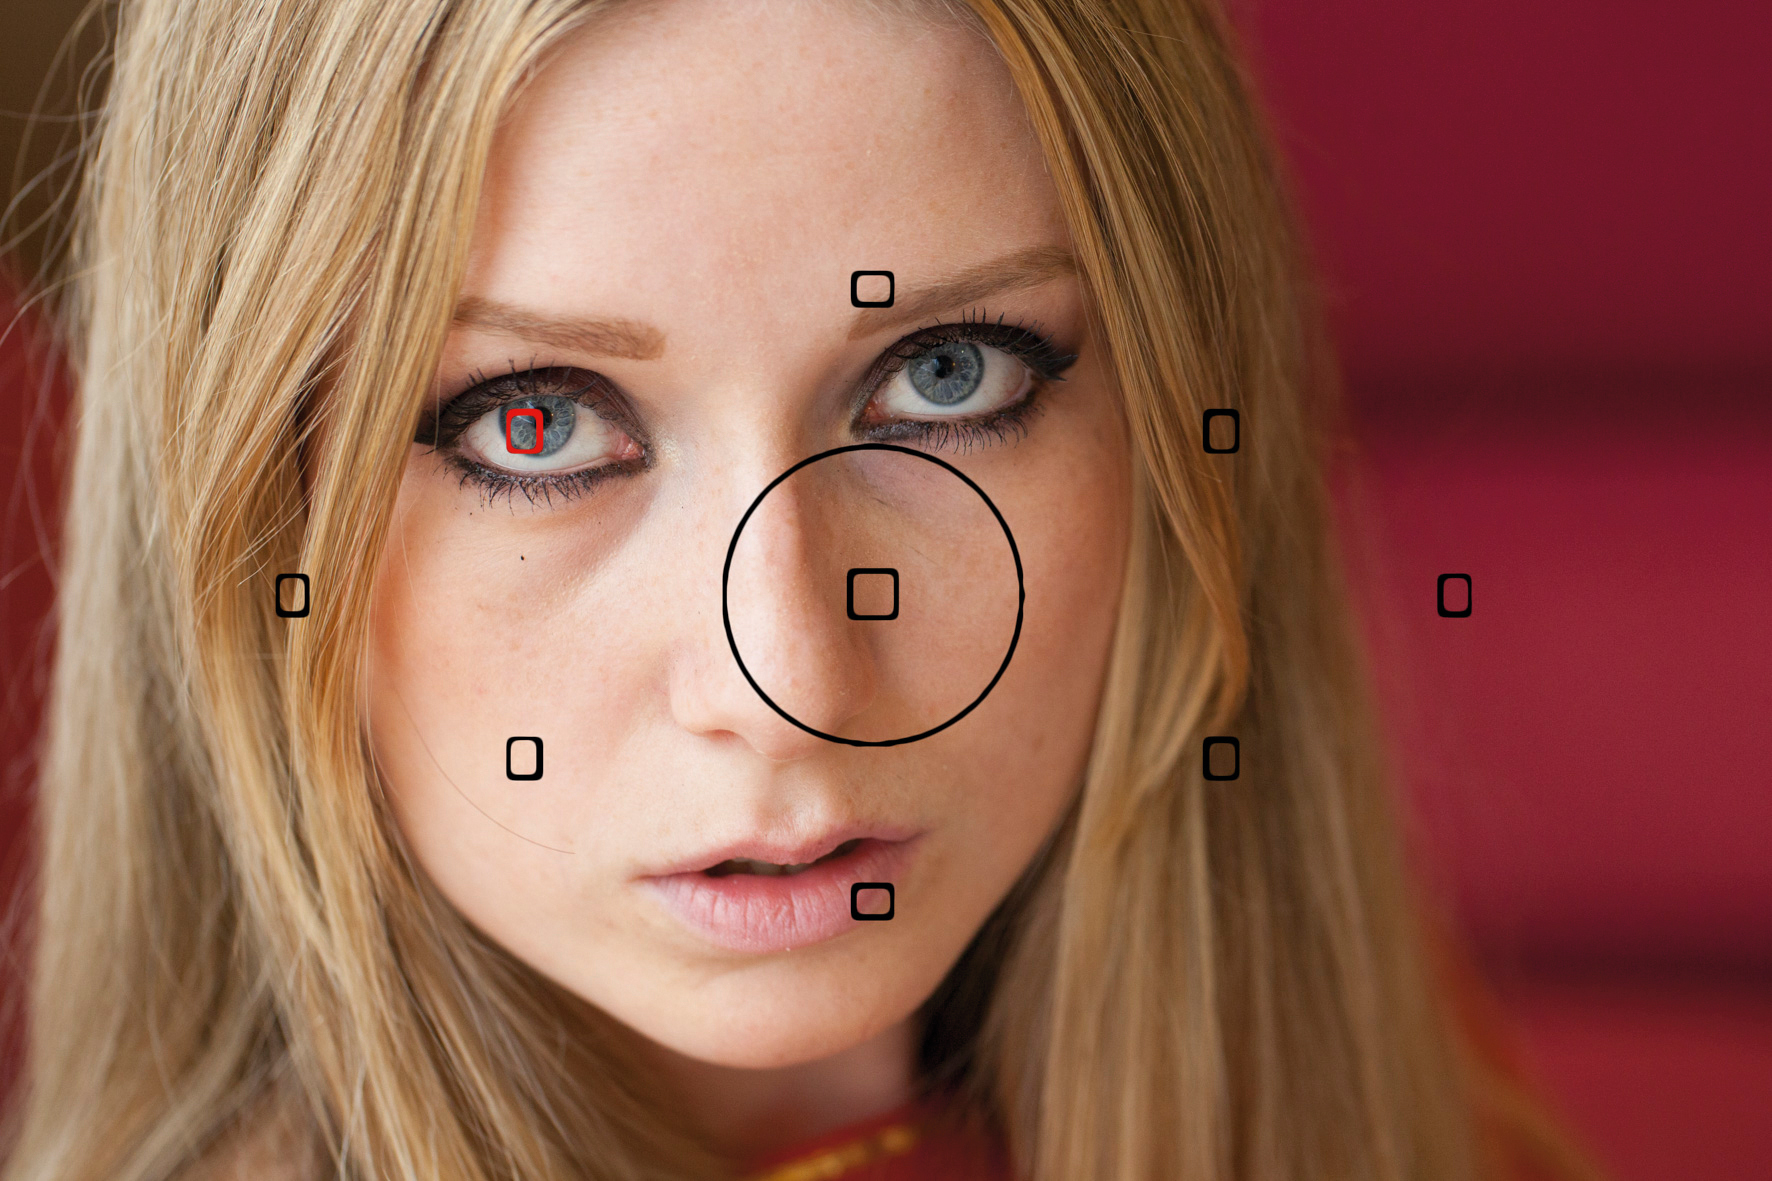
Modern cameras can really make life easy for you, setting the focus point, exposure and white balance automatically to deliver great images.
However, they are not infallible. If you let the camera take control of the focus point selection it may get it wrong.
Many cameras are calibrated to focus on the nearest subject towards the centre of the frame. As a result if your subject is near the edge of the frame or not the closest object to the lens the camera may focus on the wrong point.
This is especially true when shooting subjects close-up as the camera usually looks for something in the mid-distance and you may find the background is in focus rather than your subject.
The simple solution here is to take control over the focus point yourself. The mode you want is usually called something like Single point AF or Select AF.
Once you have selected the correct mode, use the camera's navigation controls to select the AF point that lies over your subject in the frame.
Even if you camera has lots of AF point there are likely to be some occasions when there isn't one that lines up with the subject.
If this happens simply choose a point that's near the subject, or the central point (as it is the most sensitive), and move the camera so this point is over the subject.
Then half-press the shutter release to focus the lens, before recomposing the shot while keeping the shutter release button pressed. When the scene is correctly composed push the shutter release home to take the shot.
This focus-and-recompose technique is very useful and it gets quicker with practice so some photographers use it all the time.
Reason No. 7 Your Photos Aren't Sharp: Continuous AF not selected
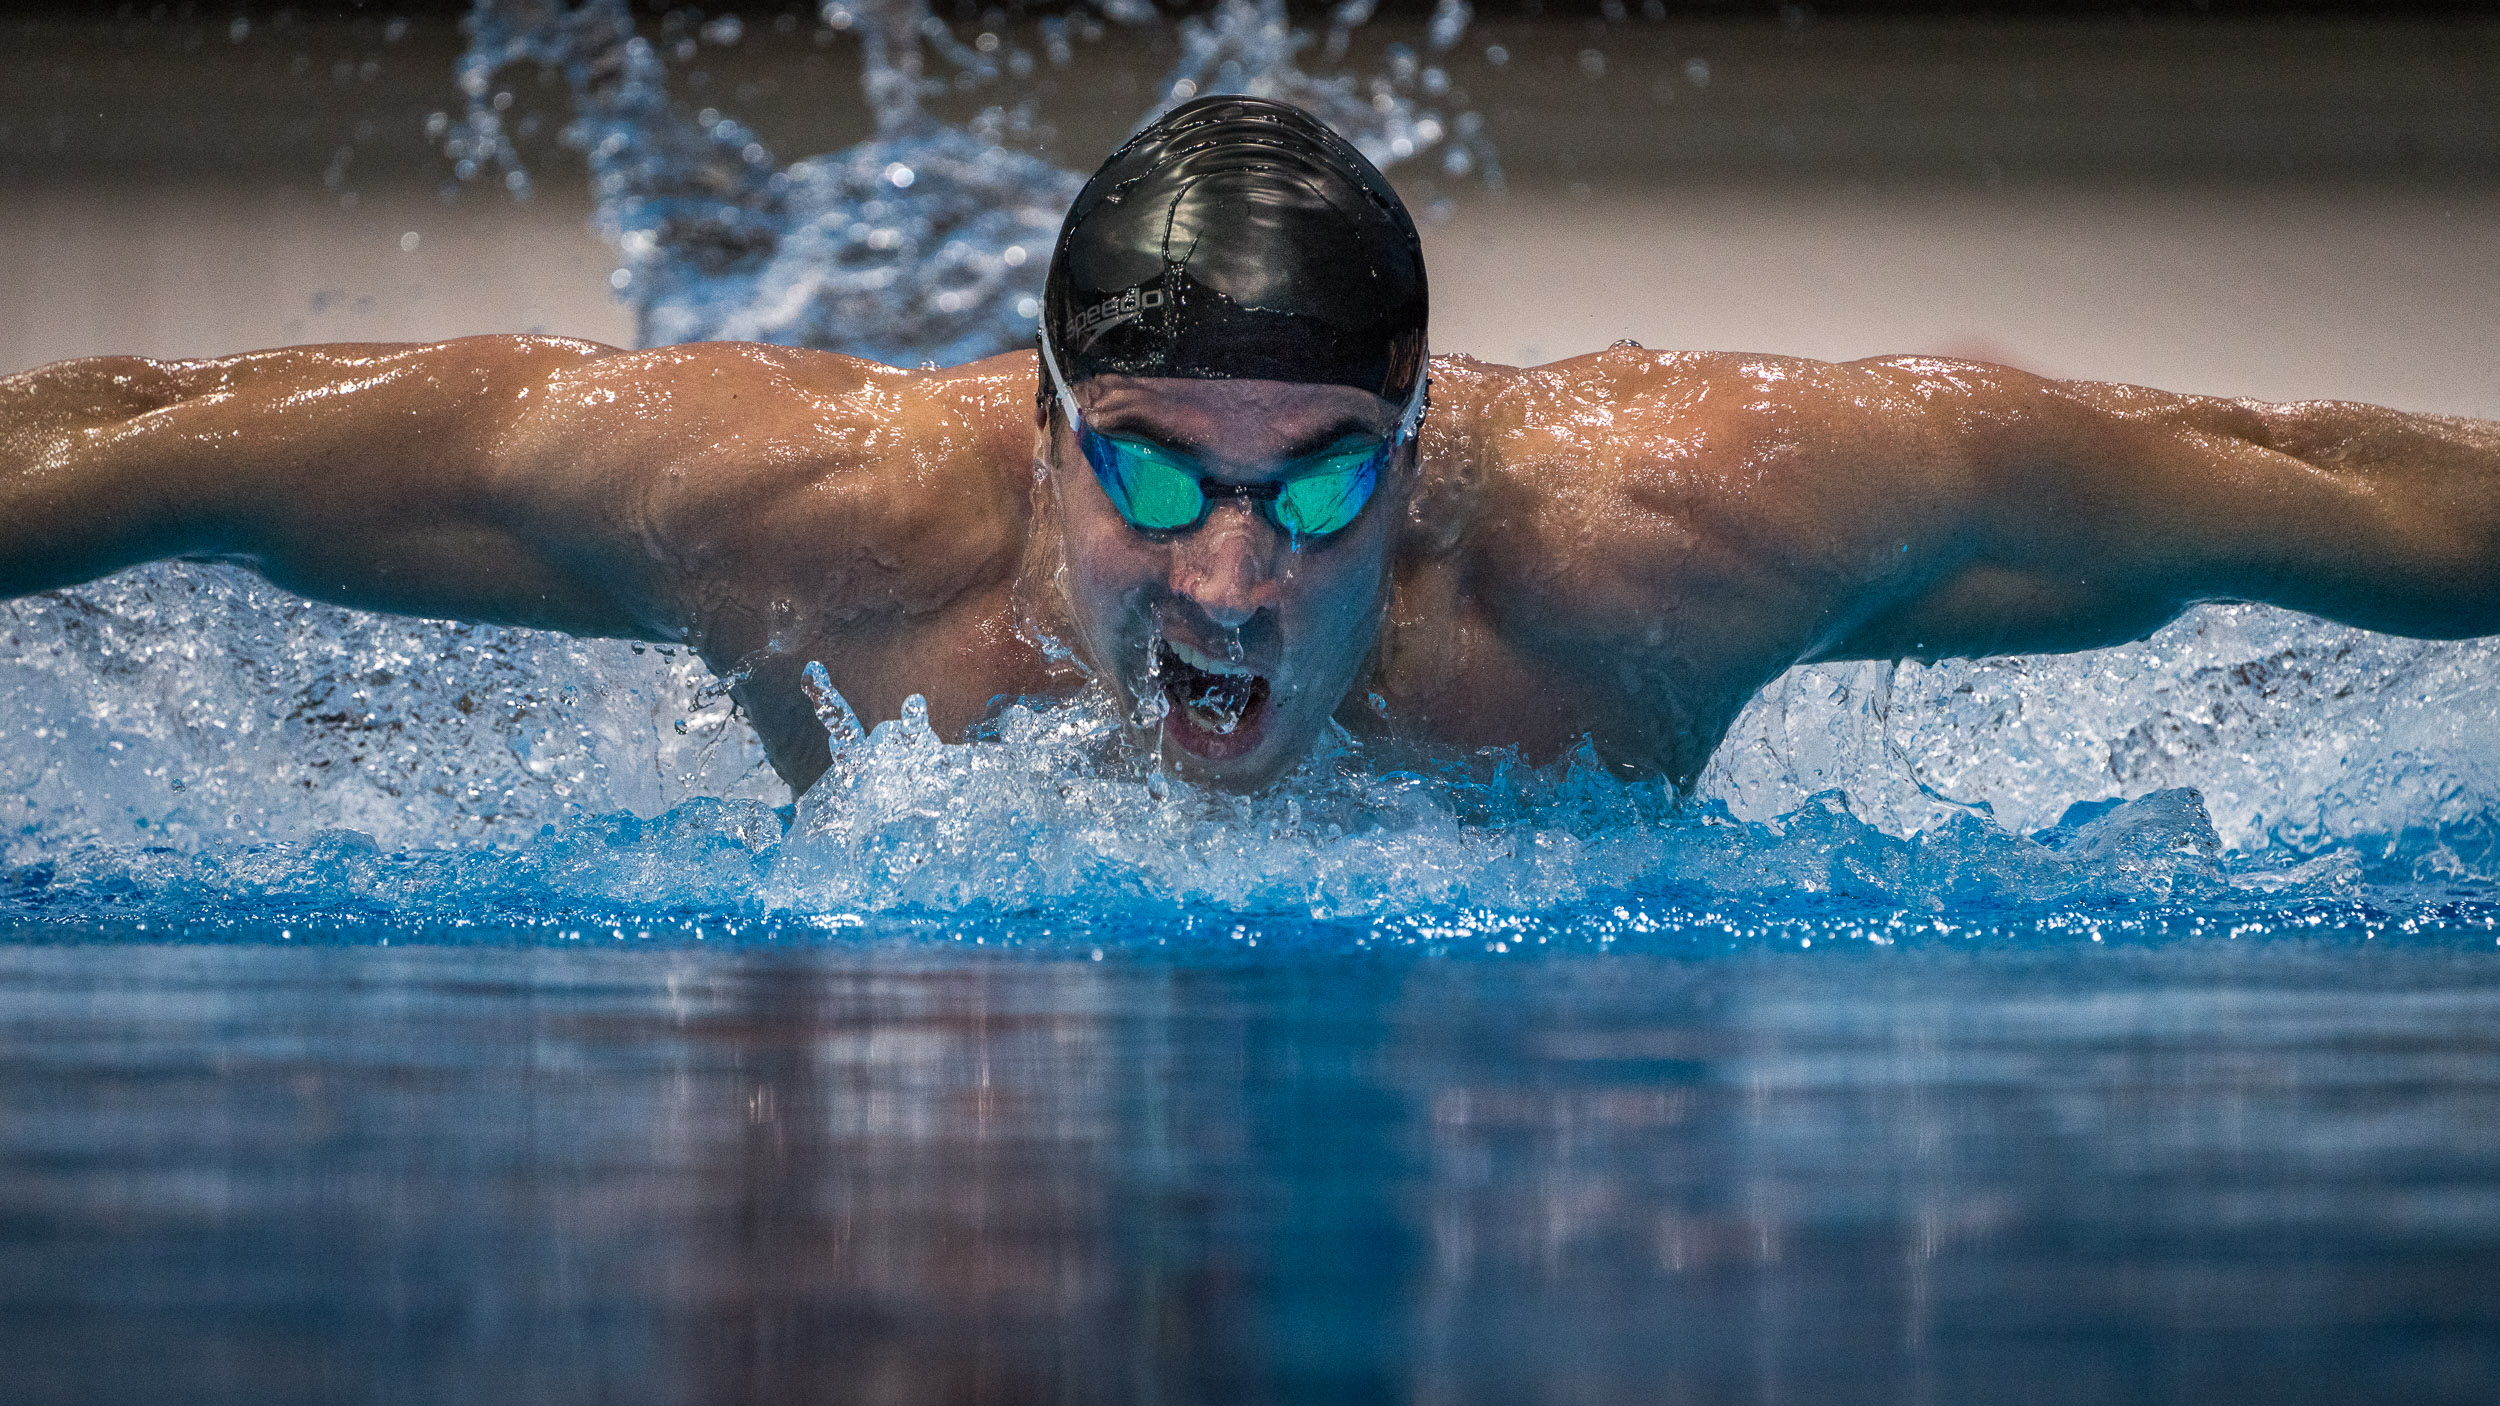
In single AF mode the camera focuses the lens when the shutter release is pressed half-way and the focus stays at that point until you lift your finger off the shutter button and press again.
If you want to focus elsewhere you need to lift your finger and either recompose or select another AF point before depressing the shutter release again.
If you use single AF mode to photographing a moving object you'll find that the camera focuses the lens on the subject at first, but that the subject moves out of focus. Consequently, if you are shooting continuously only the first image will be sharp.
As it name suggests, in continuous AF mode the camera continues to focus the lens for as long as the shutter release button is held down.
This means that provided you keep the active AF point over the subject (many cameras offer a tracking options to help with this) it will be in sharp focus in every shot (within reason).
Reason No. 8 Your Photos Aren't Sharp: Continuous AF selected
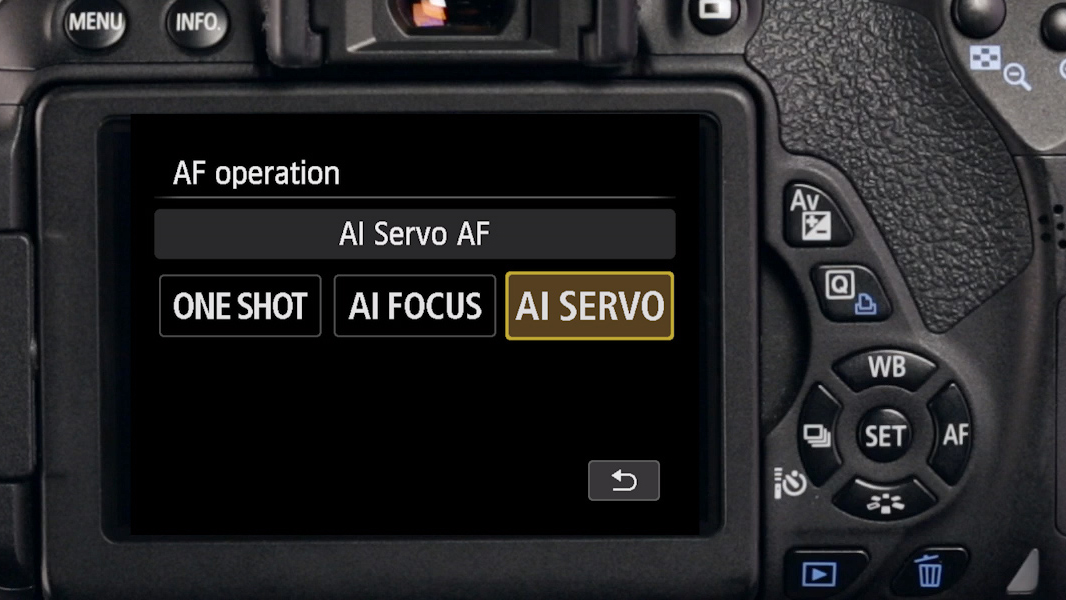
Continuous AF mode is enormously useful when shooting moving objects and provided the subject is under the active AF point it can also be used to shoot stationary objects.
However, if you use the focus-and-recompose technique the camera will refocus the lens as soon as you recompose the image.
So the simple rule is, if you are going to focus and recompose, make sure the camera is set to single AF mode.
Reason No. 9 Your Photos Aren't Sharp: Depth of field too shallow

With a few creative exceptions, when you're shooting landscapes you usually want the image to be sharp throughout the whole scene, from the foreground to the background. This requires using a small aperture to get lots of depth of field.
Using a small aperture and a low sensitivity setting for maximum detail and sharpness means also using a fairly slow shutter speed, making a tripod essential.
- Learn more: Depth of field explained
Reason No. 10 Your Photos Aren't Sharp: Aperture too small
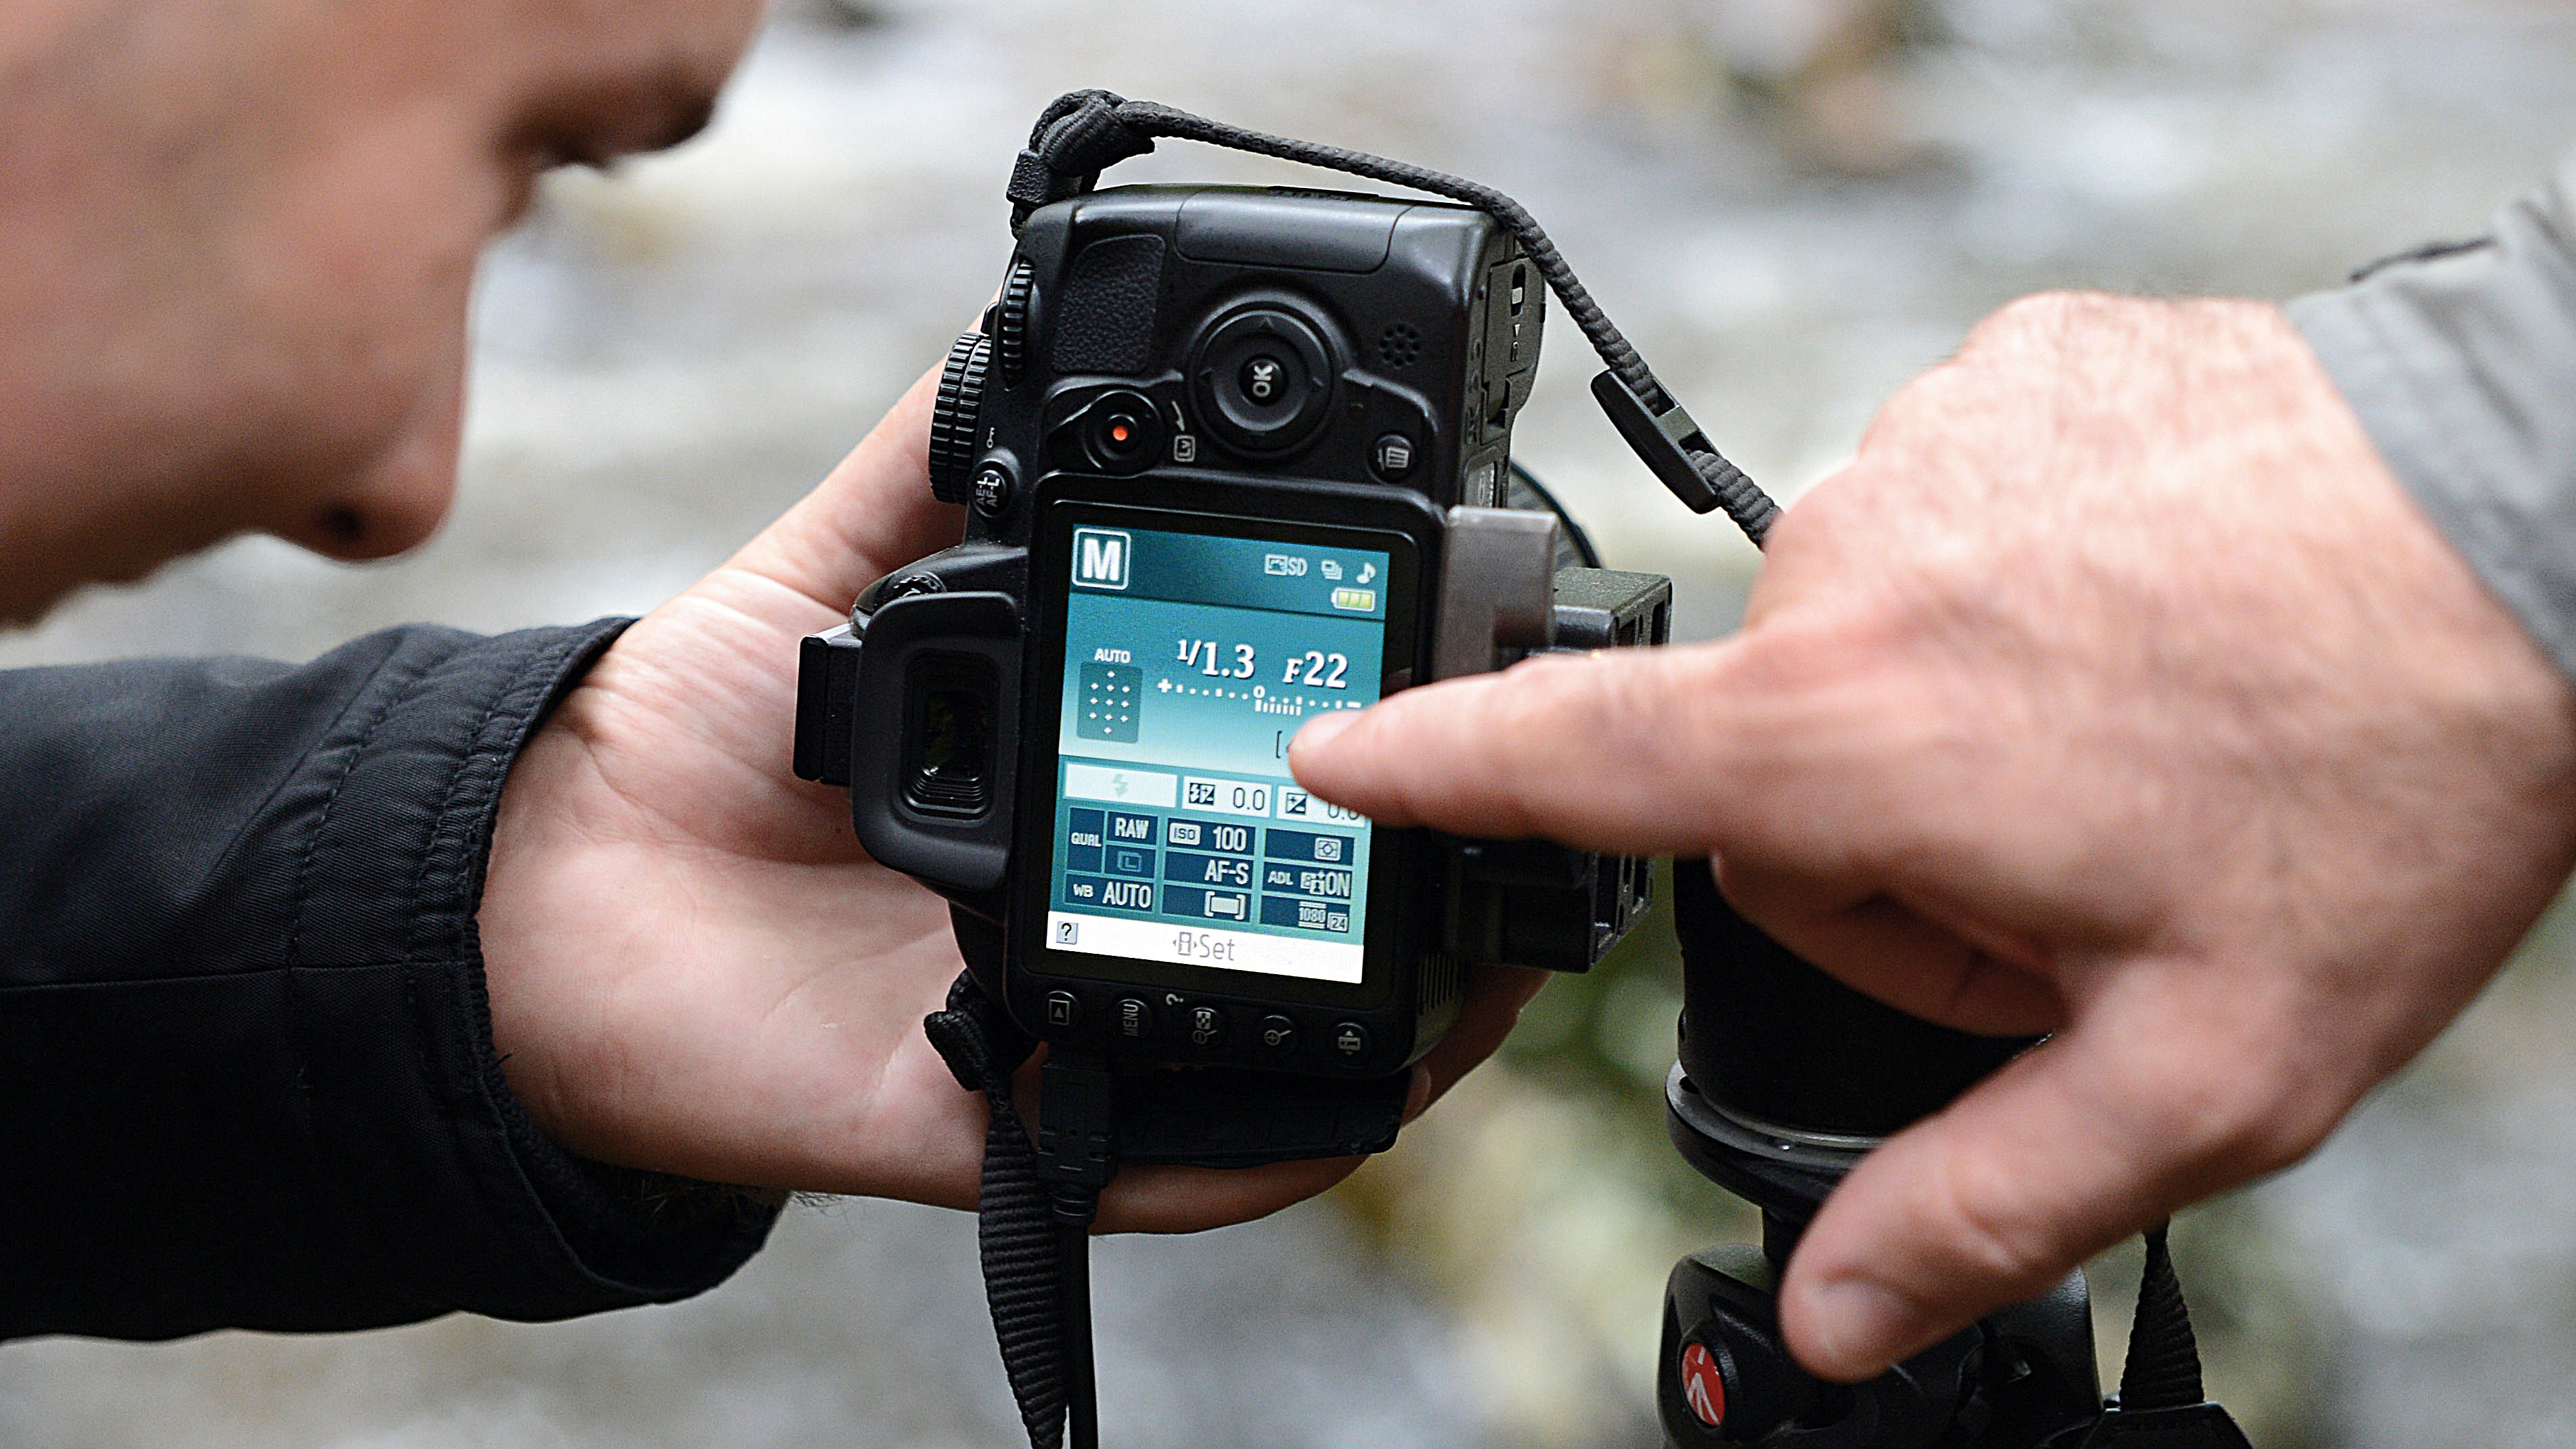
Although using a small aperture increases depth of field (the size of the focused area in the shot) it also increases the impact of diffraction, the bending of light as it passes over the edge of the aperture blades.
This bending prevents the light from focusing on the sensor and thus softens the image. The smaller the aperture, the greater the proportion of unfocused light reaching the sensor, so the greater the softening effect.
This means that there is a compromise between depth of field and sharpness. Rather than closing the aperture right down to its minimum setting, it's better to open up by stop or two.
To discover how aperture size influences sharpness with your lenses, set your camera up on a tripod and focus on an object with lots of detail. Then take a shot at every available aperture setting.
When you've finished transfer the images to your computer and examine them at 100% on the computer screen.
Look carefully at the point of focus and you'll see that the images go from being a little soft when the aperture is wide open, to being progressively sharper as the optimum aperture is approached.
Beyond this the image becomes softer again as diffraction becomes more of an issue.
- Learn more: The A to Z of Photography: Aperture