10 ways to supercharge your Canon DSLR camera
Canon user? Arm yourself with these tips
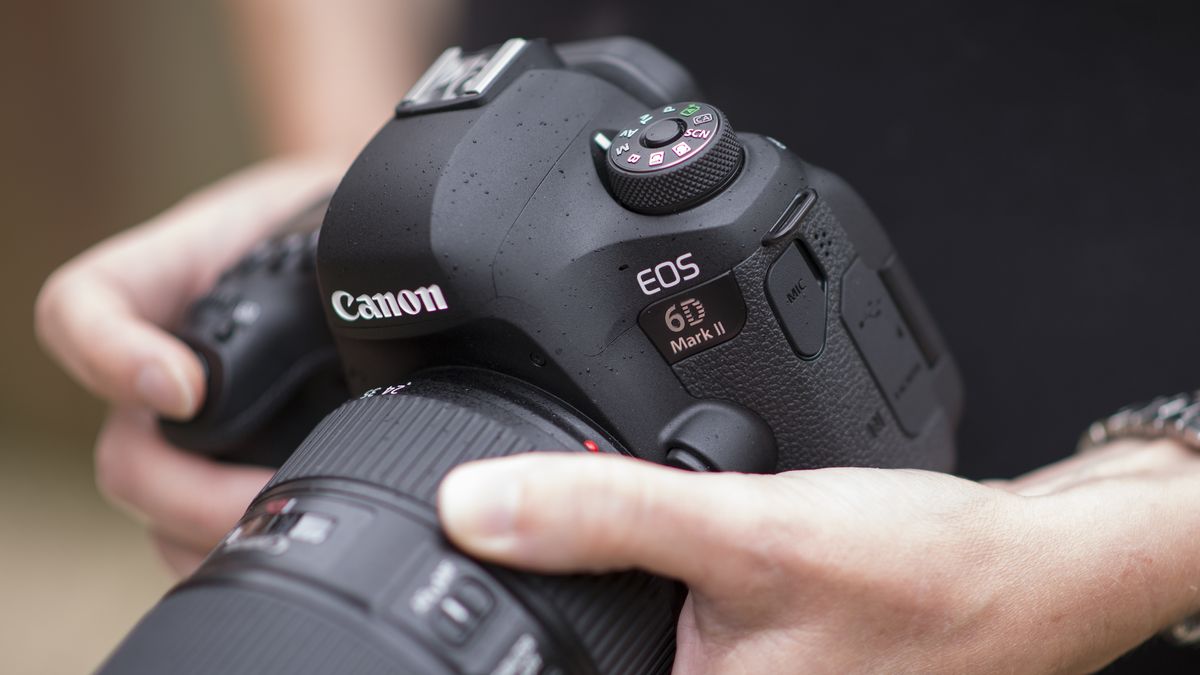
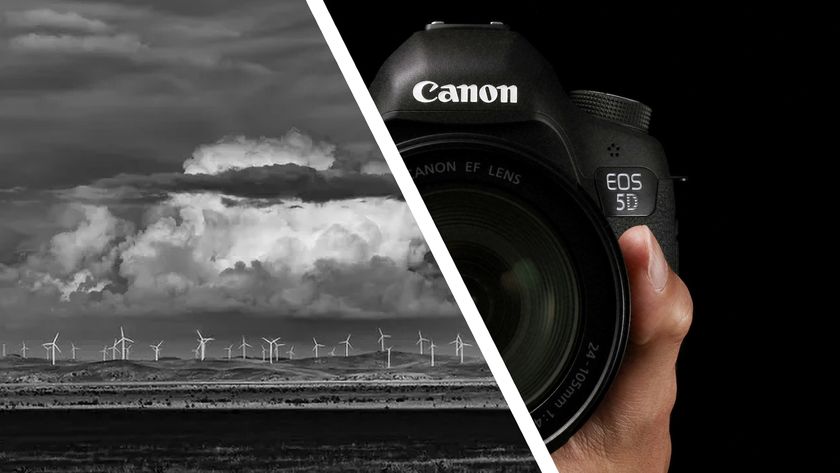
Canon’s most recent DSLRs manage to pack a wealth of tricks and customisations into their small bodies. Even models aimed at a more junior audience are now far more capable than we would expect, but the flipside of this is that there’s a good chance they’re not quite set up to your liking straight out if the box.
In other words, a little tweaking and digging around the menus can get them working smarter for you. From shooting faster and getting more accurate colours in camera to knowing your batteries and having the control you need to hand, here’s what you need to know to get your EOS DSLR working as best as possible. We’ve based this on the recent EOS 6D Mark II model, but these tips will be equally applicable to many of Canon’s other DSLRs.

1. Retain warmth with the Ambience Priority option

When you consider that it has to adjust itself for every image you take, you realise just how much of a godsend auto white balance is, but there may be a handful of occasions where it doesn’t quite nail the ambience of the scene and leaves it a little too cool.
Fortunately, Canon’s most recent cameras will typically let you retain the convenience of auto white balance while keeping the warmth of ambient light. Head to the White Balance option in the main shooting menu and set it to Auto, before pressing the Info button. You’ll now have two options: White Priority and Ambience Priority, and it’s the latter that’s ideal when you want to retain the look and feel of candlelight or any other warm sources that may otherwise be lost.

2. Pimp your viewfinder
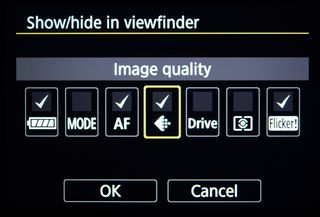
Canon’s Intelligent Viewfinder technology gives you a whole heap of extra information while you have the camera up to your eye, but you may not realise this at first because much of it is not enabled by default.
Head to Viewfinder Display in the Tools menu and you’ll be able to bring up notifications for battery life, drive mode, image quality and a handful of other things. This is also where you can enable a grid and electronic level to help you compose with precision.

3. Instantly jump to 100% when playing back images
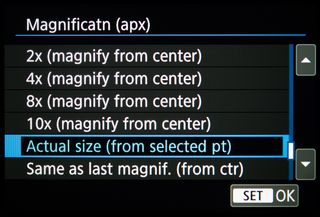
Often when reviewing images, the first thing you want to do is jump to a 100% view of the subject on which you focused to check you captured it sharply. To get to this point, however, you'll typically have to keep zooming in, and even then it’s not clear where 100% actually is.
Get daily insight, inspiration and deals in your inbox
Sign up for breaking news, reviews, opinion, top tech deals, and more.
If your camera has a magnify button, you can easily get around this by heading to Magnificatn (apx) in the Playback menu and selecting Actual Size (from selected point). Once this is done, just hit the magnification button when playing back your shots and you’ll jump straight to the image at its full size.

4. Optimise your camera for burst shooting

Many things can slow down the rate and length of continuous bursts, so it’s helpful to know what these are before the action presents itself.
The most important thing is to use a memory card with fast write speeds. If you camera uses SD-type cards and supports the UHS-II standard, use these cards. If if doesn’t, UHS-I cards will be fine, but check the write speed of the card, as the number on the card itself may be the read speed rather than the write speed. Some cards have both written on them, otherwise you may want to check this on the card manufacturer's website. A card that’s empty and formatted, rather than one that’s already partly filled, will also give you the best starting point.
On the camera itself, you’ll be able to capture more images at the same rate if you shoot JPEGs rather than Raw files, but sometimes you’ll no doubt want both. Cameras vary in how quickly they can process images, but as a general rule, turning off extra processing options like noise reduction and lens corrections is also advised.

5. Get to know your batteries
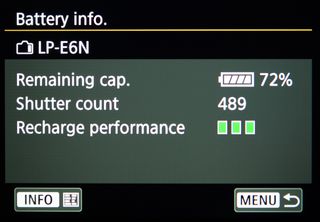
Got a number of batteries and not sure which is in the healthiest condition? Batteries don’t last forever and at some point they might not allow themselves to be charged – and that’s the last thing you need if you’re shooting somewhere where obtaining another isn’t easy.
Fortunately, you can quickly check the health of every battery you own through the Battery info. option in the Tools menu. Make your fittest the one you rely on and maybe place a mark or sticker on your least healthiest so that you only use it after the others.

6. Stop colour channel clipping

Most people are aware of how the histogram can help them to judge exposure and prevent information from being lost, but the purpose of the red, green and blue histograms may be a mystery. For most images you probably won’t need to use these, but it’s well worth knowing their power if you ever shoot particularly vibrant subjects.
It’s easy, for example, to capture flowers that end up lacking finer details on their petals, but using the red, green and blue histograms gives you an idea of whether this detail is being lost. This can then help you to work out whether to adjust your exposure, saturation or white balance settings in camera to get a more detailed result.
To enable this, simply head to the Playback menu and find the Histogram disp option before selecting the RGB setting. Now, when you press the Info button when playing back images, those three histograms should pop up to the side of the shot.

7. Organise your images into separate folder in camera
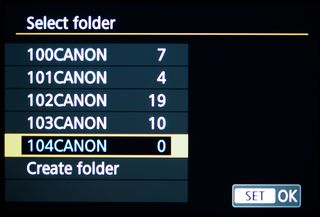
You may want to sort your images into separate folders once they’re on your computer, but did you know you can do this in your camera too? Select Folder is the first option in the Tools menu, and this gives you the option to start new folders as and when you need to. While Canon doesn’t offer control over the names of the folders, these can be quickly renamed once they’re on your computer.

8. Attach your details to every image
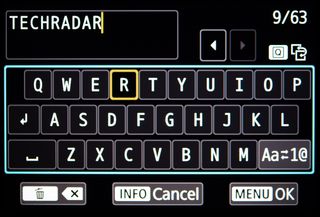
Concerned someone may steal your images online? Want to make sure your contact details are appended to every image you capture? Head on to the Copyright information option in the Tools menu and you can add your name, the year, your email address and even your website. Every image you take from this point on will now have these details embedded. Just make sure to change the year on January 1st!

9. Use AF Microadjustment to boost focusing accuracy

It’s common for lenses to focus very slightly in front of or behind where you actually need them to, and this can be particularly problematic at wider apertures, where depth of field is very shallow and mis-focusing is easier to spot.
Fortunately, there’s a quick fix. Located in the Autofocus section of the Custom menus, AF Microadjustment allows you to tweak where the a lens focuses in fine increments. You can apply the same amount for every lens you use, although it’s a good idea to do this on a lens-by-lens basis for best results. Conveniently, once you register each lens for adjustment, it will recognise them immediately and apply corrections automatically.

10. Make portrait images fill the whole screen
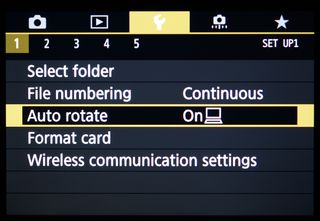
Images captured in a landscape orientation at standard settings tend to fill the whole LCD screen on Canon's DSLRs, but around half of the screen is left empty when displaying images captured in a portrait orientation. While convenient in that it stops you from having to always rotate your camera as you browse your shots, it can be annoying if you tend to capture more portrait-orientation images than landscape ones.
Most recent cameras have three Auto rotate options in the Tools menu marked by icons. The first is for auto-rotate on the camera and computer, while the second is for auto rotate only on the computer and the third sees auto rotate deactivated. The middle option is arguably the most useful, as it will allow you to view portrait images using the full dimensions of the camera’s LCD screen while retaining their portrait orientation once you import them onto your computer.

