Flash photography made easy: from simple shots to advanced techniques
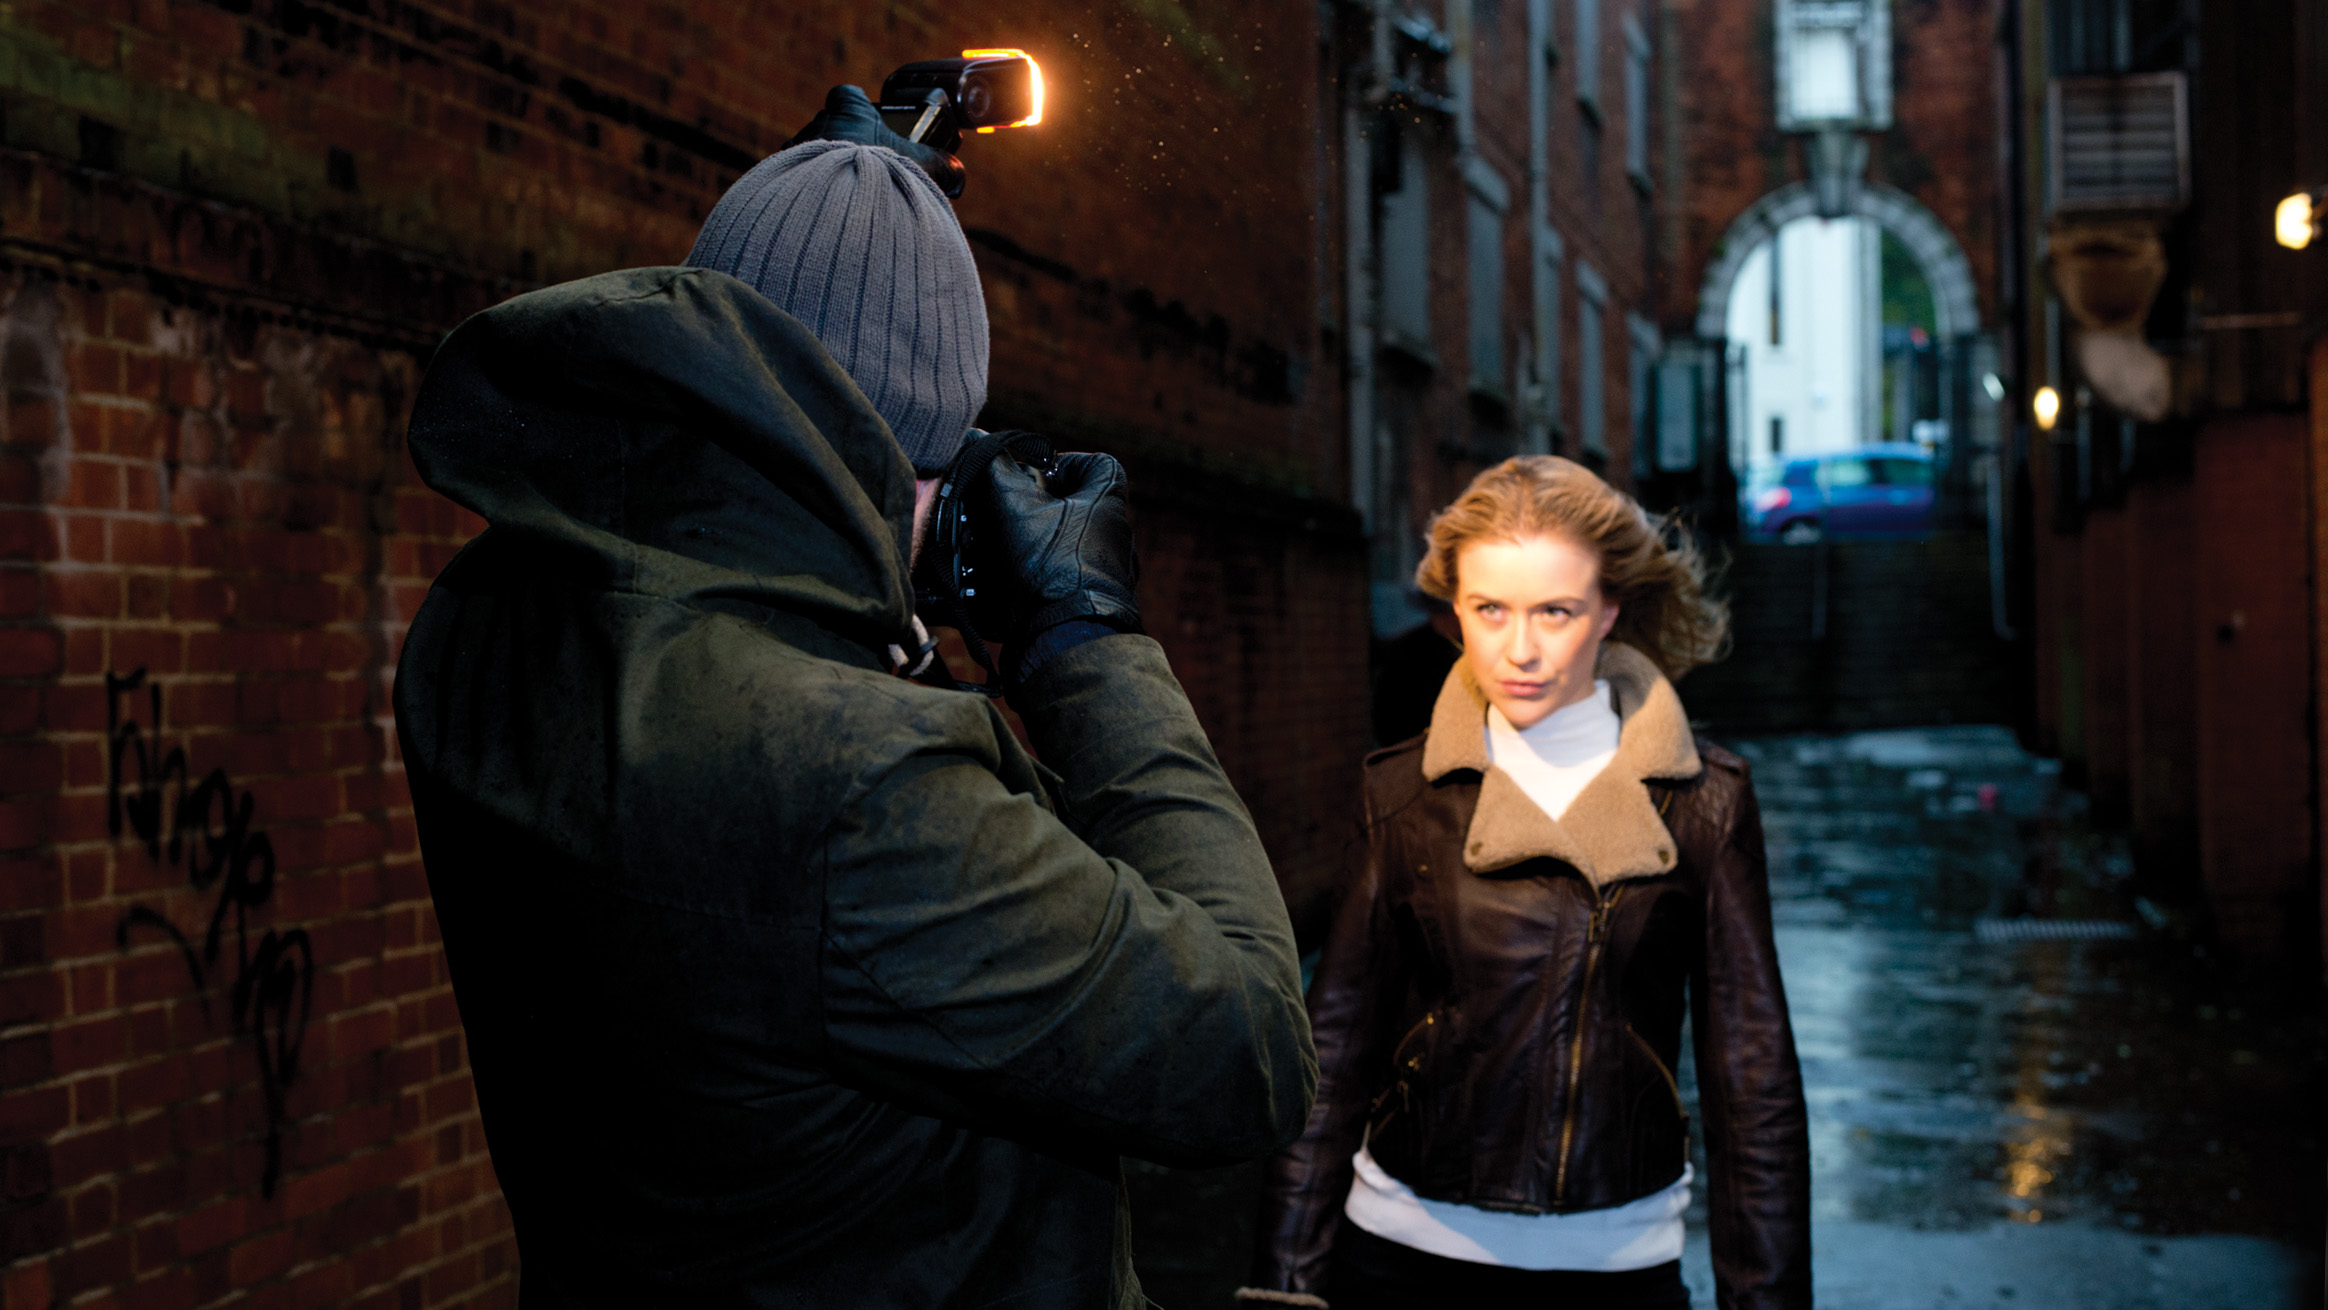
Move beyond the limitations of natural light to illuminate your subjects anywhere, and at any time of the day. Whether you’re simply illuminating your subject, capturing slick studio style lighting or adding a creative twist to your images, flash is one tool that can do them all.
At its most basic level, flash is a way of adding light to a scene or situation when it's dark or light levels are too low. But it can also be an incredibly creative tool when combined with slow shutter speeds, or the flash is controlled using light modifiers such as softboxes to produce more controlled lighting effects.
Flash can be as simple or as complex as your skills, knowledge and creative ambitions require, and here is everything you need to know to get started with pop-up flash, flashguns and basic off-camera flash.
Basic flash exposure
When using flash, the easiest way to think about how it affects exposure is that aperture controls the flash exposure, shutter speed takes care of ambient light, and ISO enables you to use a faster or slower shutter speed. So, you can combine a faster shutter speed with flash for a darker background, or a slower shutter speed for a more normally exposed background.
With regards to shutter speed, it’s important to remember that cameras have a maximum shutter speed for use with flash, which is usually around 1/200sec and varied between manufacturers so check your camera instructions of you’re unsure. If you select a shutter speed faster than the sync speed you’ll capture a black bar in your images – this is actually the shutter curtain being captured in the image.
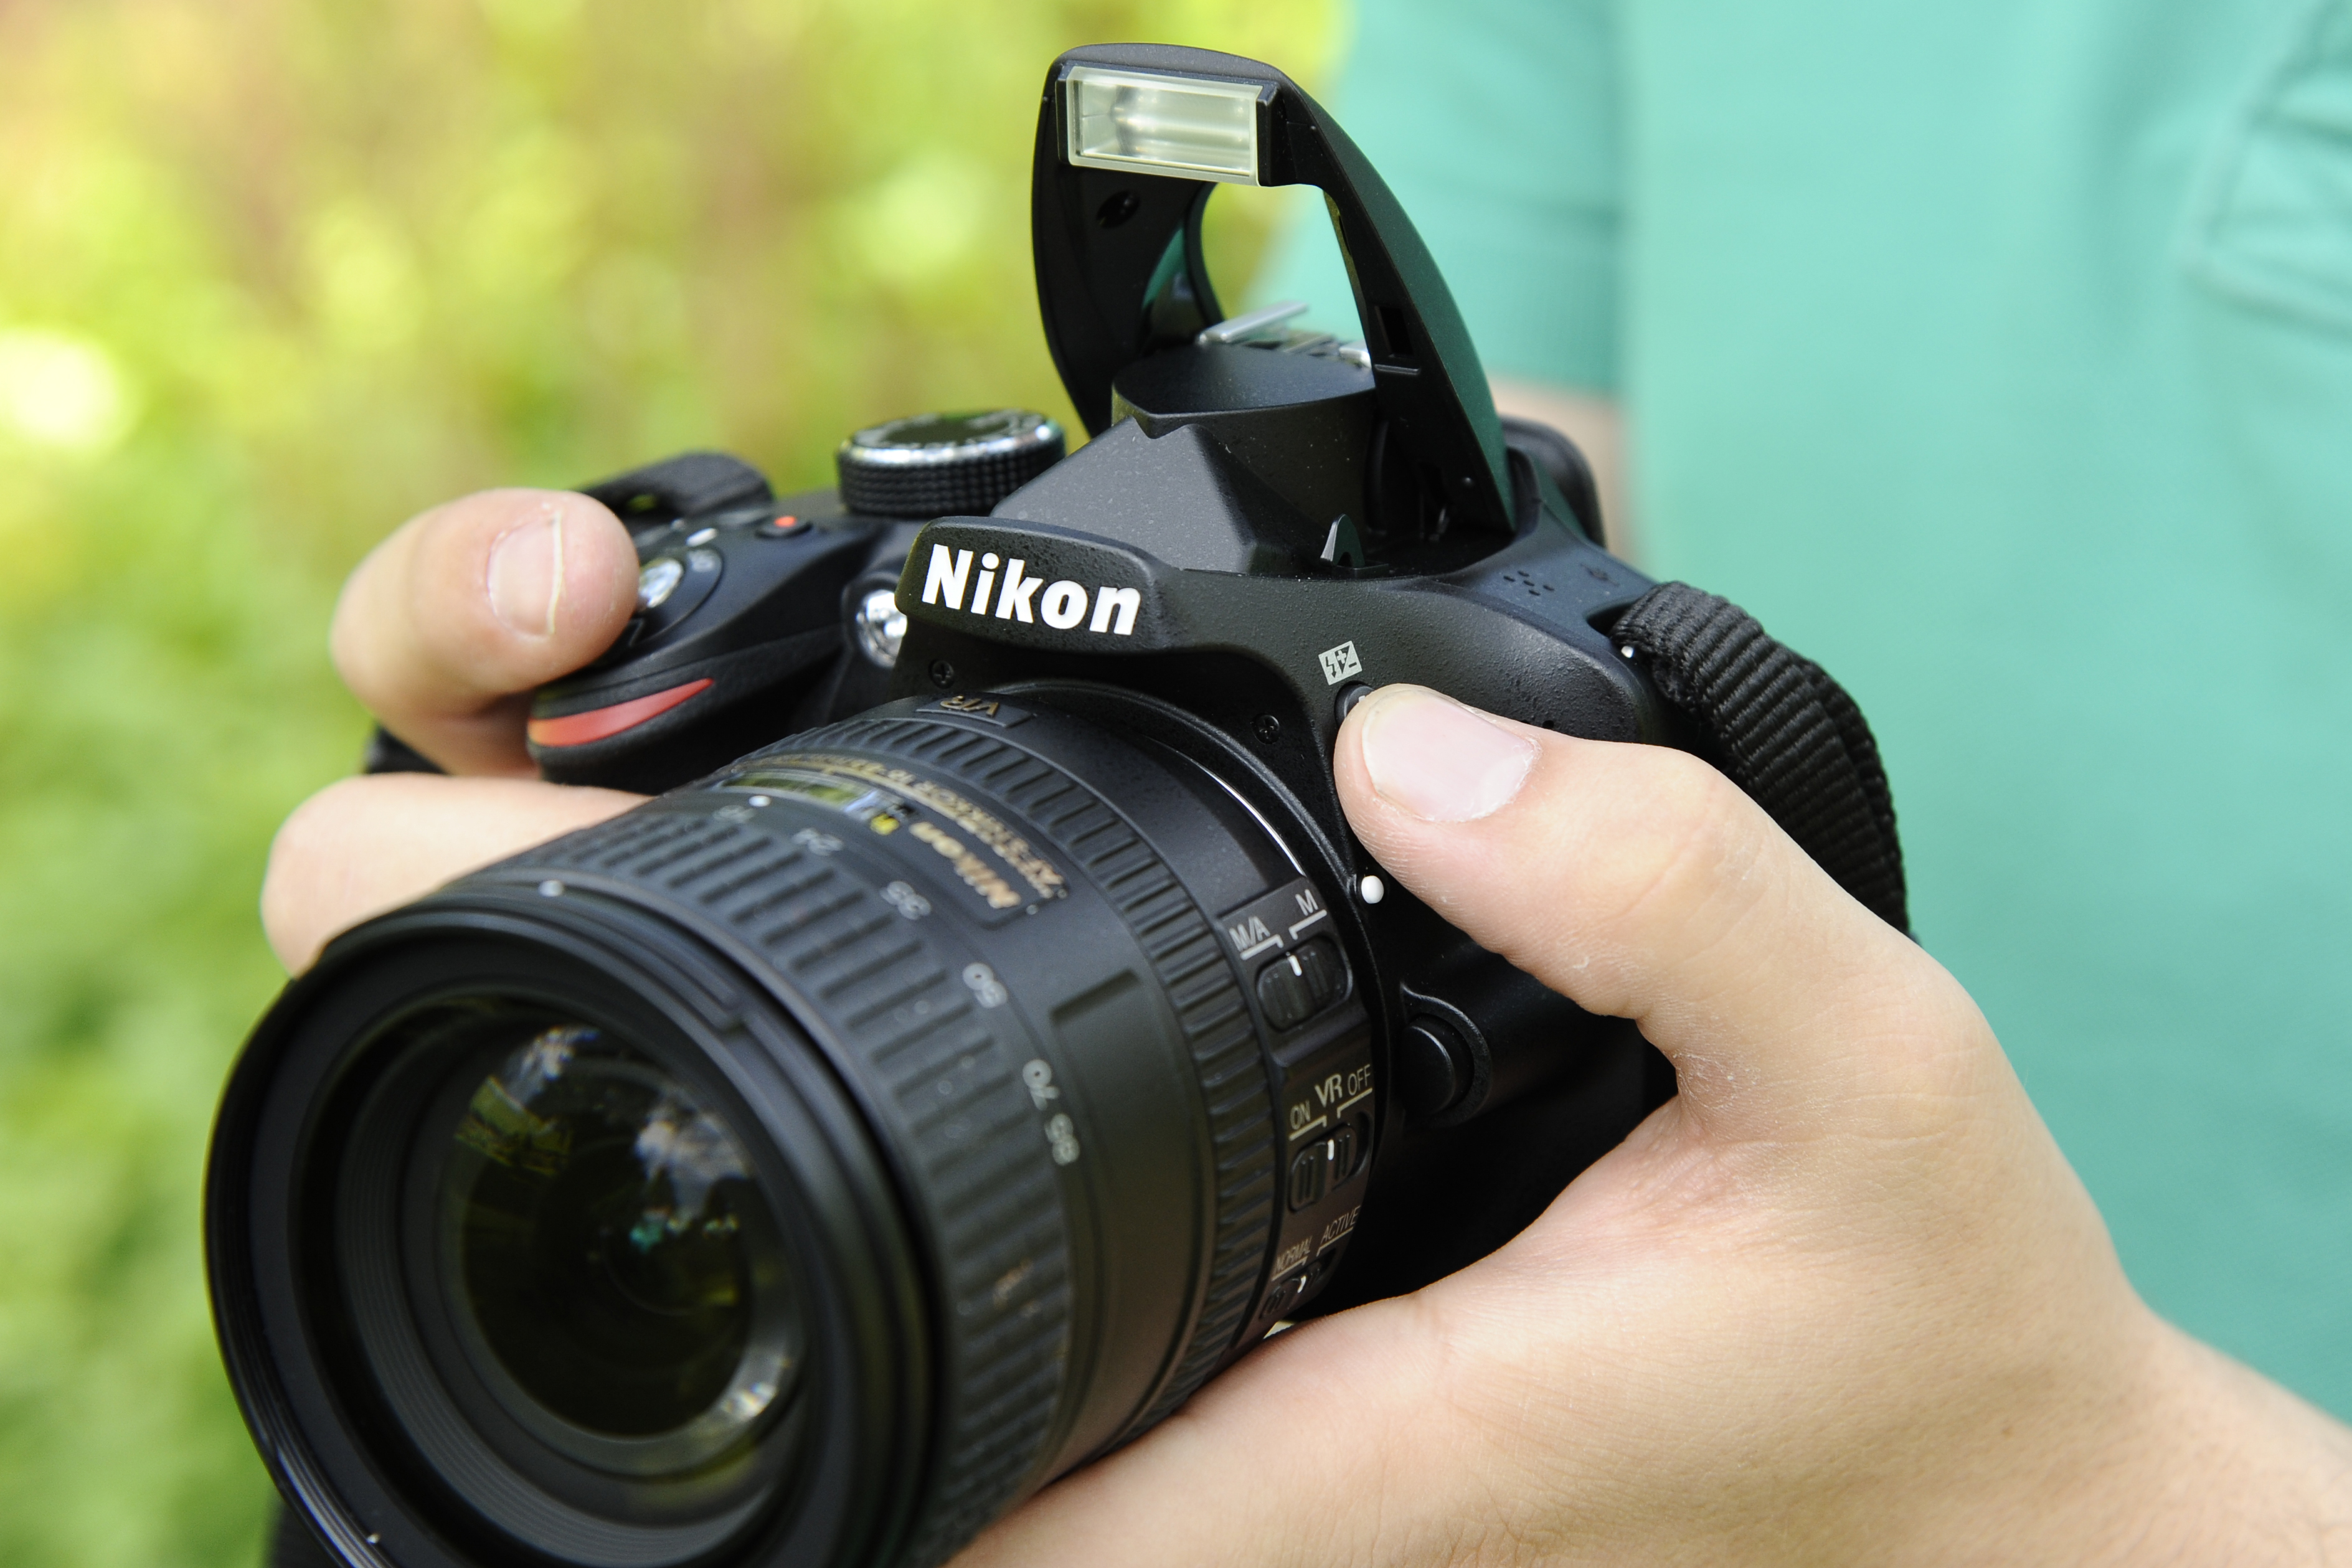
Pop-up flash is the most basic type of flash, and this is simply the small flash that’s built into your camera. As the name suggests, it simply pops up when activated. These are great for lighting group shoots at parties, and adding fill light on bright sunny days, but for serious flash photography a flashgun is a necessity. Here are some of the basic techniques and settings you need to know when using both pop-up flash or a flashgun:
Through The Lens (TTL)
Through The Lens (TTL) flash simply means the flash will meter the scene as usual and adjust flash power output for a correct exposure. This will work in aperture-priority, shutter-priority and even when the camera is set to manual mode. Although for the latter you have to make sure the camera settings are appropriate for the ambient light and effect you wish to achieve.
Sign up for breaking news, reviews, opinion, top tech deals, and more.
Manual
Manual flash is where you manually set the power output of the flash according to the camera settings and desired effect. Most often, you would use manual flash with the camera set to manual exposure mode. Another flash control you can manually set is zoom, and this relates to the focal length of the lens in use. It can also be used to control the spread of light from the flash.
Flash exposure compensation
When shooting with the flash in TTL mode it’s possible that the power output will be set incorrectly.
This purely comes down to the metering and the tones present in the scene. If the shot is too light set the flash exposure compensation to underexpose eg. -1.0, and if it’s too dark set it to overexpose eg. +1.0. Flash exposure compensation can be set in 1/3 stop increments.
Fill-in flash
When shooting outdoors and the sun is casting shadows on to your subject, fill-in flash is a technique used to fill the shadows with flash light to remove them and obtain an even exposure. For this technique, it’s often best to shoot in aperture-priority with the flash in TTL mode. You may also need to use flash exposure compensation to adjust exposure.
Slow sync flash
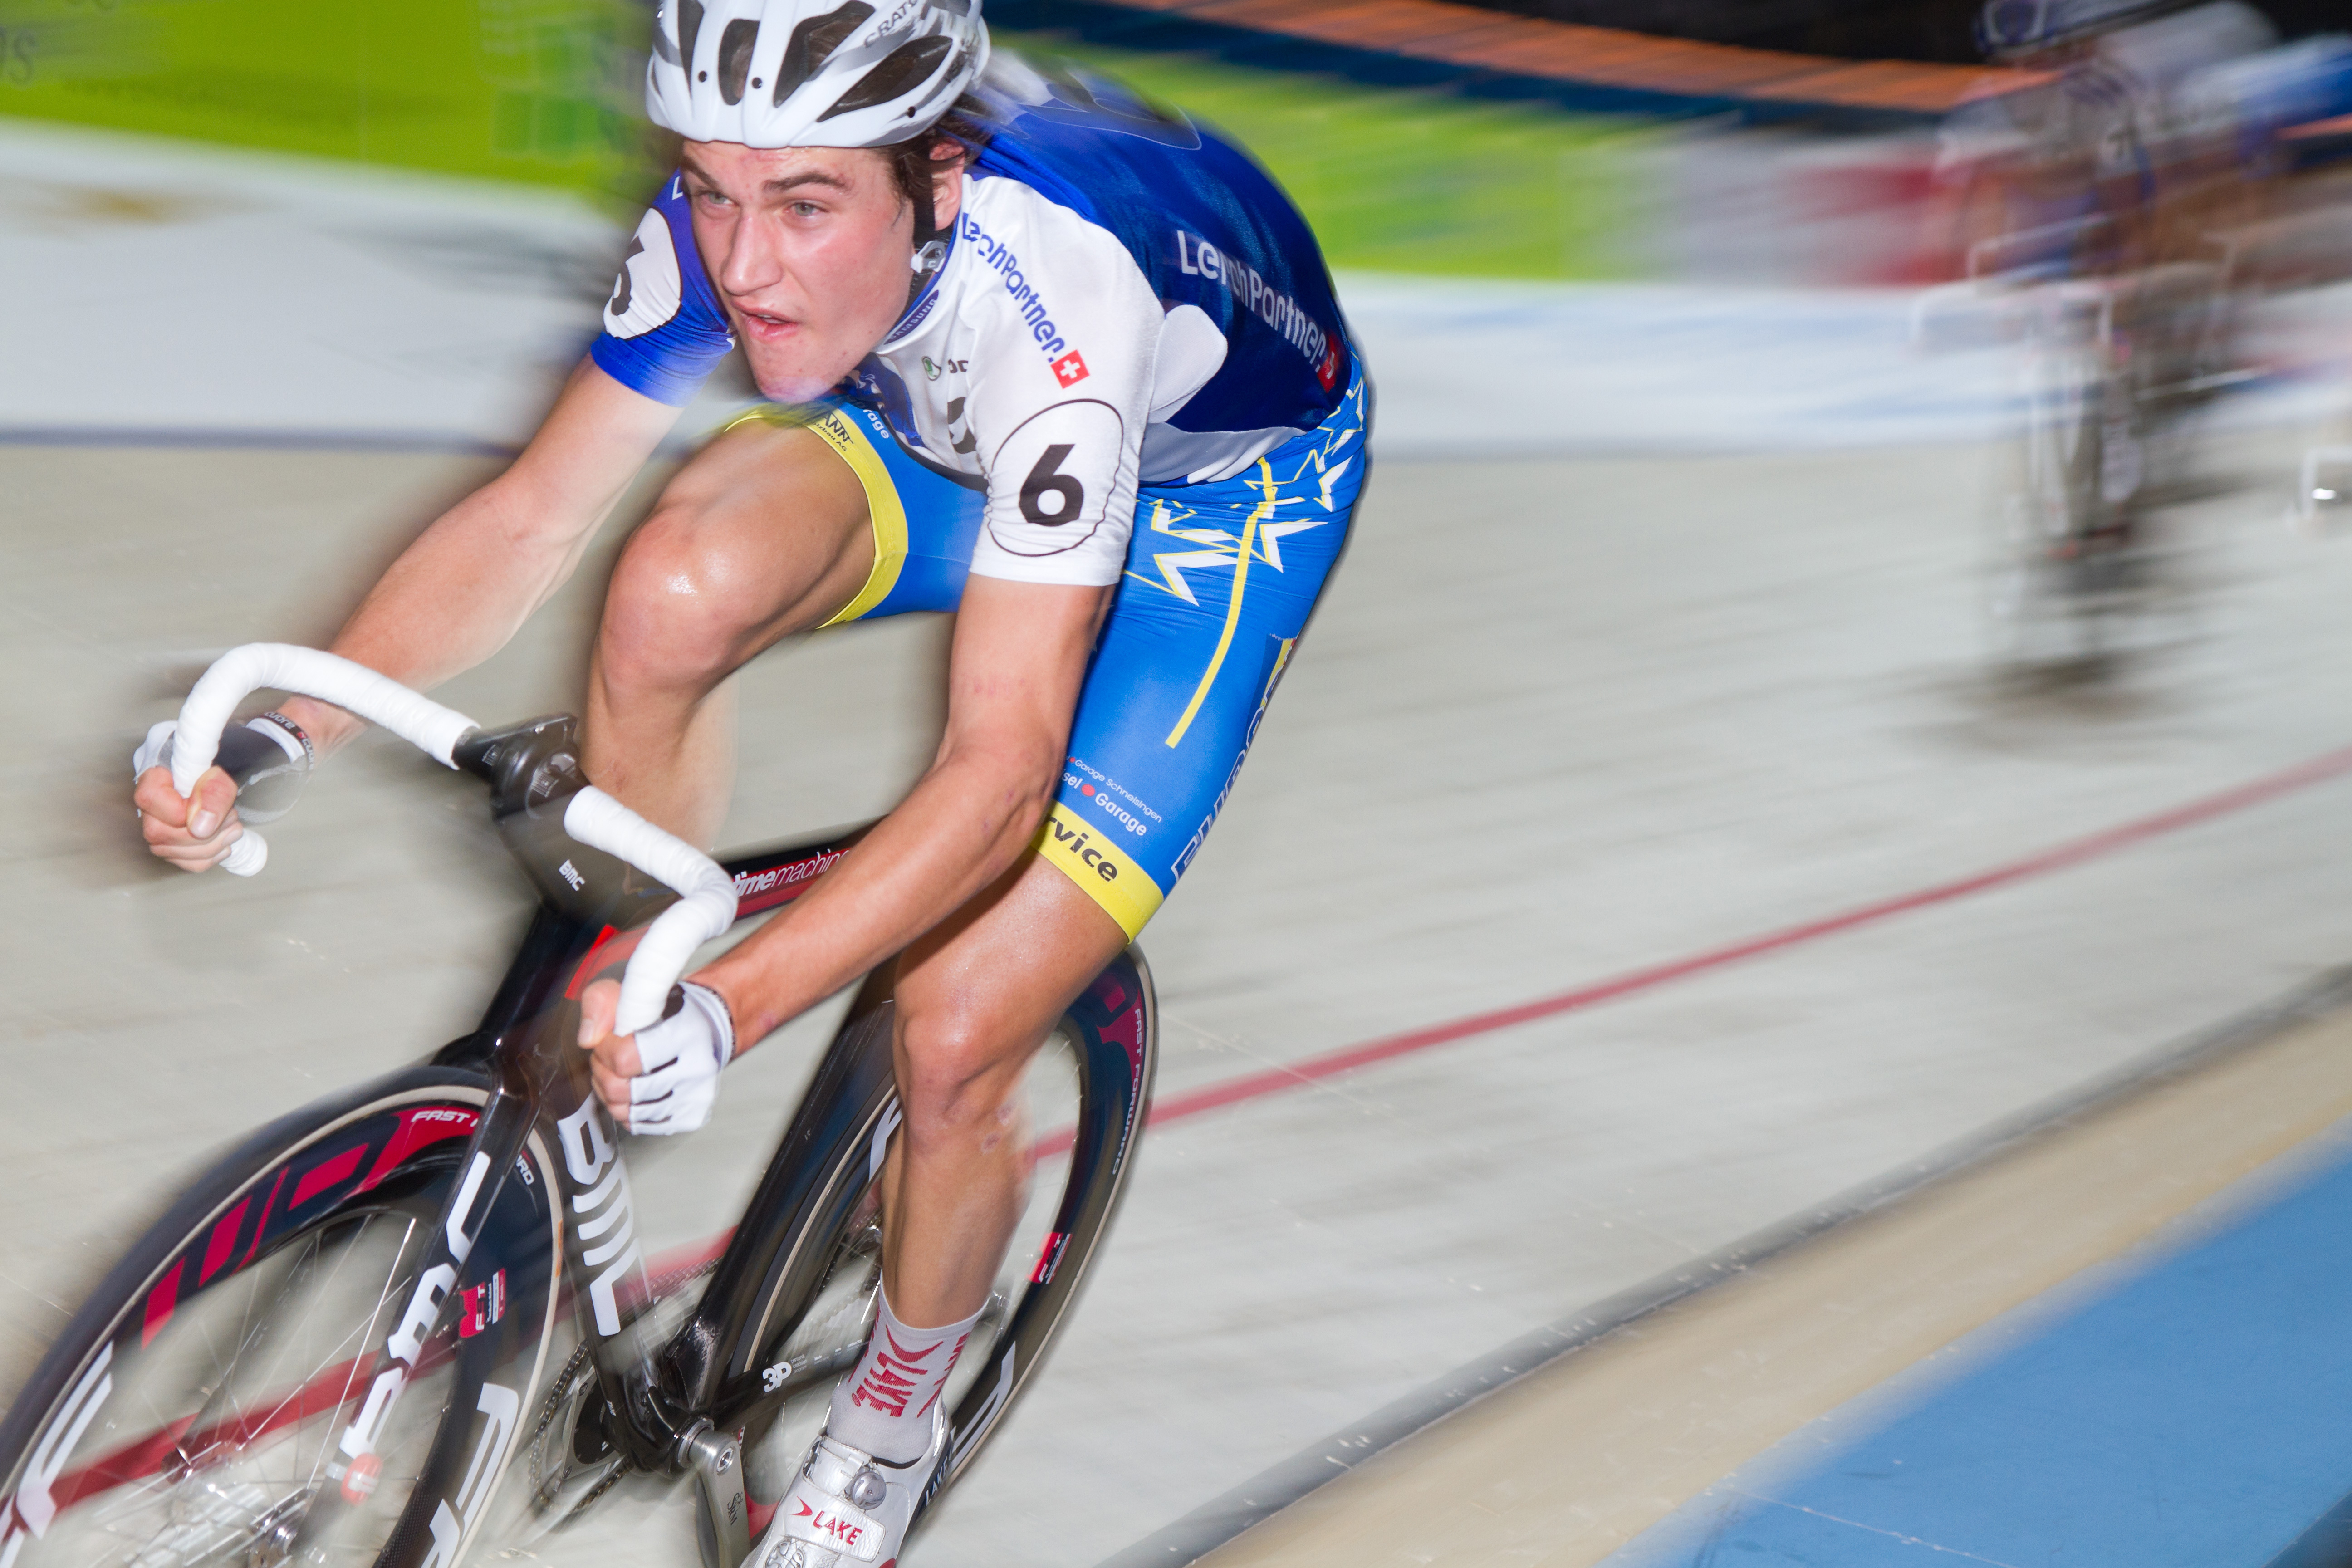
Slow-sync flash is where you use a slow shutter speed, usually between 1/15sec and 1/125sec, depending on the speed of a moving subject to freeze subject movement but maintain background movement. For this rear curtain sync is best because the flash fires at the end of the shutter, rather than at the beginning, which results in a frozen subject with blur behind them.
Red-eye reduction
Red-eye occurs because flash can reflect blood vessels in the retina, which shows up as red disks in the eyes. Red-eye reduction is a setting that fires a pre-flash before the shutter is fired to make the pupils contract when the shutter button is pressed. The shutter is then released and the flash fires to illuminate the subject – this happened in a split second and the result is no red-eye.
Upgrade to a flashgun
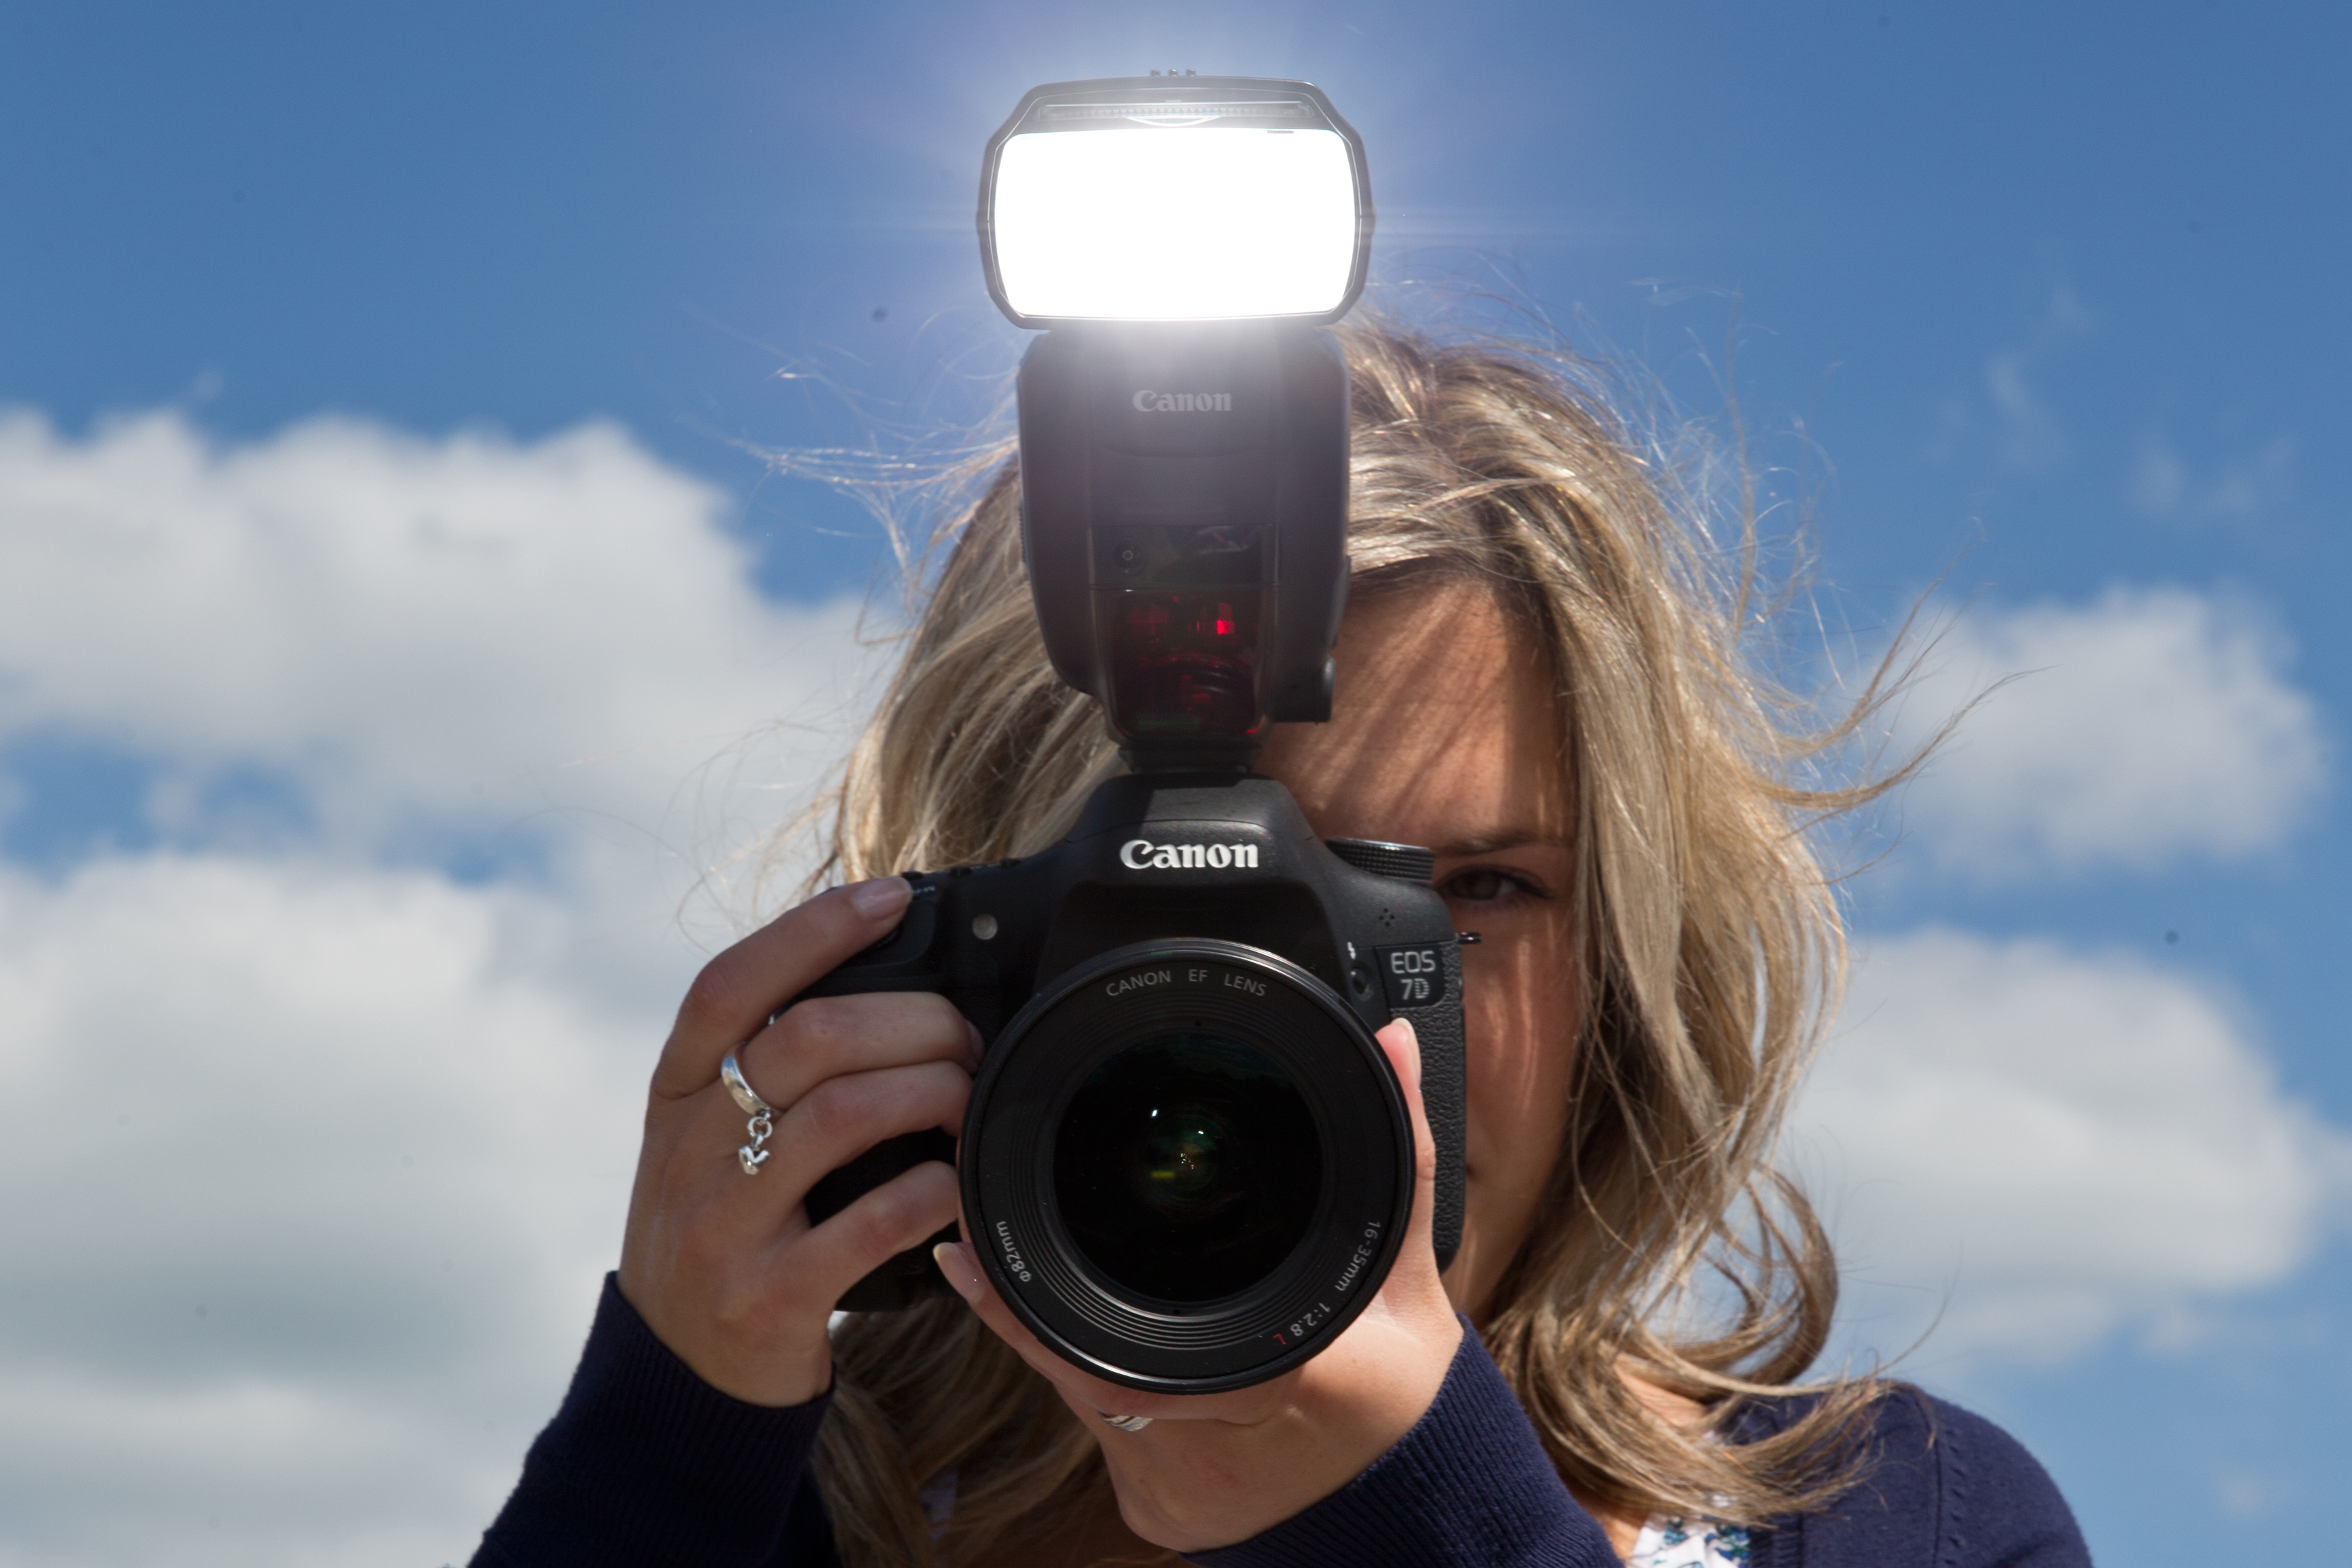
If you find yourself using flash regularly, you'll quickly discover the limitations of pop-up flash.
Namely that their power output is limited and it's nearly impossible to modify the light produced from them. Some people will say that you can modify pop-up flash, and you can certainly soften it.
But beyond this, you really would want to upgrade to an external flashgun. The first and most obvious upgrade reason would be to enjoy more power output, which of course means more light. This ultimately means that you can illuminate subjects that are further away, and still achieve desired aperture settings when using light modifiers that can reduce the amount of light reaching subjects by sometimes up to two stops.
Another advantage of a flashgun is that the head pans and tilts, which means you can aim it up to bounce light off the ceiling to soften it
Another advantage of a flashgun is that the head pans and tilts, which means you can aim it up to bounce light off the ceiling to soften it, or turn the head so the light bounces off a wall or reflector.
The reasons for doing either of these things is to soften light and reduce shadows, and to move away from the obvious characteristics produced by on-camera flash. A more advanced technique is off-camera flash, which is where flashguns are used in the same way as studio flash and often involves light modifiers to create lighting effects.
Light modifiers
Light modifiers are used to control the behaviour of light, which means diffusing the light – making it softer and controlling the way it spreads from the light source and reaches the subject. Light from a bare flashgun is ‘hard’ by its nature, and this means it’s harsh and produces strong shadows and contrast. If you really want to immediately improve your flash photography studio style light modifiers are a necessity. Here are some of the basic options worth considering.
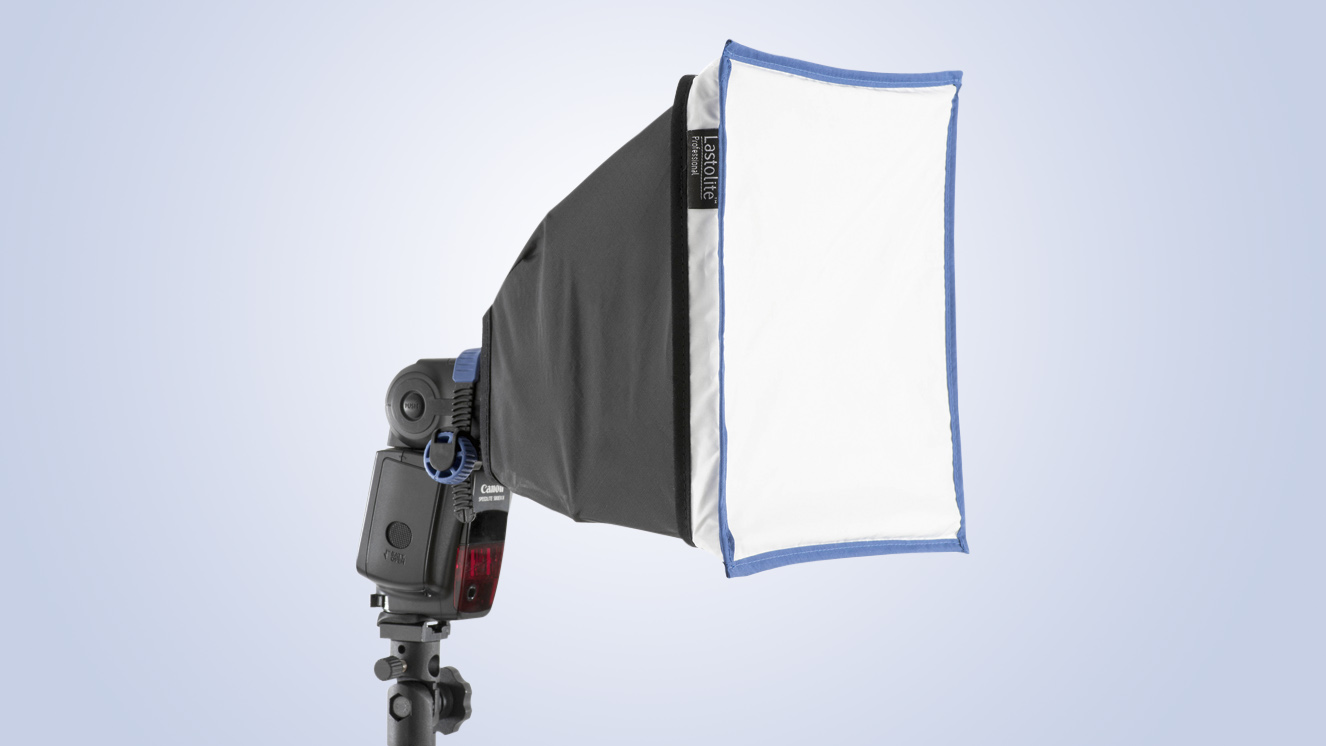
Lastolite EzyBounce
The Lastolite EzyBounce by Manfrotto is a bounce card that can be manipulated to direct light towards the subject without the flash being aimed directly at it. The modifier can be shaped so that light is directed up to the ceiling to bounce back down, or bounced within the modifier itself.
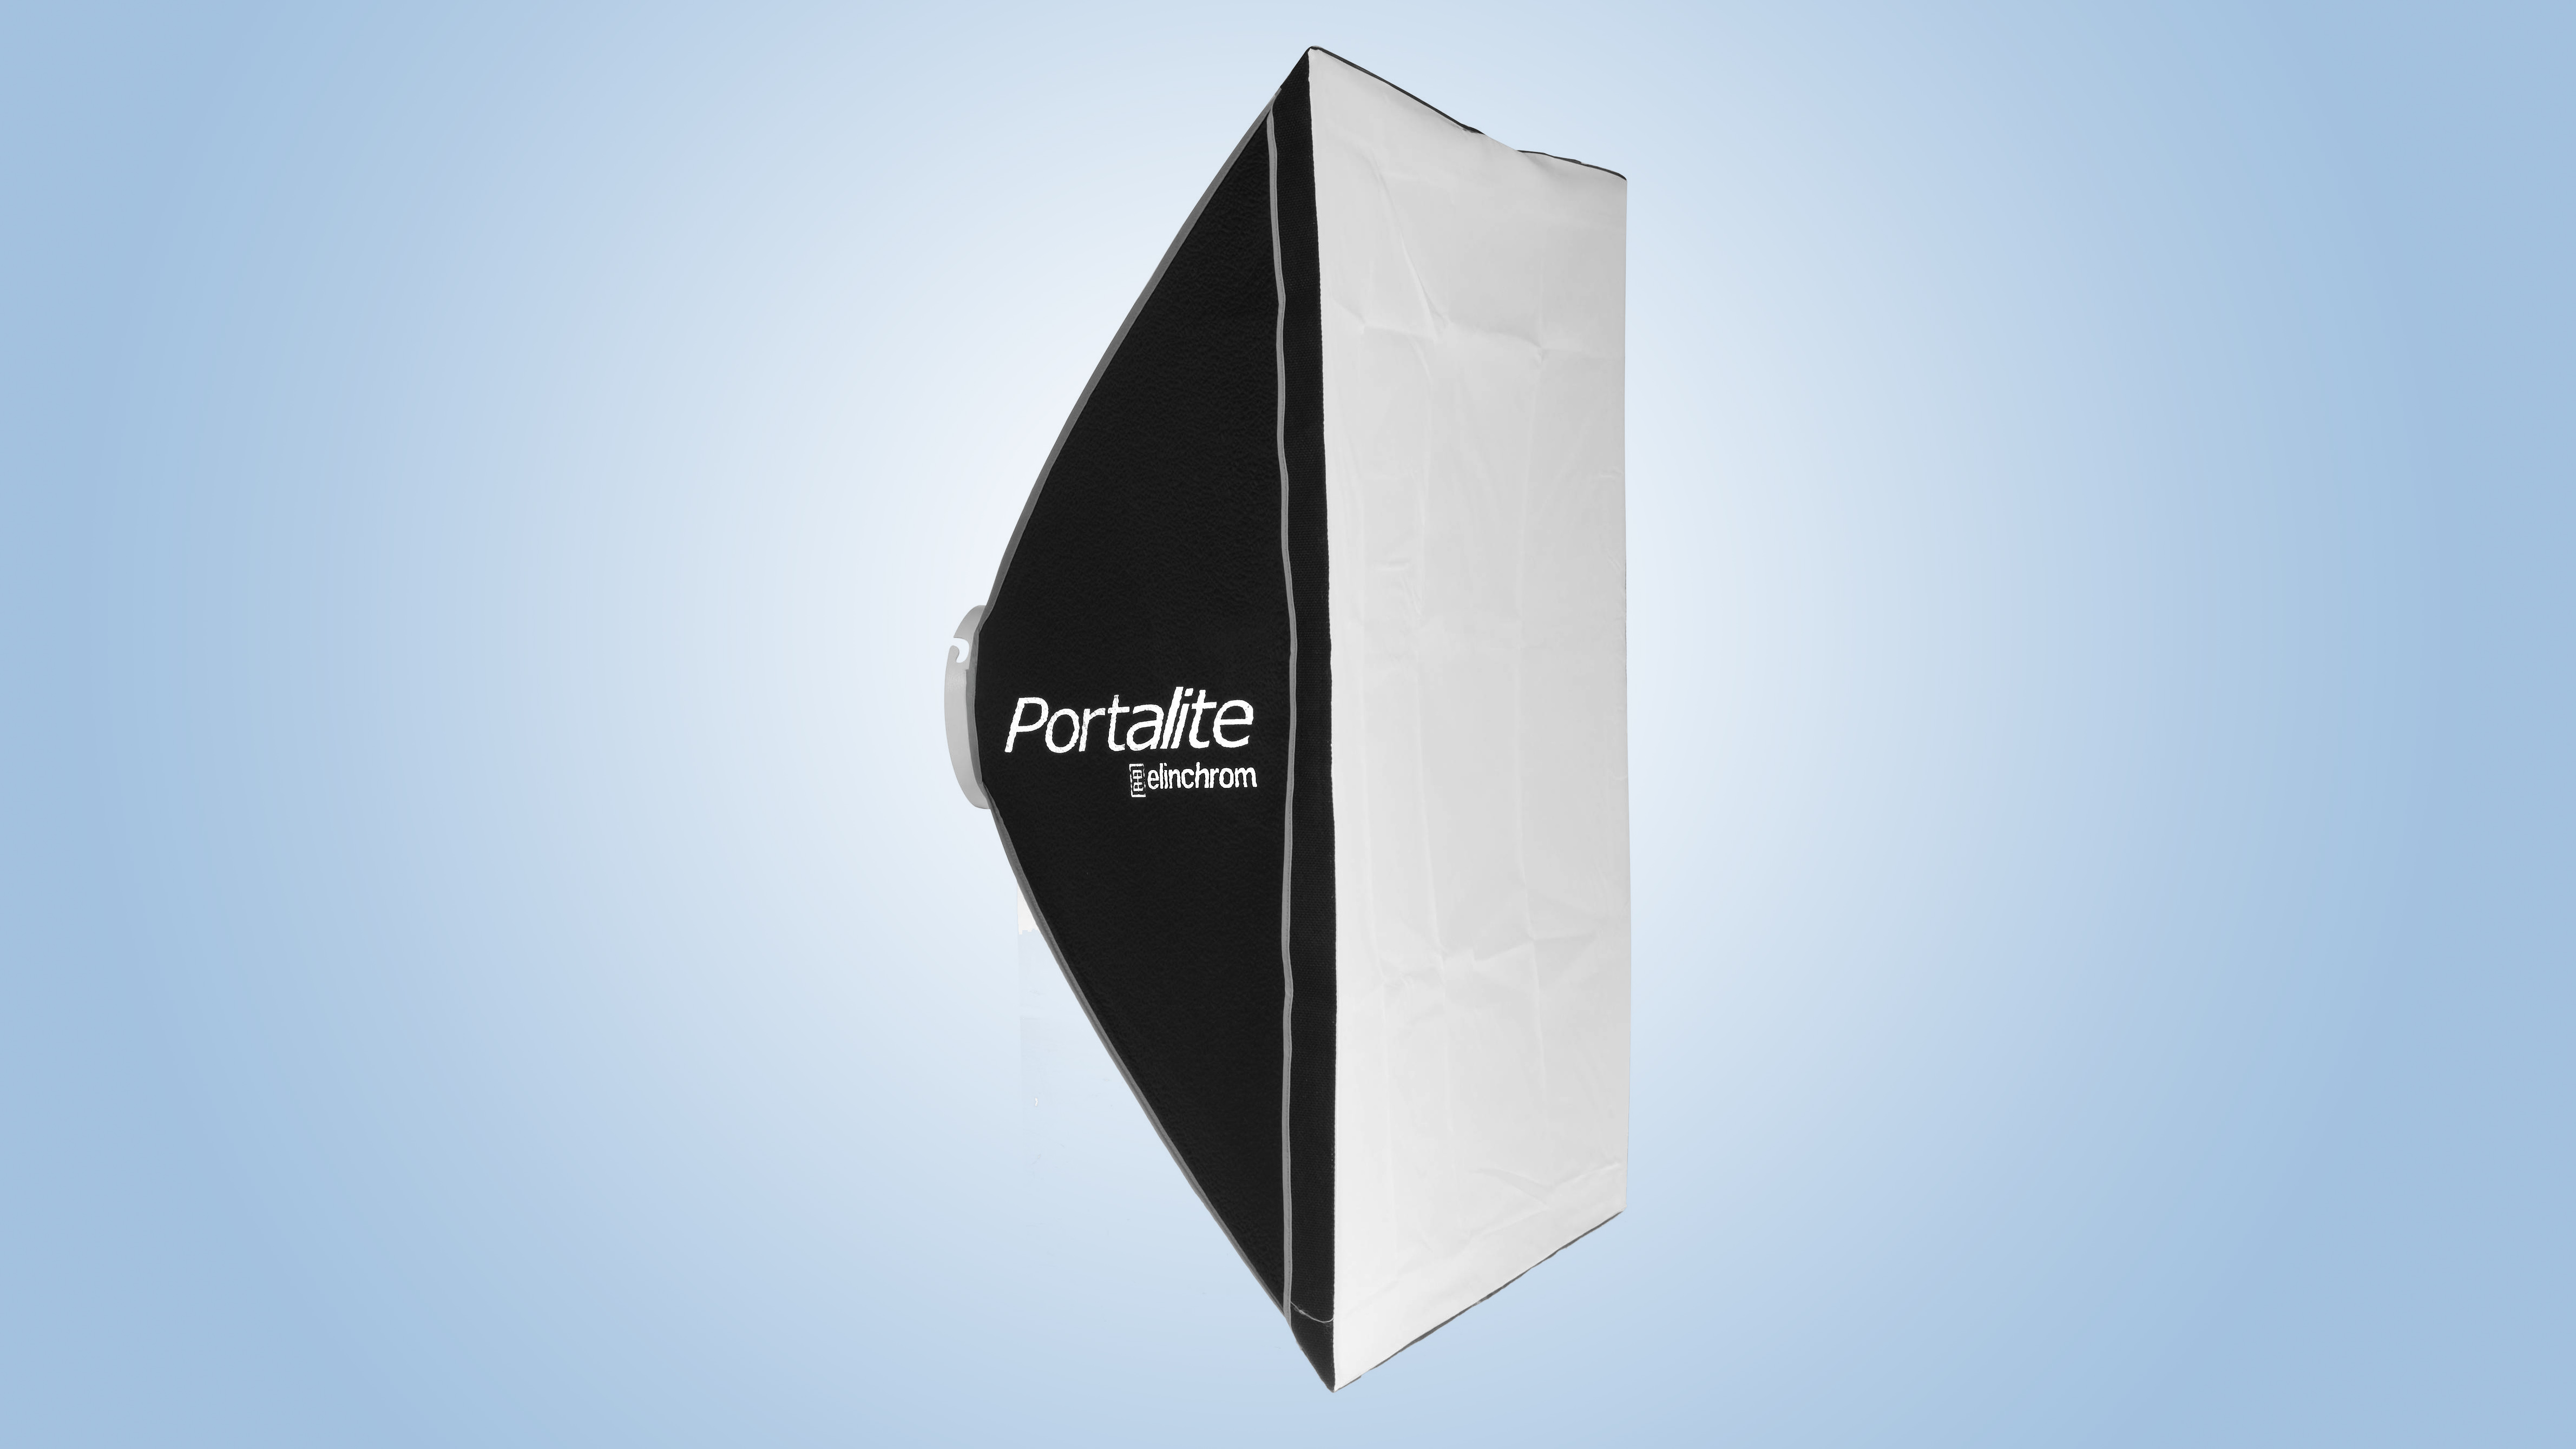
Softbox
Softboxes come in a range of shapes and sizes and are one of the most effective and popular modifiers available. Softboxes soften light to reduce contrast and reveal more detail on the subject than bare flash. Softbox shapes include octagonal, square, rectangle and strip.
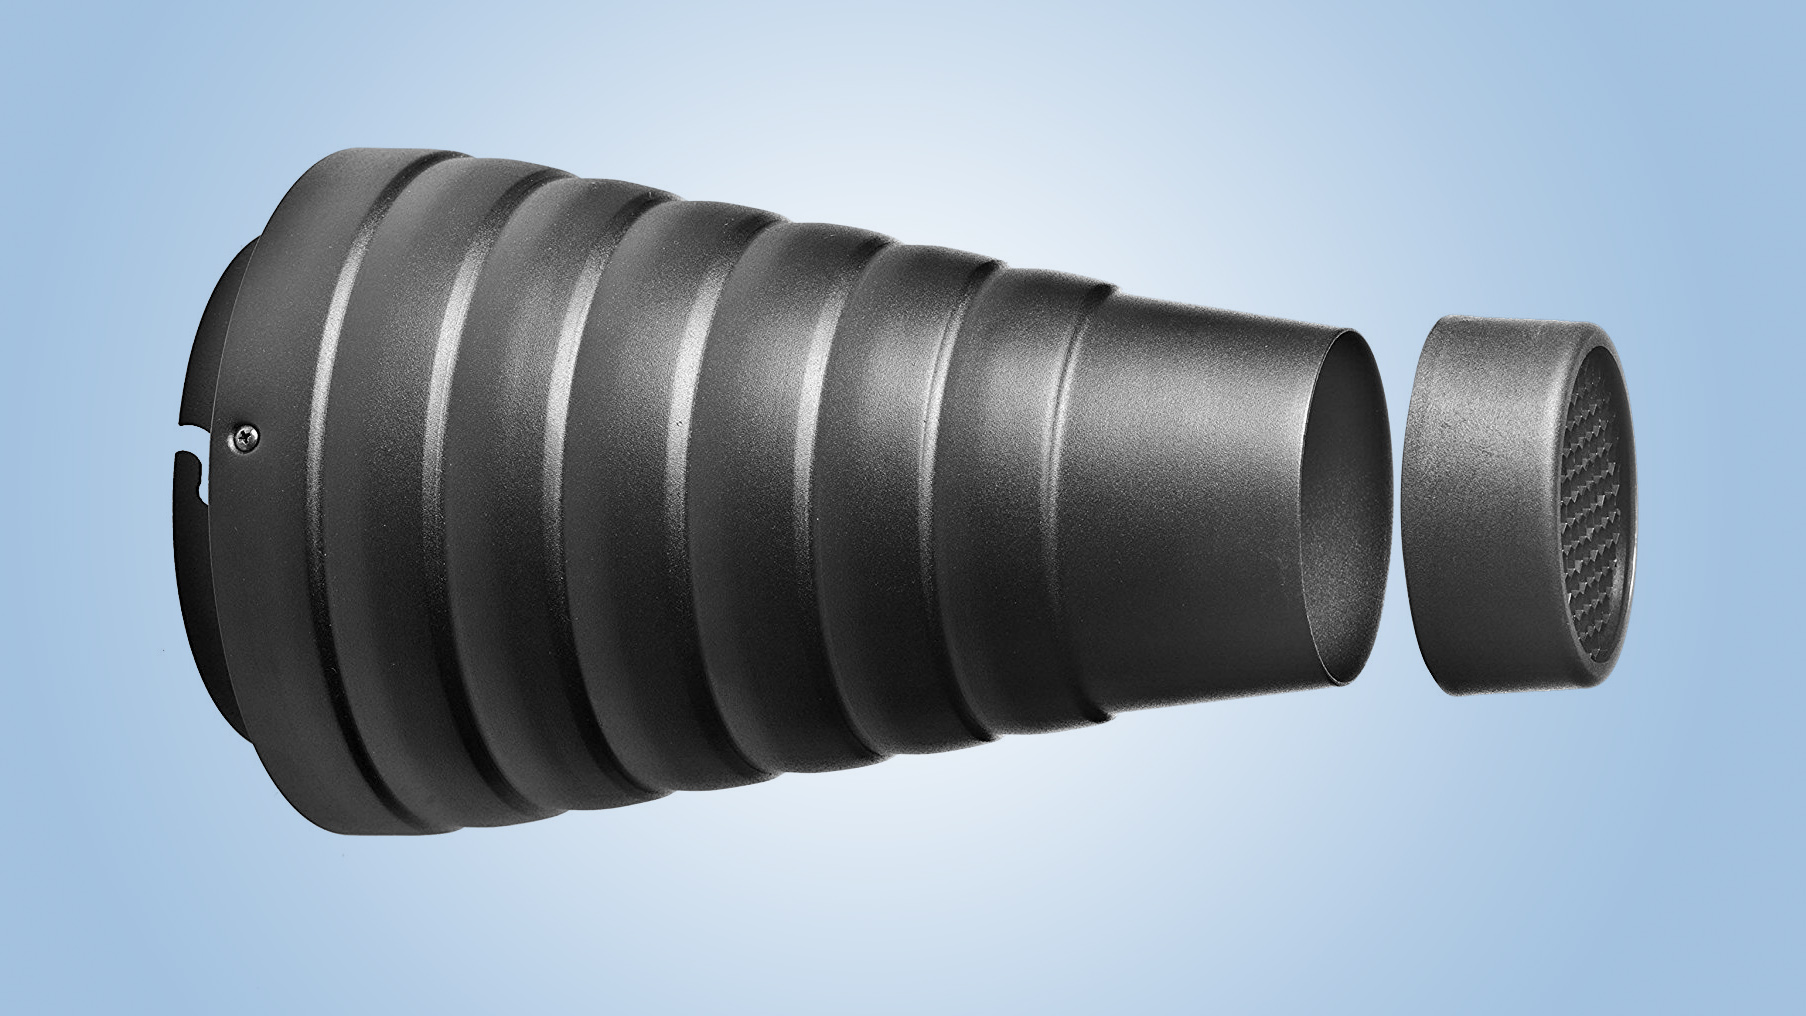
Honeycomb and snoot
If you need to add controlled light top a small area of the subject a honeycomb grid is a great option. A snoot is a conical tube that attaches to the flashgun and creates an even smaller, more concentrated light than honeycombs. Although most snoots come with a honeycomb too.
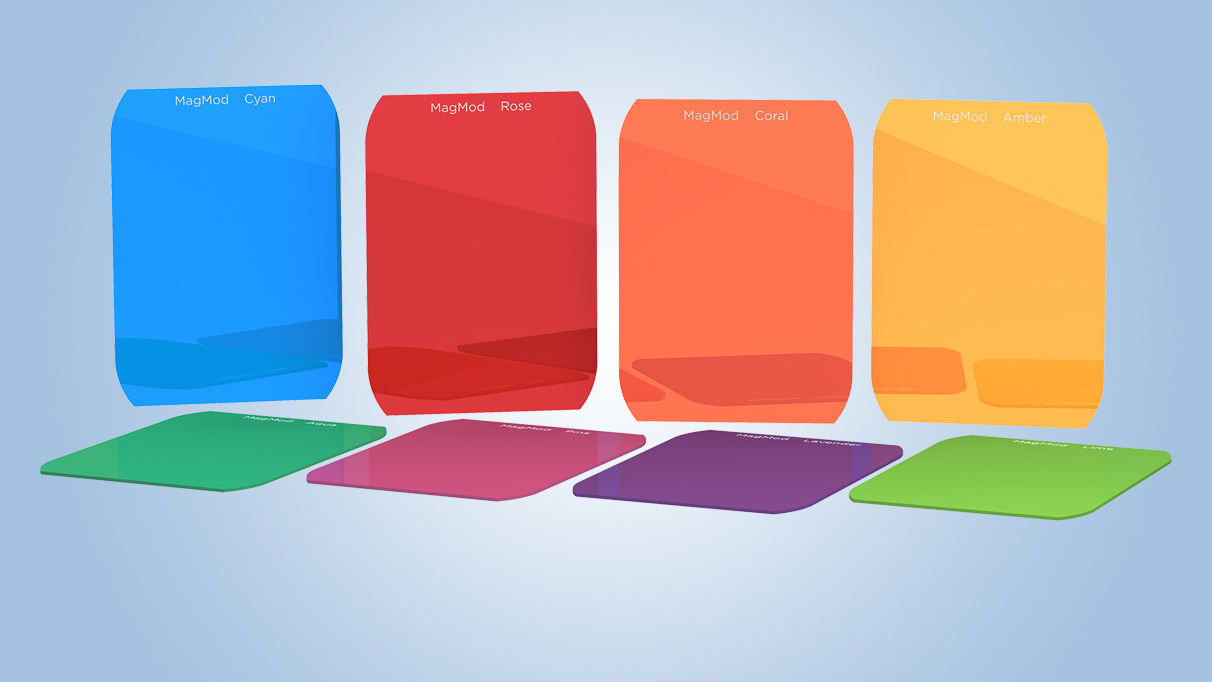
Gels
Gels are colored sheets of plastic that are positioned in front of the flash to change the color of the light. These can be used to match flash light to ambient light, such as incandescent which can be yellow in color. Gels can also be used to creatively add unnatural color to subjects.
How to shoot off-camera flash
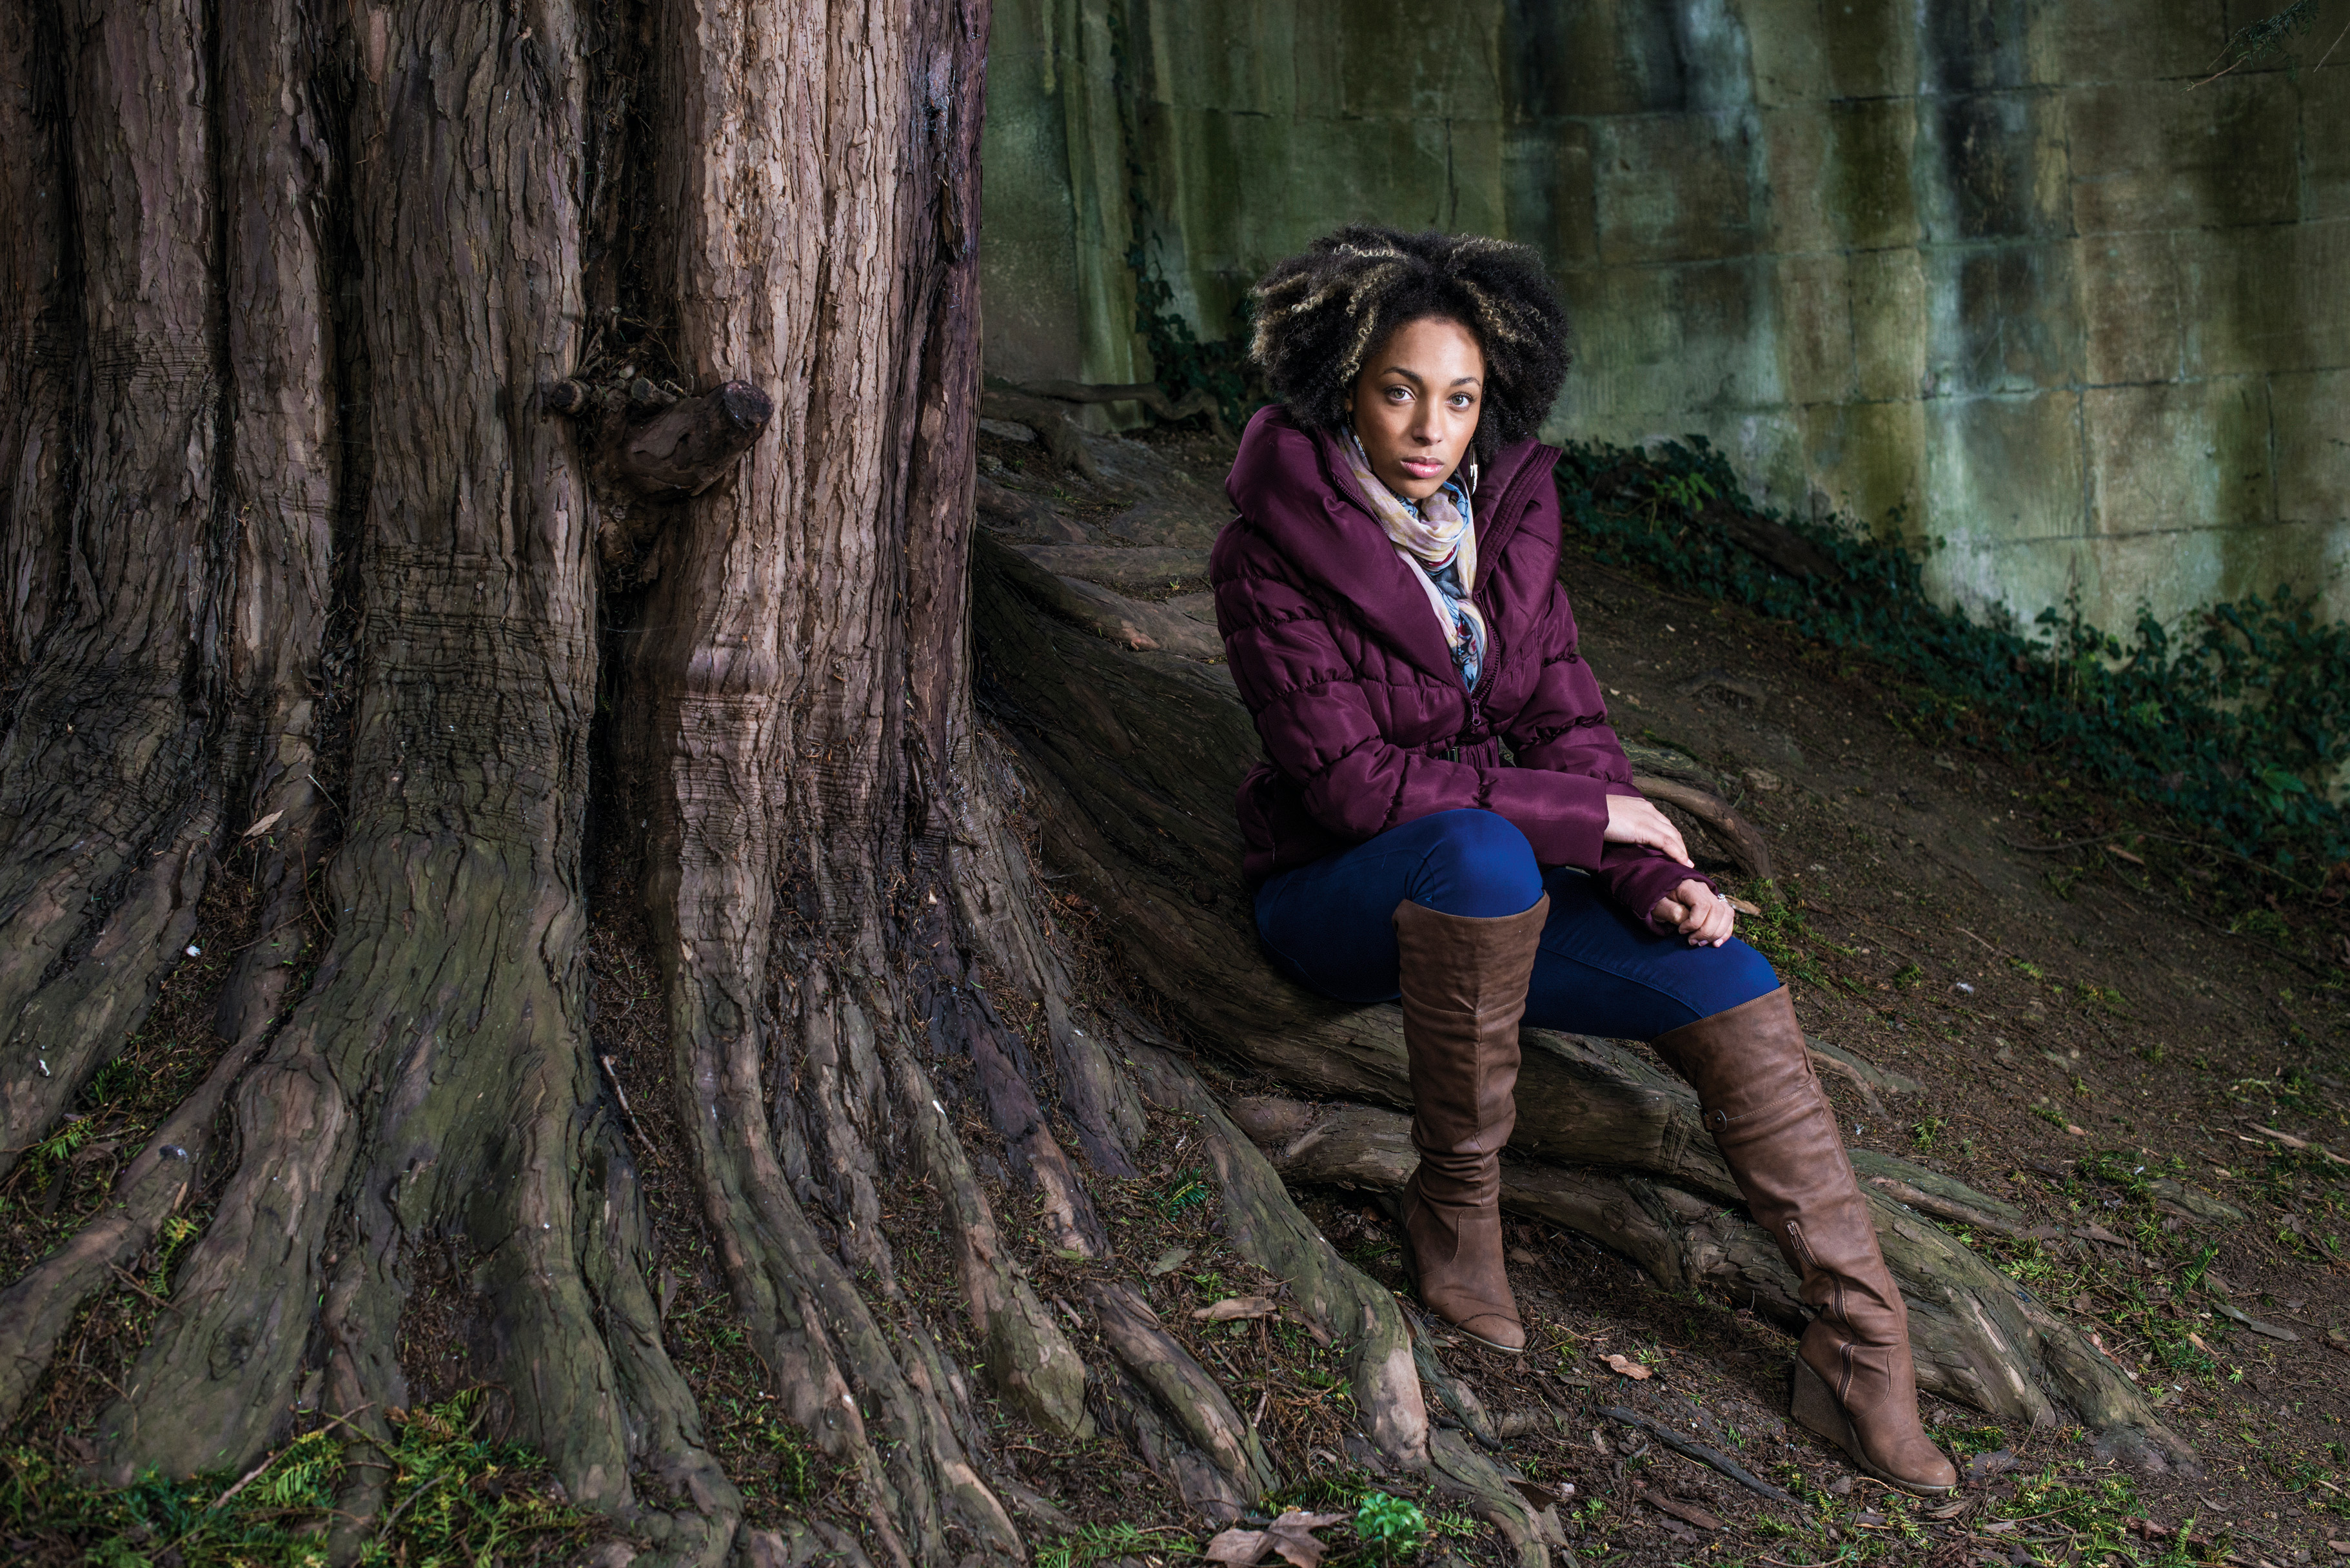
If you would like to get the best from your flashgun, the only way to go is to take it off-camera. By using a TTL off-camera cable, or ideally wireless flash triggers, you can achieve more directional studio-style lighting.
But the advantage of flashguns is that they’re small and lightweight, so you can take and use them practically anywhere. A simple lighting setup consists of one main light, and then either a reflector or second flashgun to fill-in shadows. When you first get started it’s best to use a single flash with a reflector because it’s much more manageable than two or more lights. Then, as you grow in confidence you can begin to introduce additional lights for increasingly dramatic results. Here’s a basic set-up using manual triggers and manual flash:
1. Off-camera flash: set-up the main light
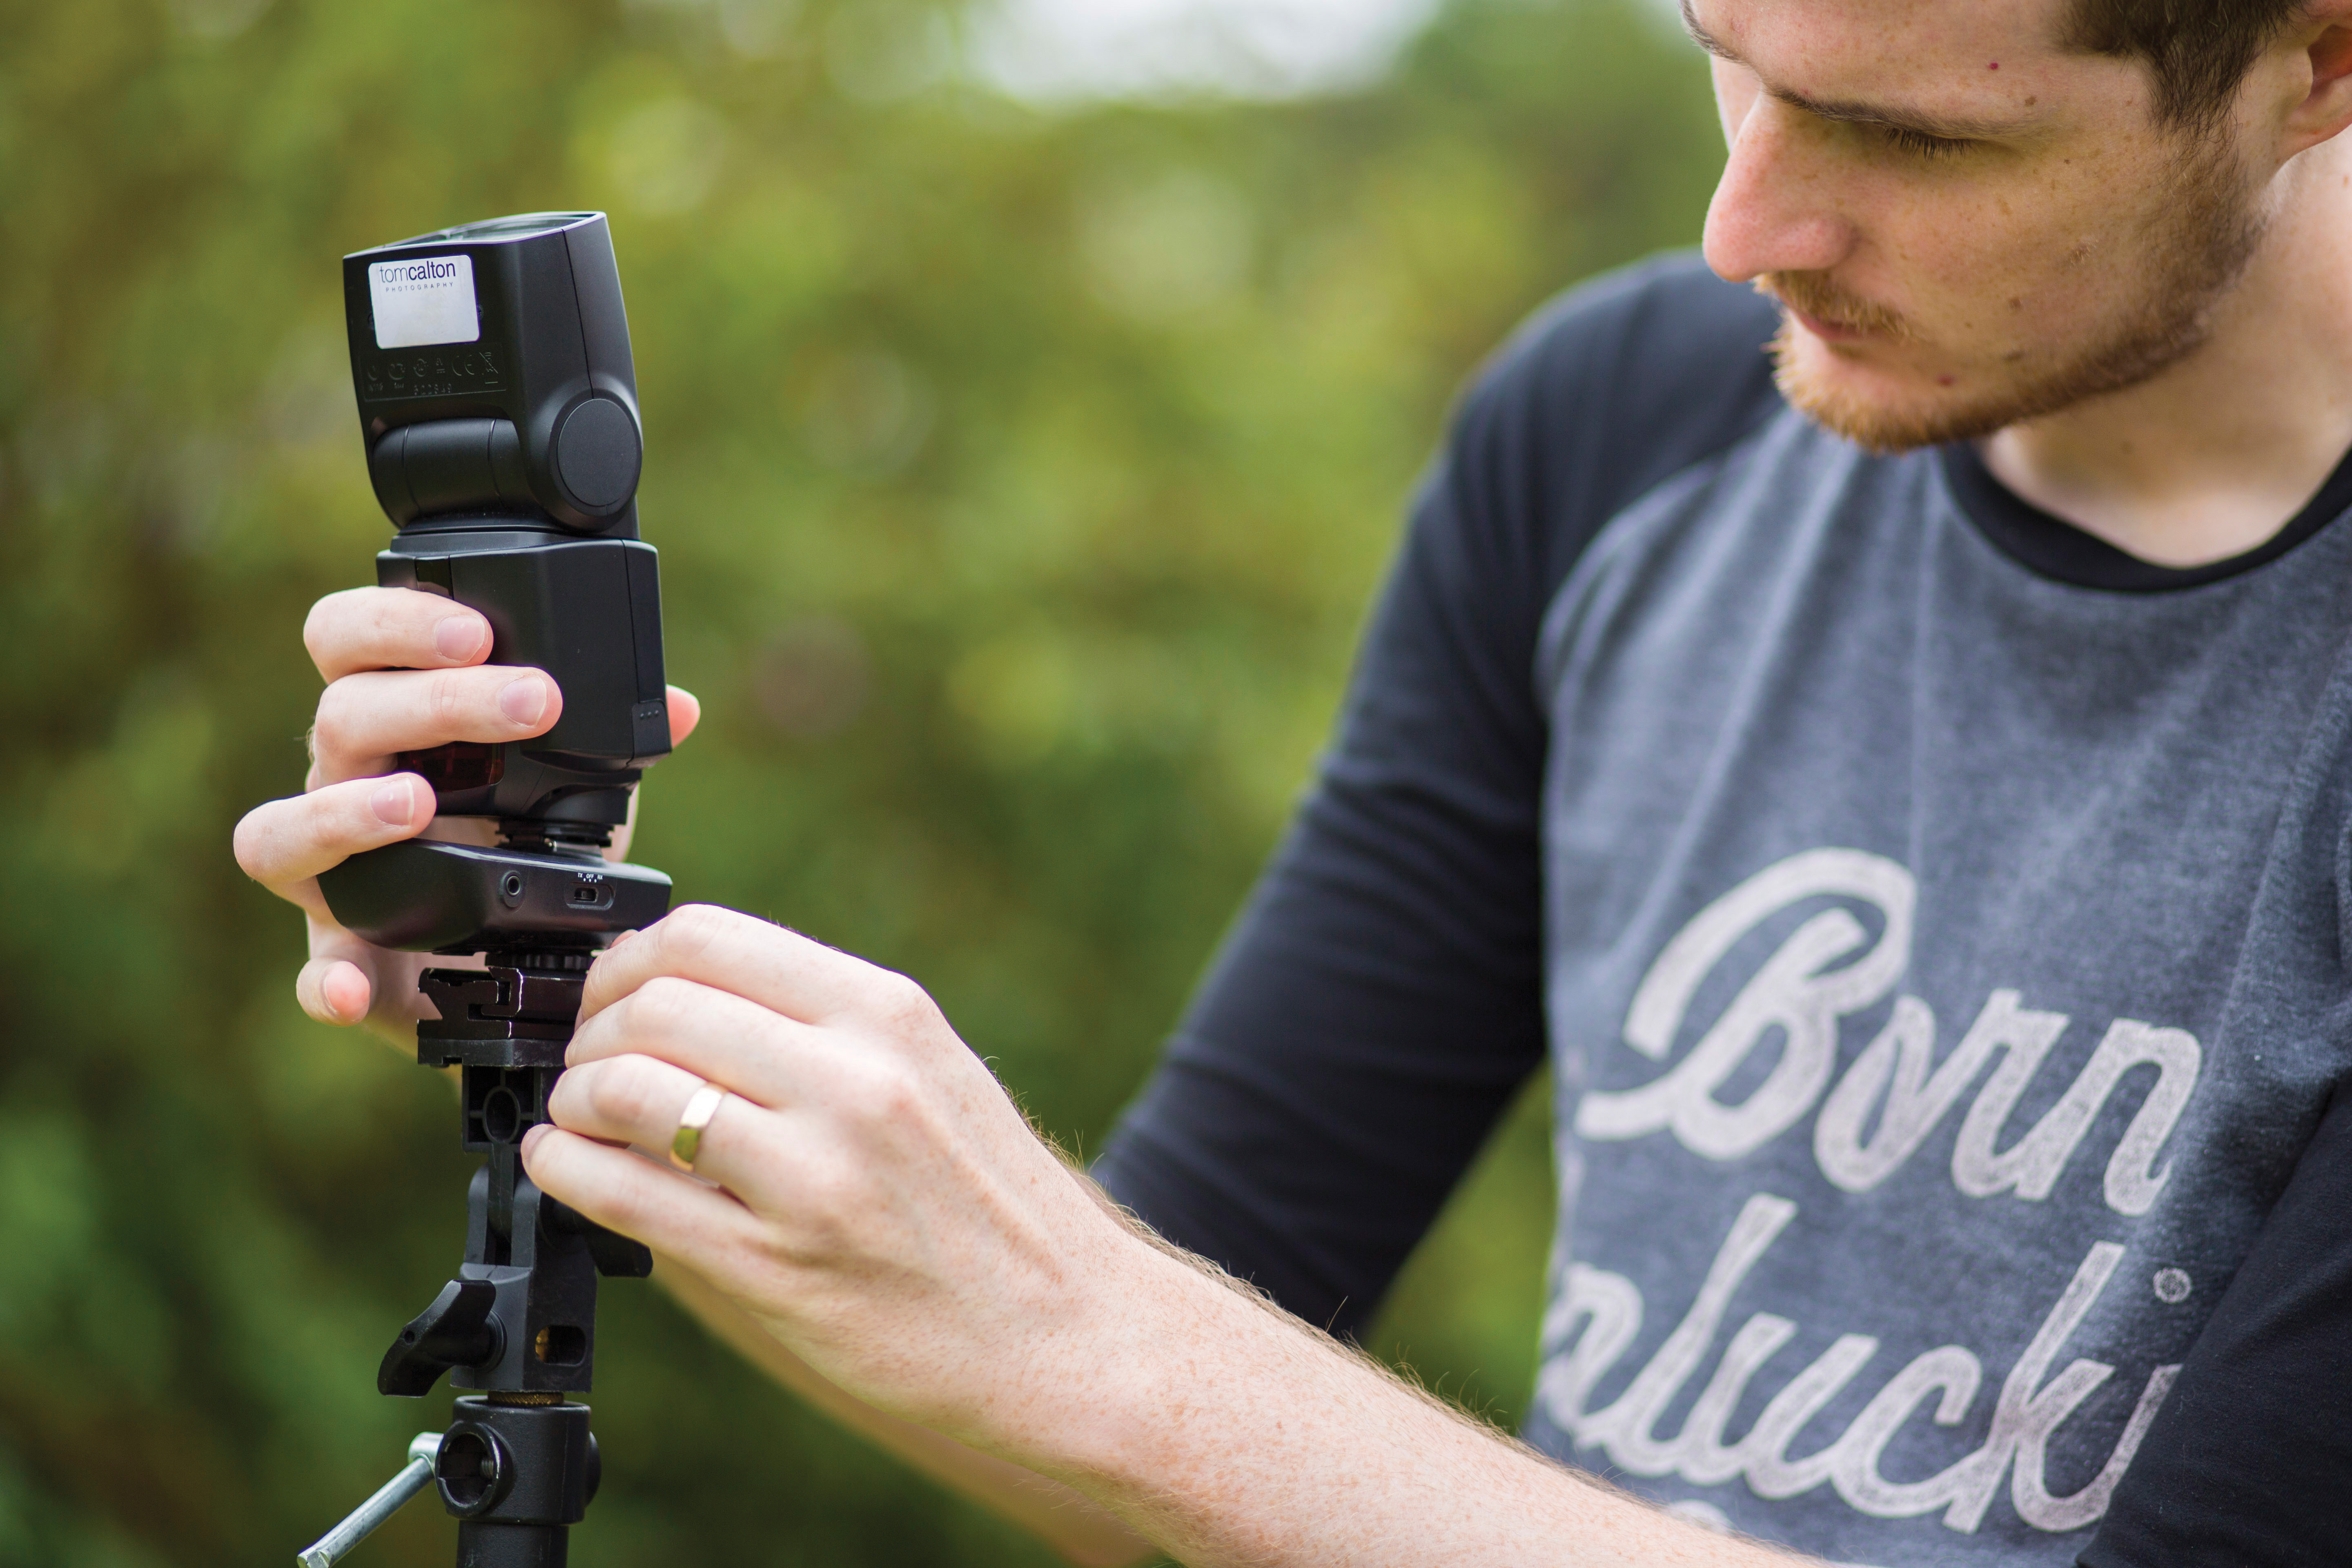
For off-camera flash you’ll need a light stand, or even a tripod, to support the flash. Attach the flash to the wireless trigger’s hotshoe, and attach this to the light stand. Next, position the flash so it’s at a 45-degree angle in front of the subject. Either shoot with bare flash or if you have one attach a softbox to the front of the flash.
2. Off-camera flash: dial in camera settings
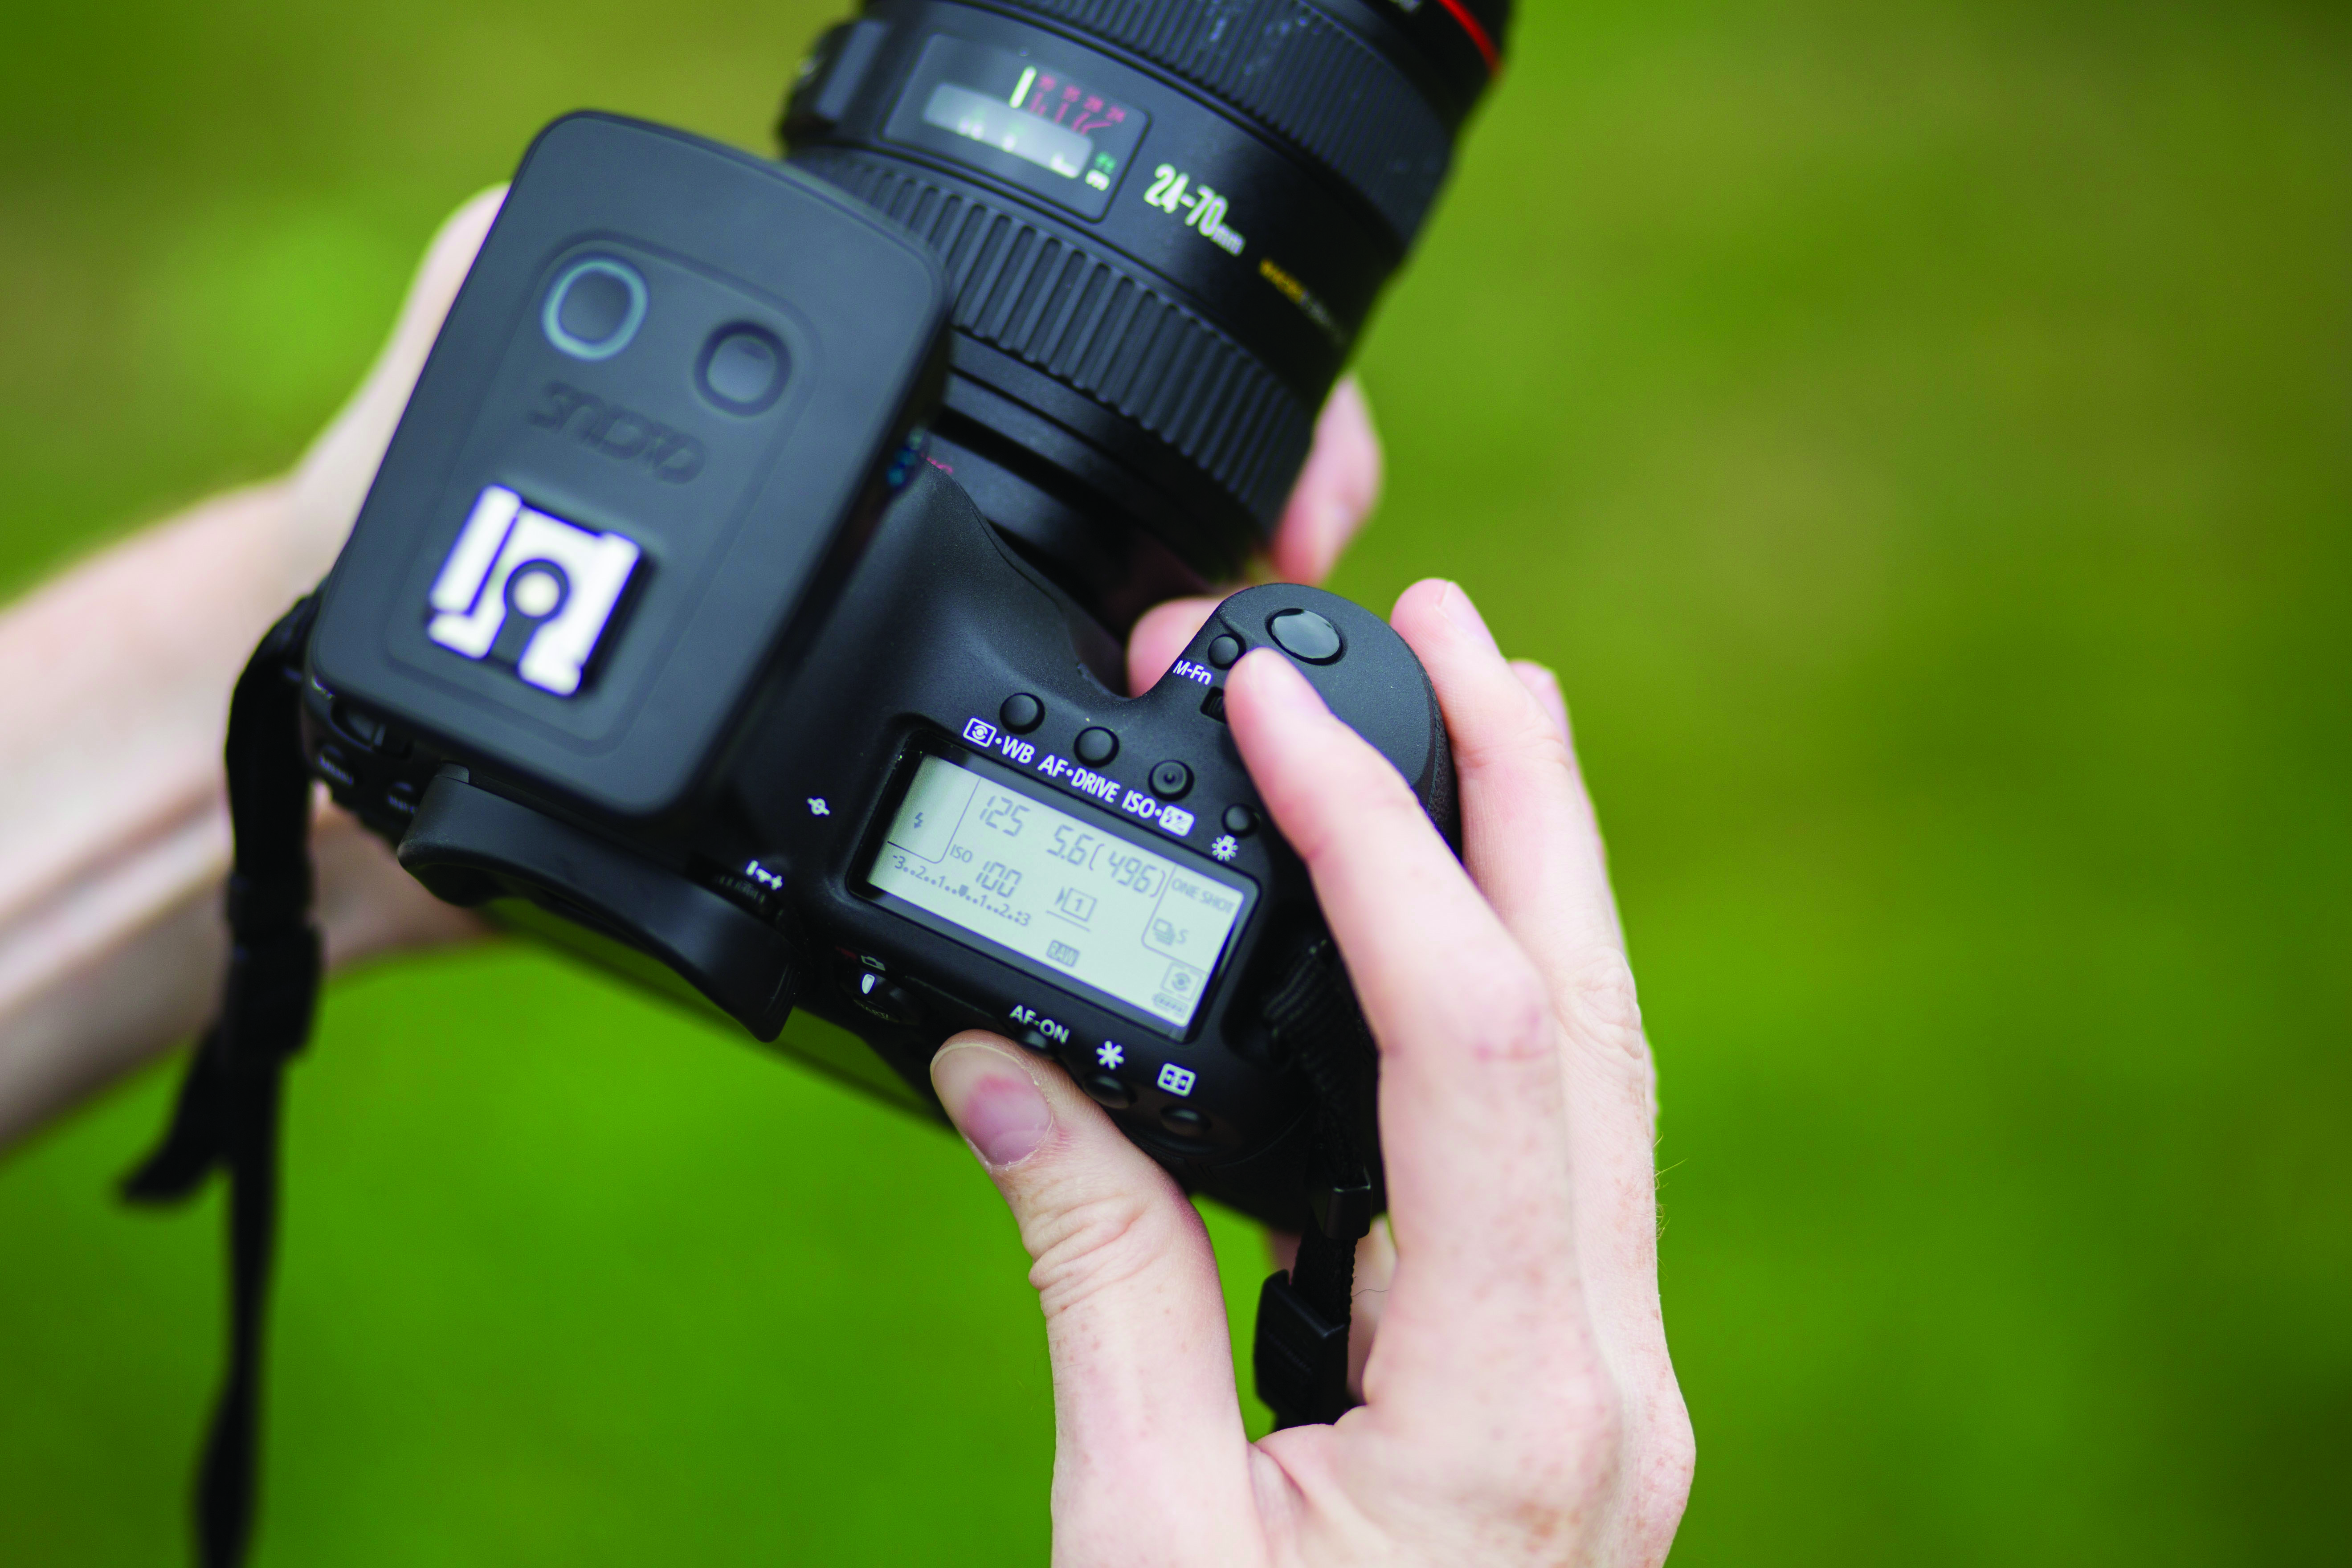
Set the camera to manual mode at ISO 100, shutter speed at 1/125 sec and aperture at f/5.6. These settings will provide excellent sharpness and overall image quality, and can often be used both indoors and out – except on the brightest, sunniest days. To achieve a correct exposure we’ll manually set flash power output later.
3. Off-camera flash: set flash output
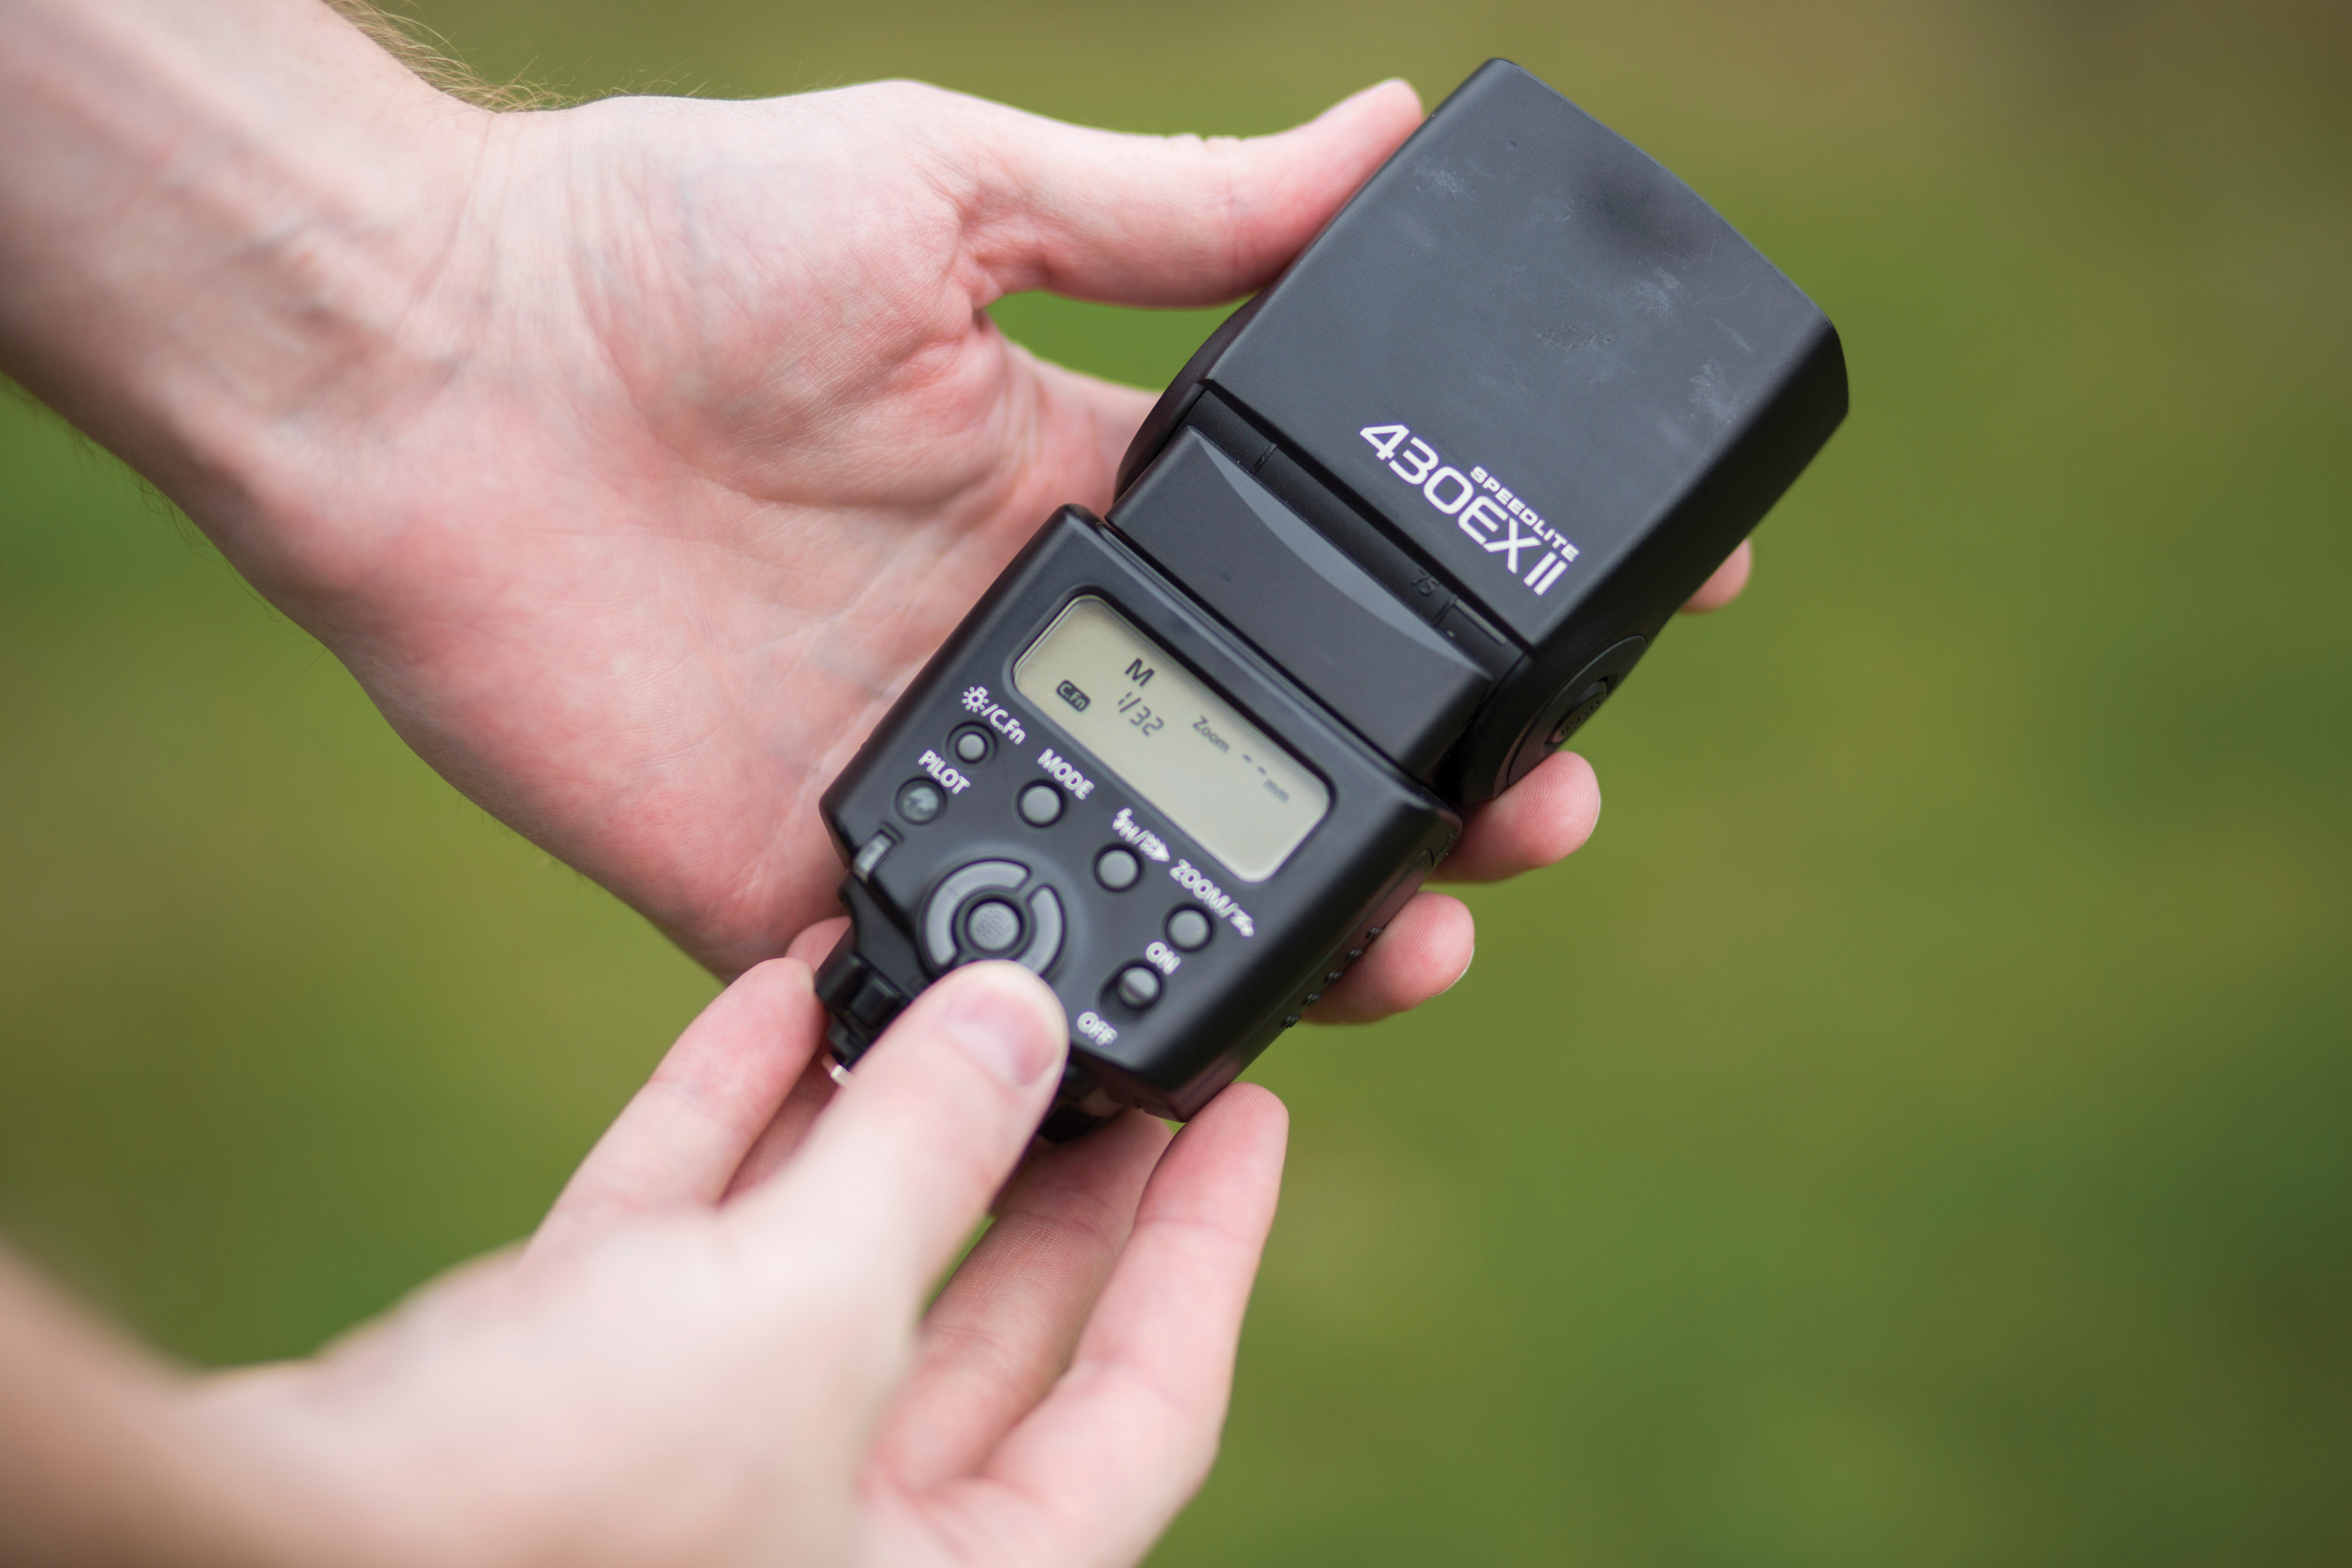
Set flash output to 1/32 on your flashgun as a starting point (we can increase the power if necessary later). Now hold or position a reflector to the side of the subject – the side opposite the flash. This will bounce light from the flash back onto the darker side of the subject to help lighten shadows. You may have to experiment to find the best angle for the reflector.
4. Off-camera flash: adjust exposure settings
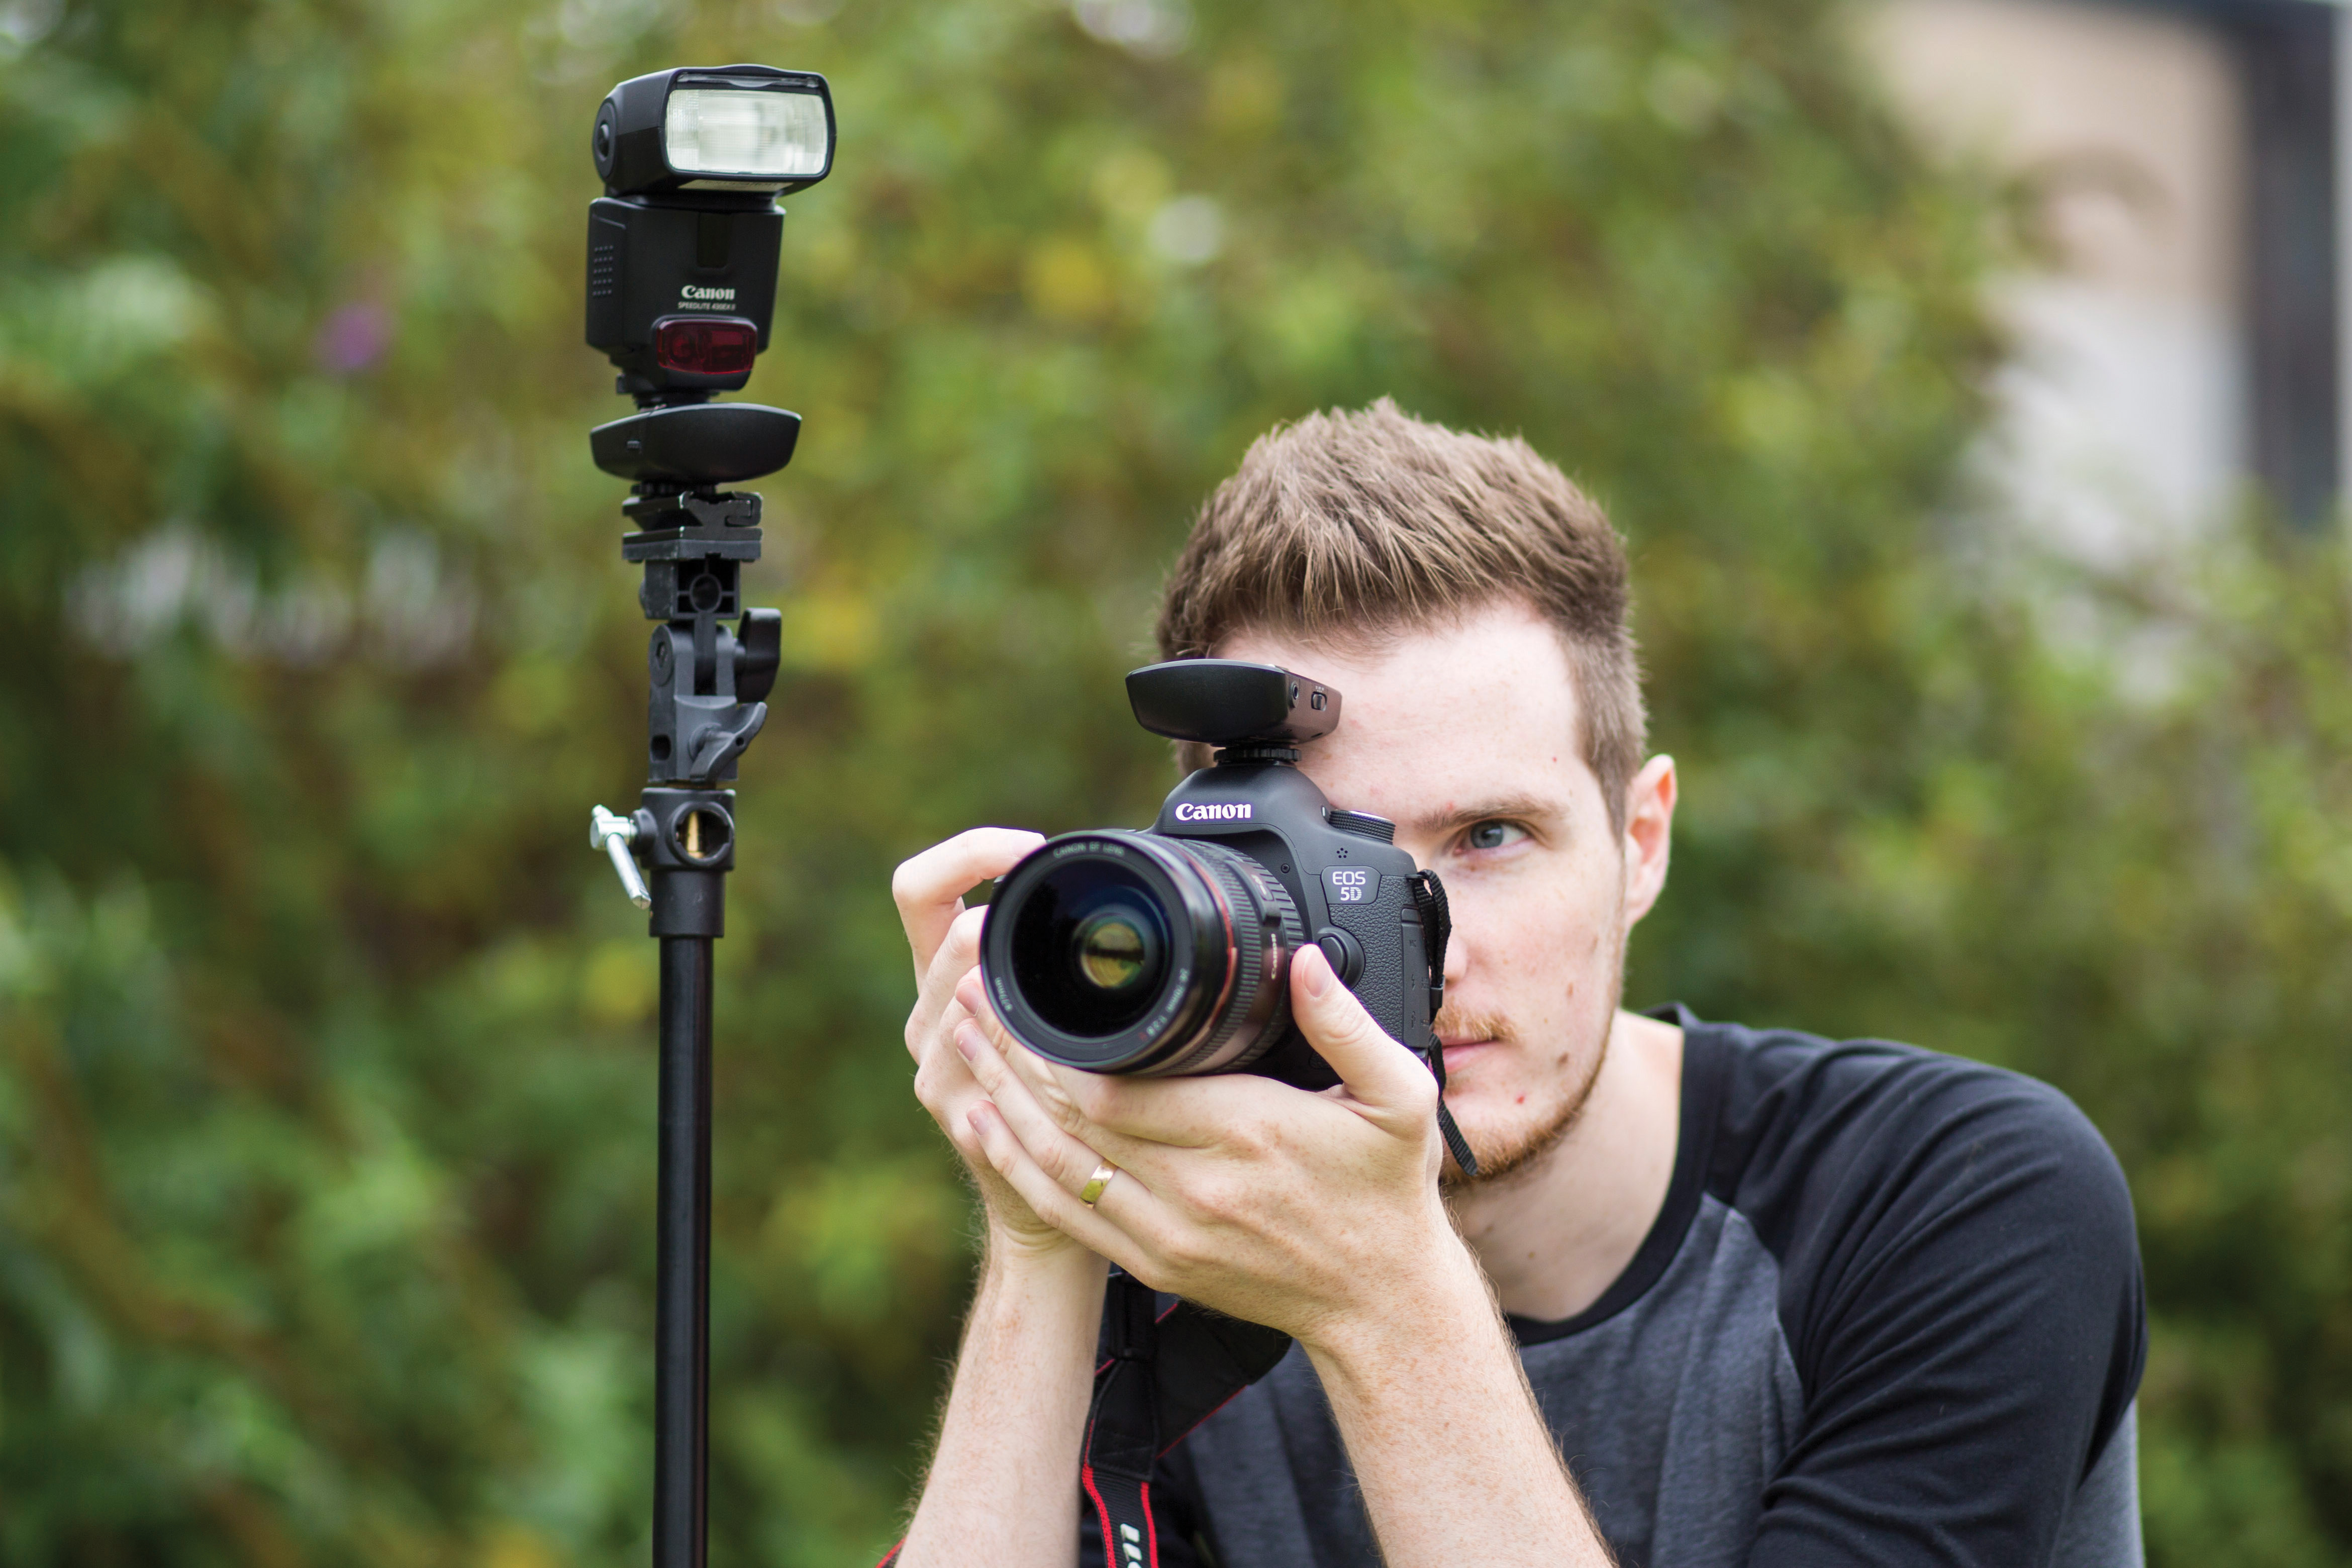
Take a test shot and assess the exposure on the camera’s LCD screen. If the image is too dark increase the power output of the flashgun. Conversely, if it’s too light reduce the flash power output. You can also adjust the aperture to control exposure, but just make sure you only stop down as far as f/11 because any further than this will introduce diffraction (image softening).
James Abbott is a professional photographer and freelance photography journalist. He contributes articles about photography, cameras and drones to a wide range of magazines and websites where he applies a wealth of experience to testing the latest photographic tech. James is also the author of ‘The Digital Darkroom: The Definitive Guide to Photo Editing’.