How to capture a silhouetted sunset

Step by step: capture the edge of the world
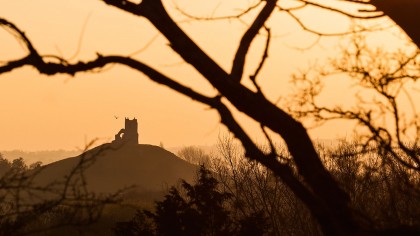
Plunging a landscape into darkness might not seem like the best idea, as it defeats the point of capturing a view, but if you've got colorful or dramatic skies and interesting shapes to work with, silhouettes can be a great option for creating simple, graphic landscapes with bags of impact.
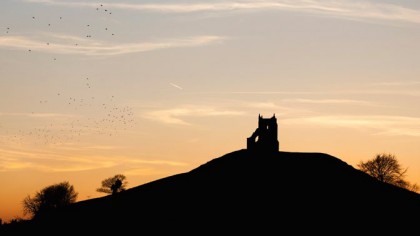
Sunset is the perfect time to shoot silhouettes, as this tends to be when skies are at their most colorful, and because you're shooting a silhouette,you won't have to worry about balancing the exposure. For this technique to work you need a landscape with graphic subjects, such as trees or buildings, standing proud of the horizon.
Because the foreground will be completely black, it's usually best to position the landscape in the bottom third of the frame, and include as much sky as possible.
Getting down low and shooting up at the subject may help in this respect. It can take a while to find a suitable vista, but once you've developed an eye for silhouettes, you'll find your newfound appreciation of the shape of the horizon will enhance the rest of your landscapes.

1. Lock it down
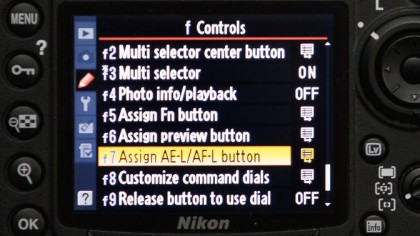
In your DSLR's custom shooting menu, select Controls, then set Assign AE-L/ AF-L button to AE lock (hold). This will enable you to lock the exposure by pressing the AE-L button. An AE-L indicator will appear in the viewfinder when exposure is locked.

2. Spot the sky
With your Nikon in aperture-priority mode, set your metering to Spot. Move the active AF point over a mid-tone in the sky to read the exposure of the sunset, then press the AE-L button to lock this exposure. Move the AF point back to your subject to focus the image.

3. Take a test
Take a test shot and review the image on your DSLR's LCD. If you can still make out details in the landscape, or the sky is over-exposed, you'll need to dial in some negative exposure compensation, to darken the silhouette and deepen the colors in the sky.