
 Become a TechRadar Insider


Many of those set-top boxes hidden under televisions are already running Linux. And despite their lack of CPU power, they're all more than capable of recording and playing several channels at the same time, as well as streaming the data across your local network.
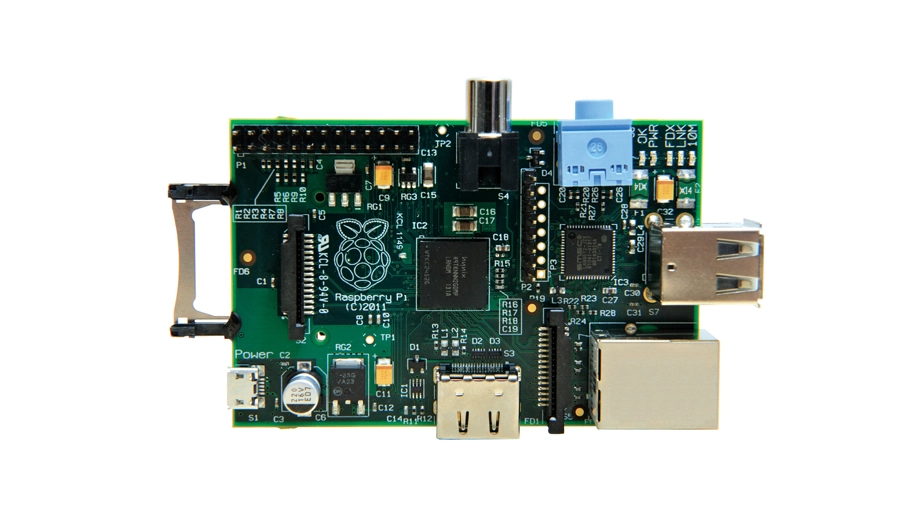
The Raspberry Pi is perfectly suited to this, too, and with the appropriate hardware it can be turned into a powerful low-cost digital video recorder, complete with media streaming, scheduling and time shift.
The appropriate hardware is the key phrase in the previous paragraph, because a painless installation is mostly dependent on your television-grabbing hardware 'just working'.
Article continues belowFortunately, Linux has support for a great many such devices built in to the kernel, so many will work without modification.
And while these instructions start from the command line, we've split the entire tutorial into 10 different steps, hopefully making the project as easy to follow as possible.
At the end of this project, you'll find yourself with a fully-fledged digital TV recording platform, capable of recording multiple programmes from multiple sources, all running from the humble Raspberry Pi. It's the perfect backend for the just-released XBMC, which you'll be able to use as a front-end from any other computer on the same network.
1. Our hardware

We tested and configured two USB receiver devices, one for grabbing terrestrial digital television through an aerial and another for grabbing the data from a satellite feed. We'll include instructions for both.
For DVB-T (terrestrial) reception, we used a Sundtek MediaTV Pro, for DVB-S (satellite) reception, we used the Sundtek SkyTV Ultimate. The latter includes a 12v power adaptor that also needs to be connected.
But here's the most important requirement: these USB devices must be attached to the Raspberry Pi through a powered USB hub. We wasted two days trying to configure the system, firstly without a hub and secondly with an incompatible hub. In both cases, everything appeared to work but the devices wouldn't find any television channels in a scan. Switching to a powered hub compatible with the Raspberry Pi solved the problem, so we can't emphasise this point enough.
Plug a hub into a power supply, connect your USB receiver to the hub and the hub to the Pi. And don't forget to connect the aerial or satellite feed to your receiver.
2. External storage

We're assuming you've got a Raspberry Pi pre-configured and updated with the Raspbian distribution. We're also assuming it's connected to the internet and that you're typing your commands into the console directly or over an SSH session.
Our next consideration is going to be where you store the television recordings. We'd recommend connecting an external USB hard drive, as the constant read/write access will test the average SD card to its limits.
To add storage like this, simply plug the device into a spare USB port and check the output from the system logs by typing tail /var/log/ messages. You'll see output similar to usb 1-1.3.4.2: New USB device, and you'll need to look for the device identifier, which should look something like sda: sda1 – sda is the device itself, while sda1 is a partition.
Type sudo mkdir /mnt/storage to create a mount point and sudo mount /dev/sda1 /mnt/storage/ to connect it to your external device.
3. Install the drivers

Depending on the television hardware you're using, this step might be unnecessary. If you've chosen a device that's compatible with Linux and requires no additional driver files, then you can simply plug in your device and move on to the next step.
For our Sundtek devices, we need to download and install a driver. This is easy. From the Raspberry Pi command line, type: