How to customise Windows 10
Window dressing
Personalise Windows 10
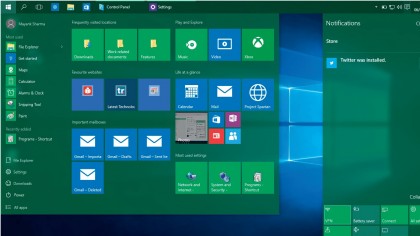
Most of us spend a lot of time using Windows, either at home, or at work, so it makes sense to personalise our Windows 10 experience to suit us and the way we work, or play.
From small tweaks that minimise eye-strain to enabling quicker access to your favourite apps across multiple desktops,Windows 10 has more productivity enhancing features than previous systems.
Among the new changes, Windows 10 introduces a Personalisation section in the Settings app to let users customise various visual aspects of the desktop all from one place.
What's more, nearly every new feature includes a set of tweakable options of their own. To take advantage of these enhancements, you'll just need to spend a few minutes tailoring the features to work for you.
- Discover more great tips on how to use Windows 10
1. Background slideshow
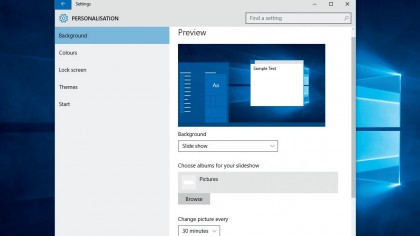
You can replace the desktop wallpaper with a slideshow and cycle through the images as you can with a screensaver.
Head to 'Start > Settings > Personalisation > Background' and use the Background menu to select the 'Slideshow' option. Click 'Browse' and select the album you want. Windows will now cycle through the images in the album for the defined duration.
2. Change Accent colour
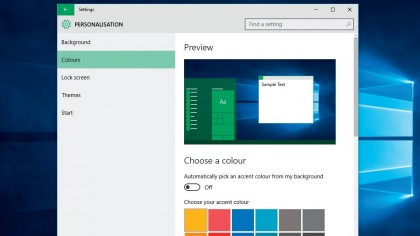
The Accent colour shows up in various places around the Windows 10 desktop and on elements, such as the radio buttons. Windows will pick a colour to match the wallpaper, but you can also pick one manually.
Are you a pro? Subscribe to our newsletter
Sign up to the TechRadar Pro newsletter to get all the top news, opinion, features and guidance your business needs to succeed!
Go to 'Start > Settings > Personalisation > Colours' and set the 'Automatically Pick an accent colour' option to 'Off'. This brings up a palette for you to choose a colour from.
3. Colourise the Start menu
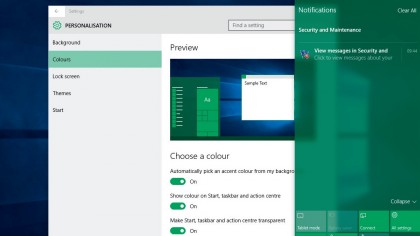
The Start menu (and taskbar and notification center) is black and grey by default. While it matches the default colour scheme, it still appears at odds when you select a custom accent colour.
To apply the accent colour to the Start menu, visit 'Start > Settings > Personalisation > Colours' and toggle the 'Show colour on Start, taskbar and action center' option to 'On'.
4. Add apps to the lock screen
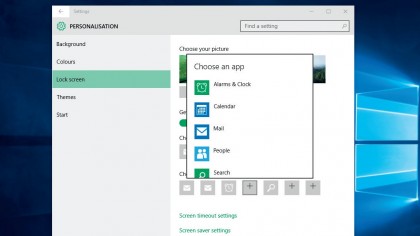
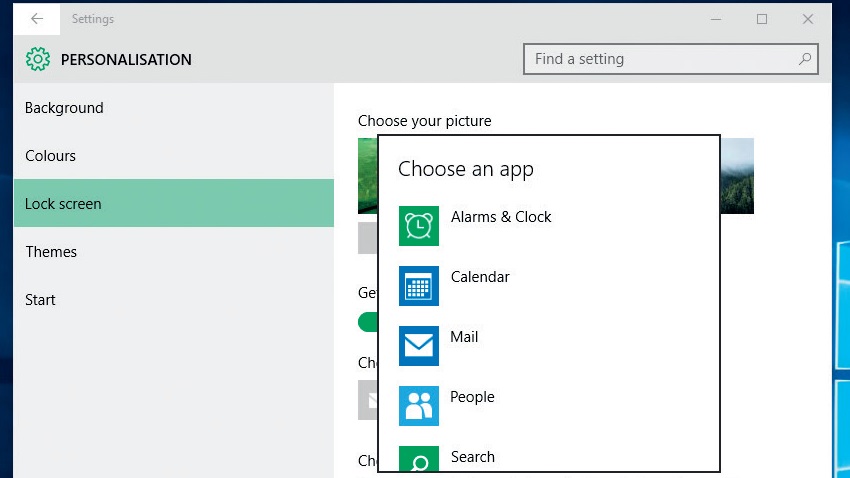
You can view notifications from apps by adding them to the lock screen. Navigate to 'Start > Settings > Personalisation > Lock' screen and scroll down to the 'Choose apps to show quick status' section.
Click on any of the grey boxes and pick an app from the list to view their status on the lock screen. However, bear in mind these lock screen badges drain your battery while fetching data.
5. Move the taskbar
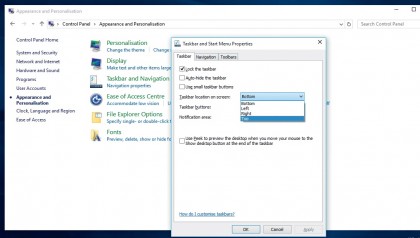
By default, the taskbar is at the bottom of the screen but you can place it on the other edges as well. Head to 'Start > Control Panel > Appearance and Personalisation > Taskbar and Navigation'.
This brings up the Taskbar and Start Menu Properties window. Here you can use the 'Taskbar location on screen' menu to select a position.
6. Customise the taskbar
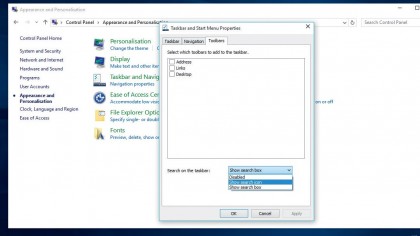
To tweak the behaviour of the taskbar, visit 'Start > Control Panel > Appearance and Personalisation > Taskbar and Navigation'. From the 'Taskbar and Start Menu Properties' window, toggle the 'Auto-hide the taskbar' option to gain space.
To make space on the taskbar, switch to the Toolbar tab and use Search on the taskbar menu to replace the search bar with an icon.
7. Change quick action icons
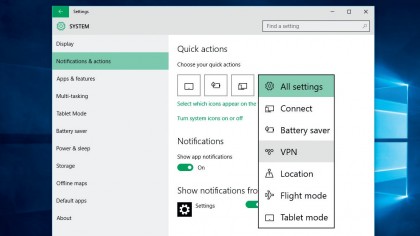
You might not have much use for the default quick action icons available in the Notification Center. To customise what quick action icons are displayed in the Center, head to 'Start > Settings > System > Notification & actions'.
In the 'Quick Actions' section on the right, click on any of the four icons and select from any of the six other available options from the drop-down list.
8. Resize Start
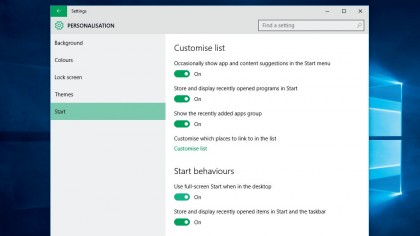
You can also resize the Start menu as you would any other window. Just grab an edge and drag it to size. However, you can't drag diagonally, only up or down to make it taller or wider.
If you want the Start Menu stretched across the desktop, go to 'Start > Settings > Personalisation > Start' and switch on the 'Use full-screen Start when in the desktop' option.
9. Pin items on Start
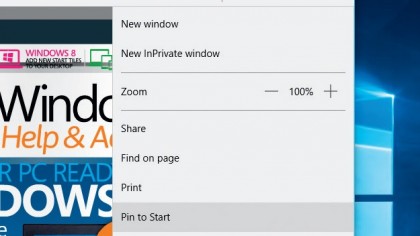
You can now pin items on the Start Menu. From the Edge web browser, click the 'More actions' button and select 'Pin to Start' to pin websites.
Similarly, from the Mail app, right-click on any folder and select 'Pin to Start' to add a tile for the mail folder. You can also add a tile for any app, folder and executable file to the Start menu by right-clicking and selecting 'Pin to Start'.
10. Display Jump Lists
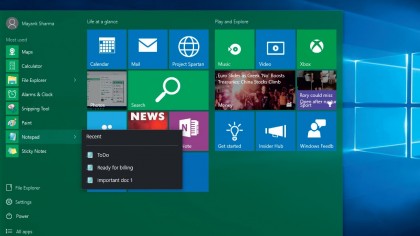
Jump lists let you save time by quickly opening the files you use frequently. To enable jump lists for most-used apps, launch regedit and head to HKEY_CURRENT_USER\Software\Microsoft\Windows\CurrentVersion\Explorer\Advanced and create a new DWORD named EnableXamlJumpView.
Set its value to 1 and restart the computer.
- Enjoyed this article? Discover how to get the most from from your PC and new things to do in Windows Help & Advice. Take advantage of an exclusive offer in our sampler today.
With almost two decades of writing and reporting on Linux, Mayank Sharma would like everyone to think he’s TechRadar Pro’s expert on the topic. Of course, he’s just as interested in other computing topics, particularly cybersecurity, cloud, containers, and coding.
