How to use OneNote
Super-powered notes
Get started with OneNote
When it comes to taking notes on your PC, smartphone and tablet, nothing beats Microsoft OneNote. It's powerful, flexible and free, with updates synced across all your devices. It's a great way to keep on top of what's going on in your world – and then share it with anyone.
OneNote lets you create and capture almost anything: a list of things to buy on your next shopping trip; holidays ideas with pictures, notes, annotations, maps and weblinks; lecture and meeting notes with information and documents right there where you need them.
You can even use it to work on projects with family, friends and co-workers. It's the perfect collaborative tool. The more you use OneNote, the more things you'll discover it can do. Let's get started!
1. Start a notebook
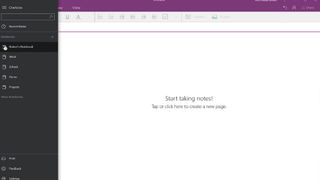
When you first fire up OneNote, you'll discover that it's already created a default notebook for you, but you can add as many as you like by selecting the menu icon in the top-left corner of the app.
Right-clicking any one brings up a contextual menu, enabling you to sync your notebooks, share them via a weblink with others or even pin one or more to the Start menu.
2. Add some categories
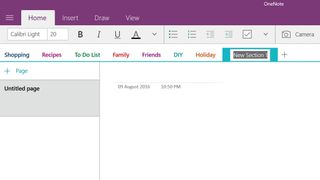
You can organise your notes under each notebook by adding category tabs under the Ribbon. Add titles to each one and change the default colours if you want to.
To change the order of your tabs, drag and drop one to its new location and all of the others will shift along. Add individual pages to each category by clicking '+ Page' in the menu bar on the left.
3. Make a note
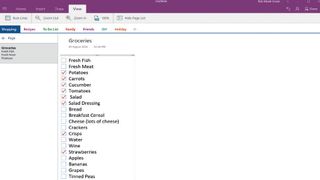
Click on the '+ Page' option as in the previous step. In the main window, you can now add a title to your note and then start adding whatever info you want.
To create a tickable shopping list, for example, type the items you want to add, arranged in a list, and then select the 'Tag As To Do' icon under Home. Checkboxes appear next to each item, which you can tick off one by one.
4. Arrange and resize
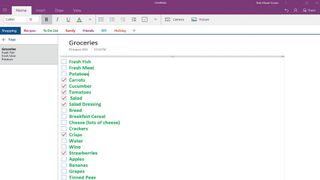
If your list is a little too small or plain looking you can select the text within it and use the text tools under 'Ribbon > Home' to style it up.
You can also move the list anywhere on the page by dragging and dropping using its grab bar, or change its shape by dragging each of its sides. You can also cut, copy and paste items in the list by right-clicking to bring up a contextual menu.
5. Add more elements
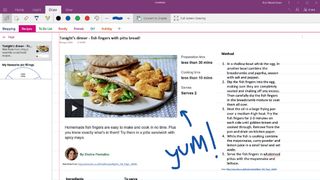
Because you can move items around the page in your notes, OneNote makes it easy to add lots of other elements – pictures, doodles, weblinks, etc. What you can't do is make audio or video recordings within the desktop version of OneNote – that is now a mobile-only feature.
Luckily, you can still listen to these or watch them on your PC later, as they sync in the cloud.
6. Grab the web
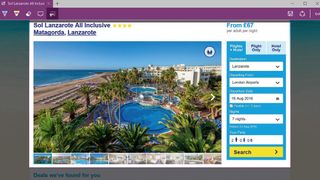
One of the best things about OneNote is that it gives you the ability to grab web pages, or bits of them. So let's try it. Open Microsoft Edge, select a webpage you want to grab, then select the 'Make a Web Note' icon.
You can now use OneNote's tools to annotate it, or use the Clip tool to grab just a section. When you're done, select the 'Save Web Note' icon to add it to OneNote.
7. Add your documents
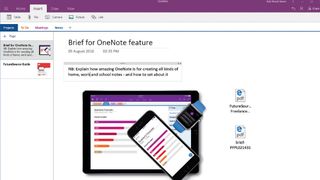
When making notes there will inevitably be times when the stuff you need is available elsewhere – maybe as a separate Office document or PDF on your PC.
You can make sure you don't lose track of these by heading to 'Ribbon > Insert > File' and adding the files as an attachment, which you can double-click to open in the relevant app. You can also insert the content of PDFs directly.
8. Build a table
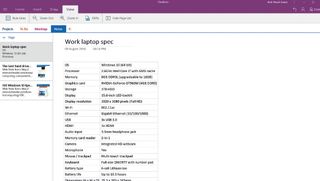
Head to 'Ribbon > Insert > Table' and you'll be able to create one right there and then. You can add columns by simply pressing the [Tab] button on your keyboard.
Rows are created by pressing [Return] at the end of the final column. Naturally, you can resize the table any way you wish, but OneNote is also clever enough to automatically resize columns and rows for you as you type.
9. Get doodling, dude
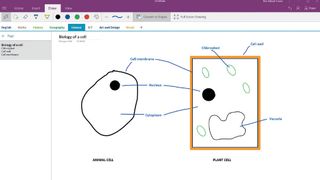
You don't have to just type notes using your keyboard – write them freehand using 'Ribbon > Draw' instead. Choose the colour and line thickness using the contextual tools and then either use the mouse, trackpad or your finger (if you have a touchscreen) to doodle away.
If you're rubbish at drawing shapes (circles especially), selecting 'Convert To Shapes' should sort them.
10. Good to share
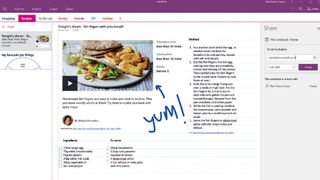
When you've finished making a note – or would like someone else to work with you on it – you can easily do that using the 'Share' option in the top-right corner.
Clicking 'Share' brings up the Sharing pane, which asks you to invite someone to work on the note with you using OneNote online or their own version of the app. Or you can send them a non-editable copy.
- Enjoyed this article? Discover how to get the most from your PC and new things to do in Windows Help & Advice. Take advantage of an exclusive offer in our sampler today.
Most Popular


