How to stream on Facebook Gaming: create a gaming page and go live today
Facebook Gaming is on the rise
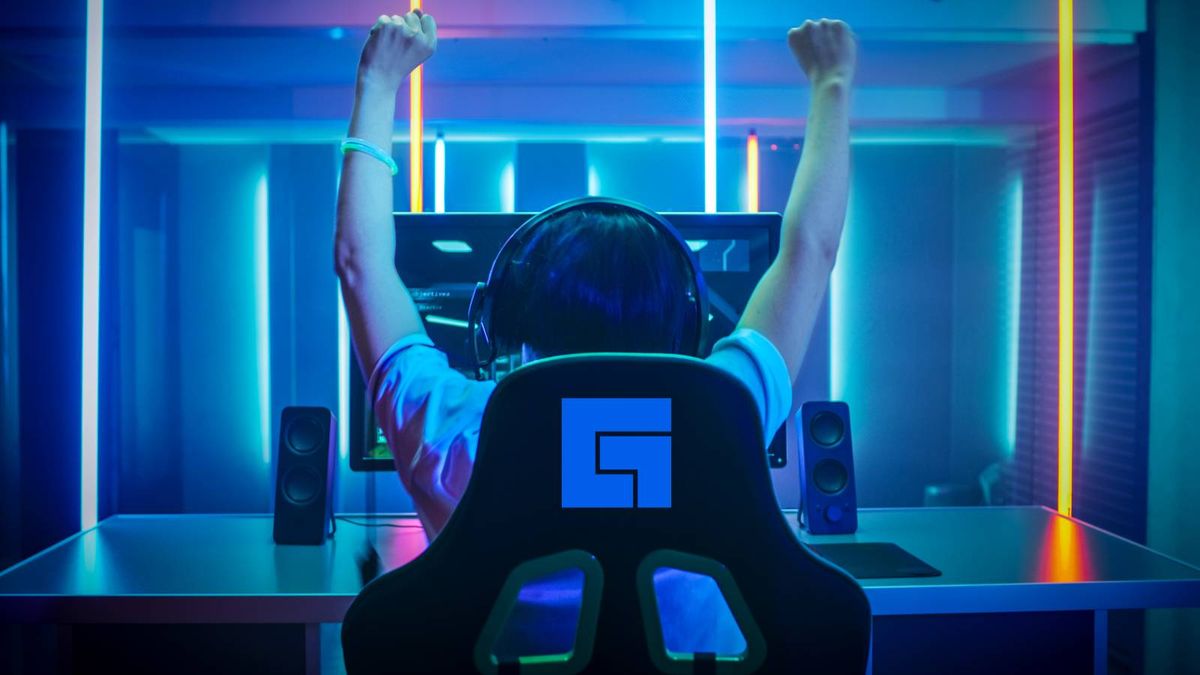
Facebook Gaming is gunning for Twitch and YouTube Gaming. The fight to be the number one streaming platform continues to intensify, and although Amazon’s Twitch is still the service to beat, Facebook Gaming has considerably increased its chances of success by capitalizing on the closure of Microsoft's Mixer.
However, even without its partnership with Mixer, the social media giant has invested heavily into its live-streaming service, and it’s seen significant growth. More people than ever are trying their hand at broadcasting their favorite games for the first time, and with Facebook’s huge audience, it’s got all the tools to rise up the ranks.
There’s never been a better time to jump on the live-streaming bandwagon, then. And fortunately for you, we’ll show you exactly how to live-stream on Facebook Gaming with our comprehensive guide. From creating a gaming page, to choosing the right bitrate settings, you won’t need to look anywhere else for all the key information you need. Let’s get started, shall we?
1. Create a gaming page
There’s a good chance you’ve already got a Facebook account (the social media platform has 2.6 billion monthly users after all), but it’s important to create a dedicated gaming page so you can reach the right audience.
First, head to the ‘Create a Gaming Video Creator Page’ and choose a name for your page. Do not change the ‘Category’, as this is what gives you access to Facebook Gaming’s audience and algorithms. Once you’ve named your page, hit continue.
You can now make the usual changes you’ve come to expect from a Facebook page, including updating your profile and cover photo, adding a description, and updating any other details you’d like to tweak.
2. Download your broadcasting software
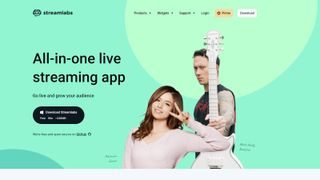
If you’re planning on streaming your gameplay to Facebook, you’ll need to download one of the many free streaming software programs that are available, such as Streamlabs OBS, OBS Studio, or Xsplit. There’s no right or wrong option here: simply choose the software you like best, as they all function the same way.
Get daily insight, inspiration and deals in your inbox
Sign up for breaking news, reviews, opinion, top tech deals, and more.
For this example, we’ll use Streamlabs OBS to go live on Facebook Gaming. First of all, download and install the software from Streamlabs' website, and let the program analyze your internet speed and computer hardware to configure the best performance settings for you.
Alternatively, you can manually configure your settings by clicking ‘Settings’ in the bottom left-hand corner, then ‘Output’ and choose your encoder. The two choices you should consider are either NVENC or NVENC New (if you have an Nvidia GeForce graphics card) or x264, which relies on your CPU.
You then need to determine the best bitrate for Facebook Gaming. The rule of thumb is to determine your upload speed and subtract 20% to give you your total. However, Facebook strongly recommends using a bitrate of 4000Kbps, which should be suitable for most connections.
Next up is the keyframe interval. Set this to 2 for optimal quality, and in the ‘Video’ side panel, choose an output value of 720p (1280 x 720) at 30fps. Facebook does allow for higher quality streams, but you have to be part of Facebook’s Level Up creator program to access 1080p (1920 x 180) at 60fps.
3. Setup your stream
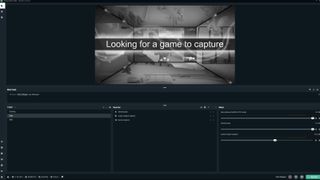
If you want to make your stream more appealing to viewers, you’ll need to add some elements such as a webcam, voice over and an overlay if you have one. Start by creating a new scene by clicking on the plus sign near the bottom left-hand corner. Name your scene, click done, and you’re ready to get started.
To bring your stream to life, we’ll want to add some sources. Click on the plus sign that can be found in the bottom middle menu called ‘Sources’ and add your gameplay footage either using Game Capture, Window Capture or Display Capture. While it’s totally up to you, we’d recommend using Game Capture, as this is the least hardware intensive of the three options.
Once your gameplay is showing, it’s time to add your webcam to the scene. Again, click on the plus sign in the ‘Sources’ menu and click on ‘Video Capture Device’, select your webcam and voila – you should see yourself on screen. You can reposition your webcam wherever you like, so find a place which works for you and doesn’t obstruct too much information.
Finally, let’s make sure you can be heard by your audience. Adding a microphone is practically the same process: just go to ‘Sources > Audio Capture Input’, and choose your microphone.
4. Going live
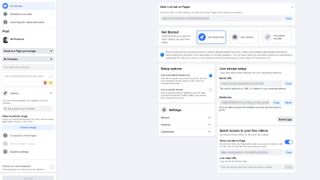
From your Facebook Gaming page, located in the create bar at the top of your feed, click ‘Live’. This will open up a new page called ‘Live Producer’. You’ll need to copy and paste your Stream key into your broadcasting software from here. Just head to ‘Settings > Stream’ and paste the code in where it says ‘Stream key’.
Once that’s done, head over to the menu on the left-hand side and create a title for your video. Your title should be interesting to any viewers who may stumble across your stream, and you’ll need to tag the game you’re playing too. You don’t have to, of course, but expect a lot less views if you don’t. You can also add a video thumbnail image and you create some polls and questions for your viewers to interact with.
After that’s all sorted, it’s time to hit ‘Go Live’ in your streaming software, which will bring up a preview of your stream and also check the health of your stream. When you’re happy with how everything looks, hit ‘Go Live’ on the Live Producer page. You’ll then be redirected to the ‘Creator Studio’ page after a couple of seconds.
5. Monitoring your stream
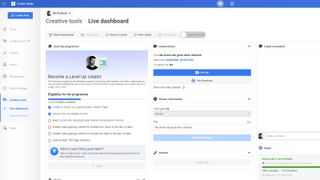
The Creator Studio is full of vital information such as your total viewers, stream information, stream health and latest comments you may have received. It’s a great way to get an overview of everything that’s happening when you’re live, so you’ll want to keep it open throughout your broadcast. When your stream is over, the Creator Studio provides a detailed breakdown of all the analytical data you could hope for, which should help you improve your streams in the future.
And that’s all there is to it. We hope our how to stream on Facebook Gaming guide has given you all the tips and tricks you need to broadcast yourself to the world. If you want to improve your stream and experience for your viewers, don’t forget to check out the best webcams and best USB microphones available.
- Stay in touch: how to use Facebook Messenger
Adam was formerly TRG's Hardware Editor. A law graduate with an exceptional track record in content creation and online engagement, Adam has penned scintillating copy for various technology sites and also established his very own award-nominated video games website. He’s previously worked at Nintendo of Europe as a Content Marketing Editor and once played Halo 5: Guardians for over 51 hours for charity. He is now an editor at The Shortcut.
Most Popular


