How to stream on Mixer
Mix it up
If you’ve ever watched a streamer and thought “hey, I could totally do this”, well the good news is you totally can! With our comprehensive guide on how to stream on Mixer, we’ll help you share your gameplay with the world on either PC or Xbox One (unfortunately the service isn’t available on PlayStation 4).
Mixer has been making some serious moves in the past few years to establish itself as the number one streaming platform. And while it might not have as many active users as its rival, Twitch, the Microsoft-owned service includes some compelling features and a growing community to interact with.
If you’ve ever wanted to prove you’re a pro gamer, then, there’s never been a better time to start streaming on Mixer. With the free screen-sharing software OBS Studio, it’s easier than ever to jump in and make your mark online. So what are you waiting for?
Getting started
1. Sign up with Mixer
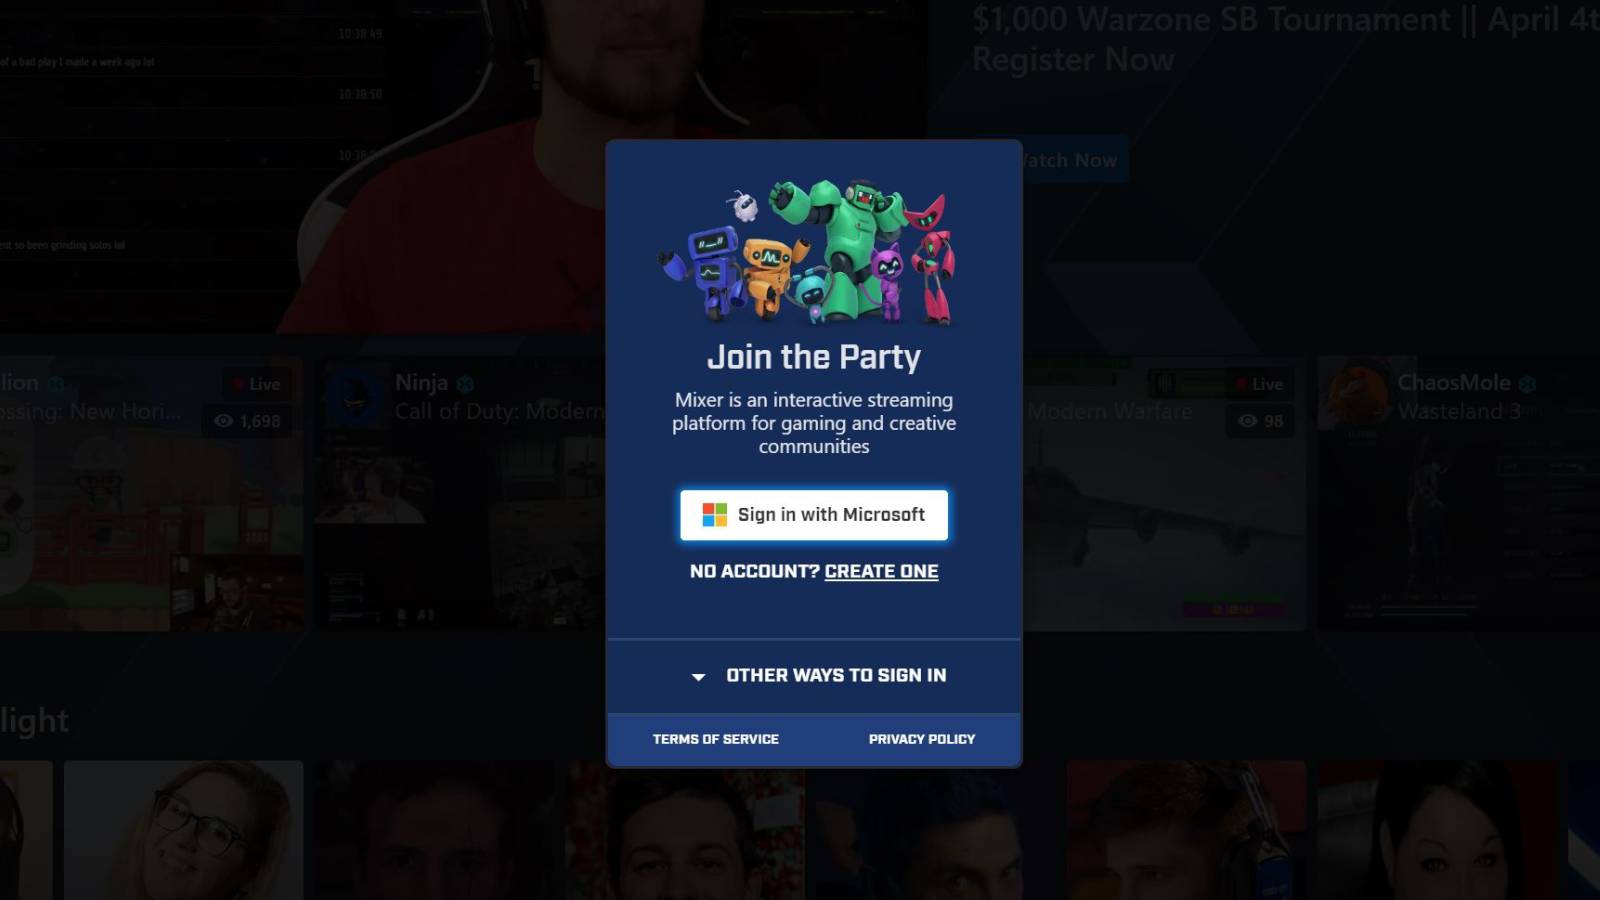
To get started on Mixer, you’ll need to sign up for a free account. Head over to Mixer.com and click ‘Sign in’ in the top-right corner. You’ll then be asked to create a Microsoft account if you don’t have one already.
2. Get a Stream key to broadcast on Mixer
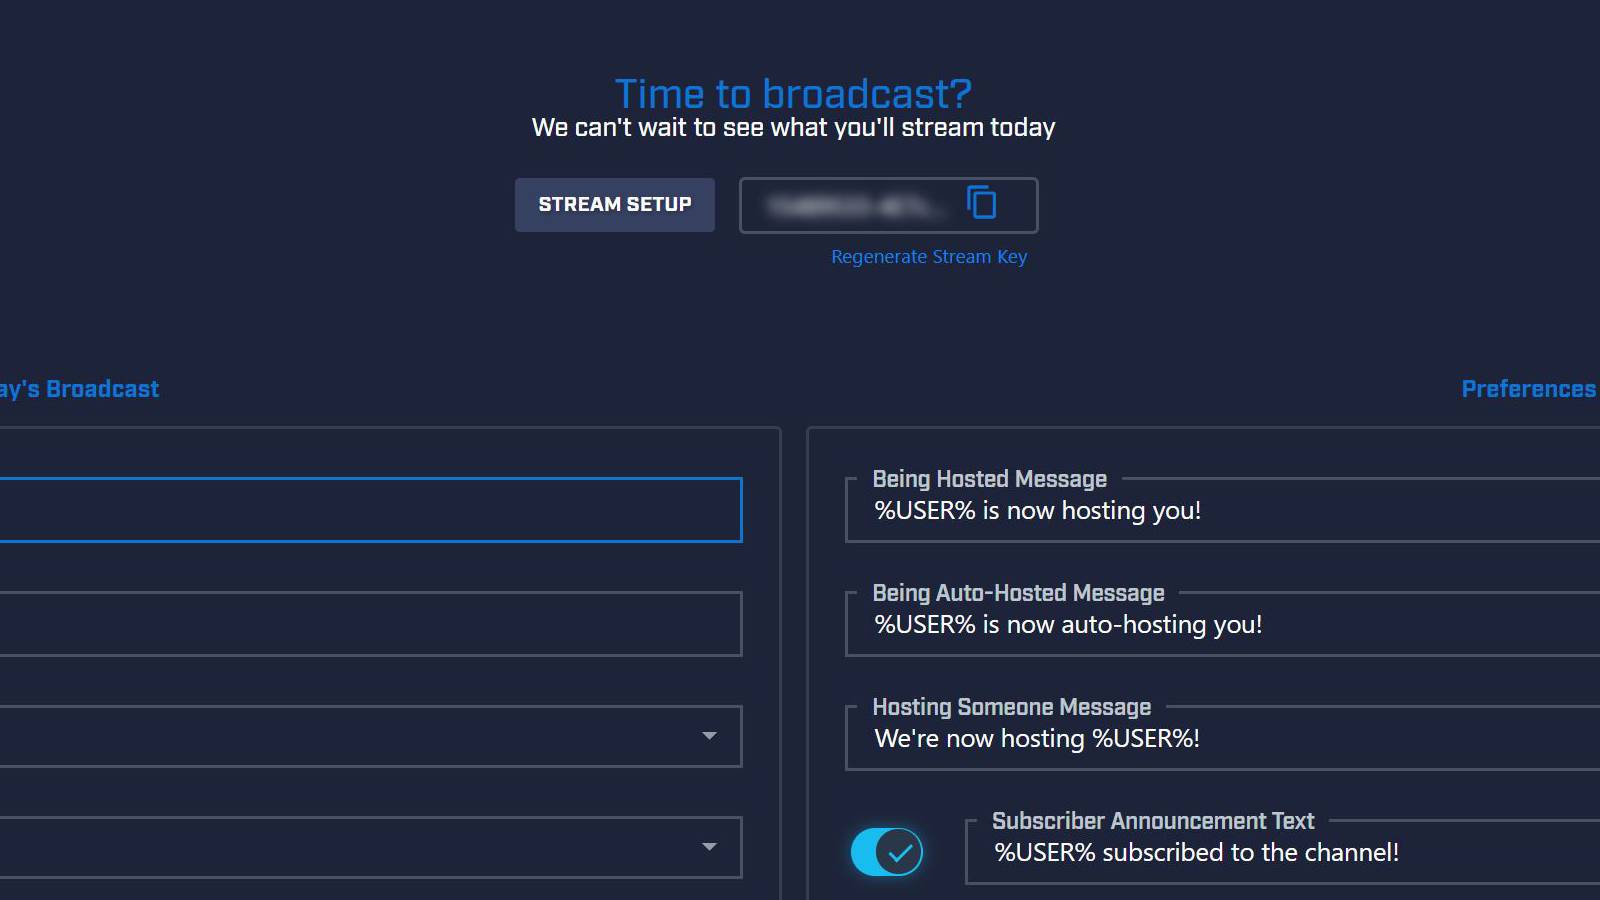
Before you can broadcast your epic gameplay, you’ll need to grab a Stream key once you’ve logged in.
Head over to your profile, which can be found in the top-right corner of the Mixer homepage, and click on ‘Broadcast Dashboard’. From here, click on ‘Stream Setup’ and choose the streaming software you plan on using. Copy your unique key code or store it locally for safe keeping, but remember not to share your key with anyone else, as this will let them stream on your channel.
How to stream on PC
How to stream on Mixer on PC and download OBS Studio
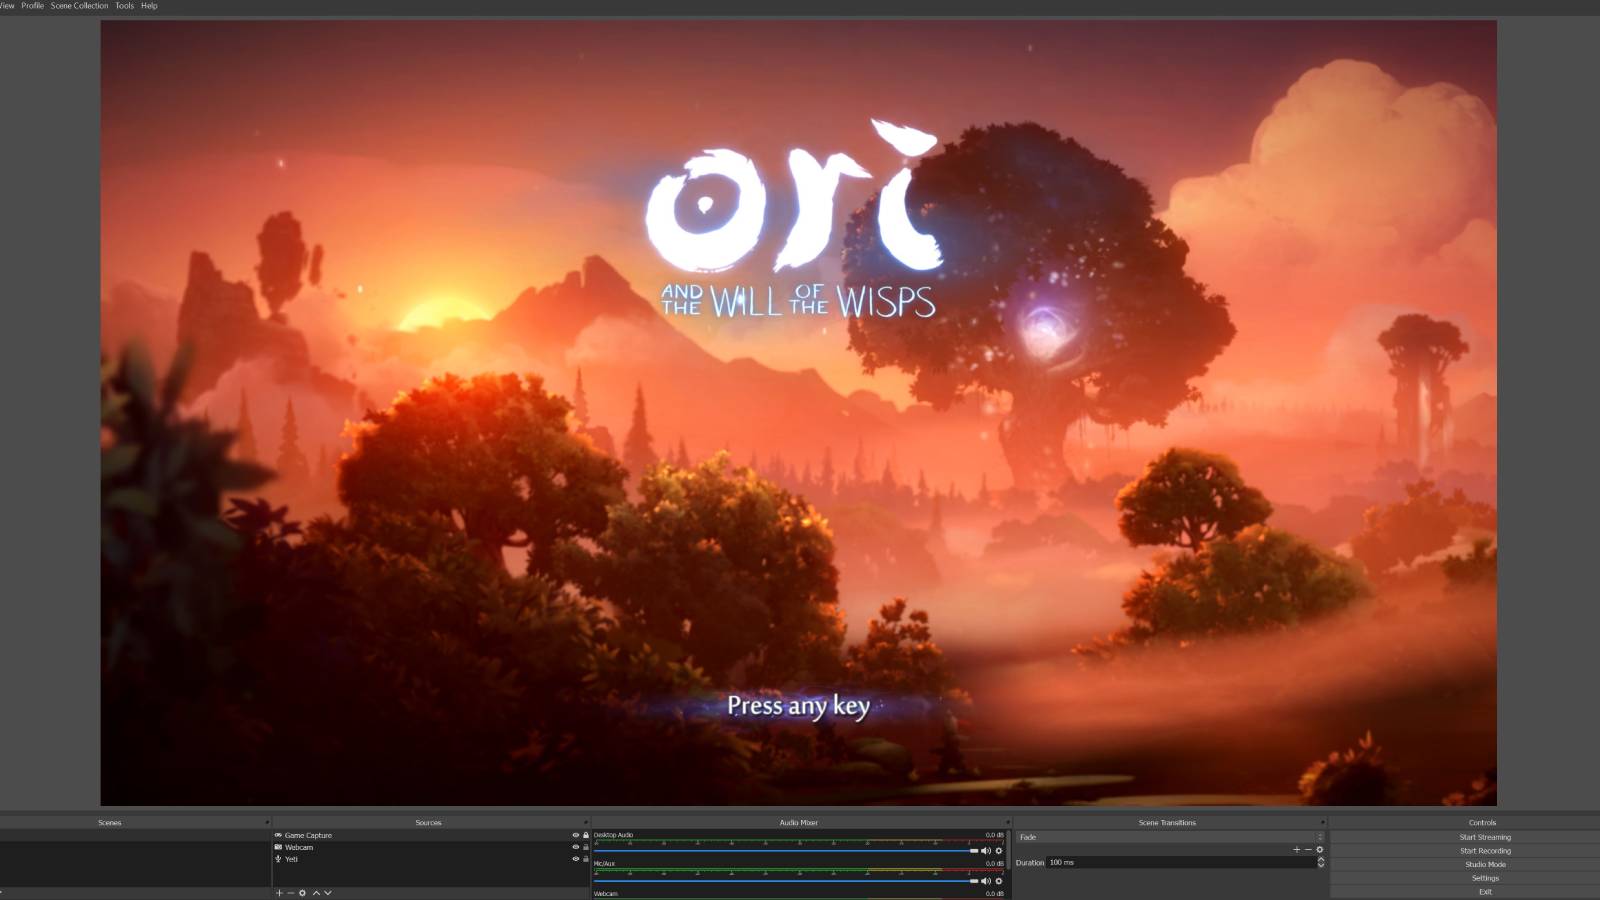
The majority of streamers tend to use a PC to broadcast their gameplay, and Mixer is thankfully easy to set up if you follow the instructions below. If you’d prefer to stream on Mixer directly using an Xbox One, scroll down to the relevant section in this guide.
Get daily insight, inspiration and deals in your inbox
Sign up for breaking news, reviews, opinion, top tech deals, and more.
To get started, you’ll need to download OBS Studio. The free capture program is available for Windows 10, macOS and Linux, and you can stream your games from a variety of different platforms.
The software can look a little daunting at first, but it’s fairly intuitive thanks to the auto-configuration wizard that pops up and helps you find the optimal settings for your hardware and internet speeds.
How to stream on Mixer on PC: enter your Stream key
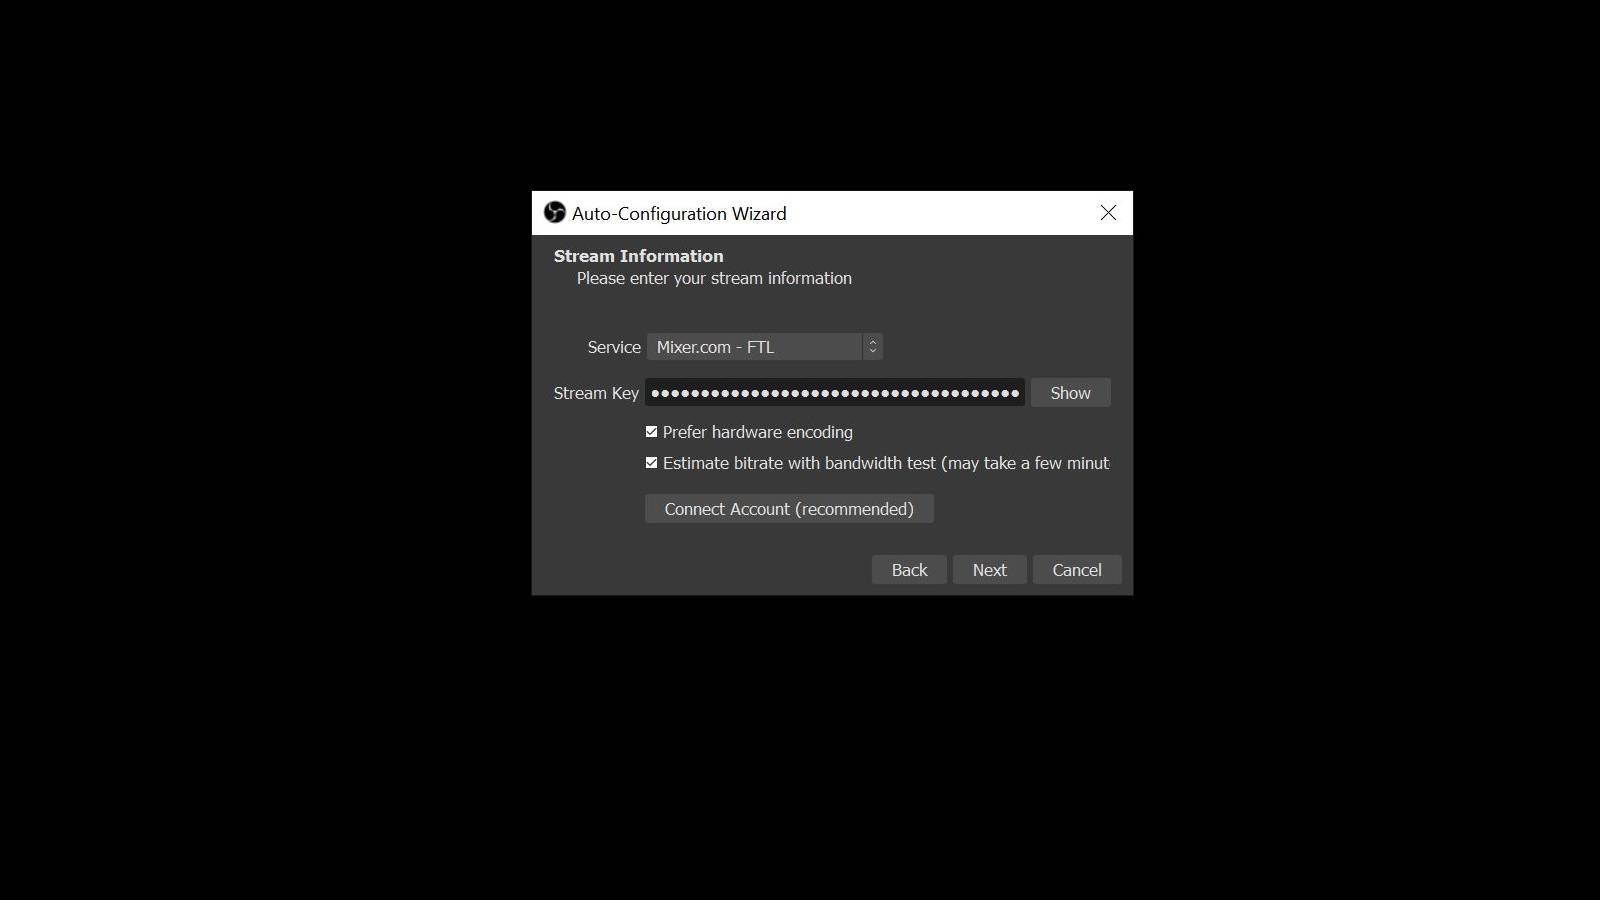
Using the auto-configuration wizard tool, select ‘optimize for streaming’ and click next. For video settings, choose your base or canvas resolution - this is what you’ll see on your monitor, and won’t necessarily be the same resolution as your actual stream.
Next, select the service you’d like to use. In this case, we’ll be selecting Mixer, which has two options: ‘FTL’ and ‘RTMP’. FTL is Mixer’s ‘faster than light’ technology, which significantly reduces the delay when a comment is made by a viewer in relation to what’s happening on your stream. We advise selecting Mixer FTL for a more interactive, real-time experience with your audience.
You’ll then need to paste your Stream key into the relevant box, and leave ‘hardware encoding’ and ‘estimate bitrate with bandwidth test’ ticked. You’ll also be asked to connect your Mixer account, which is recommended.
Now that’s out of the way, it’s time to launch the game you want to stream in OBS Studio. Head to the ‘Sources’ panel at the bottom of the program and click the ‘+’ button, then select ‘Game capture’ from the menu that pops up. Enter a suitable name, click ‘OK’ and then select the ‘Capture specific window’ option. Use the Window menu to select the game you have running and click ‘OK’.
How to stream on Mixer on PC: configure audio
Time for a quick audio check. You’ll find the Audio Mixer section to the right of the ‘Sources’ panel we just covered.
To broadcast game audio, make sure ‘Desktop audio’ is enabled. You might also see other devices in the Audio Mixer section at the bottom of the program, such as your microphone if you have one plugged in. Click the speaker icon to mute any other sounds.
If you want to add some voiceover to your gameplay, make sure you adjust the volume levels accordingly to avoid being drowned out by the game’s audio.
How to stream on Mixer on PC: start streaming
Once you’ve made those tweaks to your settings it’s time to start broadcasting. Unfortunately, depending on your hardware and connection speeds, you might not be able to stream at the highest possible fidelity. Thankfully, the auto-configuration wizard we used earlier will have determined the best possible video and streaming settings for you to use, so stick with that for now.
When you’re ready to go live, click the ‘Start Streaming’ button on the bottom right of the main panel - congrats, you’re now broadcasting live on Mixer! To stop broadcasting, simply click ‘Stop streaming’.
To see how your hardware’s coping with the stream, OBS Studio monitors the framerate, CPU usage, bandwidth usage and number of dropped frames in the bottom window.
How to stream on Mixer on PC: interact with your audience
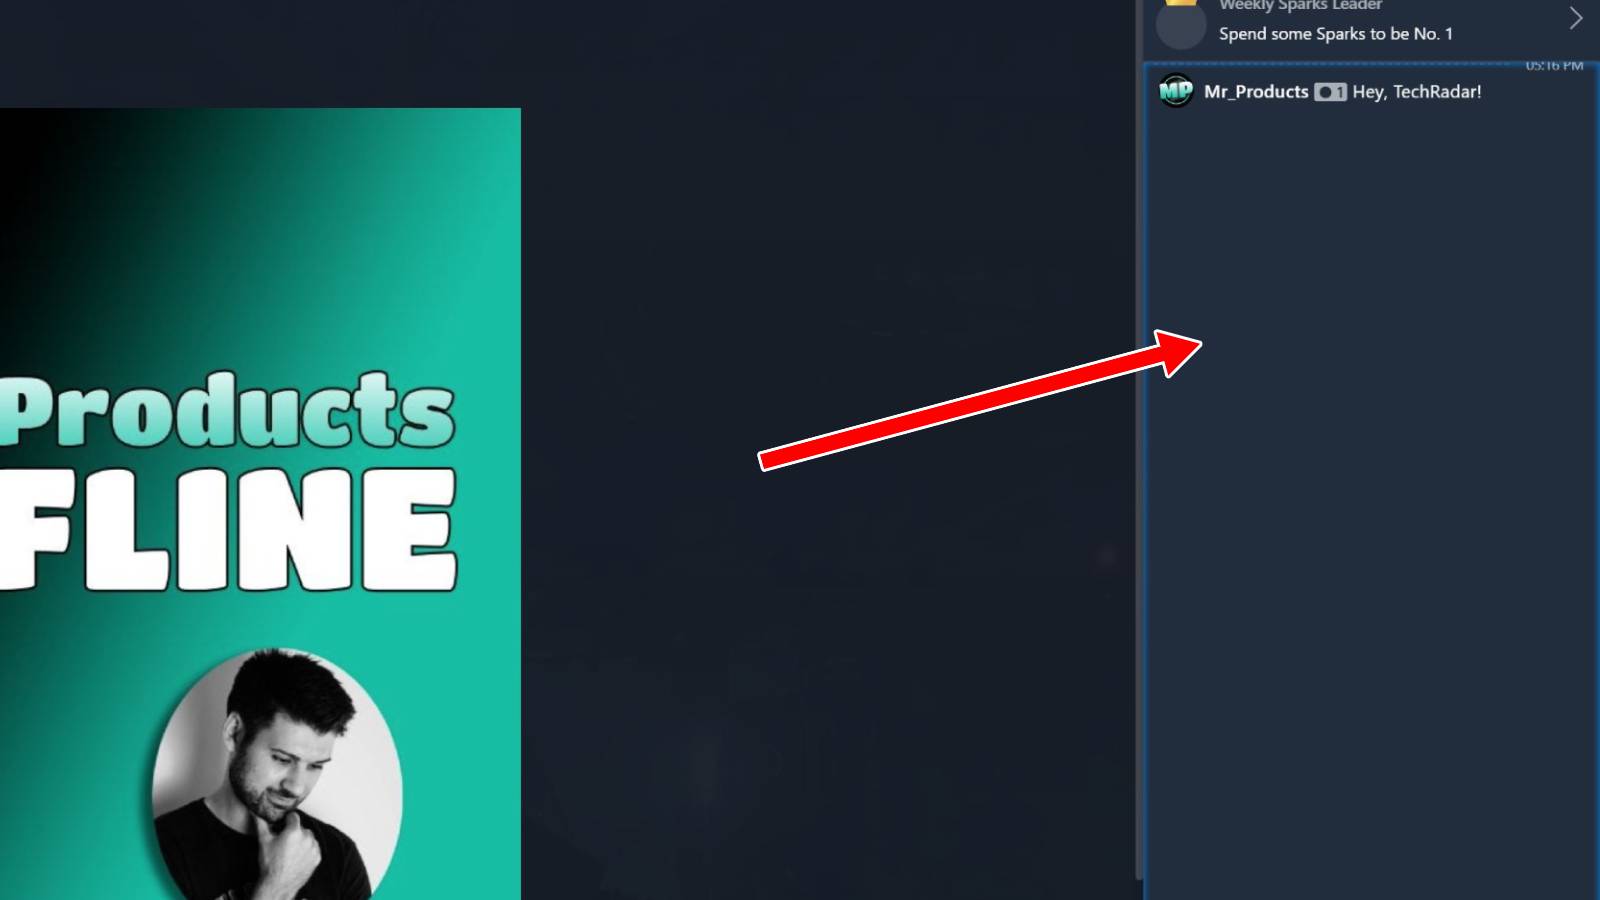
Mixer’s renowned for its friendly community, so you’ll want to keep an eye on your channel page to see who’s commenting and tuning in.
You can find the chat box to the right of the main window and exchange messages with viewers as well as share emoticons.
If you really want to take your stream to the next level, there’s the option to add specific scenes and more sources in OBS Studio. There’s a small learning curve to get over, but the payoff of having a professional looking stream is definitely worth it.
How to stream on Xbox One
How to stream on Xbox One: getting started
With Mixer support built-in, it’s quick and easy to stream on Xbox One. To get started, hit the Xbox Guide button, go to ‘Capture & Share’ in the quick navigation menu and select ‘Start broadcasting’.
How to stream on Mixer on Xbox One: setting up your stream
As Mixer uses your Microsoft account, you’ll likely already be signed in if you use the same account on your Xbox One. If not, follow the prompts on screen to sign in to Mixer.
Before you start broadcasting, it’s worth checking you have everything set up the way you want. You can change your stream title (pick something fun and engaging), turn on your microphone, plug in a webcam, or choose to broadcast audio from your party chat. Spend some time getting your settings just right.
How to stream on Mixer on Xbox One: broadcast your gameplay
Once that’s done, hit ‘Start broadcast’ and you’re good to go. You’ll see an overlay showing that you’re now live, the number of people tuning in, and icons that show whether your mic and camera are active. Your friends on Xbox Live will also receive a notification that you’re streaming if they’re online, and your profile will reflect that you’re broadcasting your gameplay.
The quality of your stream will be entirely dependent on your internet connection, so bear that in mind if your stream looks a bit fuzzy. Currently there’s no option to pick a desired broadcast quality, but generally the results are more than adequate. For a higher fidelity stream, we’d recommend using a PC if you have one available.
- Get a new gaming rig - the best gaming PC 2020
Adam was formerly TRG's Hardware Editor. A law graduate with an exceptional track record in content creation and online engagement, Adam has penned scintillating copy for various technology sites and also established his very own award-nominated video games website. He’s previously worked at Nintendo of Europe as a Content Marketing Editor and once played Halo 5: Guardians for over 51 hours for charity. He is now an editor at The Shortcut.
