Best budget studio lights: 8 tested
We name the best home-studio lighting kit
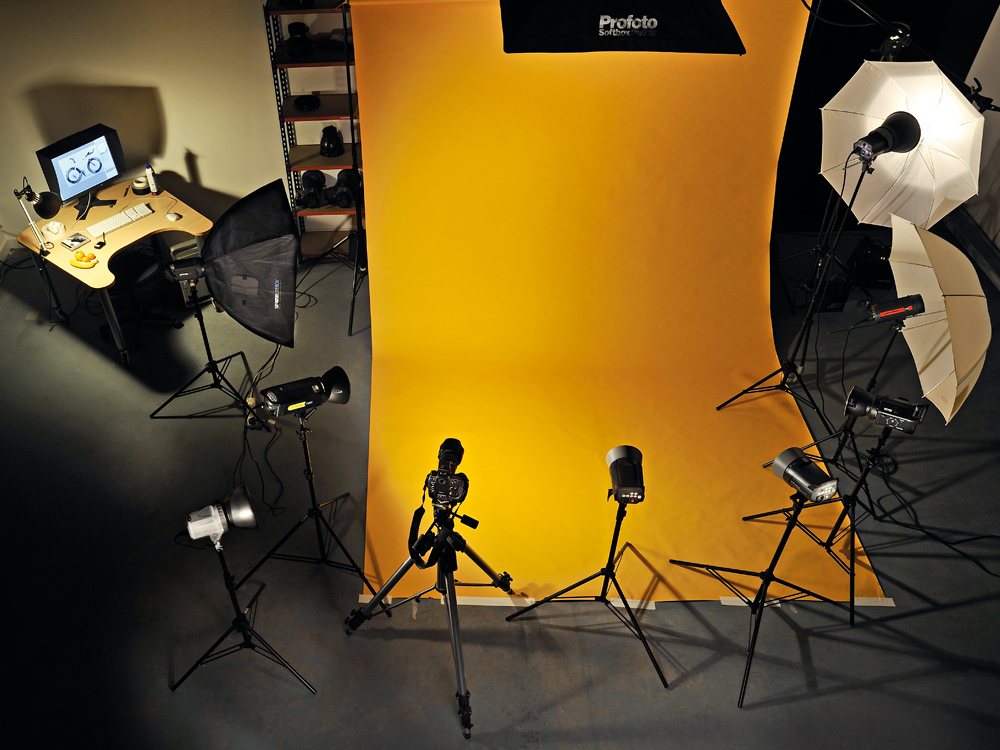
When you want to shoot portrait photos indoors, what should you do about lighting?
On a bright day with big windows, ambient light might just suffice, but most of the time you'll be reaching for your flashgun. Yet no matter how good your bounce and swivel technique, or what fancy flashgun diffusers you have to hand, the results are always going to be second best.
It's time to step up to a proper home-studio flash kit. Many photographers shy away from the prospect, thinking studio flash will be complicated, fiddly and expensive. We beg to differ.
Some of the latest kits are amazingly simple to use, offer excellent versatility, and are almost infinitely more controllable than a flashgun (or multiple wirelessly linked flashguns) for creating beautiful lighting. And that is, naturally, the most important ingredient for great shots.
Better still, some of the complete studio kits on test here actually cost less than a single mid-range flashgun.
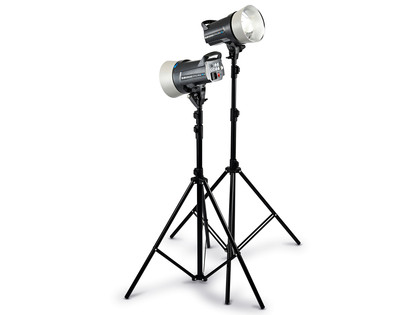
So what do you get for your money? At the heart of each kit on test is a pair of flash heads. Each head plugs directly into a mains electricity outlet and mounts on its own lighting stand.
The heads range in power from 150Ws (Watt-seconds) to 400Ws, the latter being preferable if you want to shoot family groups rather than individual portraits or relatively small still-life subjects.
The maximum height of the stands ranges from 1.9m to a giraffe-like 3.52m, but most top out at about 2.3m. That's plenty high enough for getting a respectable downward angle for portraiture, even when people are standing up.
Controlling light
Why you can trust TechRadar
The main advantage of studio flash compared with a flashgun is that you can get much softer, more natural-looking lighting. It all comes down to the size of the light source and its distance from the subject.
For example, the sun is huge but is 93 million miles away, whereas a flashgun is much closer but has a very small flash tube. Both give a hard light that's harsh, unflattering and can be downright ugly. By contrast, the business end of a studio flash head is larger, and its area is made bigger still by fitting a softbox or brolly.
Opinion is divided on which is best. Brollies take no time at all to put up, just like a regular umbrella. Most of the kits in this group that come with brollies have one or two translucent models. Also called 'shoot-through' brollies, these mount in front of the flash head and the flash fires through them, so the effective light source becomes the same size as the brolly itself.
Silver brollies work the other way around, in that they face away from the subject and light from the flash head is bounced back off the silvered surface. This tends to produce a slightly harder light, which works well for children with young, wrinkle-free skin.
The downside to brollies, especially shoot-through ones, is that the light fires out at all angles, bouncing off walls and ceilings, so it's more difficult to control.
A softbox has black sides so all the light is essentially forward-facing. They're much more time-consuming to put together than extending a brolly, but are a better bet when you want a more directional light source.
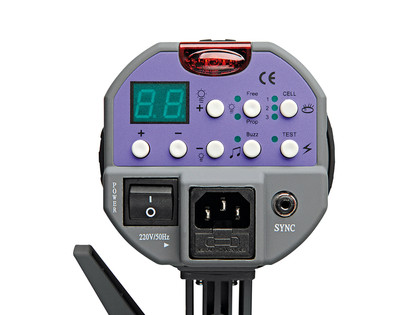
Flash heads contain not one but two bulbs. As well as the main flash tube, a secondary 'modelling lamp' gives you a preview of how the results will look.
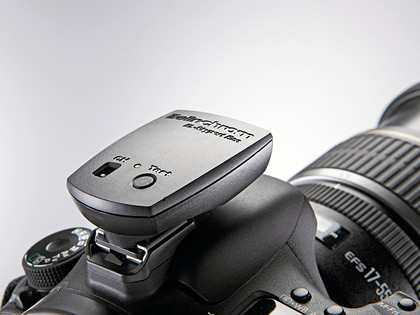
In every kit here apart from the Proline Apollo 180/180 Twin Head Kit, you can set the modelling lamp to a 'proportional' setting. This means that as you increase or decrease the power of the flash tube, the modelling lamp varies in intensity accordingly. It's handy for getting a rough idea of how the end results will look.
Even so, it's not as critical as used to be the case with film photography, since you can simply take test shots and review them on your camera's LCD screen.
The same goes for exposure, where a reviewed image and histogram on the camera's LCD display help you to fine-tune exposure settings. A typical camera setting for studio flash shots is f/8 at 1/125 sec.
This hits the sweet spot of most lenses for optimum optical quality, while a shutter speed of 1/125 sec ensures that the shutter is open for long enough to accommodate a full-power flash, complete with any slight delay in triggering. You'll therefore usually set the brightness of the image by altering the power setting of the flash heads.
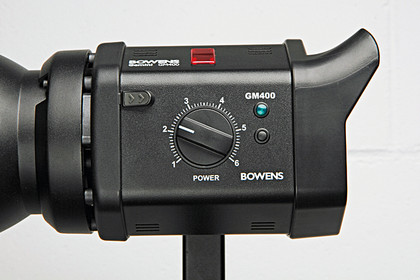
Precise, easily adjustable controls are a bonus.
Current page: Budget studio lights explained
Next Page Key studio light featuresGet daily insight, inspiration and deals in your inbox
Sign up for breaking news, reviews, opinion, top tech deals, and more.