I tried the first smartphone-based telescope and got next-level photos of the moon – next up, galaxies and nebulae
The Vaonis Hestia is the telescope for the masses
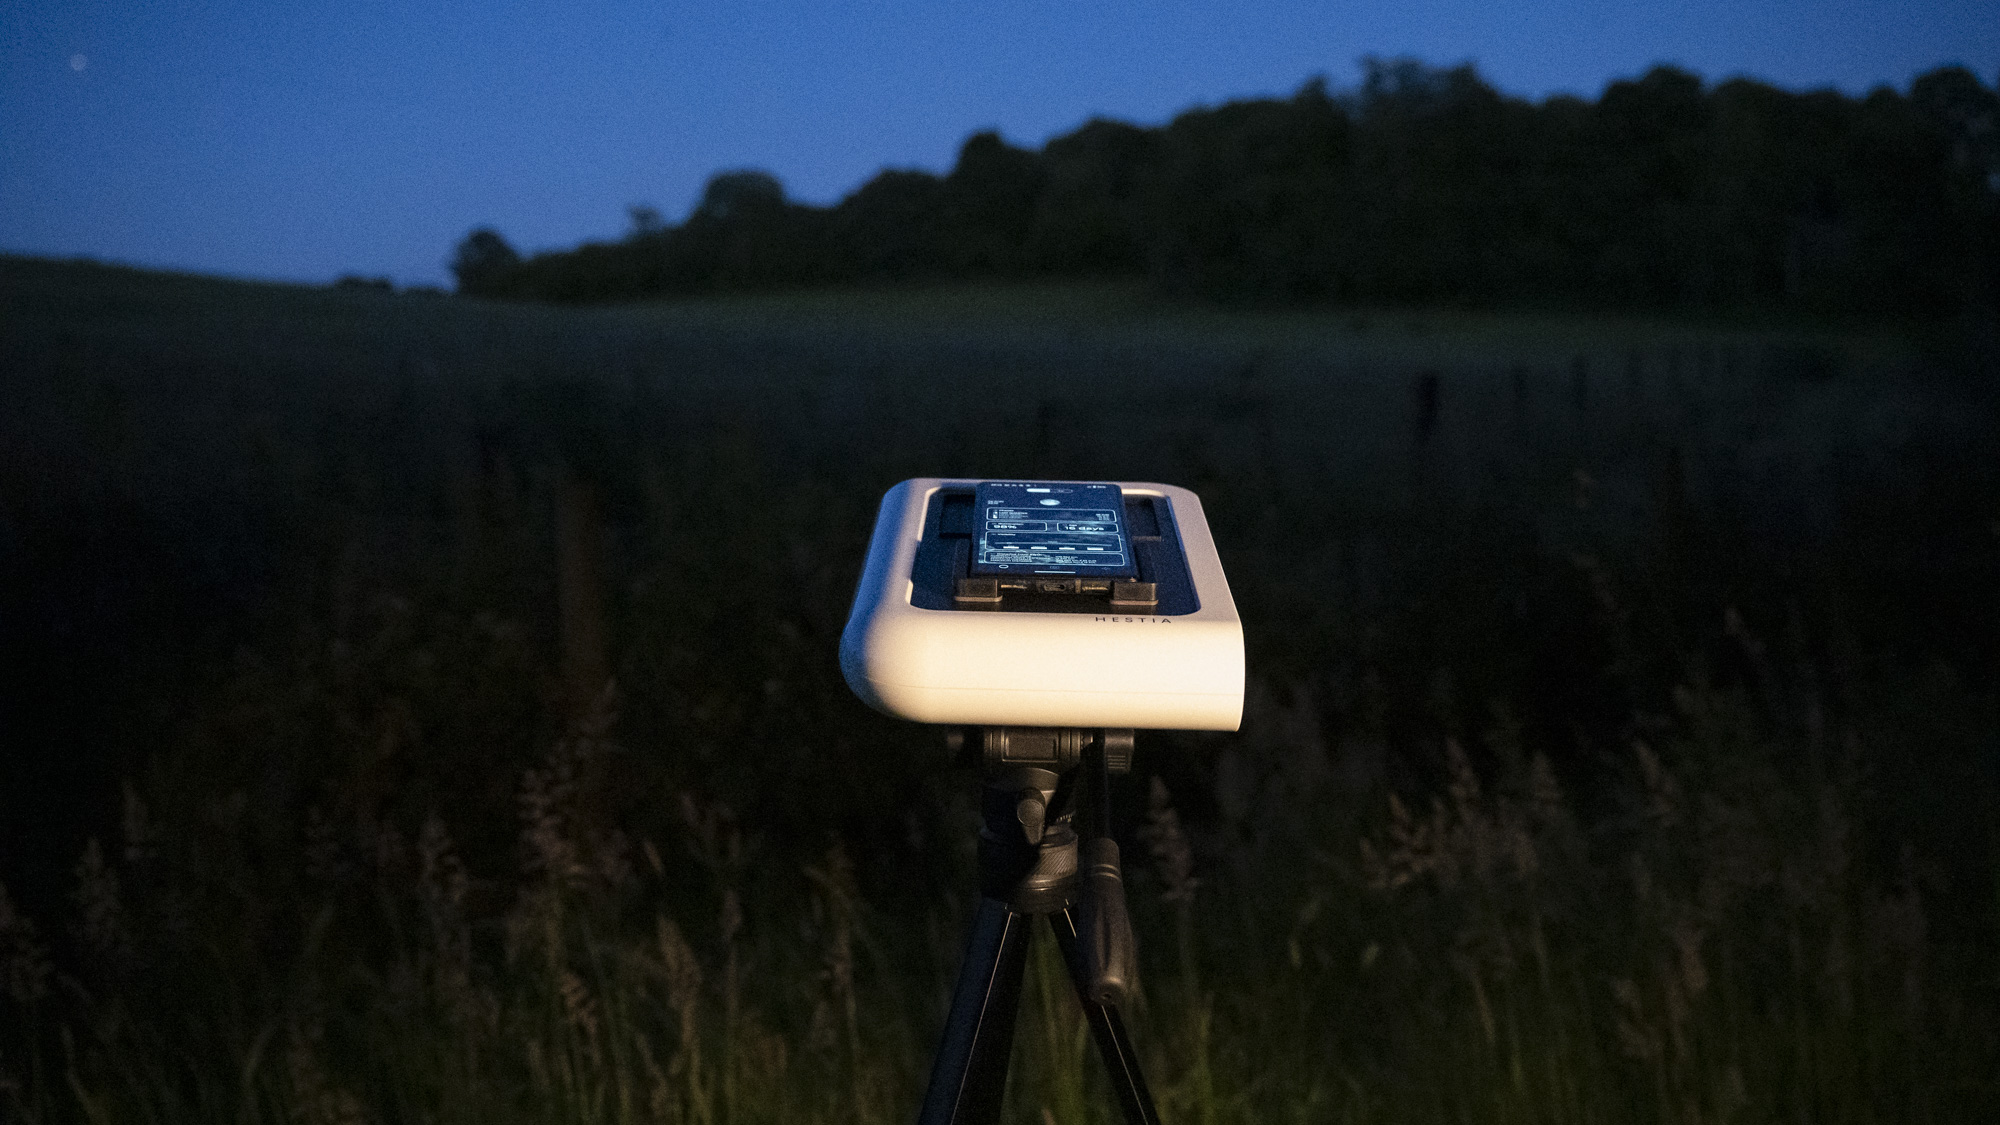
Telescopes are evolving, and their appeal is ever widening, and the Vaonis Hestia is the perfect example. It was first announced almost a year ago, billed as the world's first smartphone-based telescope. It's supposed to make astronomy more accessible than ever – and I've been putting it through its star-gazing paces.
The Hestia is a fresh take within a wave of new smart telescopes entering the world of astronomy in the last couple of years: Vaonis itself already makes the Vespera smart telescope, which can automatically detect what's visible in deep space at any given moment based on your location, and automatically shift its orientation to give you a closer look at your chosen galaxy, nebulae or distant planet. Oh, and it takes pictures too – it's astrophotography made easy.
The Vaonis Hestia is a simpler and significantly cheaper offering than Vespera – you have to do the hard work manually finding distant objects in the skies above, and its magnification is just 25x. However, for astrophotography novices it's the sensible option.
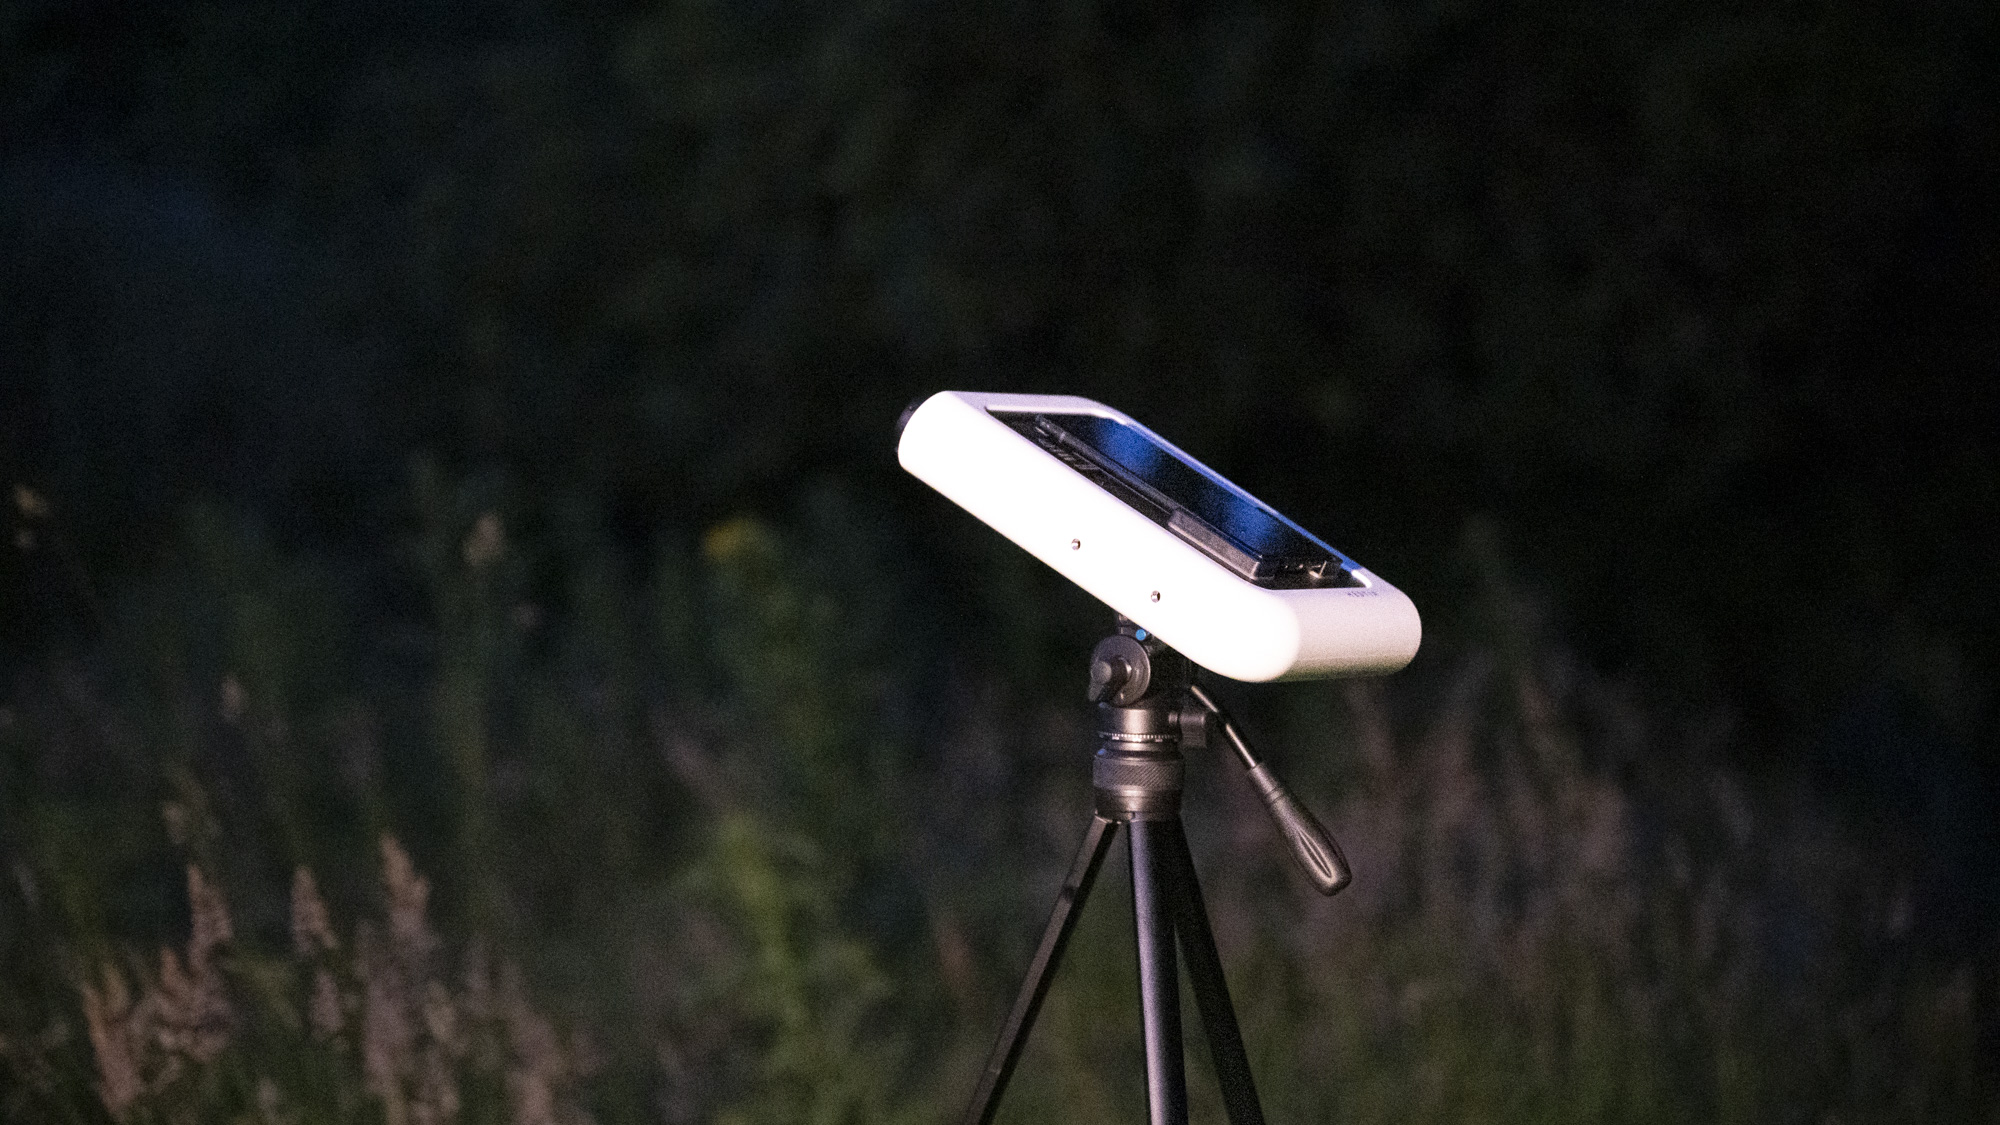
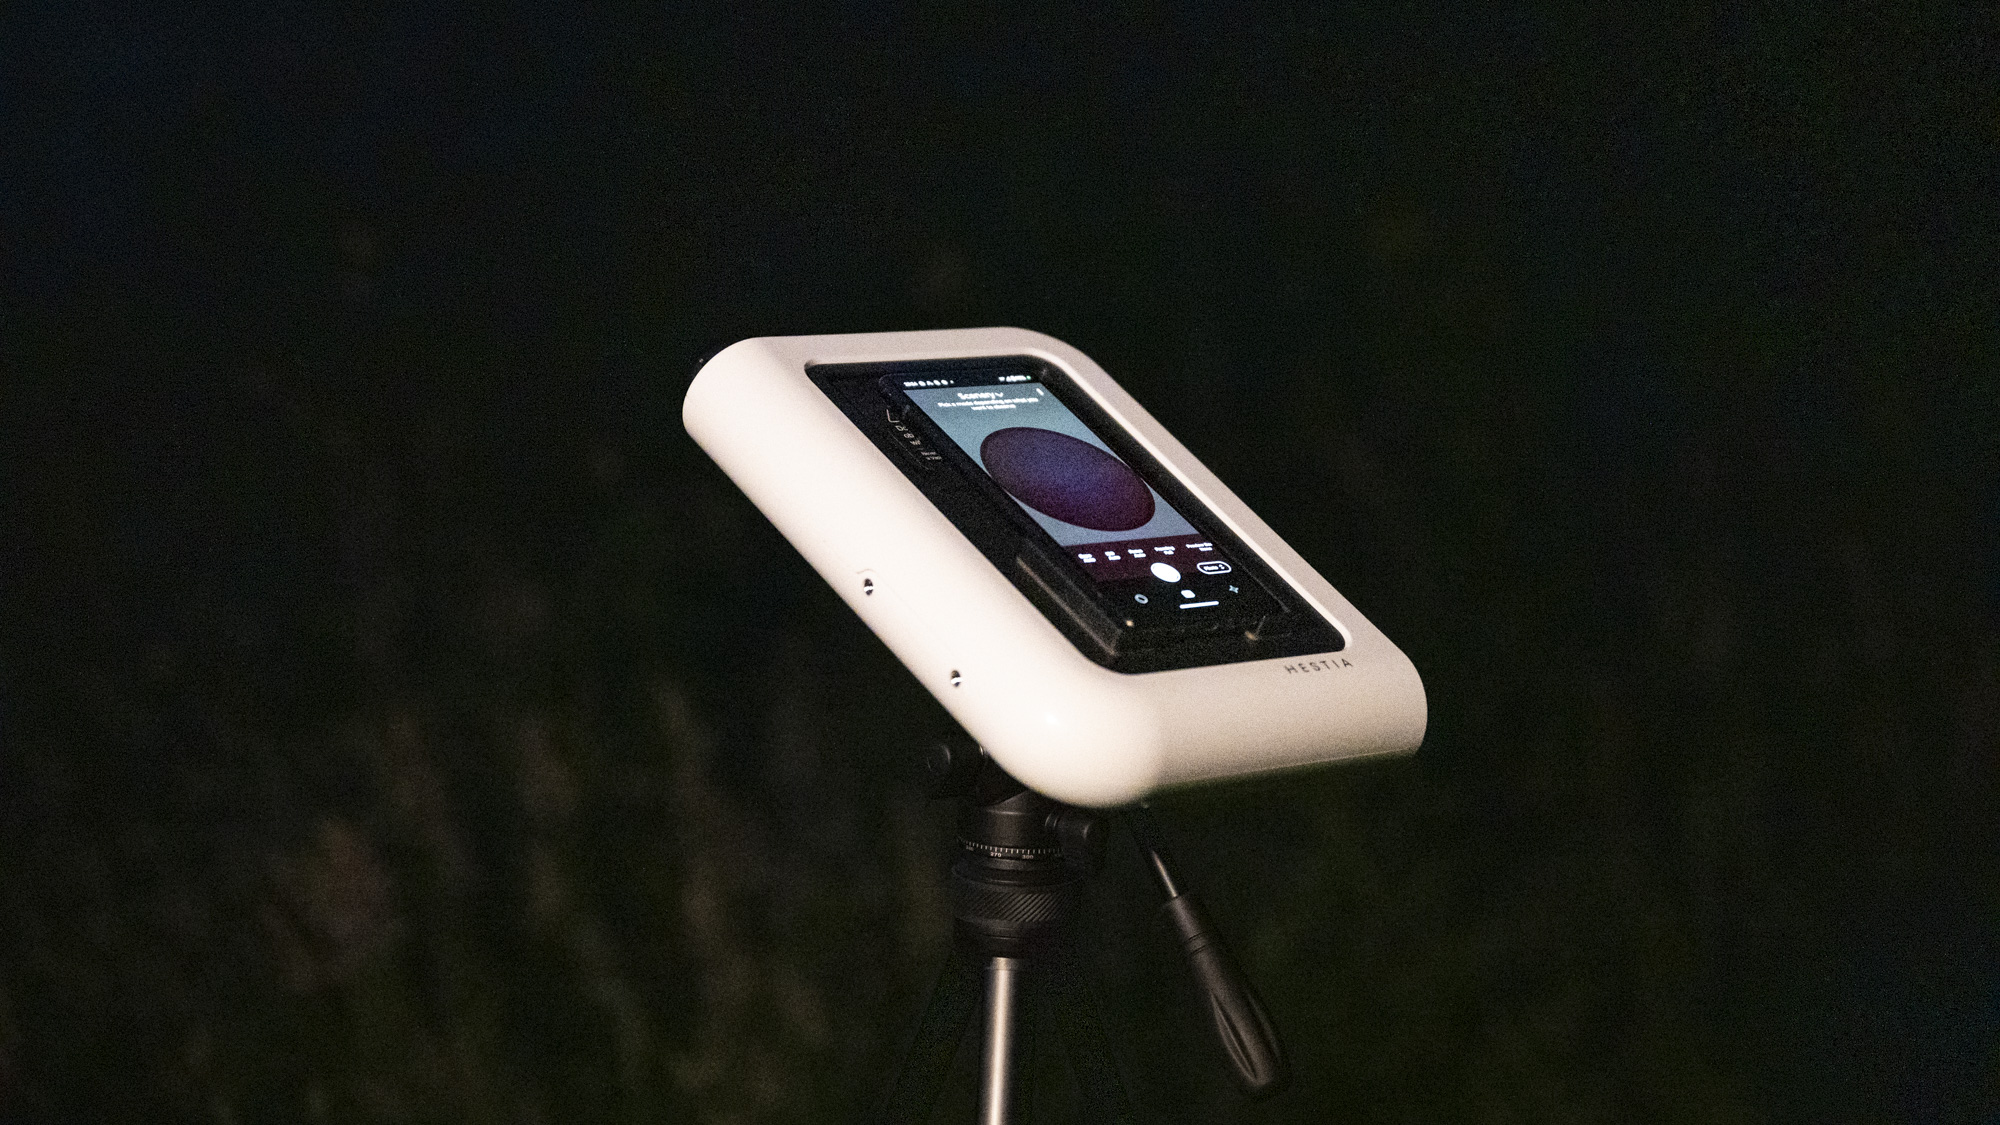
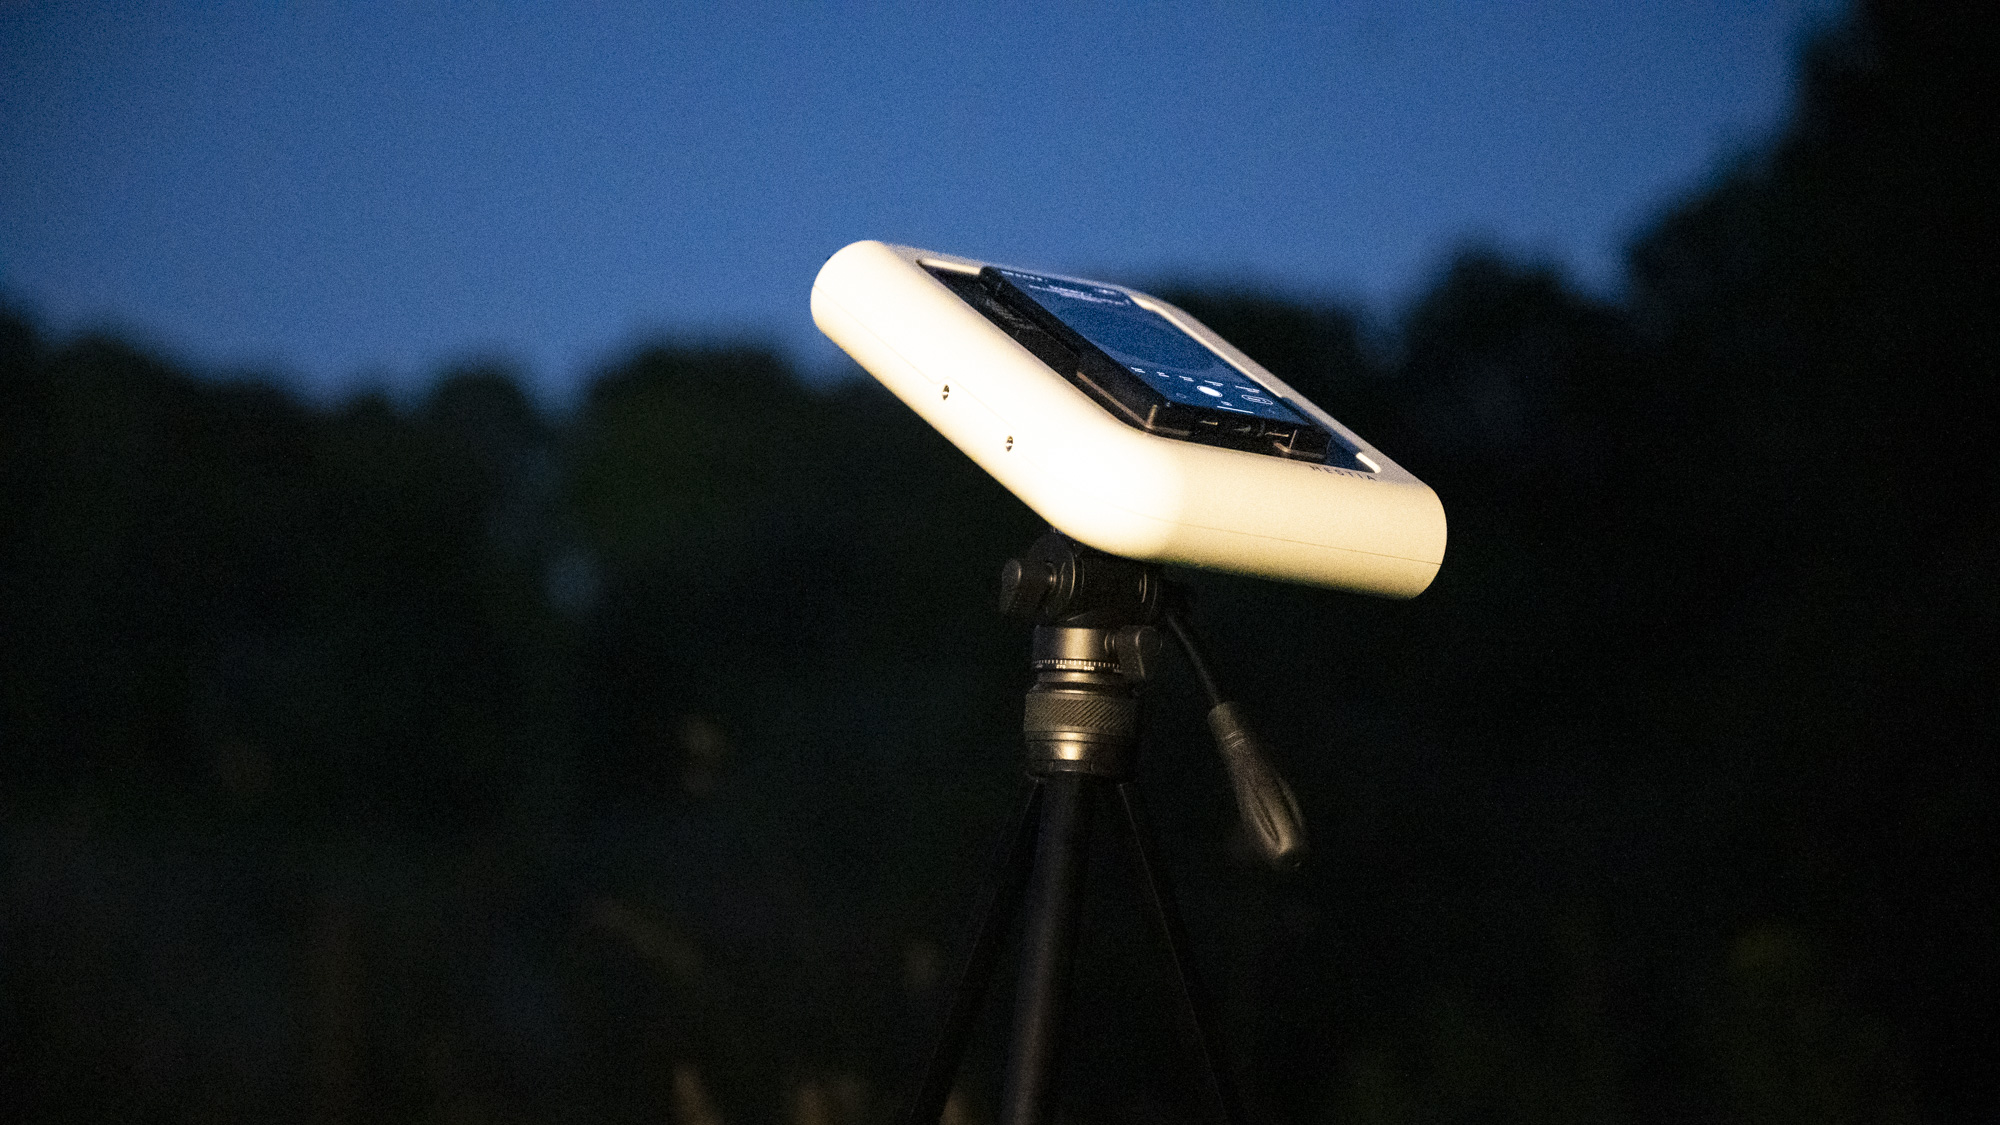
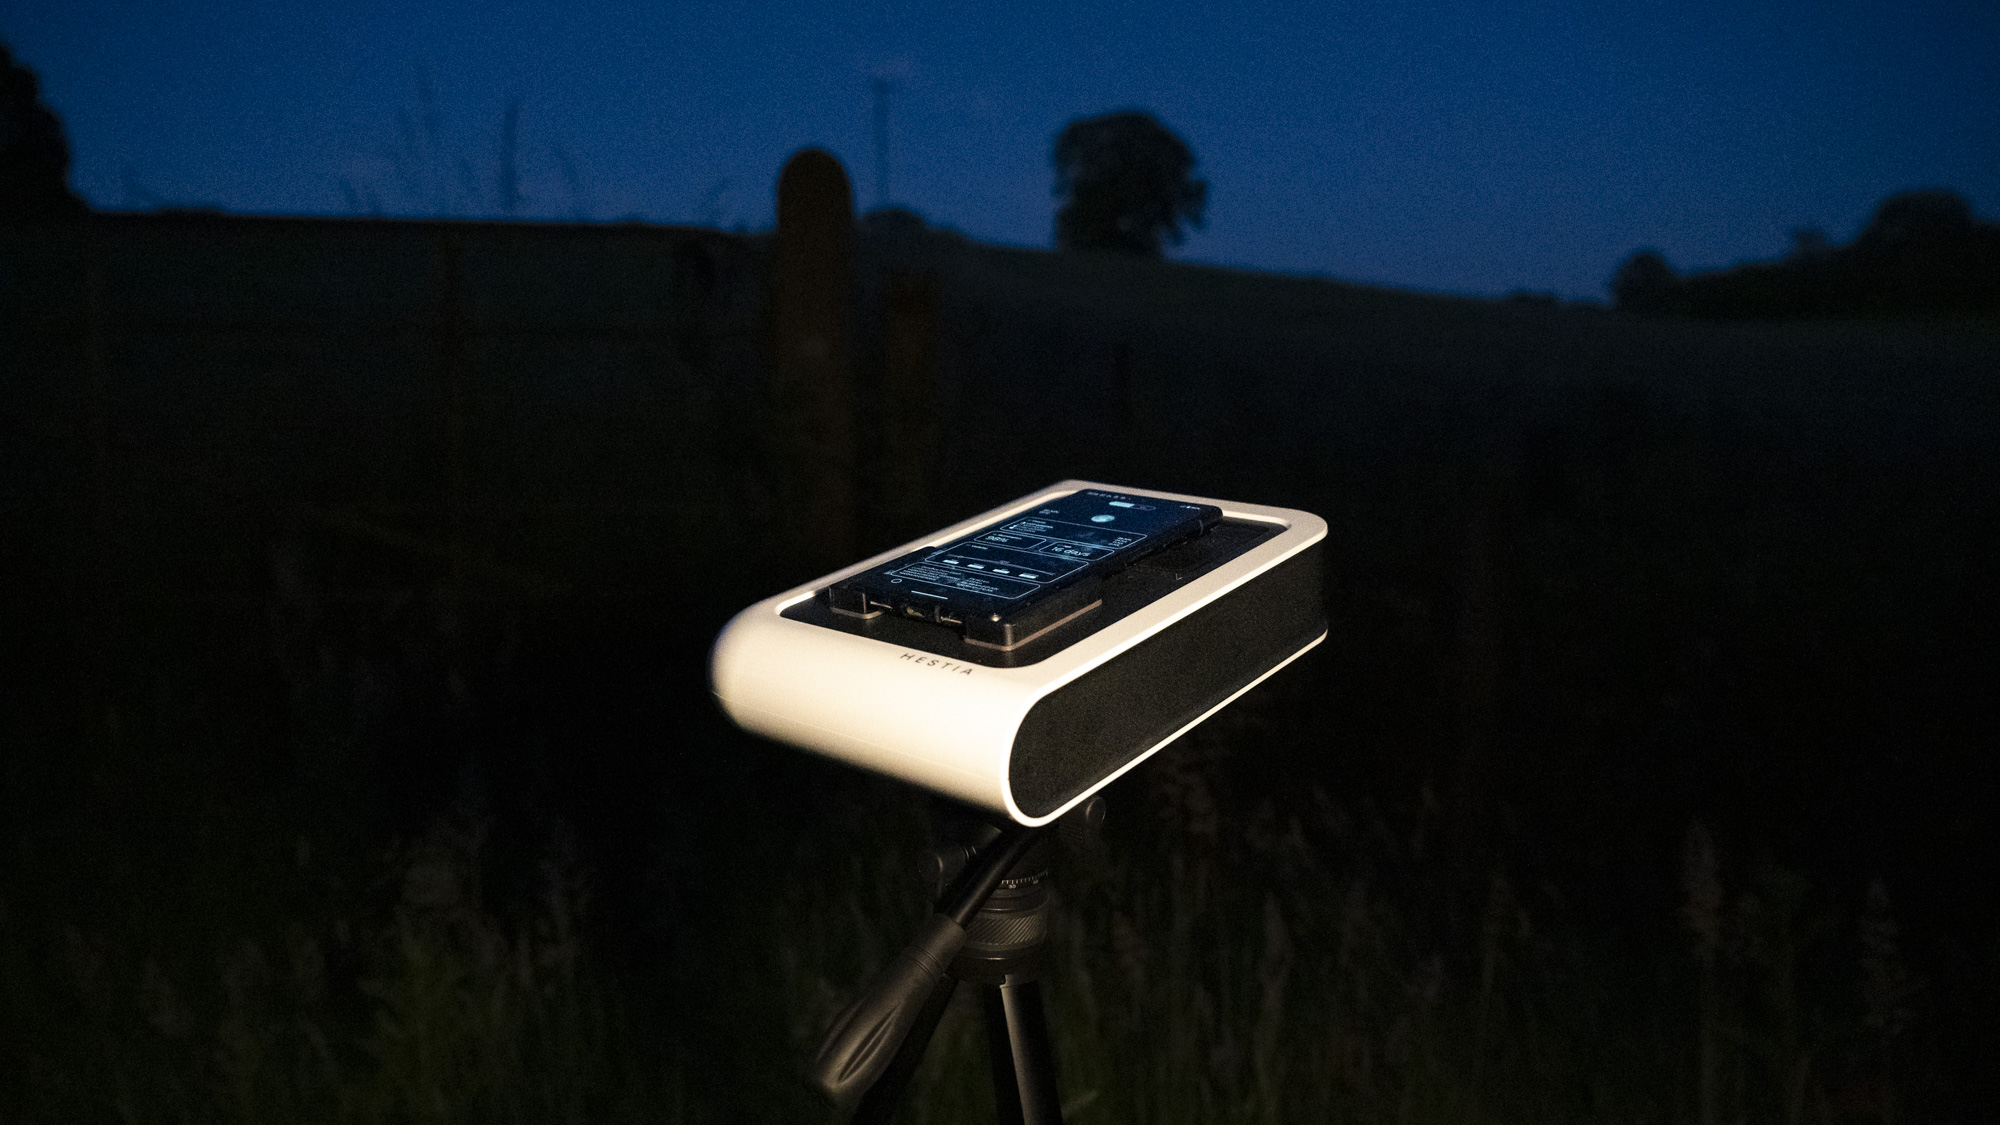
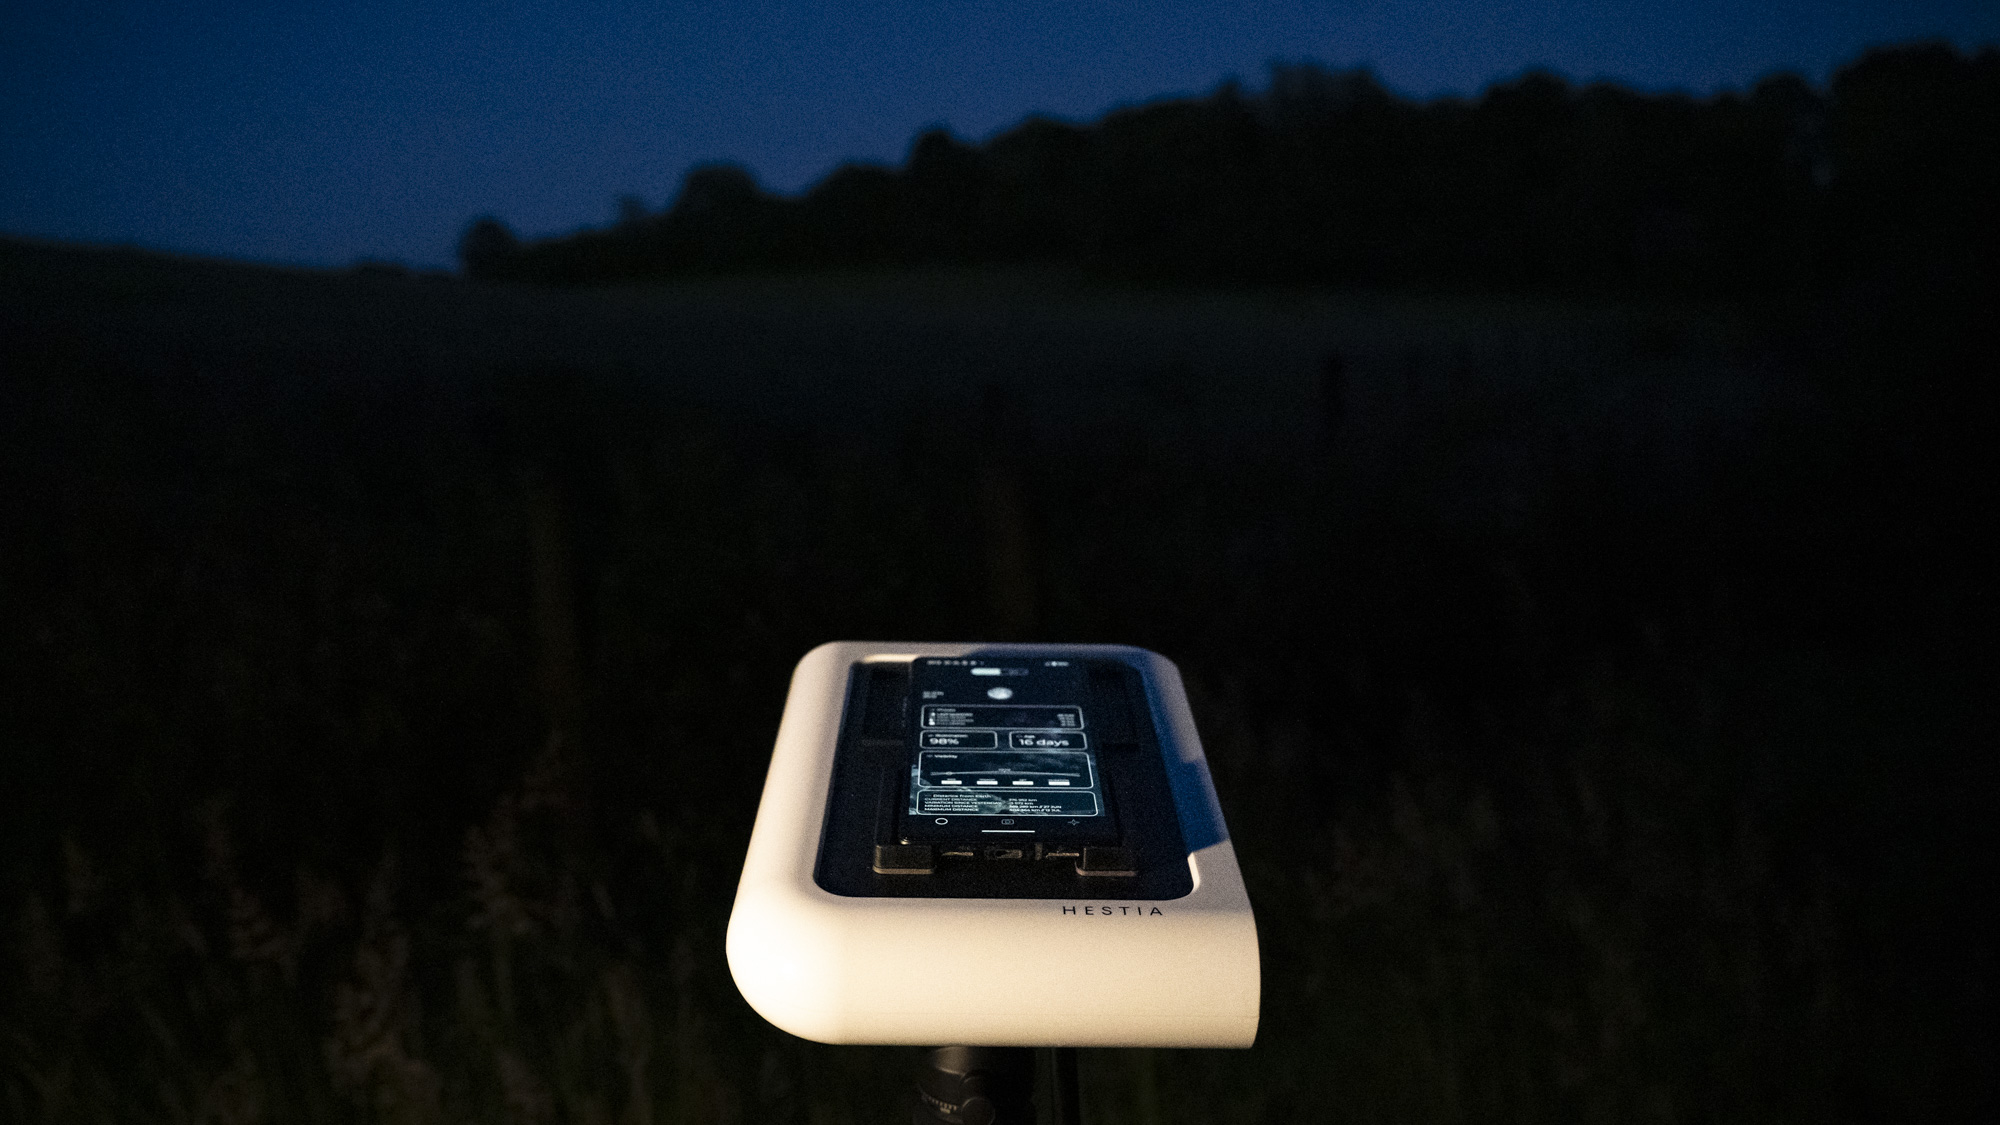
One reason is that it's cheap: the Hestia kit, which includes a tripod, is only $399 / £329. That's much cheaper than the best smart telescopes, which are typically 10x the cost. You can save a little by purchasing the Hestia without a tripod if you already have your own; however the Vaonis' tripod is custom-designed for the Hestia.
'Smartphone-based' means the Hestia utilizes your smartphone's camera, rather than featuring its own image sensor and built-in memory. That's certainly a factor in keeping down costs, and the best cameraphones are pretty darn good these days anyway, so the design choice makes perfect sense.
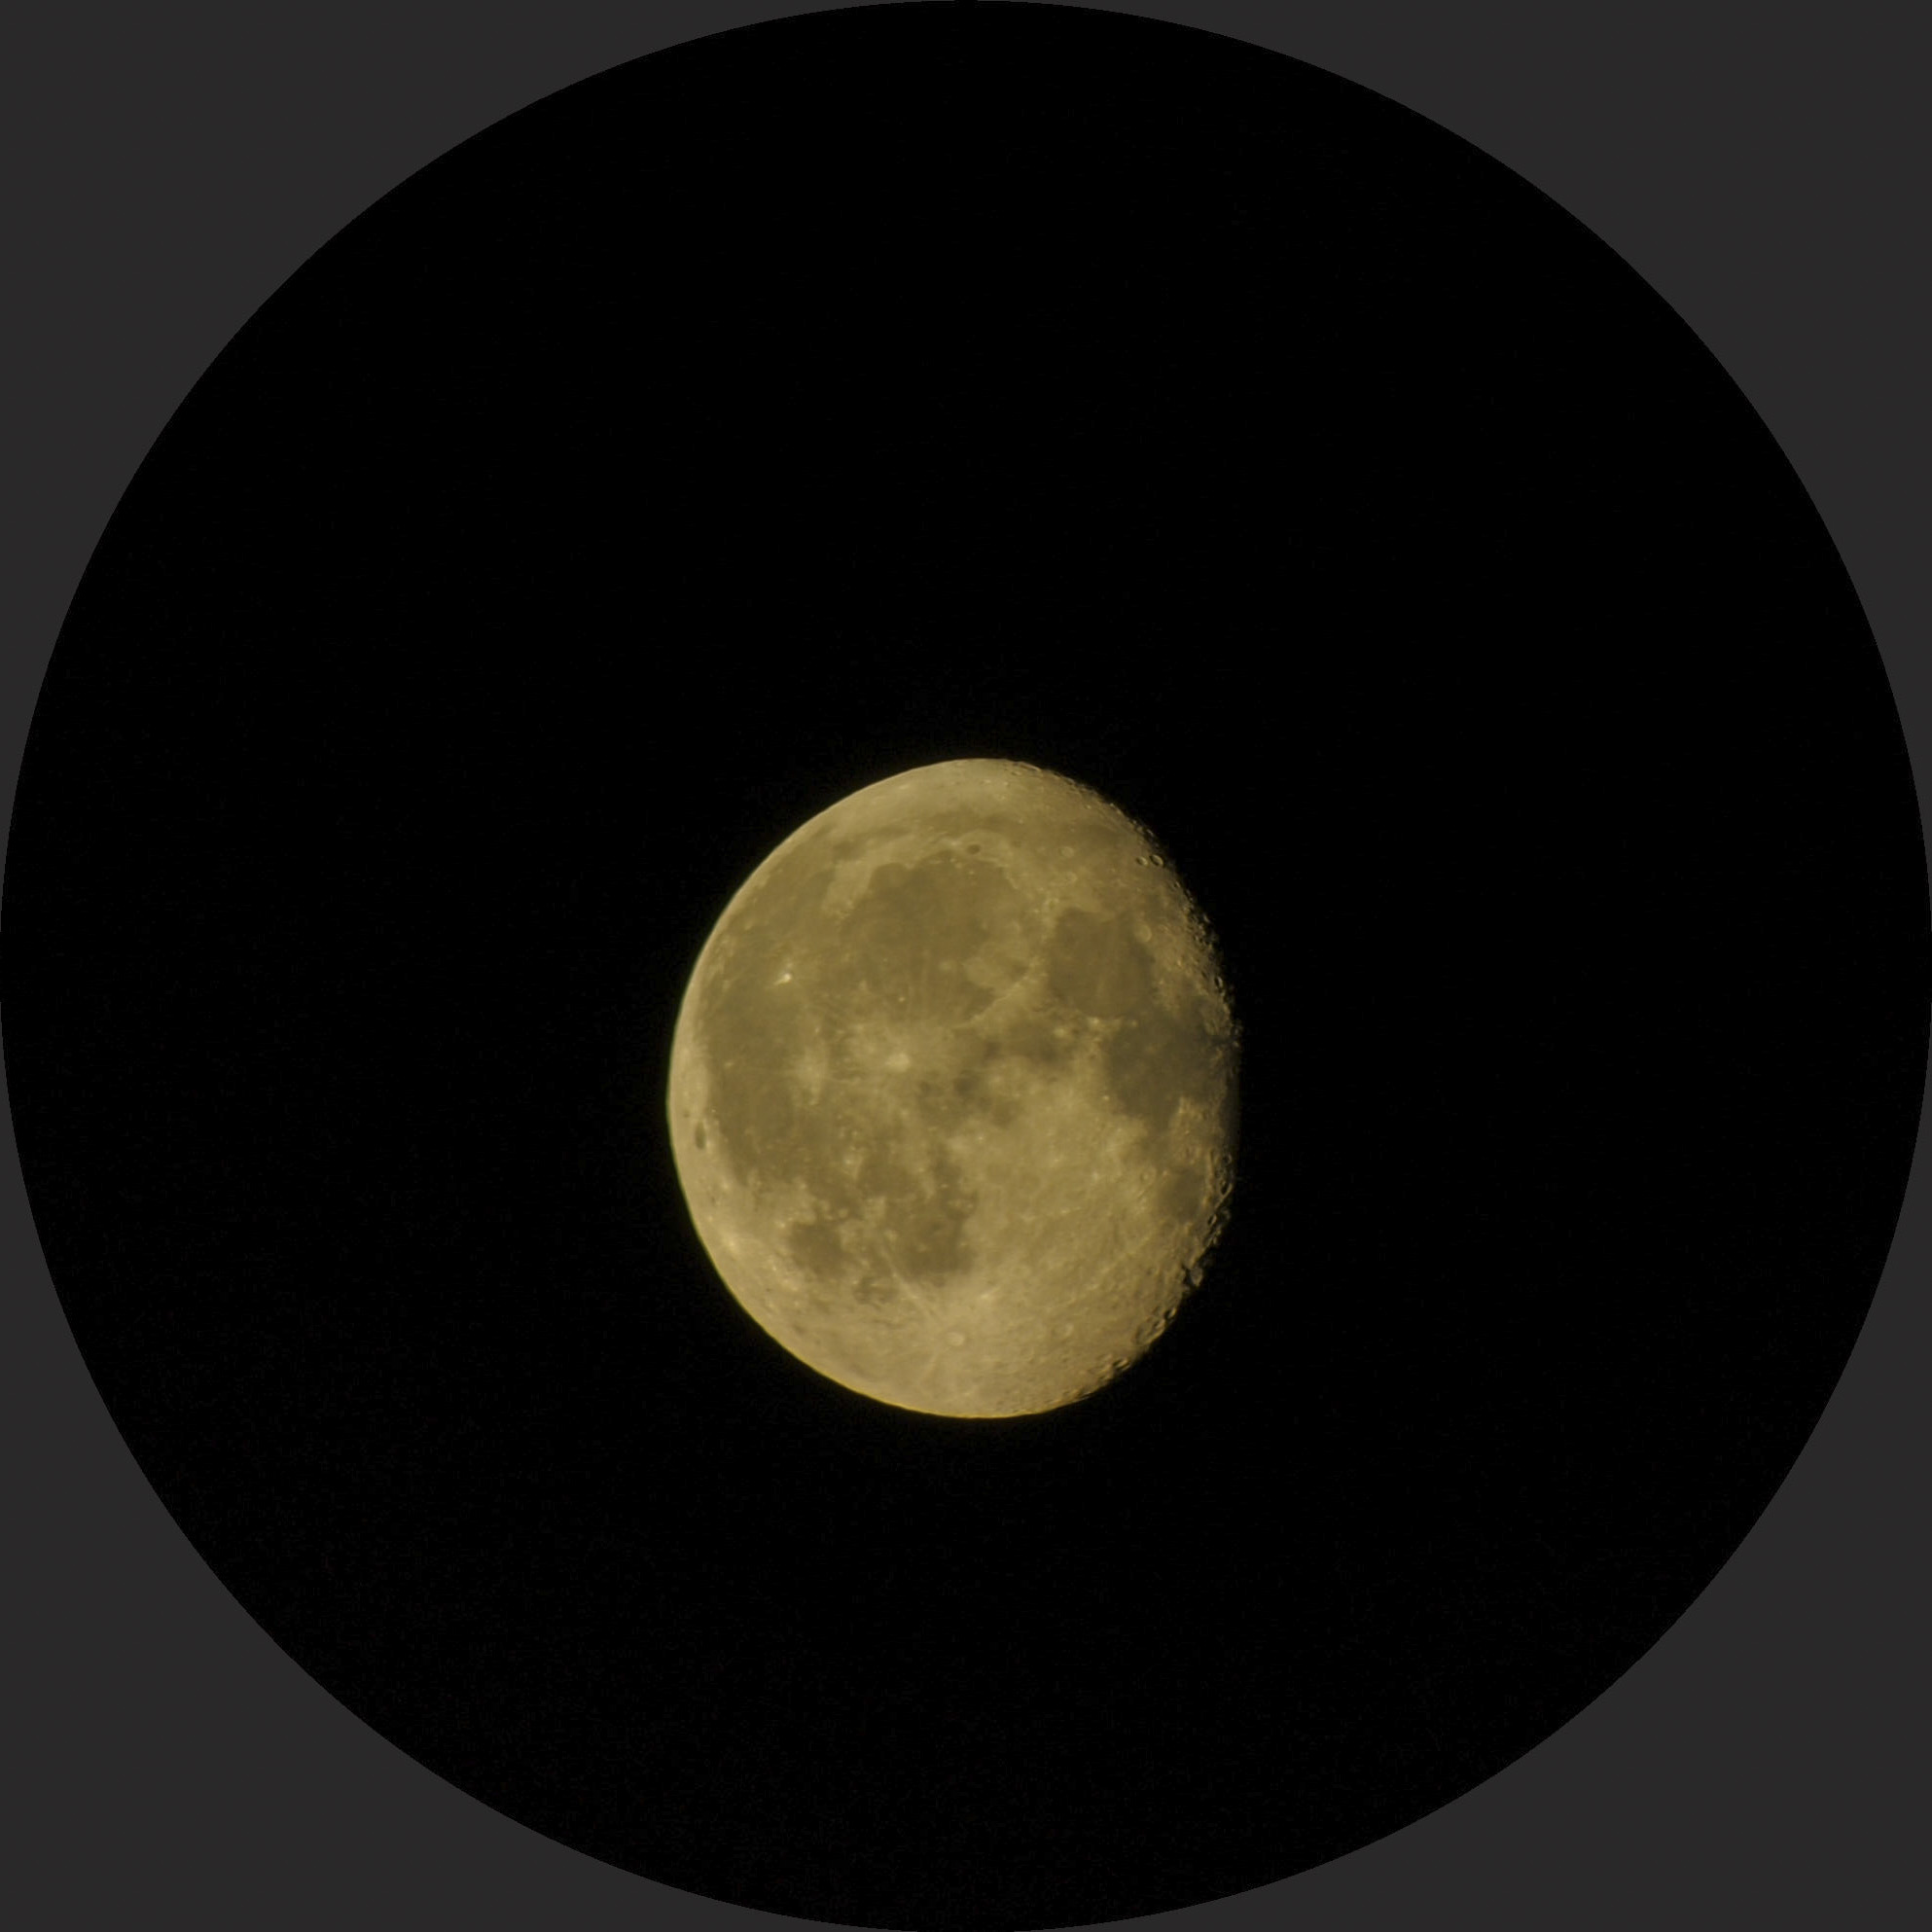
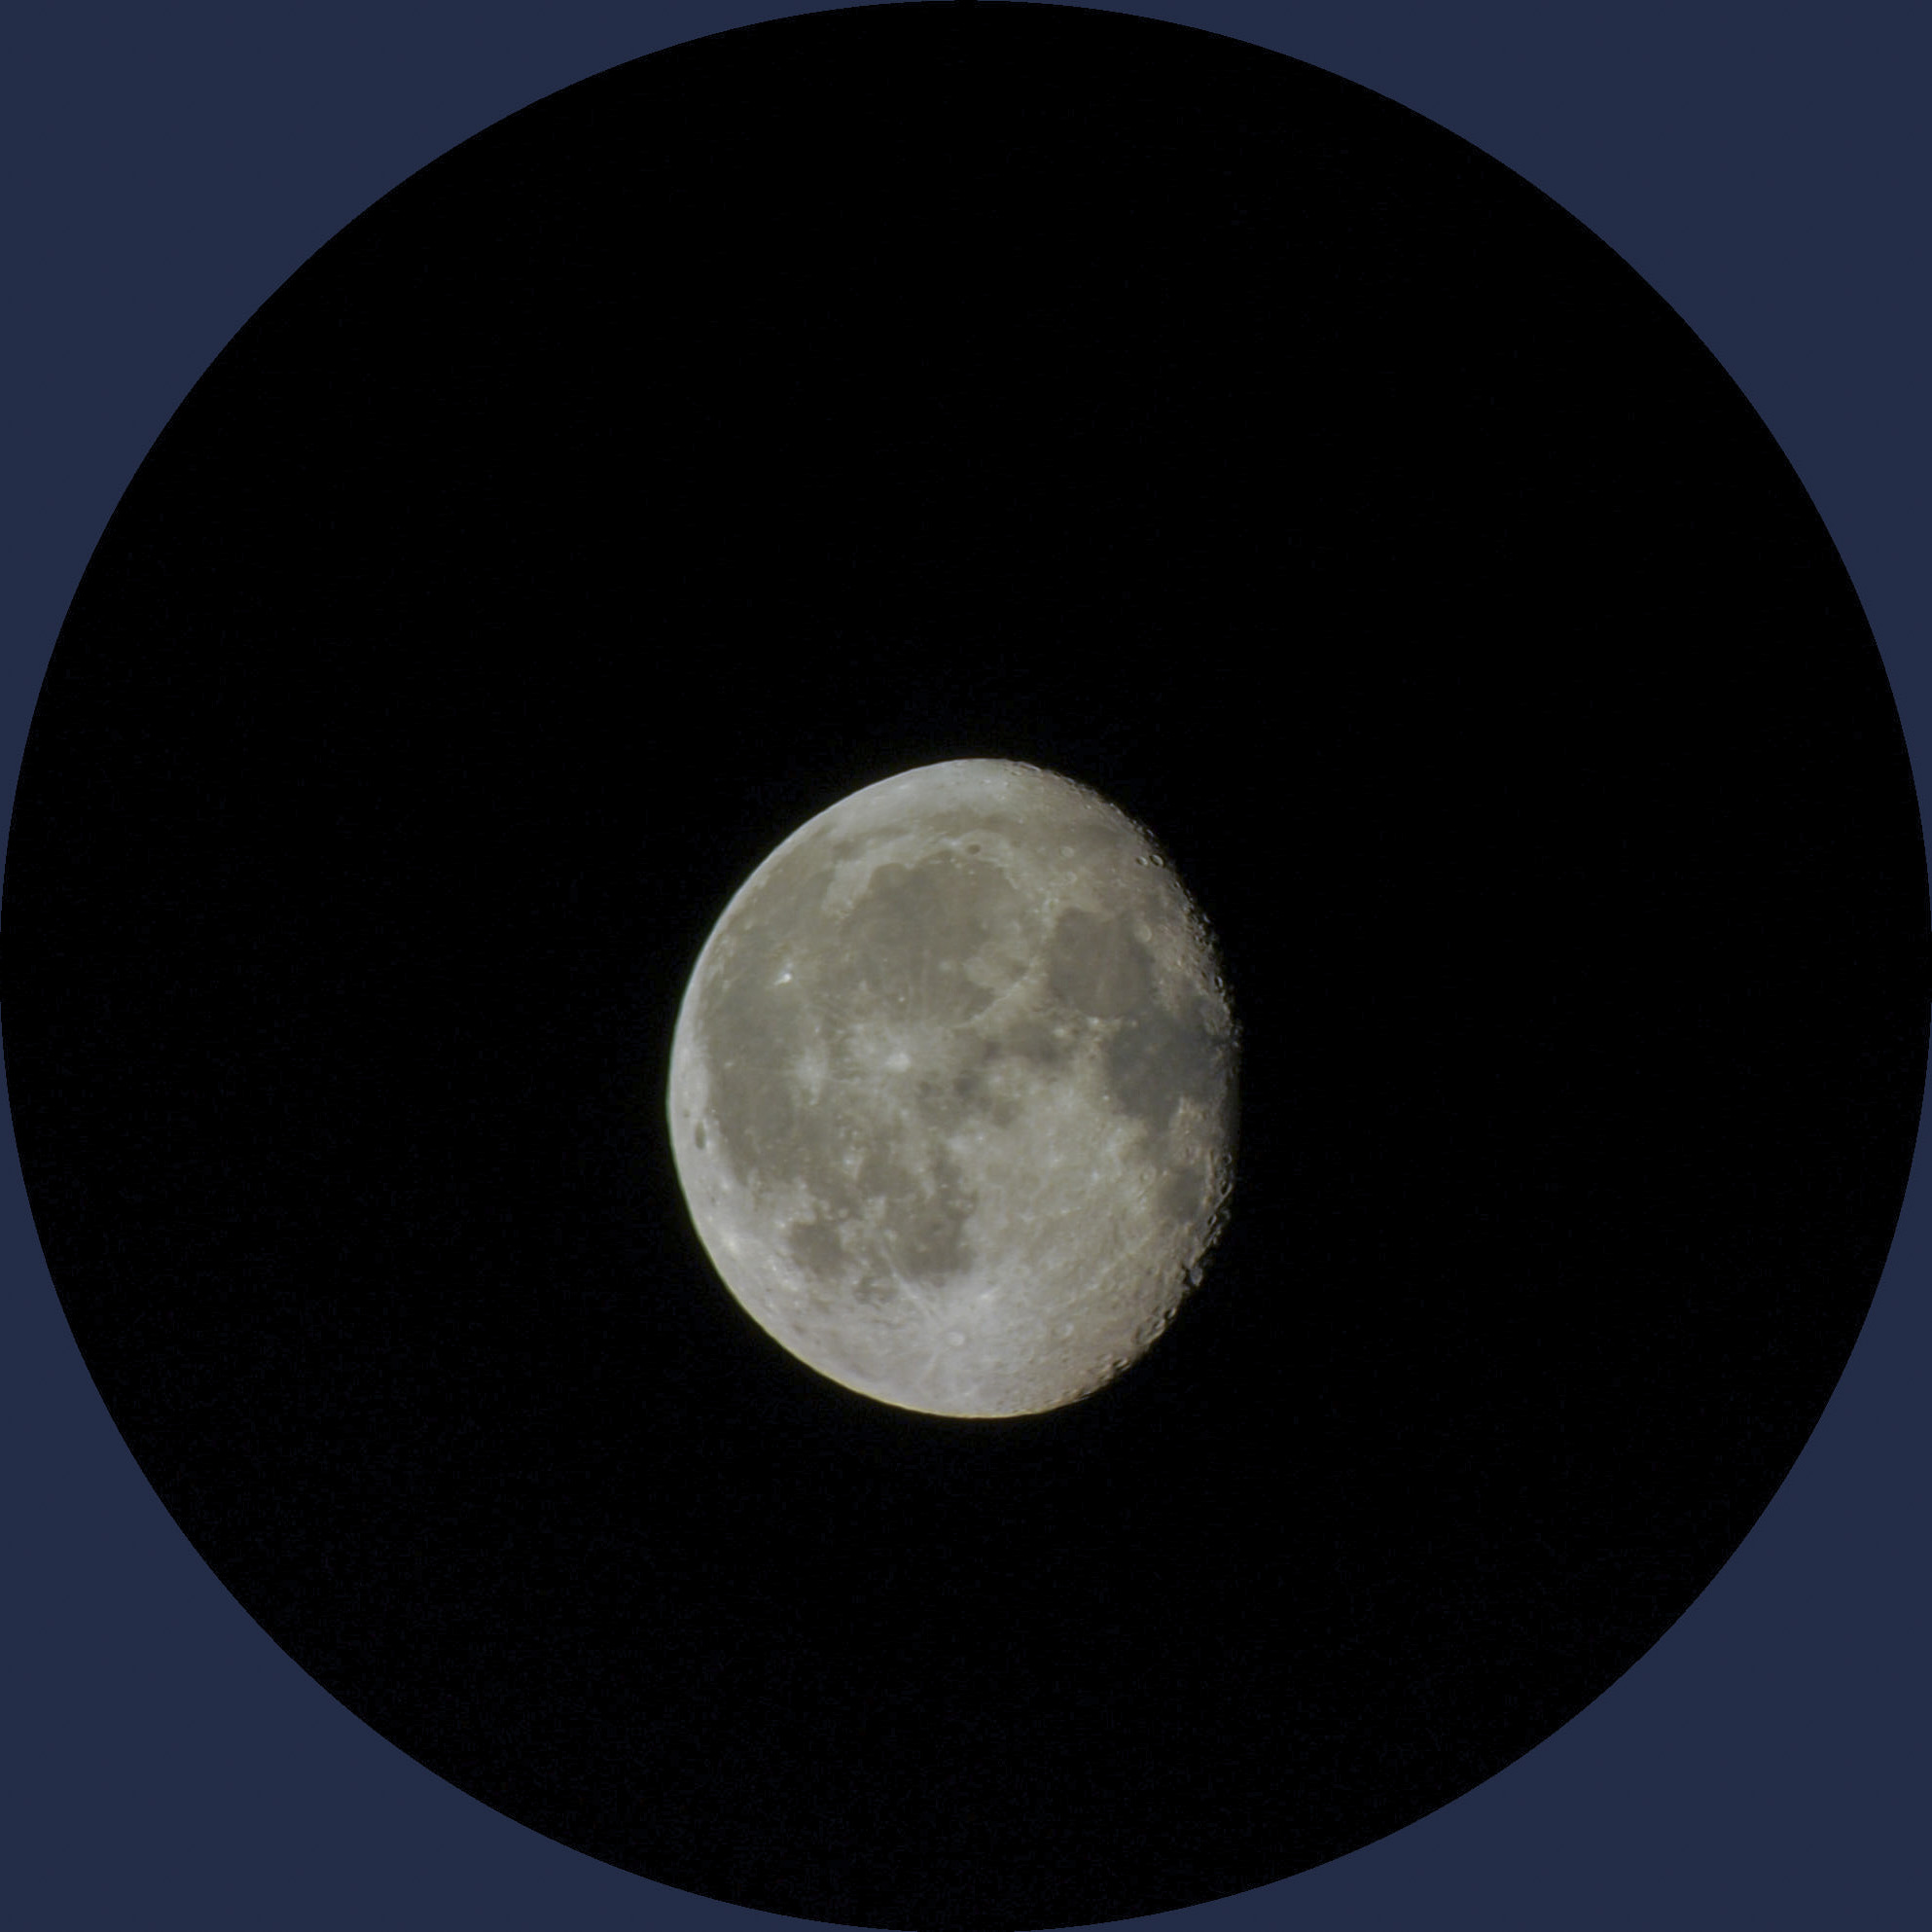
I was getting superb photos of the moon with the Hestia in no time at all – images that would otherwise have been impossible to capture simply by pointing my phone up at the night sky.
The product was actually brought to market in time for the Great North American Eclipse in April, and our US Mobile Editor Phil Berne took it along for the ride when he photographed the eclipse, complete with a solar filter (an added extra).
Get daily insight, inspiration and deals in your inbox
Sign up for breaking news, reviews, opinion, top tech deals, and more.
As for my own experience starting out with the Vaonis Hestia, well, it was a mixed bag.
Getting started with the Hestia
The Vaonis Hestia is a book-like device with a small eyepiece on its top to help you position your smartphone's camera lens onto for close-up views of the sun, moon, and deep space. I started out with a full moon, as it's the easiest object to locate in the night sky.
You secure your phone in position by adjusting the two magnetic brackets that snap onto the Hestia. It's essentially a universal bracket that can hold any regular phone, though you might struggle with a chunkier foldable phone. My personal handset is a Google Pixel 6, which slotted in fine.
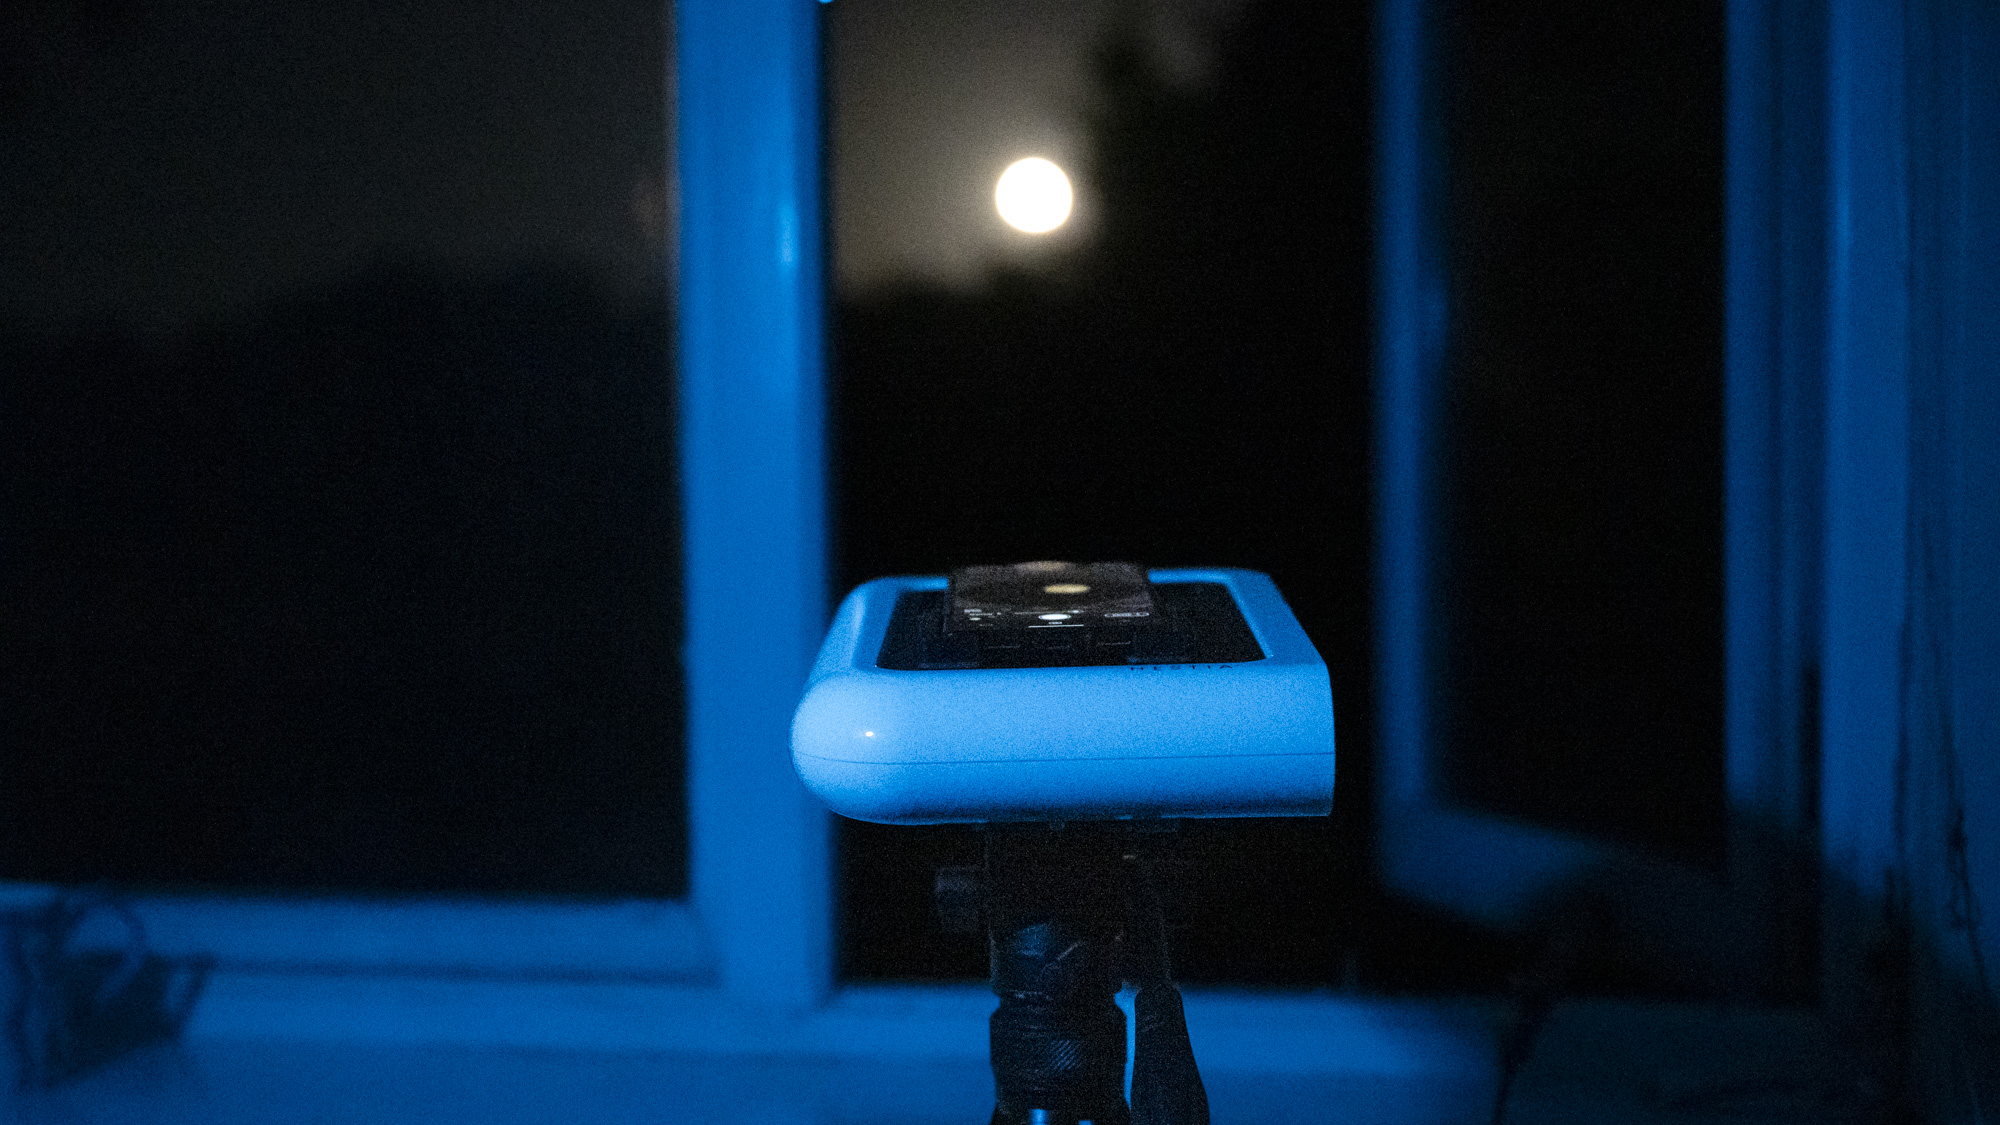
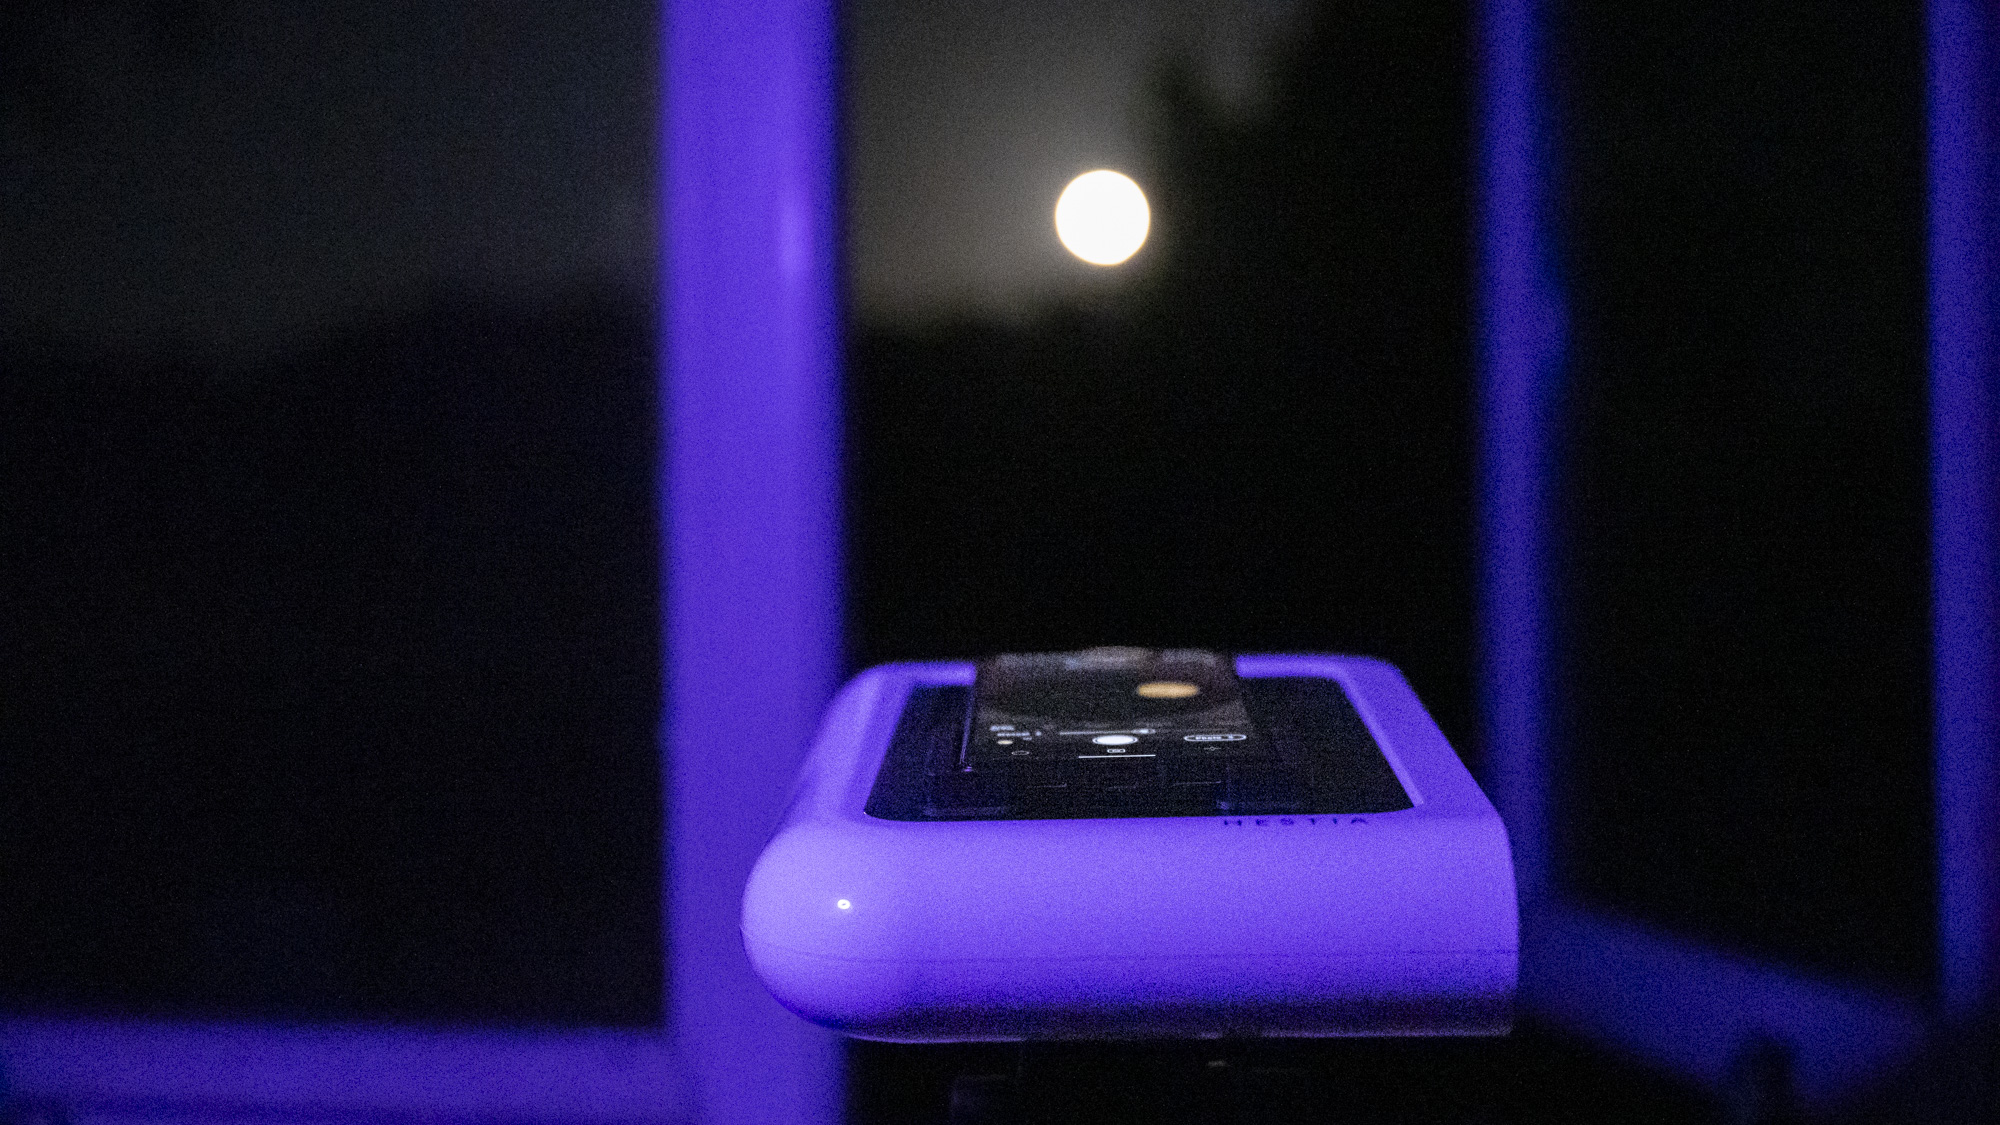
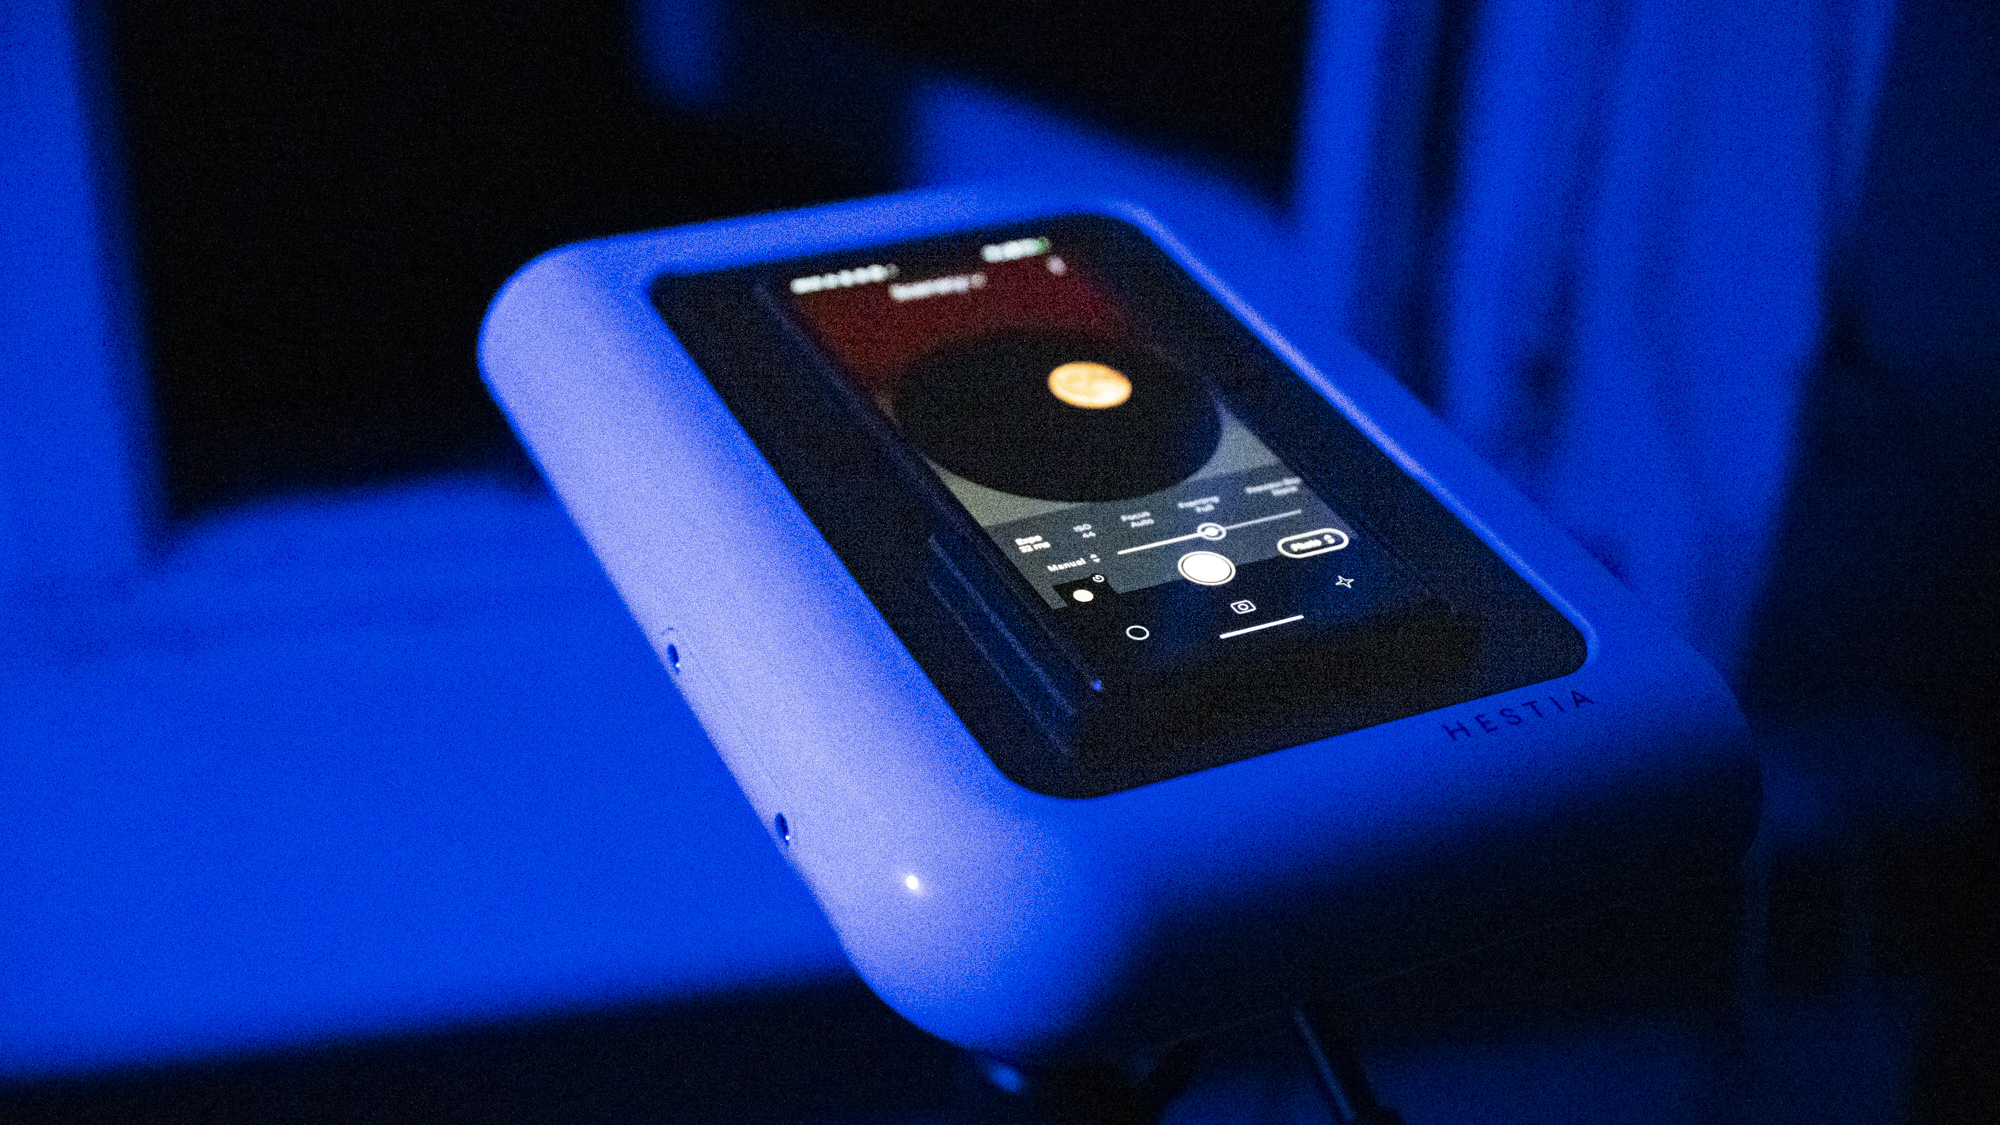
It takes a little fiddling to adjust the Hestia's angle using the tripod head to get the moon centrally in your shot – there are no fine-point adjustments, so it's a bit trial-and-error. At 25x magnification, any slight adjustment throws the composition right off, plus, the moon quickly moves out of your frame, so you'll need to regular make tweaks.
Such high magnifications are also an advantage if you're a fan of timelapses: the moon will work its way from one side of your view to the other in a matter of minutes. If you include details such as trees or buildings in the frame, around and in front of the moon (easily done at moonrise or moonset), your photos and timelapses will only be more dynamic for it.
You can use your regular camera app to take pictures. However, the optical construction of the Hestia flips the image of the moon, which isn't corrected on your smartphone – you'll need to fire up Vaonis' Gravity app to optimize and correct the image.
The flipside of optimizing your image in the Gravity app is that photo resolution isn't as high as it is using your phone's camera app – I really wish my photos had more pixels for even better detail.
When you're ready to take your first photo of the moon, you simply press the photo button and, a few seconds later, after the app stablizes the image, your first photo pops up on screen – and wow!
Detail is super-impressive (see below). You can make out craters and surface details that are otherwise imperceivable to the naked eye or by zooming in with your phone (even Samsung Galaxy's Space Zoom – and photos made with the Vaonis Hestia are for real).
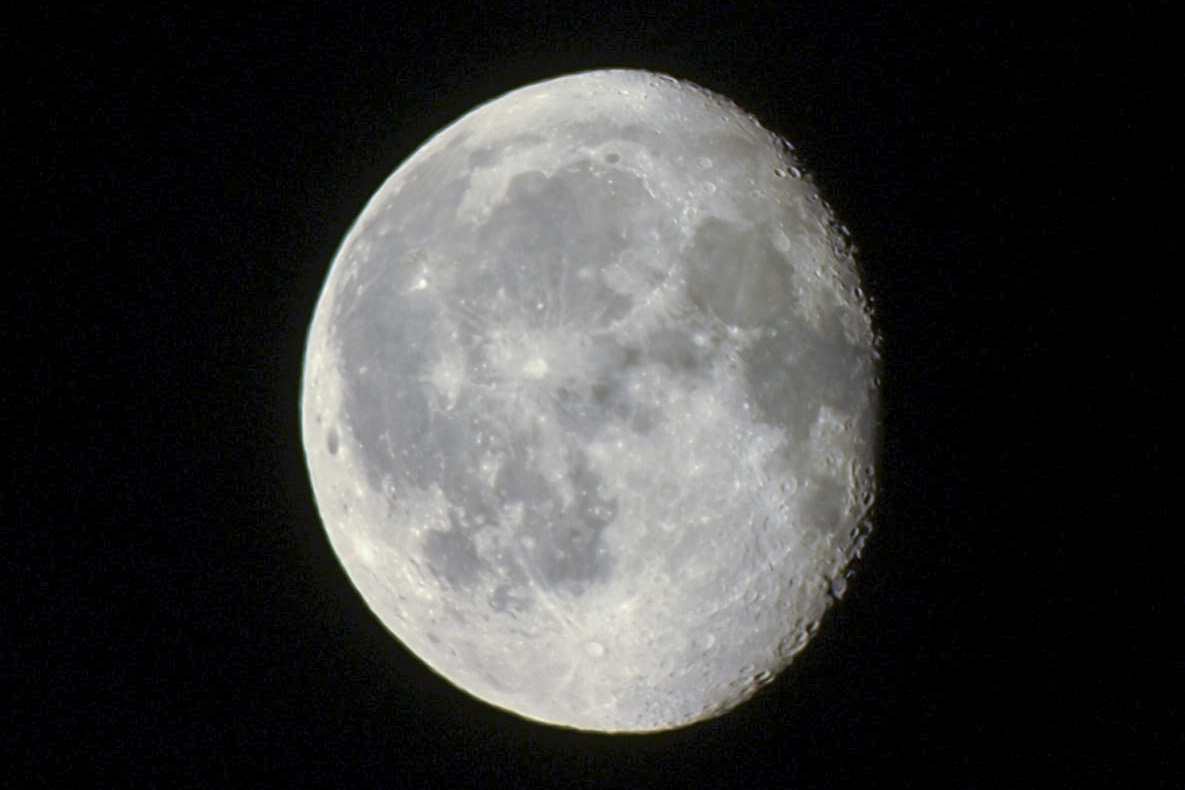
It took me just a few minutes from opening the app from scratch to get the absorbing photo above – impressive stuff. However, I started running into a few issues when trying out the various shooting options within the Android version of the Gravity app, using my Pixel 6.
Superb hardware, but an app that needs refining
The experience might vary between iOS and Android versions of the app, and depending on which handset you use. I only tried Hestia with my Pixel 6, and my experience was mixed.
My first photos of the moon were superb. I needed to make a quick white balance adjustment because the moon was too warm, and manually tweak the exposure because the auto mode often rendered the moon too bright in the frame, but these adjustments in the app and a basic editor are easy to do, and by and large I was able to work the Hestia just fine for single-shot photos, and the results were brilliant.
I then tried the timelapse mode. It should be possible to create a timelapse of the moon working its way across the entire shot in a matter of minutes – but I couldn't do it.
It appears that you have to manually take each photo in a timelapse sequence, which is a real pain – who wants to tap the photo button every 10 seconds over the course of 10 minutes? Between starting and ending a sequence, a timelapse mode should be automated.
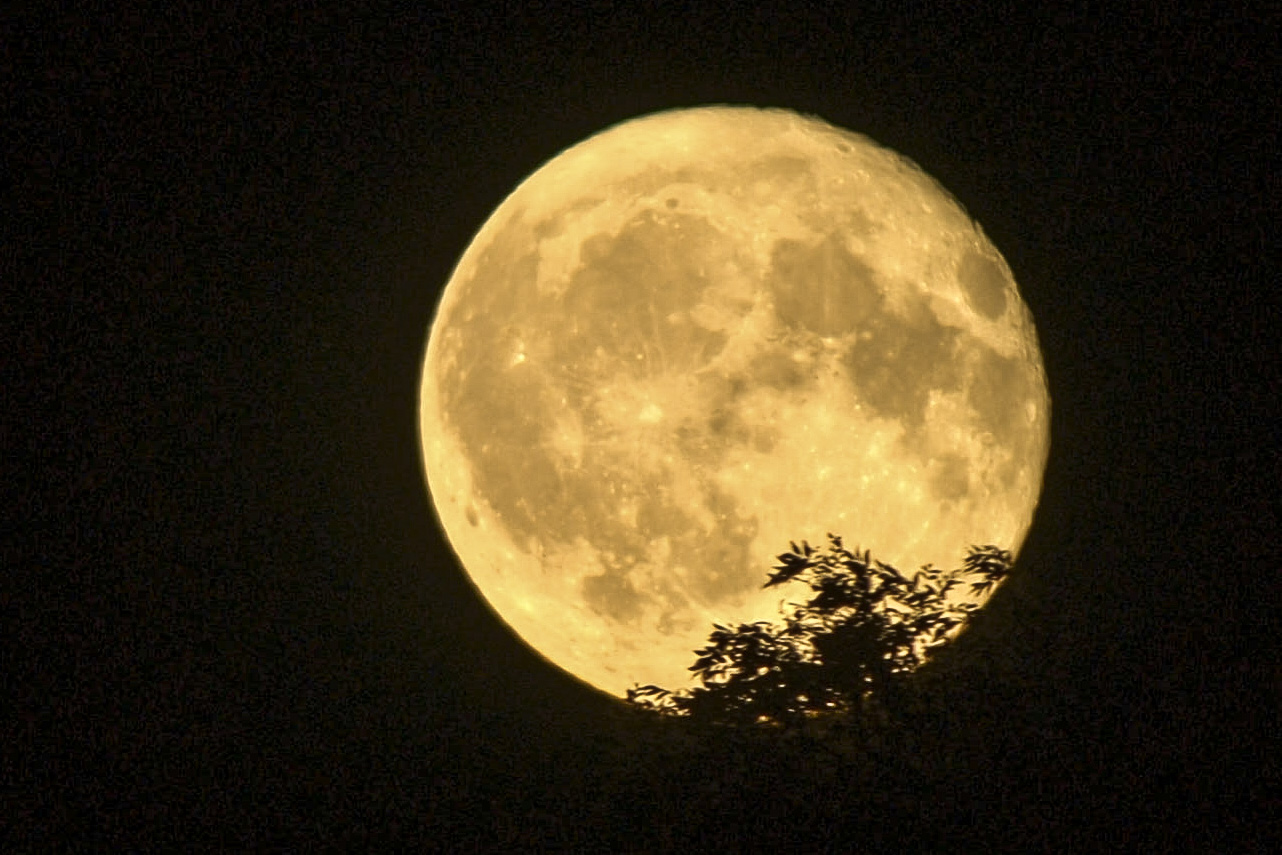
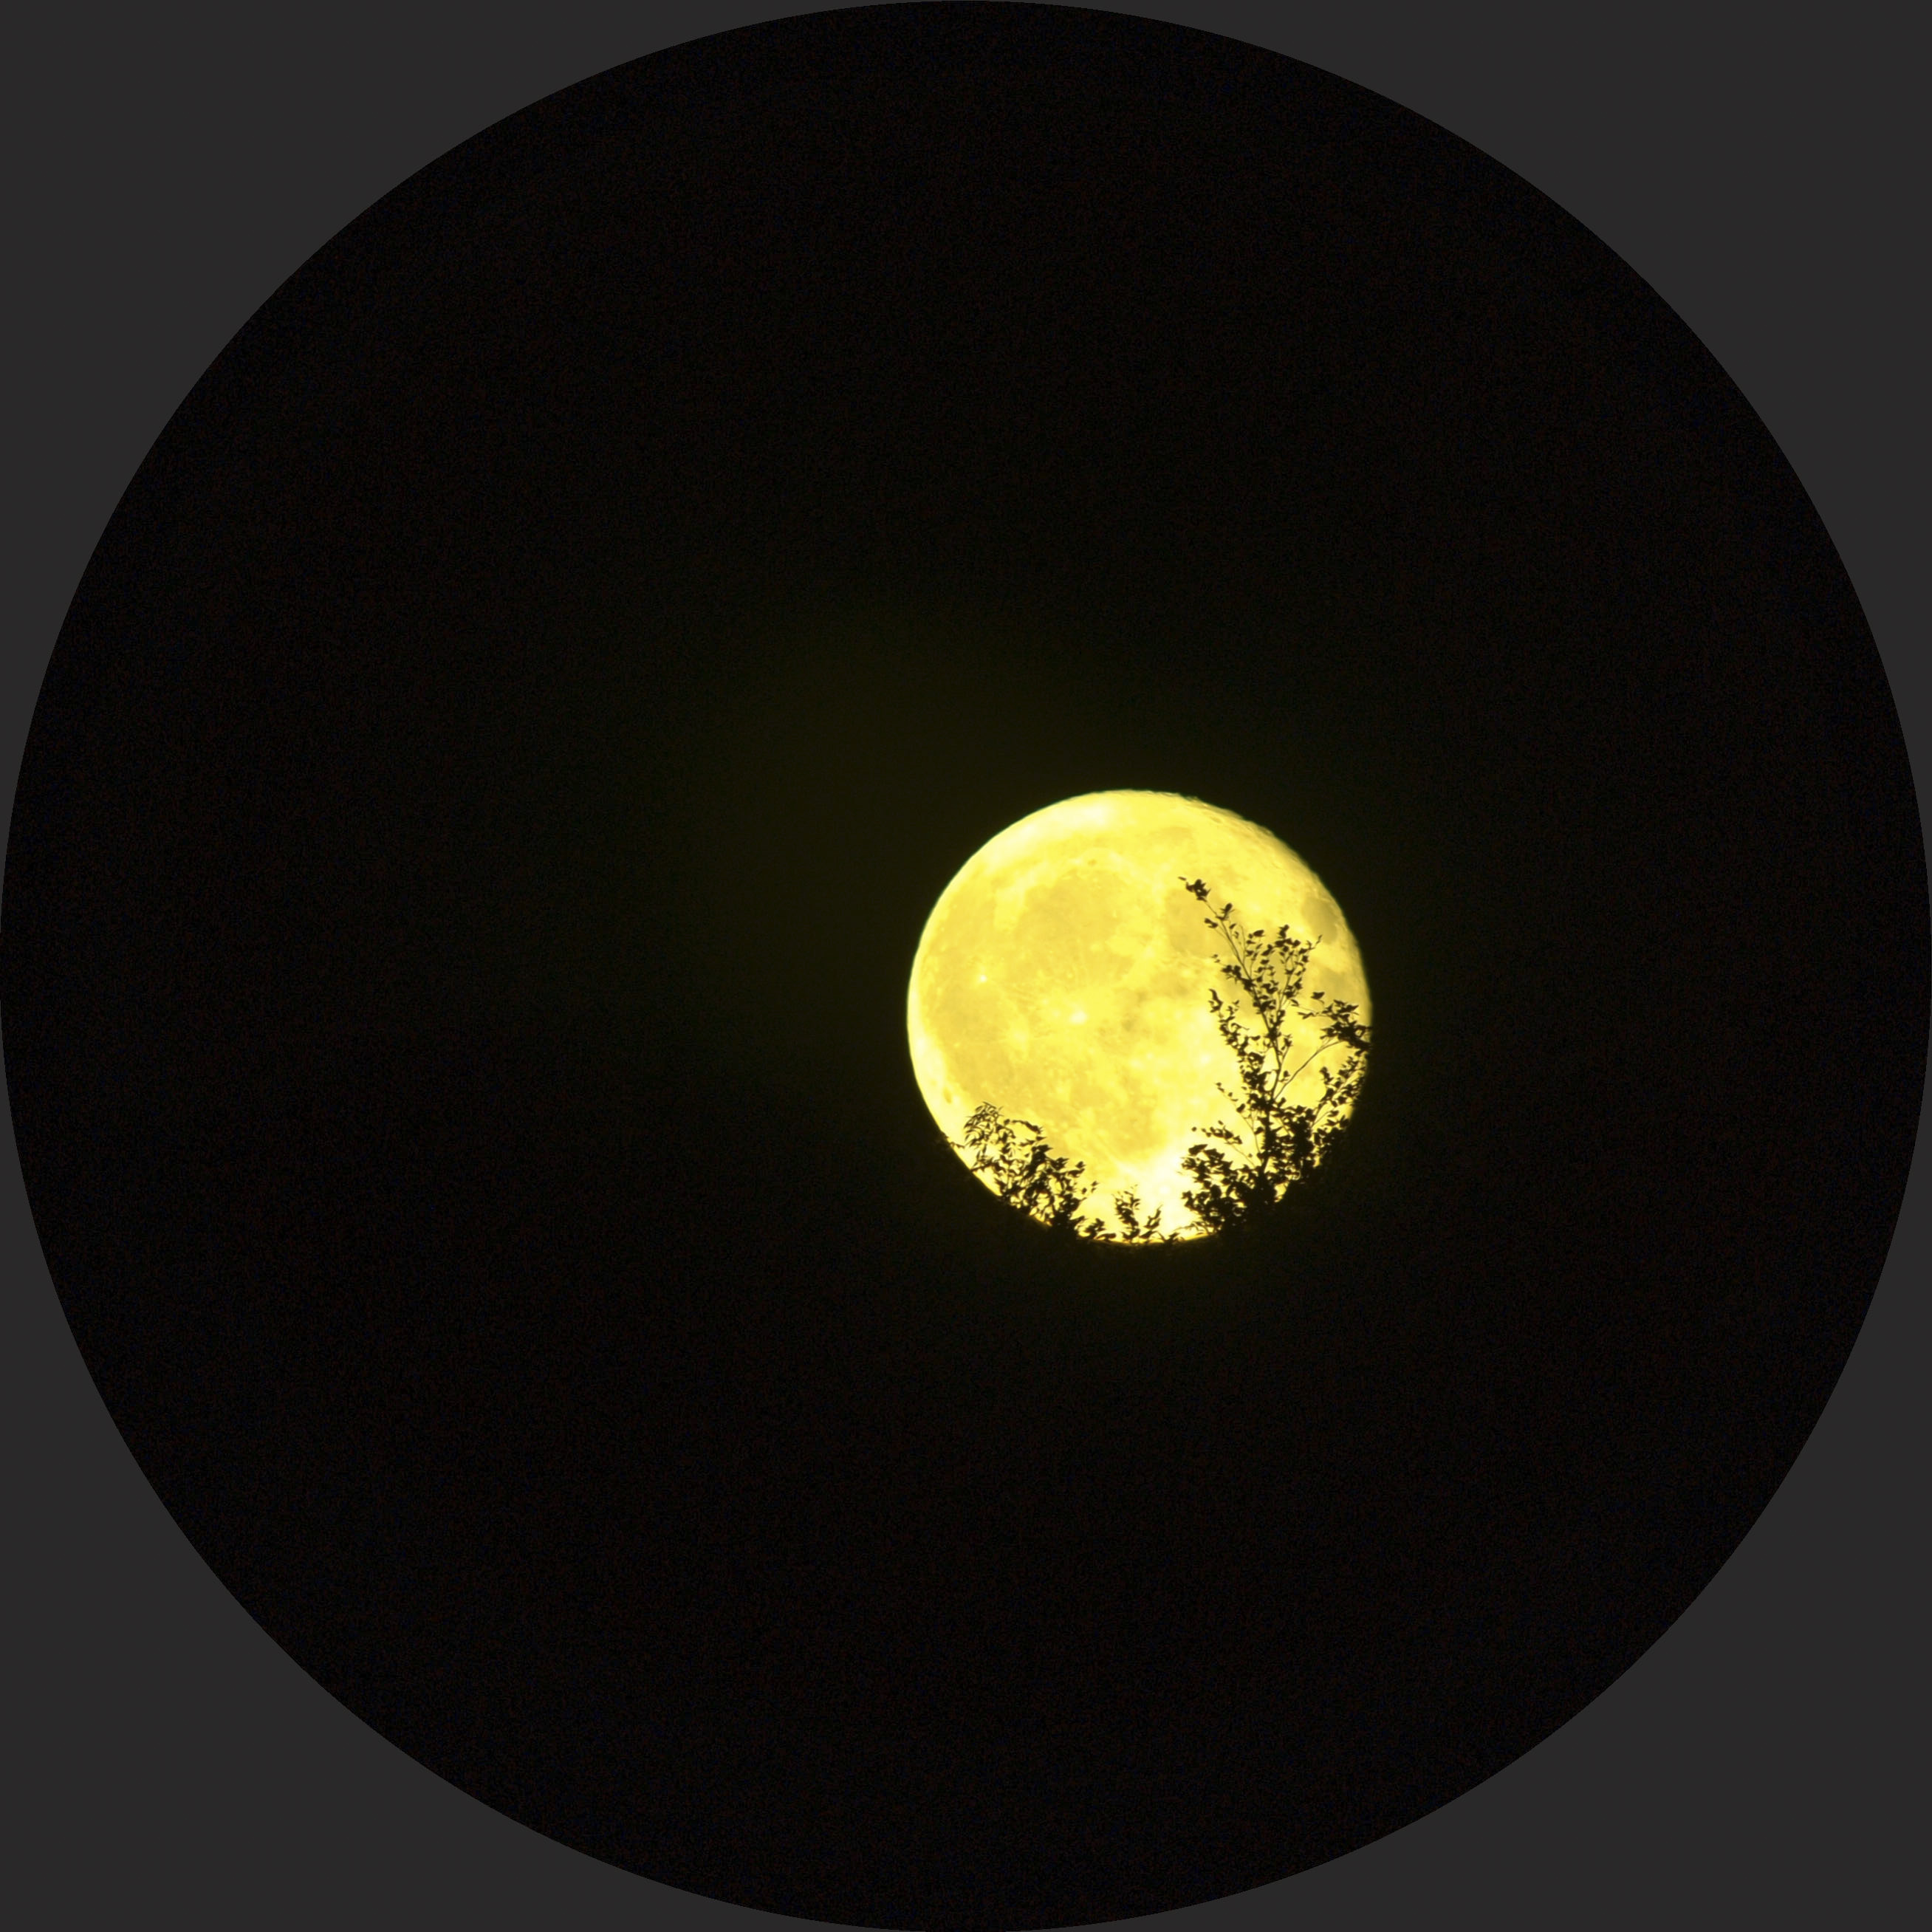
Even if I'd had the patience to take a photo once every 10-20 seconds for an entire sequence, I couldn't have done so because the app kept freezing, getting stuck during the process of stabilizing the image.
The highest number of photos I got in a timelapse sequence before the app froze was six or so – hardly enough for a dynamic timelapse. It even froze for single-shot photos many times, and I regularly needed to close and reopen the app.
Once I'd had my fill of shooting the moon I moved onto the deep-space mode. You get a list of galaxies, nebulae and distant planets, together with info about which ones are visible based on your time and location.
However, the hard work of locating those deep-space objects is down to you, and it's the old-school dumb telescope method. The thrill of the chase will suit some, but you don't get the smart-telescope automated convenience, nor is there detailed guidance on how to find any given object.
Beyond shooting the sun and moon, Hestia demands a steep learning curve for beginners. I've consequently limited my experience with Hestia to the moon, and will attempt to explore deep space with Hestia another day, hopefully once a few quirks and technical hitches of the Gravity app have been ironed out.
I still recommend the Vaonis Hestia, especially for moon closeups. If you're like me, you'll soon get hooked on capturing the moon in its various phases – I just can't guarantee what experience you'll have beyond that.
You might also like

Tim is the Cameras editor at TechRadar. He has enjoyed more than 15 years in the photo video industry with most of those in the world of tech journalism. During his time as Deputy Technical Editor with Amateur Photographer, as a freelancer and consequently editor at Tech Radar, Tim has developed a deeply technical knowledge and practical experience with cameras, educating others through news, reviews and features. He’s also worked in video production for Studio 44 with clients including Canon, and volunteers his spare time to consult a non-profit, diverse stories team based in Nairobi. Tim is curious, a keen creative, avid footballer and runner, and moderate flat white drinker who has lived in Kenya and believes we have much to enjoy and learn from each other.