How to set up your new monitor
How to set up your new monitor to get the best image quality possible
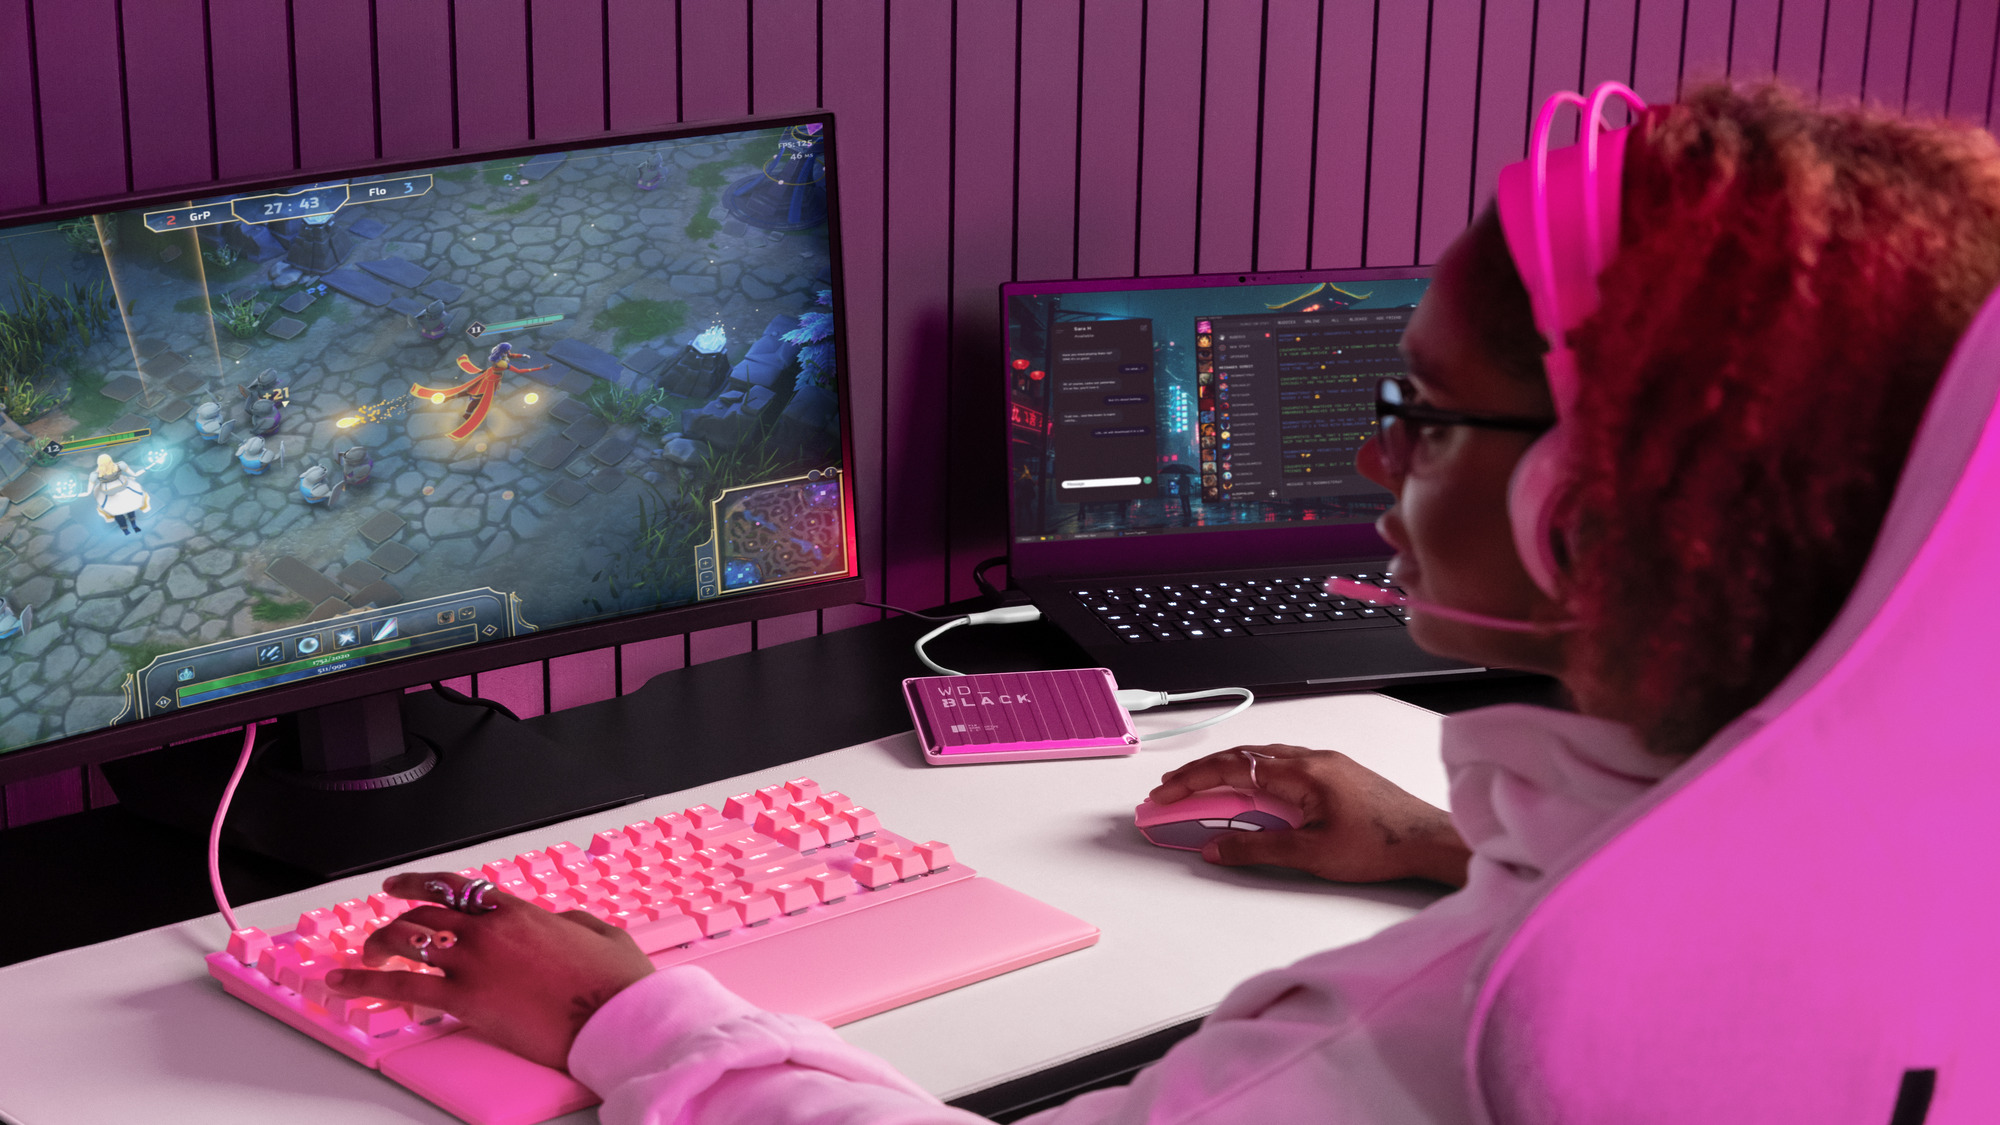
Many of our favorite monitors come in all shapes, forms, sizes and specs. From gaming displays with high refresh rates to color accuracy requirements for photo editing, they all come with different specs that affect over image quality.
Depending on your setup, users are usually going to have to make some changes to various settings to get the most out of the monitor.
Sometimes, it’s as simple as making sure the display resolution matches the current input or maybe it’s something as complex as getting the best color accuracy.
Then there are other things users should be aware of like specific features like KVM and settings that may help reduce eye strain at the cost of image quality.
To help you get started with your new monitor, here are some things you should be aware of.
1. Connection
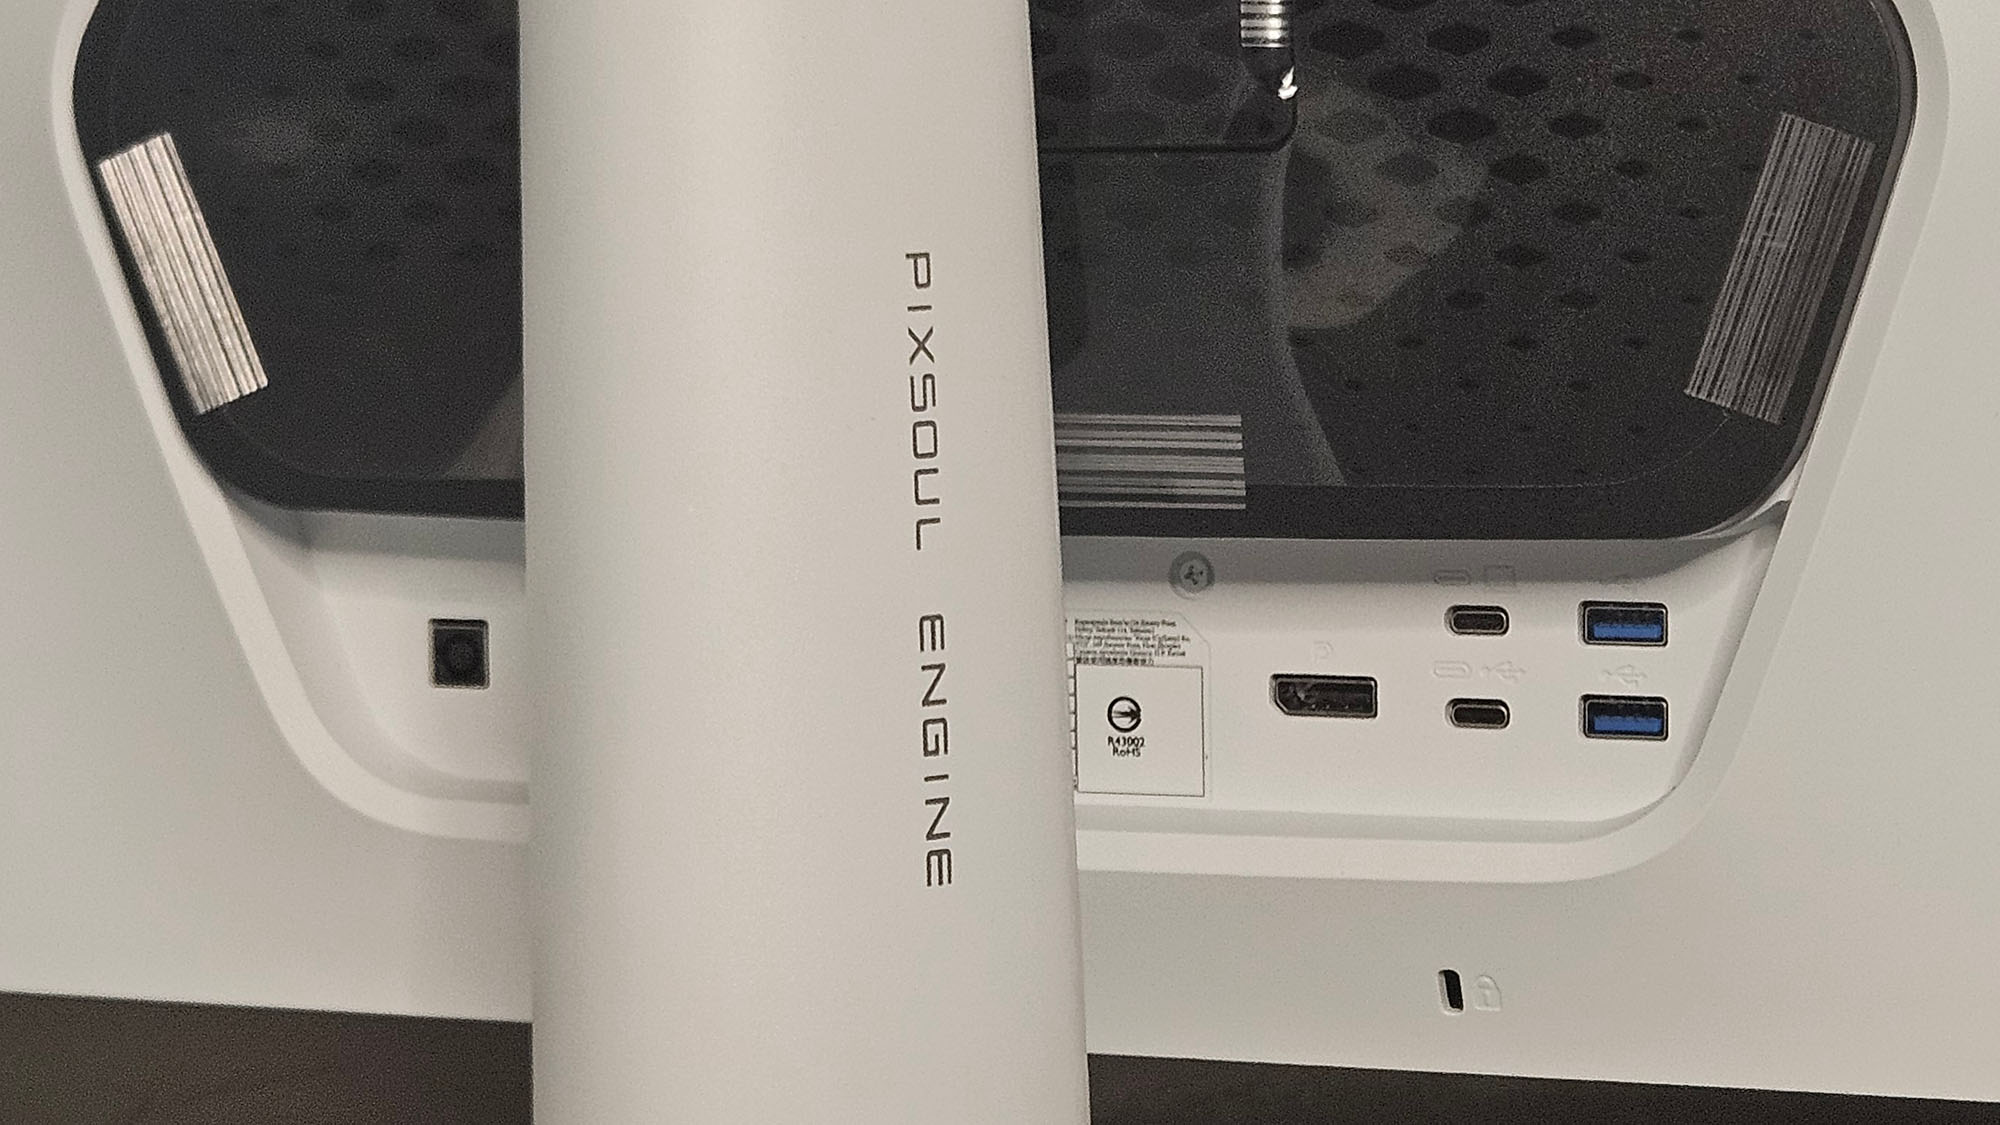
Most monitors today usually connect through two types of inputs; HDMI and DisplayPort. Because of its usage with modern televisions, video game consoles and streaming devices, HDMI is seen as the most commonly used by the general public.
PC gamers, esports enthusiasts and content creators usually lean more to DisplayPort for multiple reasons. The most obvious is that it can maintain faster refresh rates at higher resolutions than HDMI.
DisplayPort is also more efficient for multi-monitor usage through daisy-chaining support. One trick that newer HDMIs can do is support higher-quality audio signals for multi-channel set-ups through features like ARC.
2. Windows Display Settings
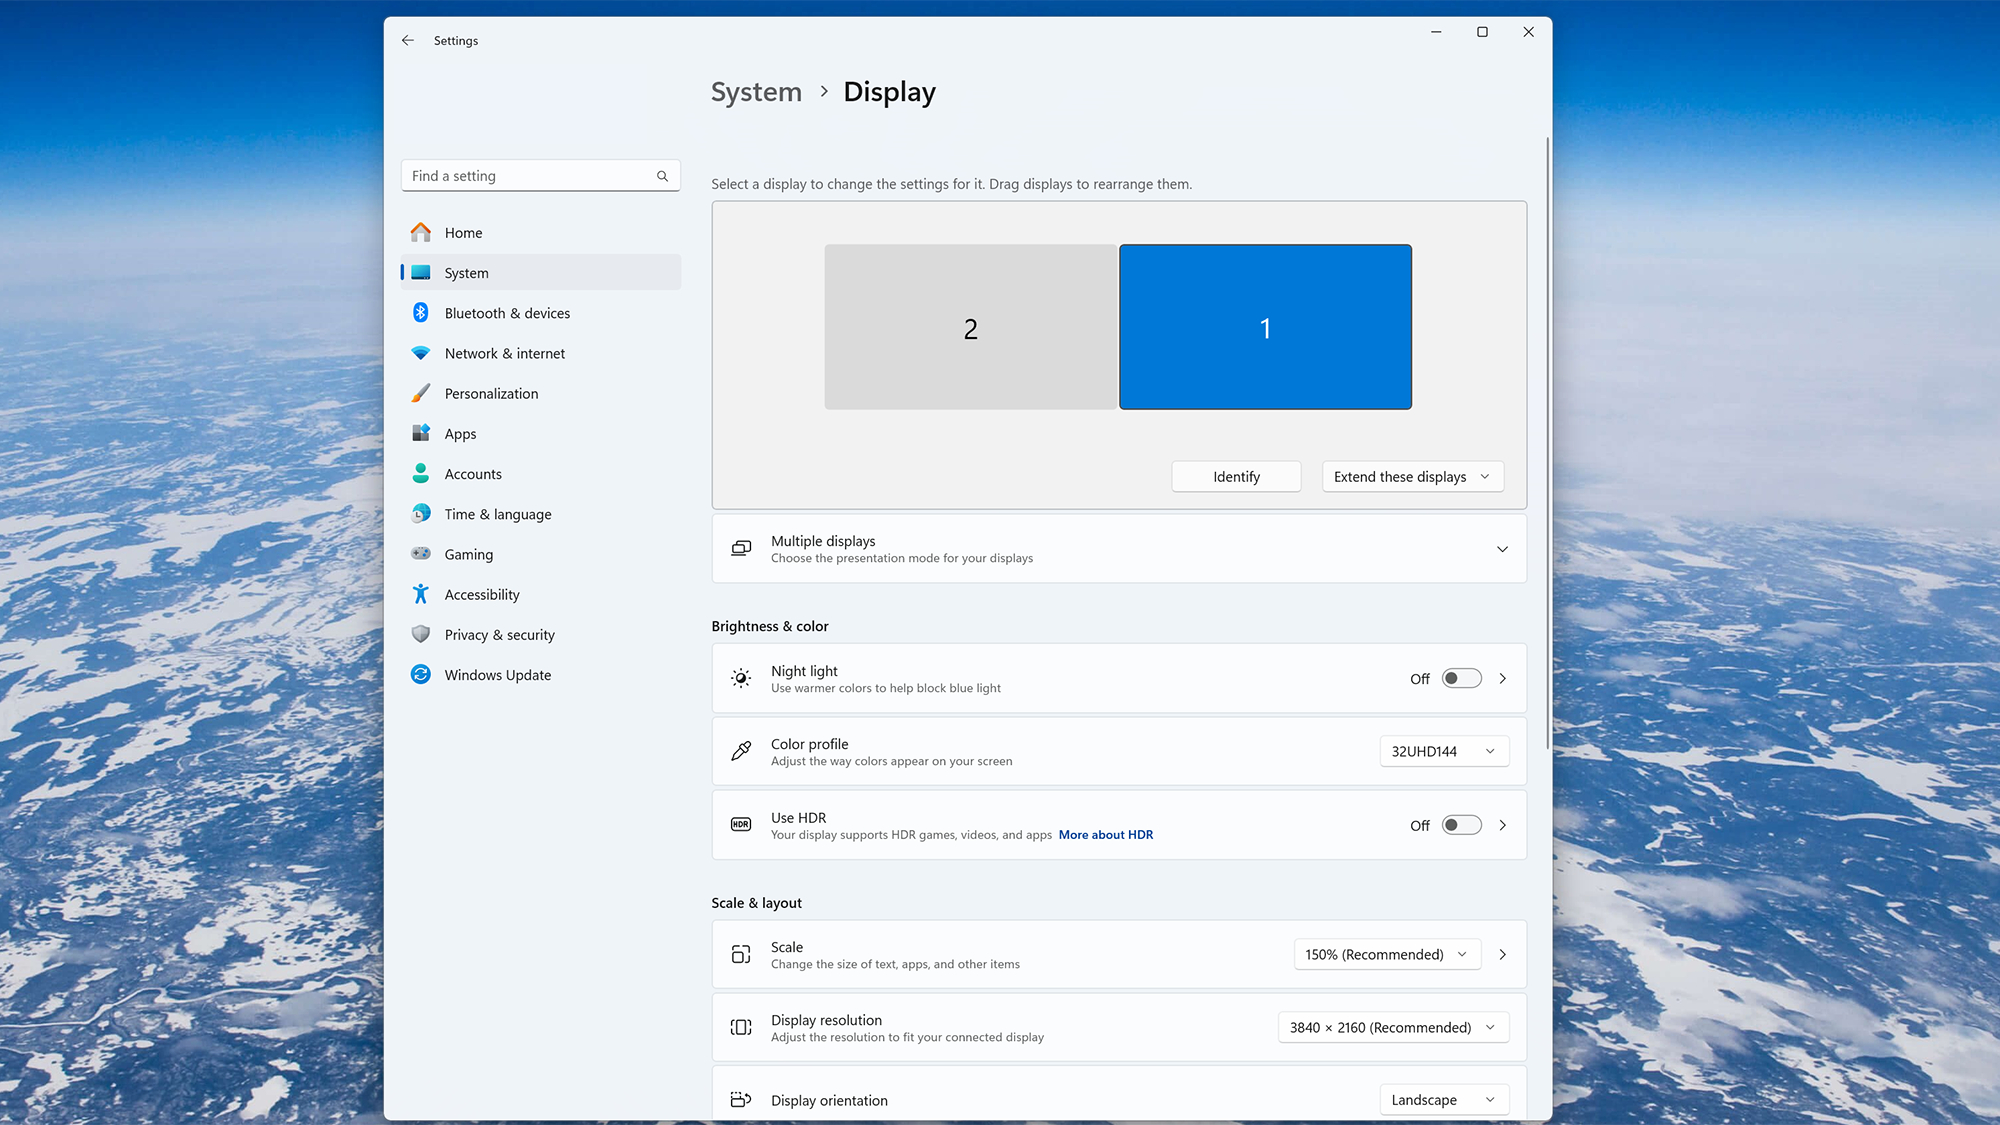
Once your monitor is hooked up and ready to go, the first thing users should do is hit the Windows Display Settings.
This is easily done by going through settings from the Start menu or right-clicking an empty space on the desktop and hitting Display Settings. Here, users can set things like brightness levels, create color profiles, block blue light for eye comfort, adjust HDR, and change the display resolution and refresh rate.
Then there are other settings such as display orientation for those who have monitors that can be used vertically as well as horizontally alongside options for individuals who want to use multiple displays.
3. Color Balancing / Correction
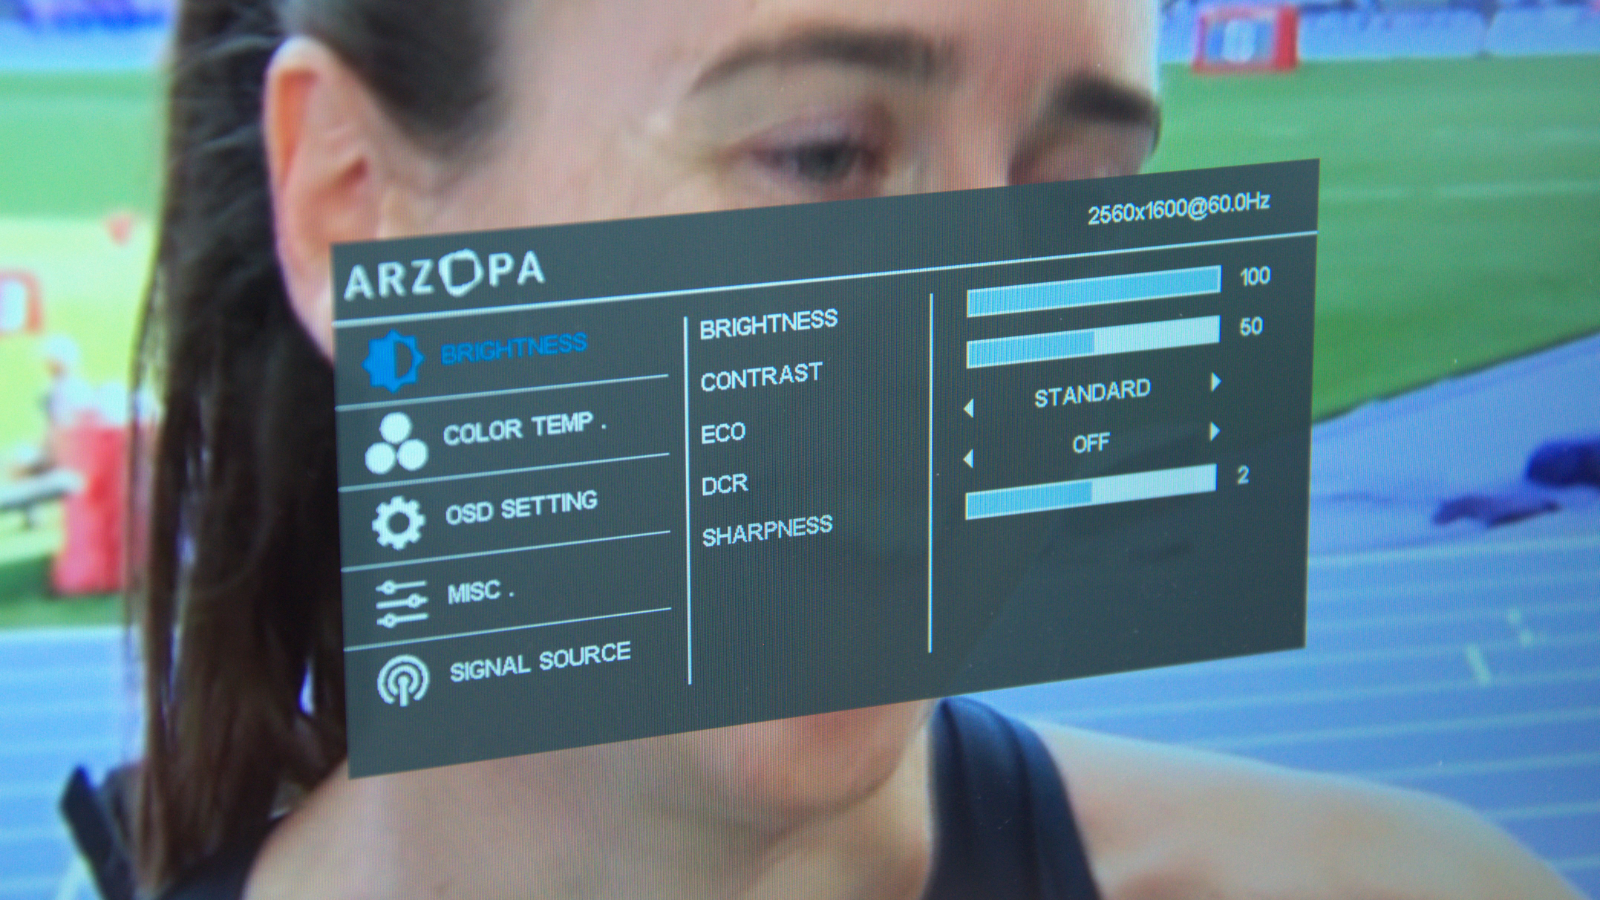
Depending on the type of user, color balancing / correction is the most important adjustment setting one must adjust when getting a new monitor. That’s especially crucial for photo editors, video editors and colorists.
When it comes to serious colorists or cinephiles, they’ll usually pay someone to collaborate their display which can cost hundreds of dollars. Users who just want the best image quality out of the box can get on their own have several options.
The most basic on the software side is Windows Color Calibration or Pro Display Calibrator for Mac. This is a respectable way to immediately get good color balancing without having to think too much.
Depending on the type of graphics card one uses, whether Nvidia or AMD, there are more robust options there through NVIDIA Control Panel and AMD Software: Adrenalin Edition.
All of these tools allow users to control color temperature, contrast, saturation across RGB spectrum and brightness among other settings. Depending on the monitor, there may be in-display color settings as well that allow a level of color correction.
There are also professional calibration tools on the hardware side of things to take things even further. This goes for devices like the SpyderX and X-Rite i1Display Pro for fantastic visual results.
Devices like these are connected through USB and use manufacture-provided software alongside built-in sensors on the hardware.
4. Gaming Performance
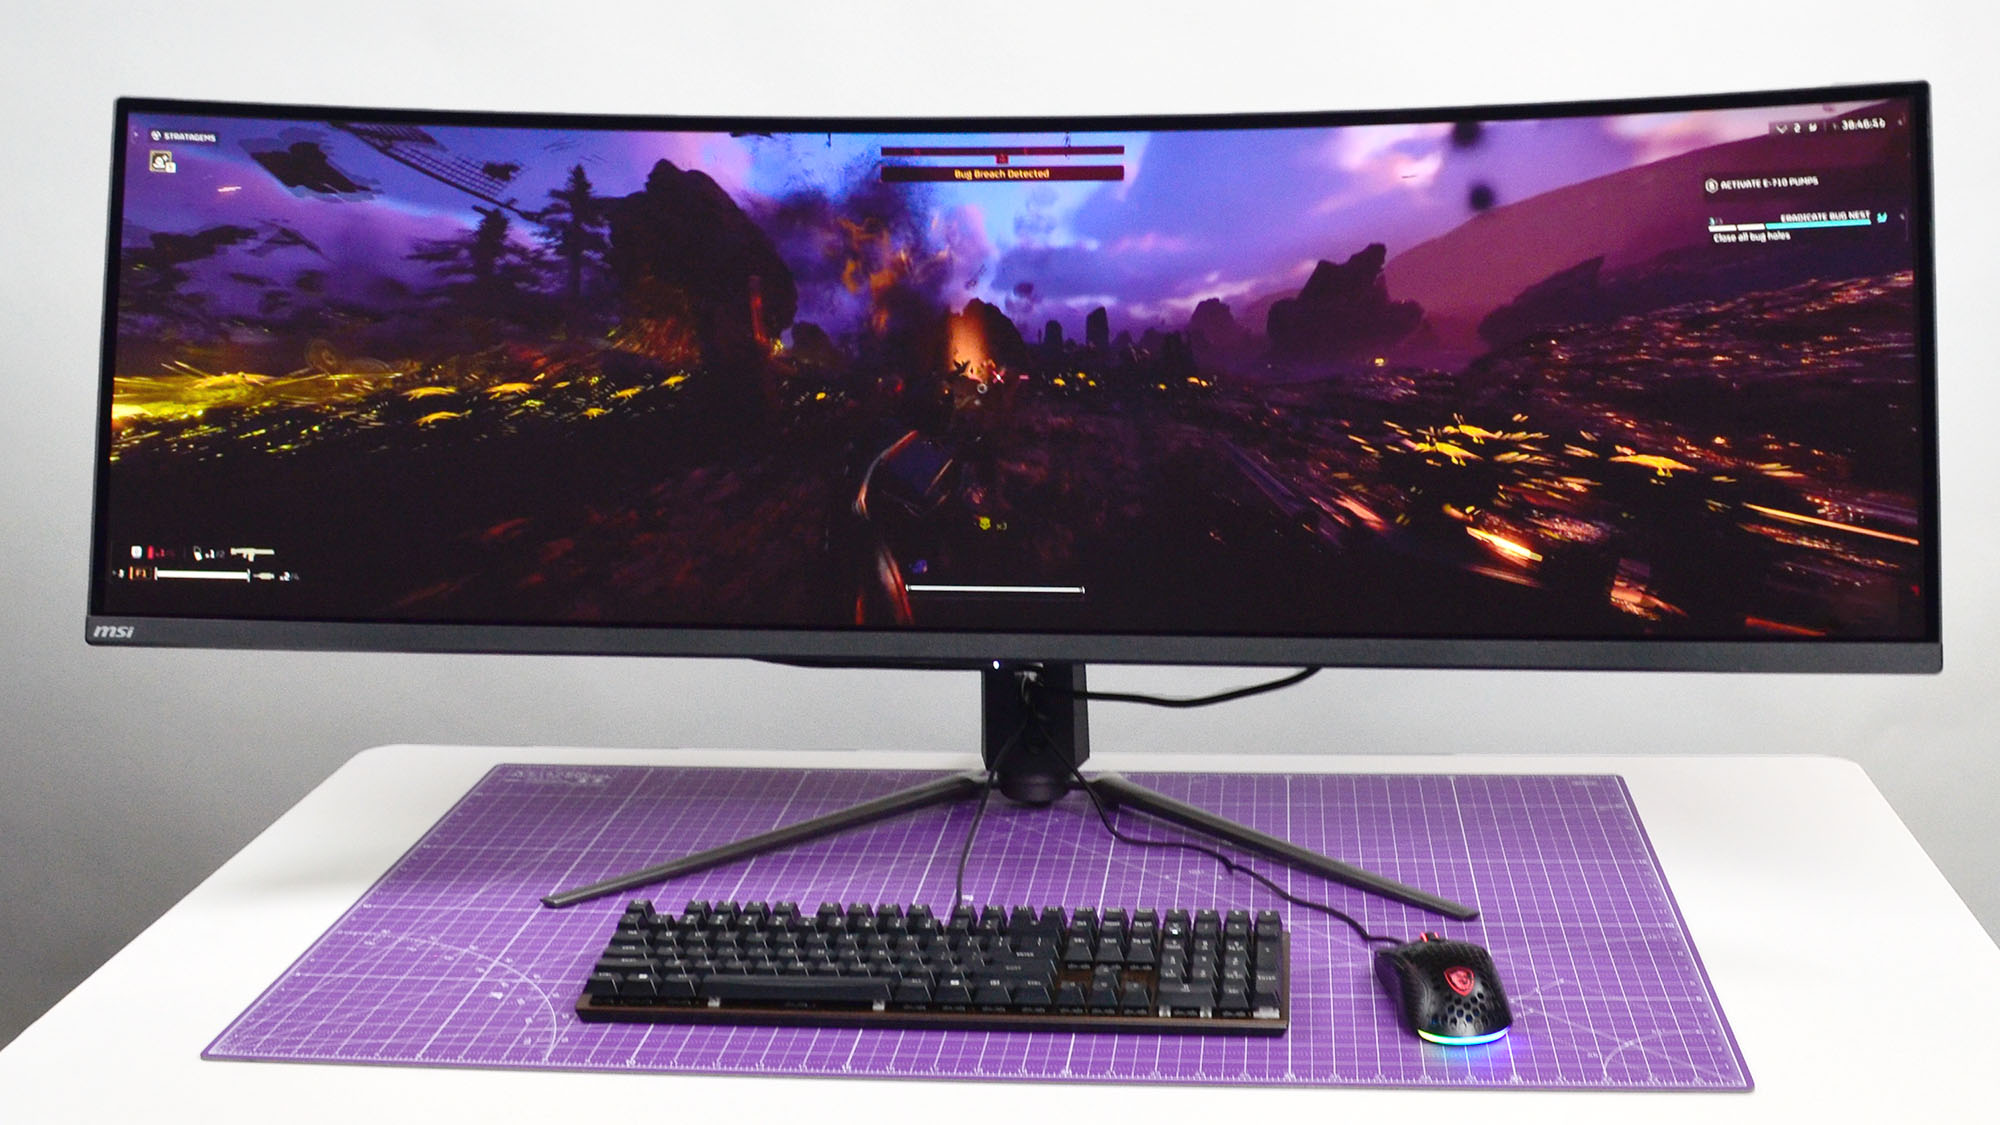
For gamers, the most ideal monitors balance image quality as well as performance. To most gamers, performance is the benchmark for how well a game looks and plays while in motion.
Several aspects equate to quality performance in gaming. The most obvious is the refresh rate. Measured in Hertz (or Hz), refresh rate indicates how many times per second the display updates the on-screen image. This usually works alongside an output device’s frame rate which is the frequency an image is displayed out.
Depending on the type of monitor, the output may push out more images per second than the monitor can handle. This can lead to screen tearing which can ruin the experience of gaming at times.
There are solutions on most gaming monitors through variable refresh rate technology in the shape of AMD FreeSync and Nvidia G-Sync. It’s important to make sure these settings are toggled on through the actual display itself and software.
The final key to optimizing gaming performance is response time. This refers to how quickly a monitor can change the color of its pixels in response to input. High-quality gaming monitors minimize input lag—the delay between the GPU sending a frame and the monitor displaying it. Lower input lag ensures games feel more responsive and smooth.
For the best experience, always check a monitor's response time and input lag specifications before diving into gameplay.
5. KVM
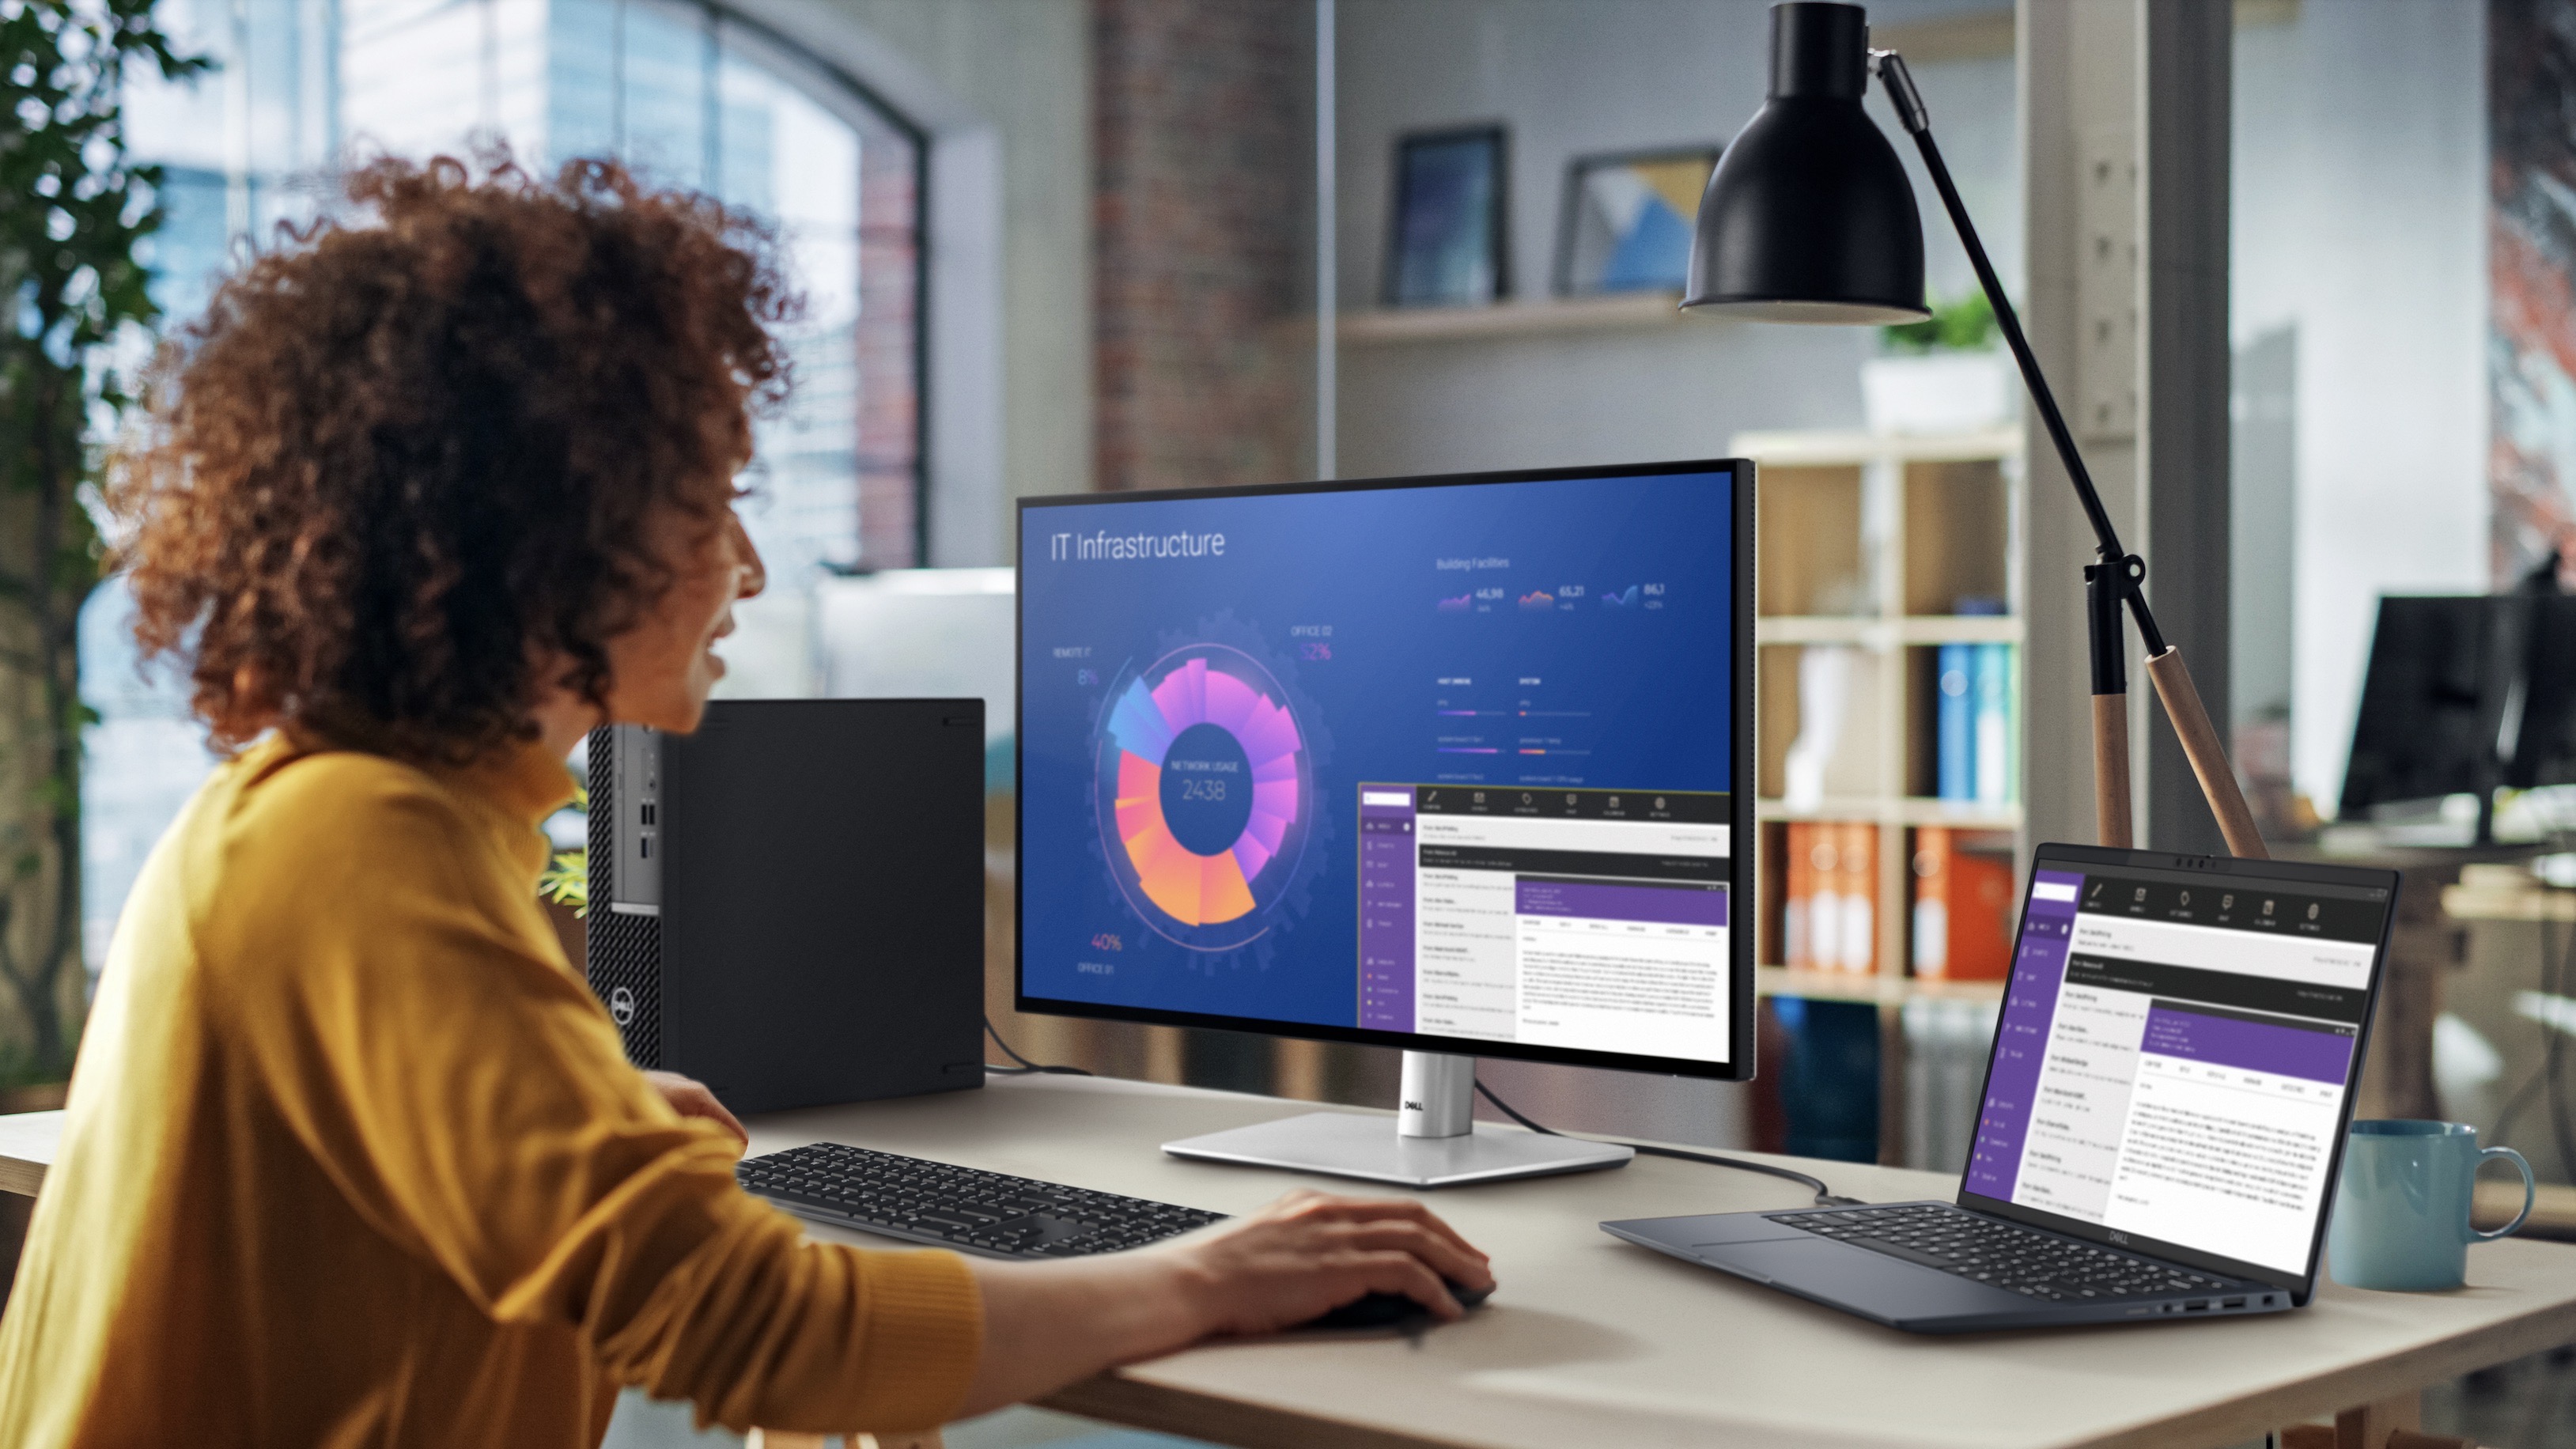
Initially designed for data centers managing multiple servers and computers, KVM switches have become a valuable feature in modern gaming monitors.
These switches enable users to control and switch between multiple PCs or devices using a single keyboard, monitor, and mouse, eliminating the need for multiple setups. This not only saves space and reduces the cost of additional input devices but also streamlines setups for efficiency.
Beyond gaming and streaming, KVM switches are perfect for seamlessly managing both personal and work computers from one setup.
Get daily insight, inspiration and deals in your inbox
Sign up for breaking news, reviews, opinion, top tech deals, and more.
Ural Garrett is an Inglewood, CA-based journalist and content curator. His byline has been featured in outlets including CNN, MTVNews, Complex, TechRadar, BET, The Hollywood Reporter and more.
