I almost didn't screw up the self-repair on my Samsung Galaxy S21 Ultra
It wasn't the tiny screws' fault
Do you look at your broken Samsung Galaxy S21 Ultra and think you couldn't possibly fix it yourself? So did I, until I found out Samsung supported self-repair. Then I dove into the process head and hands first, and I'm happier with my results.
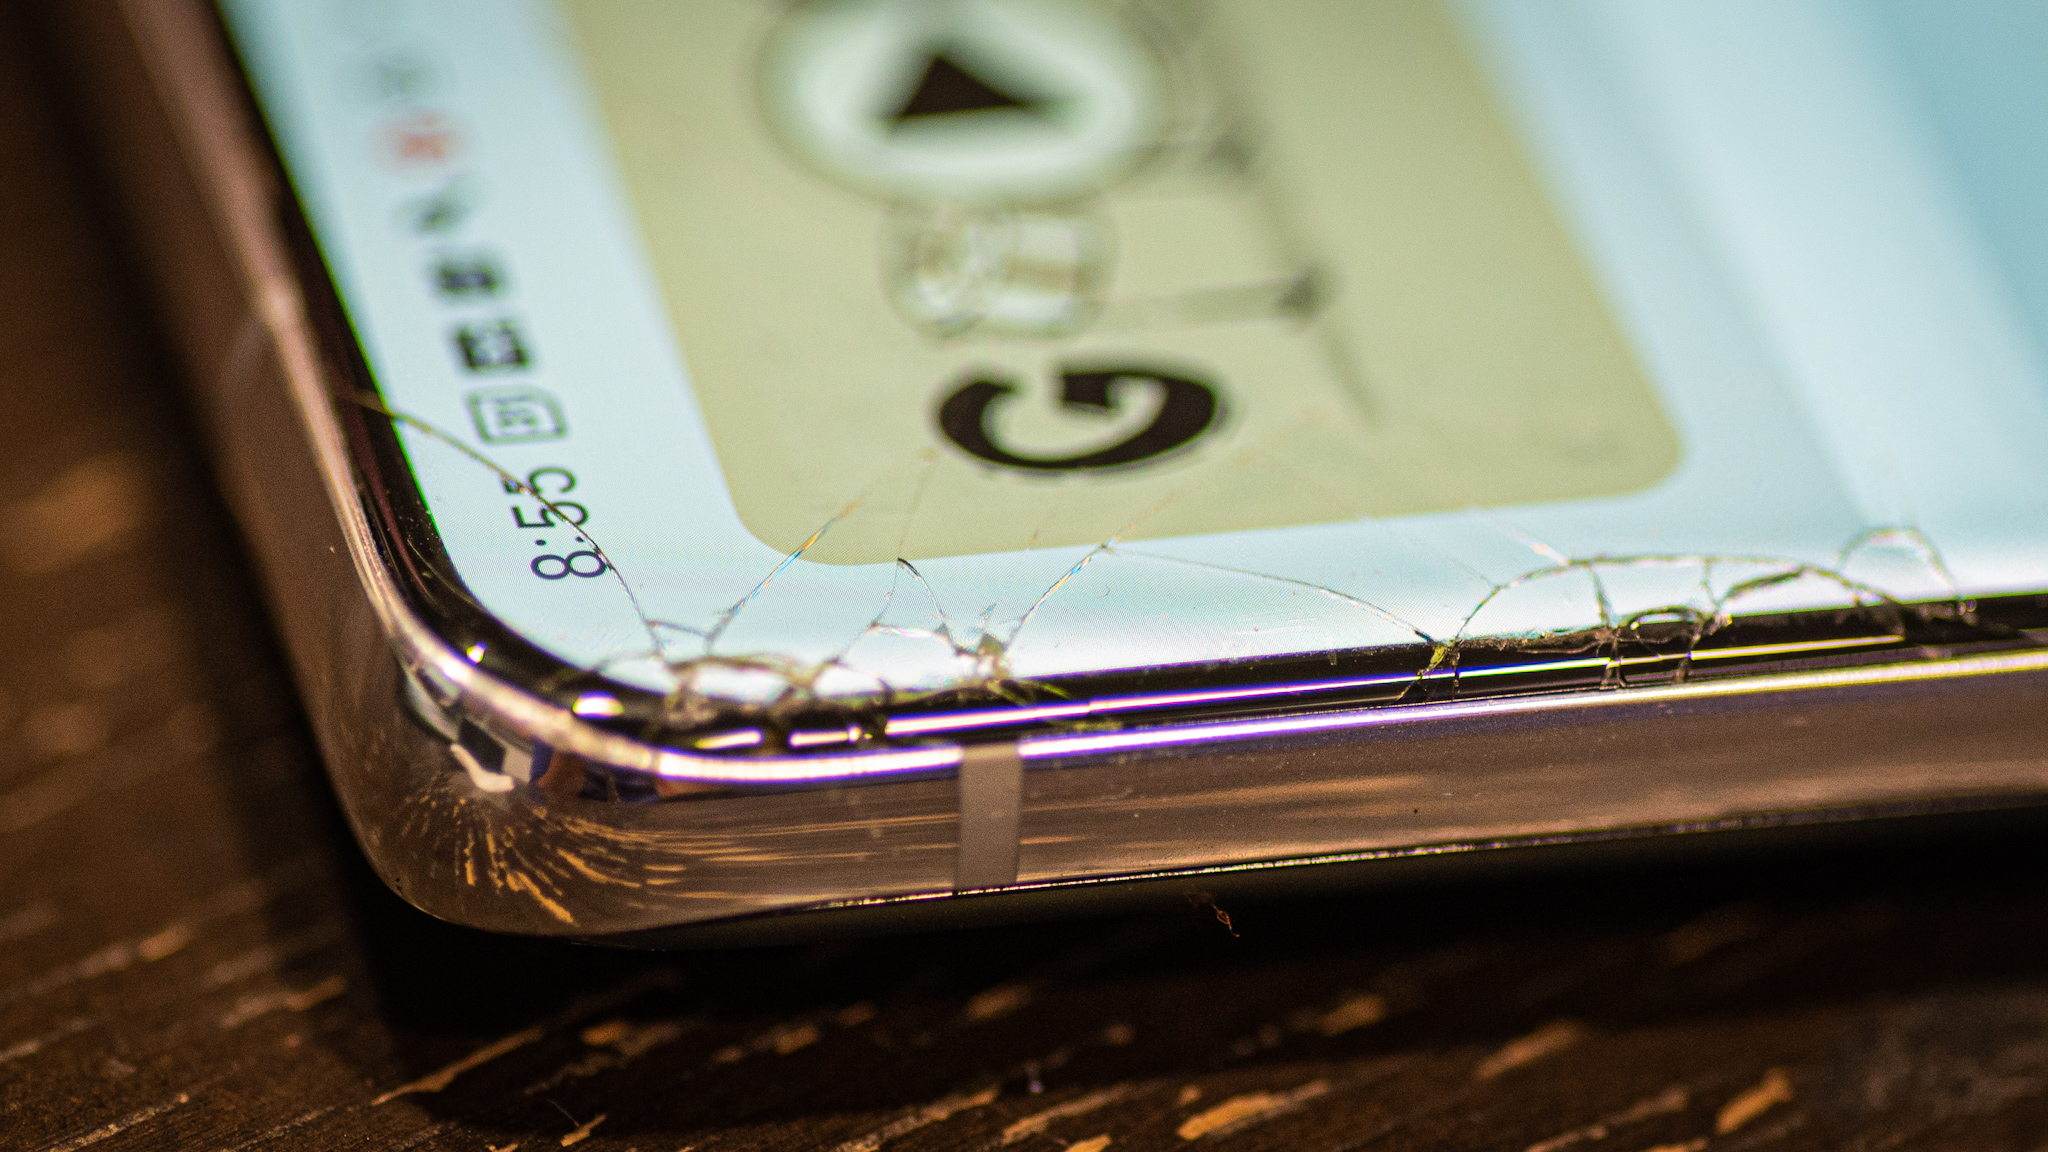
When I bought my Samsung Galaxy S21 Ultra 5G, I also bought a screen protector and a case, and I swore to myself I would never remove either. I’ve rarely removed the case, but unfortunately, the screen protector removed itself. The glass protection, curved to fit the slightly curved edge of the Galaxy S21 Ultra, leapt from my phone the moment the phone hit the concrete sidewalk. The screen was cracked at the edge; the screen protector, beside it, also cracked.
I lived with the cracked phone for almost a year. I usually buy insurance for my phones, but I went cheap this time, thinking that diligence with a case and screen protector would save me. I thought about having the phone repaired but I couldn’t stomach the repair fee. Carrying a phone with a visible crack was my scarlet letter to bear; the shame of being careless.
Samsung Self Repair to the Self Rescue
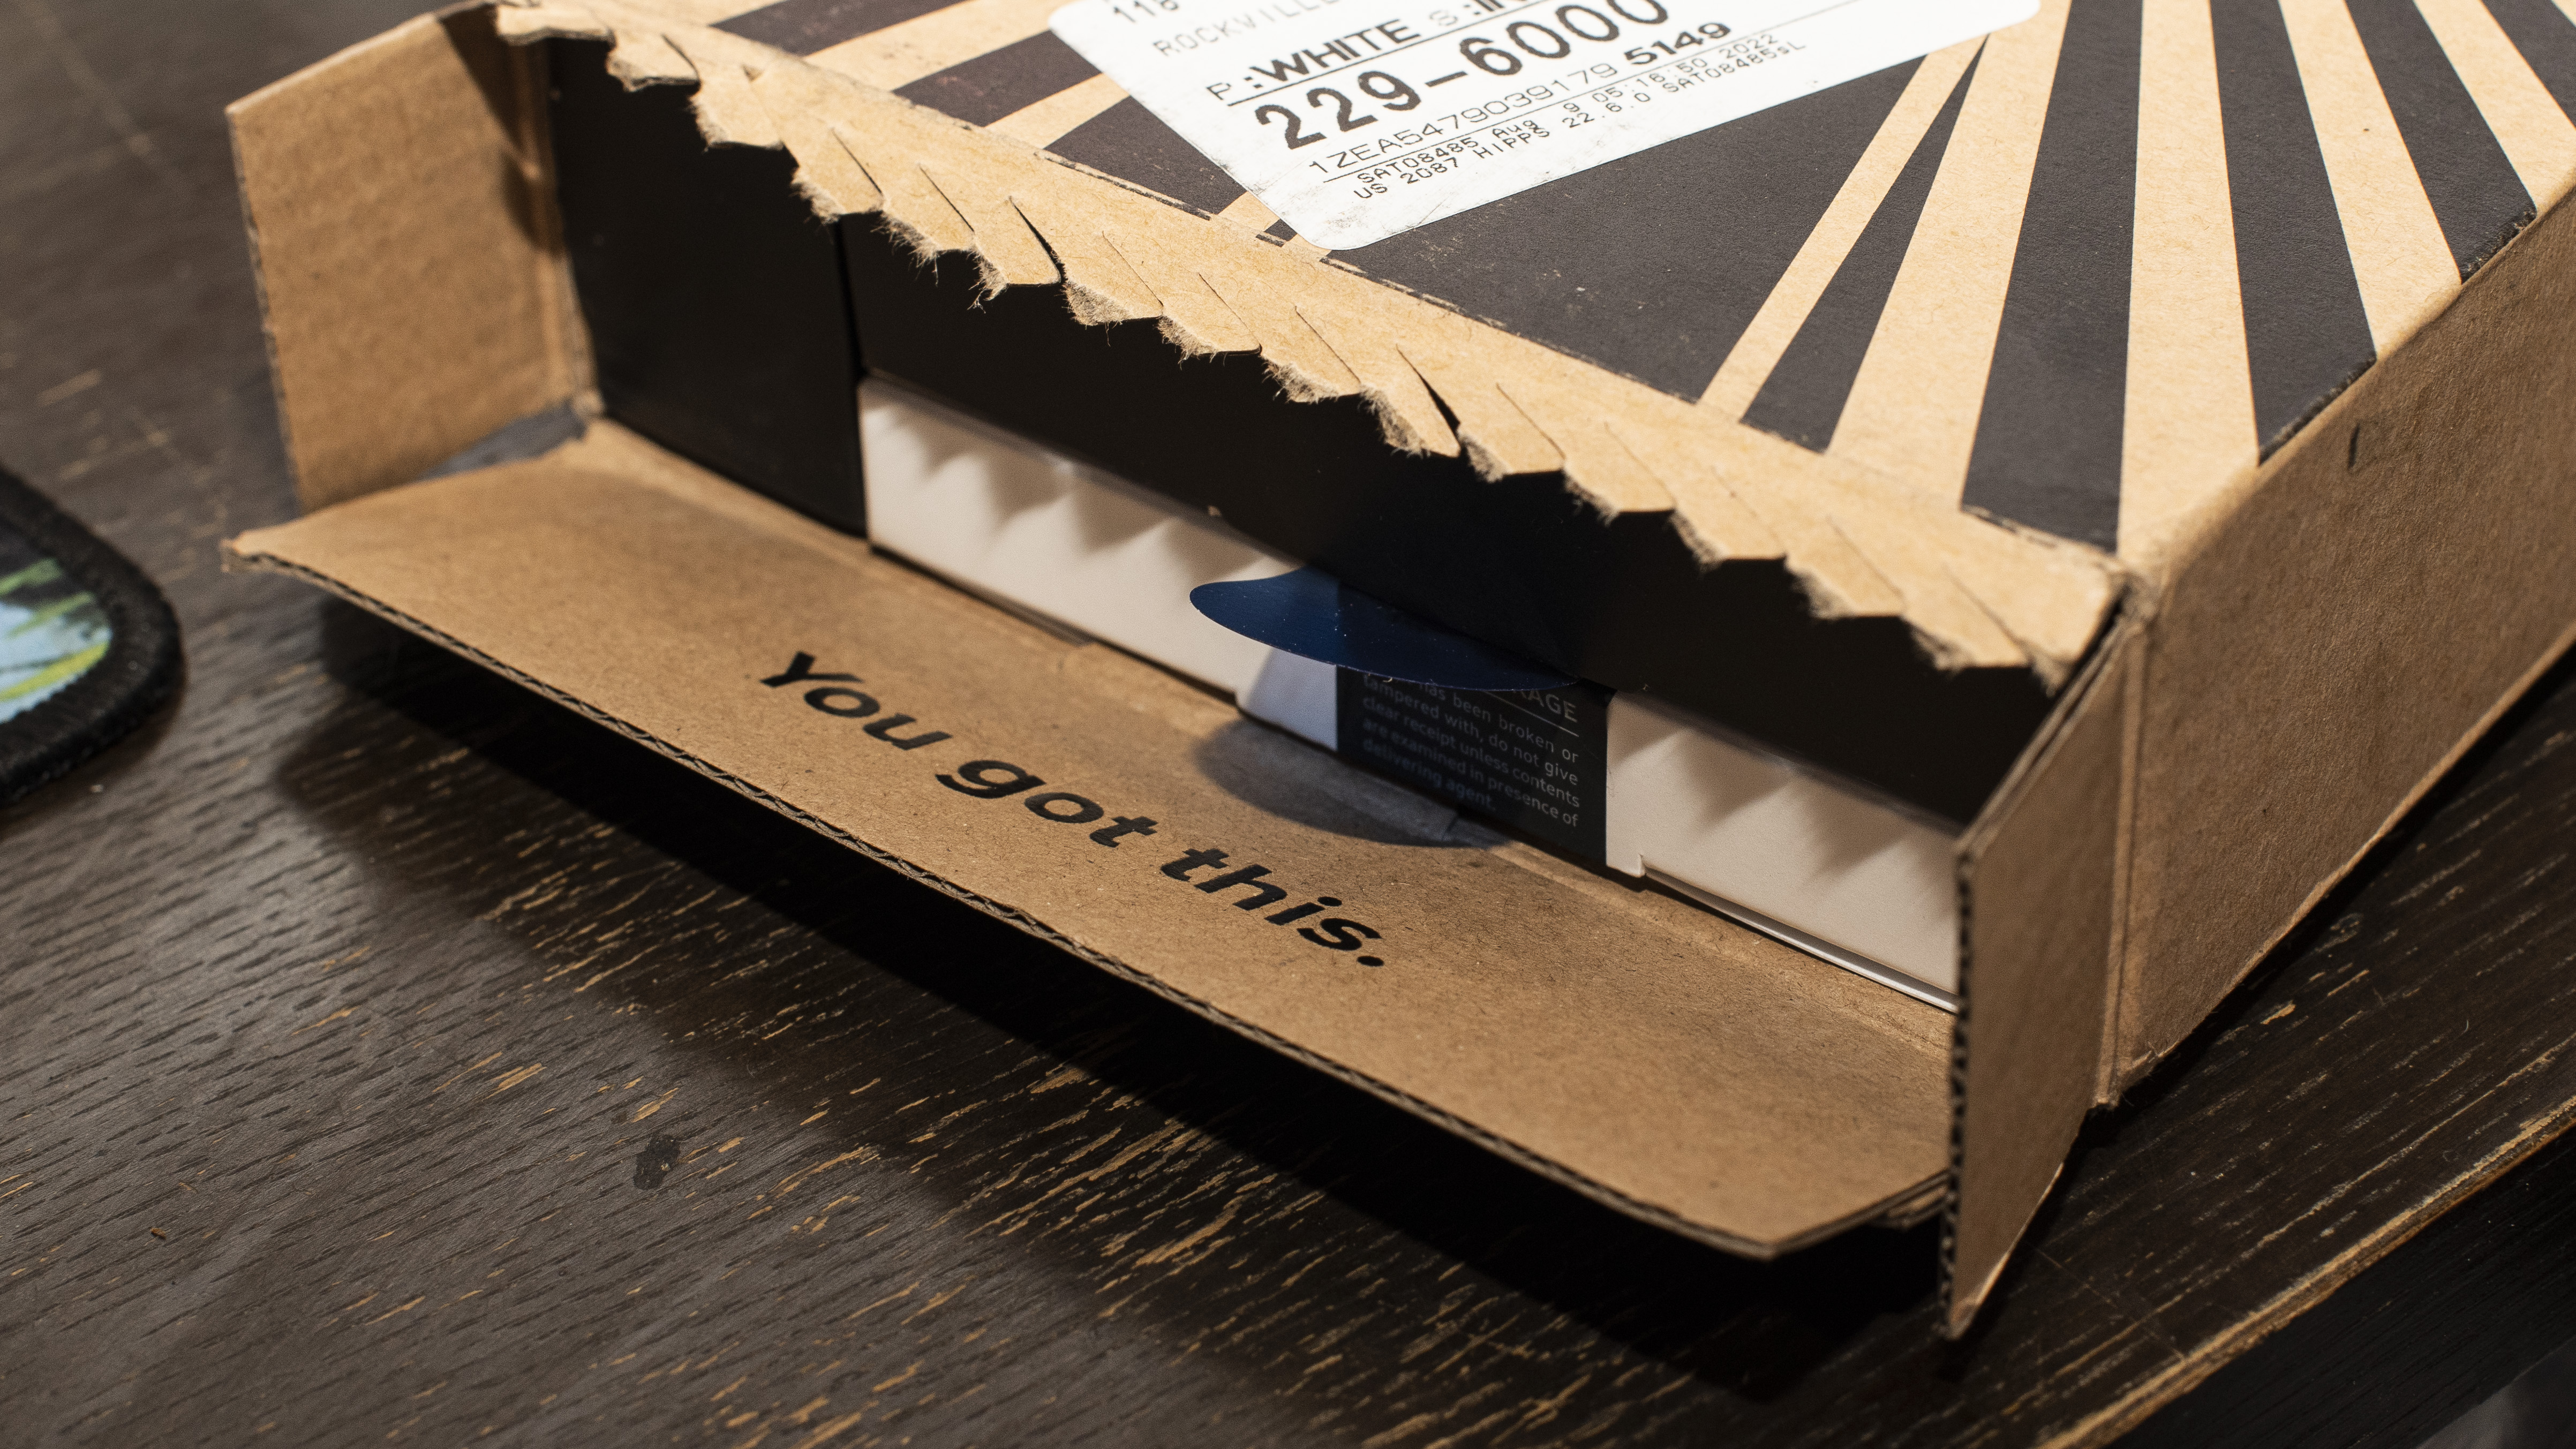
Then Samsung and iFixit teamed up to alleviate my shame. Samsung, like Apple, suddenly embraced the self-repair movement, and the company offered a new selection of self-repair kits for owners to buy. I asked iFixit to send me a sample of the Galaxy S21 Ultra front display repair kit and they obliged. The kit also replaces the Galaxy S21 battery because the battery and front screen is one attached piece that cannot easily be separated.
I’ll walk you through my experience repairing my own phone but first cut to the chase. I would not advise doing this yourself unless you have a very steady hand and you have some relatable experience, say with a hobby like model-making or fine tool work.
You should definitely not try this if you are the type of person who reads the beginning and end of an instruction, looks at the photo, then says “oh yeah I get the gist.” You need to read every bit of each instruction. Then, you’ll need to read them backwards, and I’m not joking.
I was not the best person for this repair. I thought the worst part would be the screws. All the tiny screws. Keeping track of where they go, and where they go back. Nope, that was easy. The hard part was the adhesive. The adhesive almost ruined me.
Get daily insight, inspiration and deals in your inbox
Sign up for breaking news, reviews, opinion, top tech deals, and more.
Help your phone come unglued
The first thing you need to do is remove the back cover. To do this, iFixit provides the “iOpener,” a phone-sized neck pillow that you heat in the microwave. Alternately, if you live in the woods and are repairing your phone, you can also boil the neck pillow in water.
I heated the iOpener for 30 seconds in my microwave. My microwave is very old. I laid the iOpener across the back of my phone for three minutes and dreamed of relaxing with a heated neck pillow. After three minutes, I used the included suction handle to lift away the back cover.
Nothing happened. I pulled harder. It did not budge. I thought of pulling harder, then imagined all the terrible ways I could hurt my phone by using a suction cup to bend it in half while it’s warm. That was my problem, it was only warm.
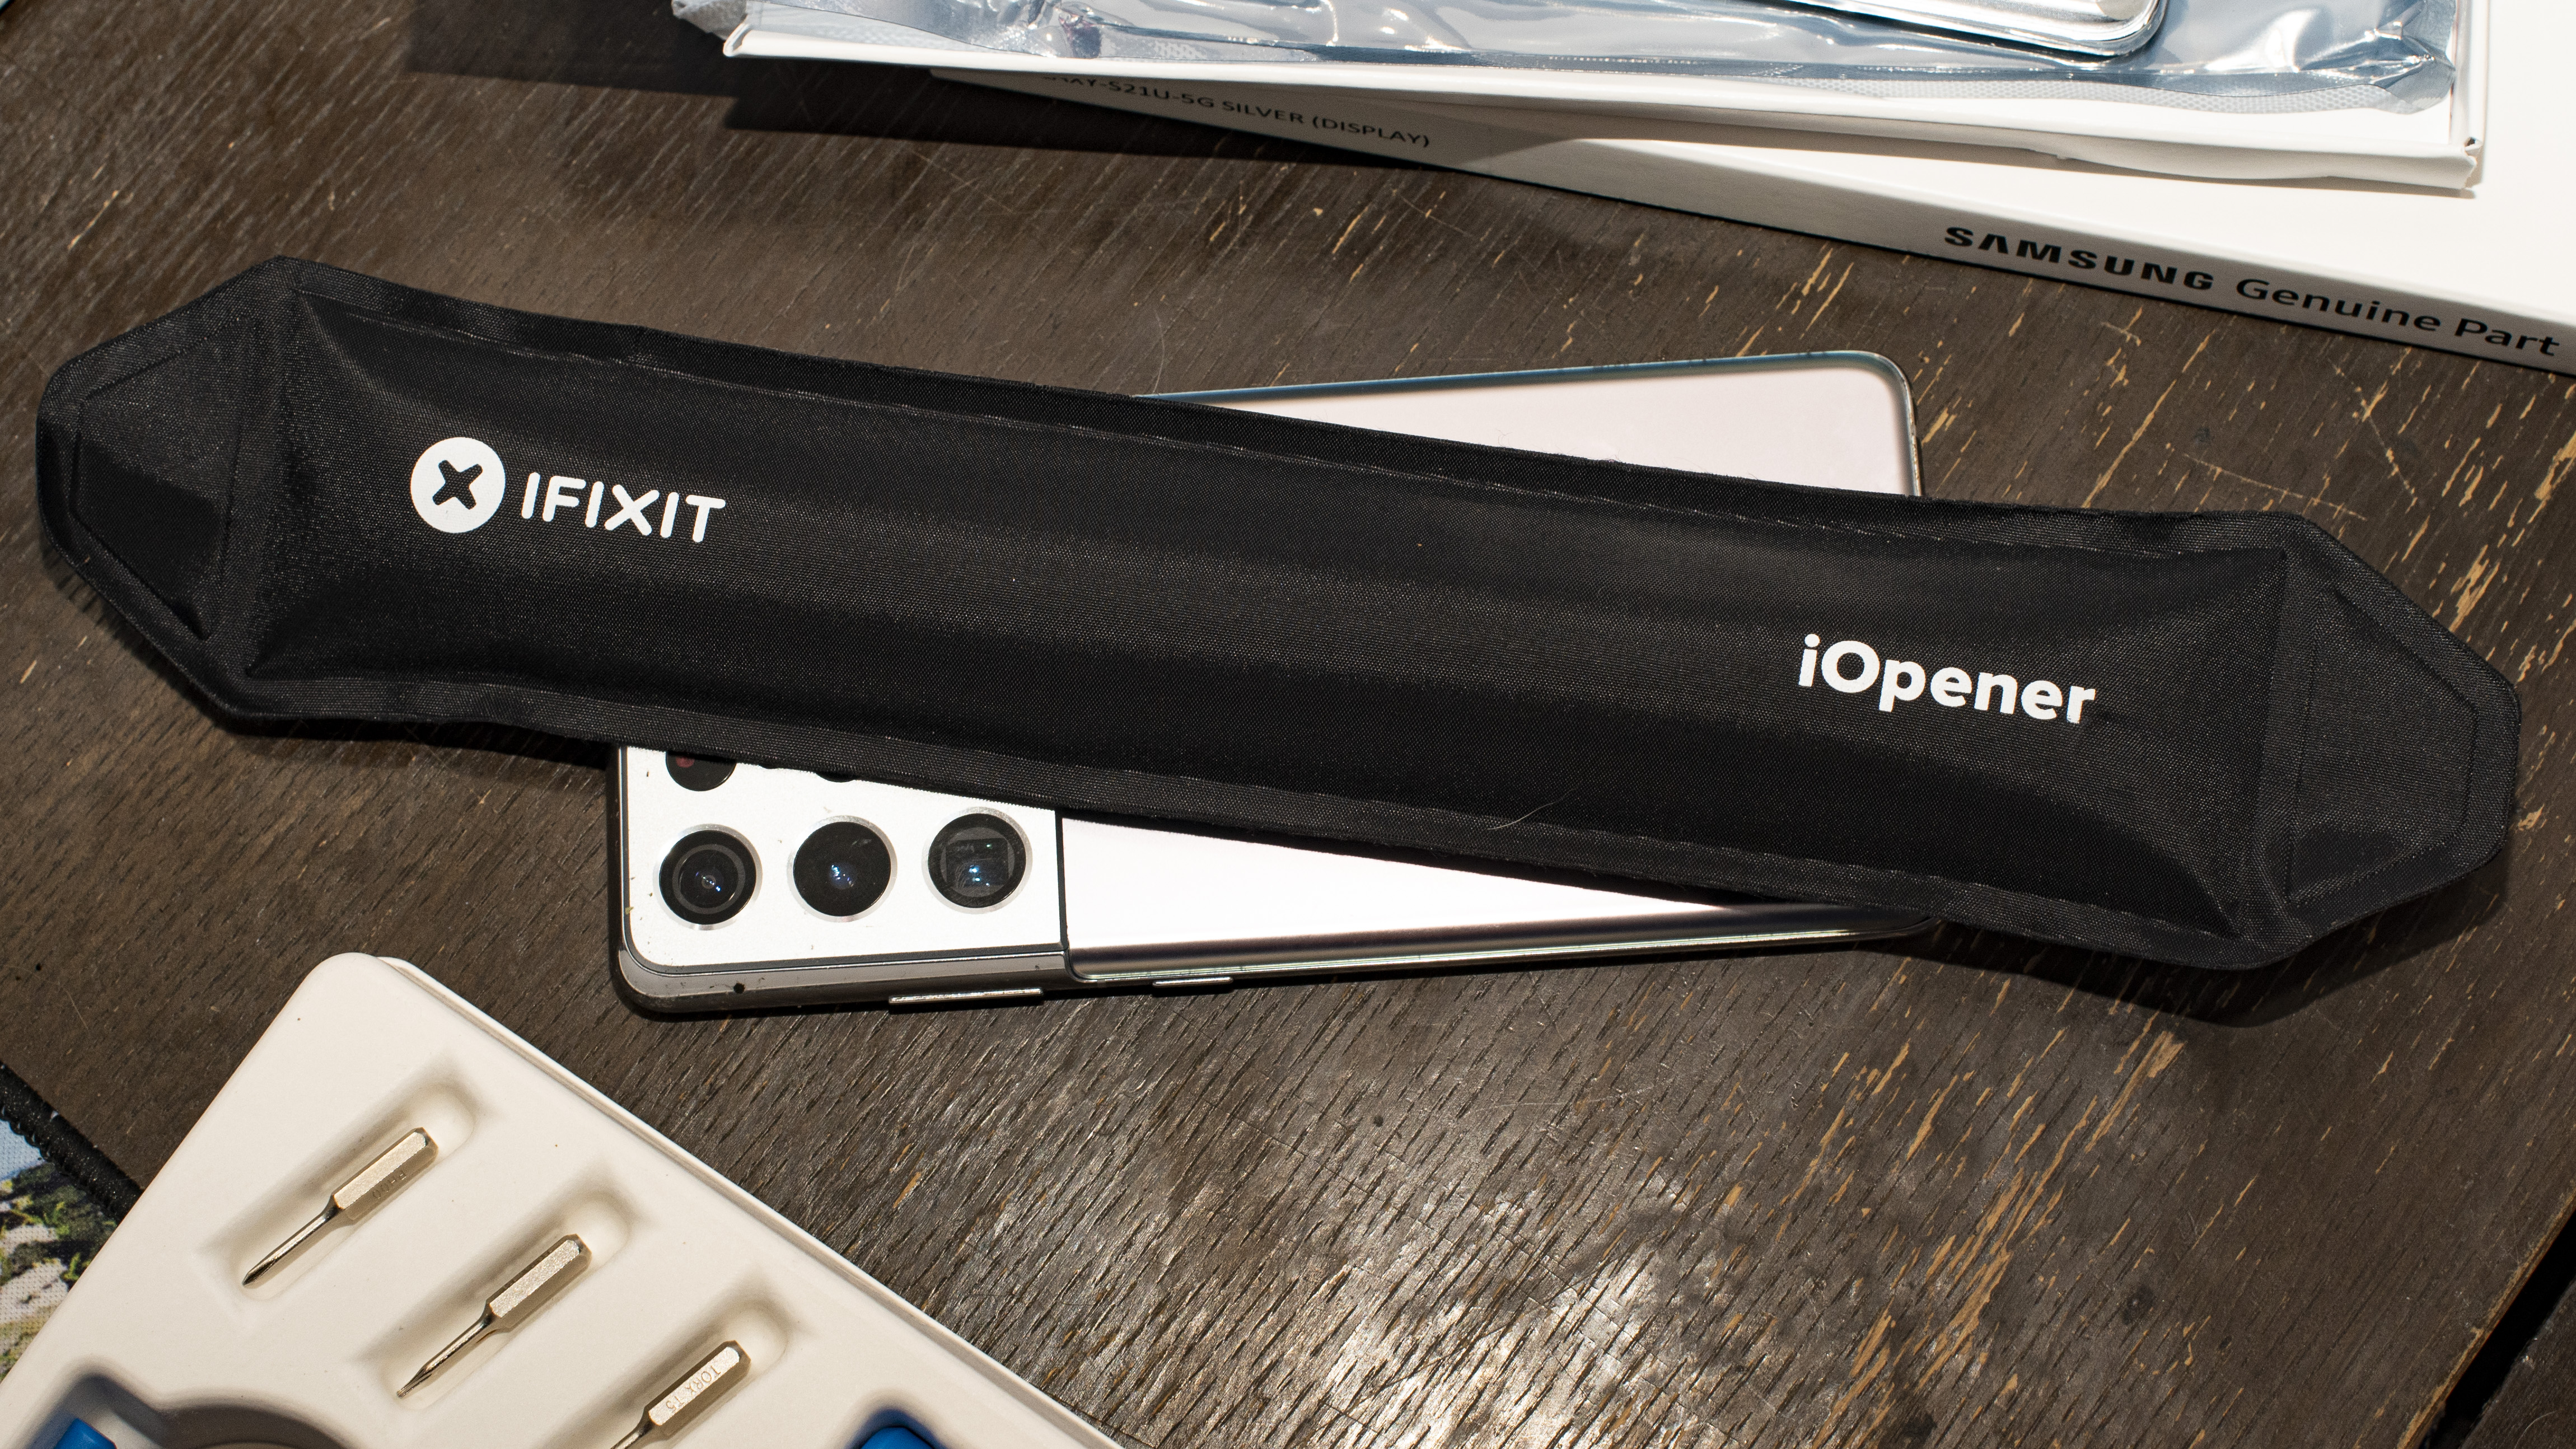
iFixit warns you not to touch the iOpener once it’s been heated, but I grabbed mine and it was hardly warm. Like I said, old microwave. Instead of heating it for 30 seconds again, I heated it for 50 seconds. I gave the phone a relaxing pillow break, then tried to pry again.
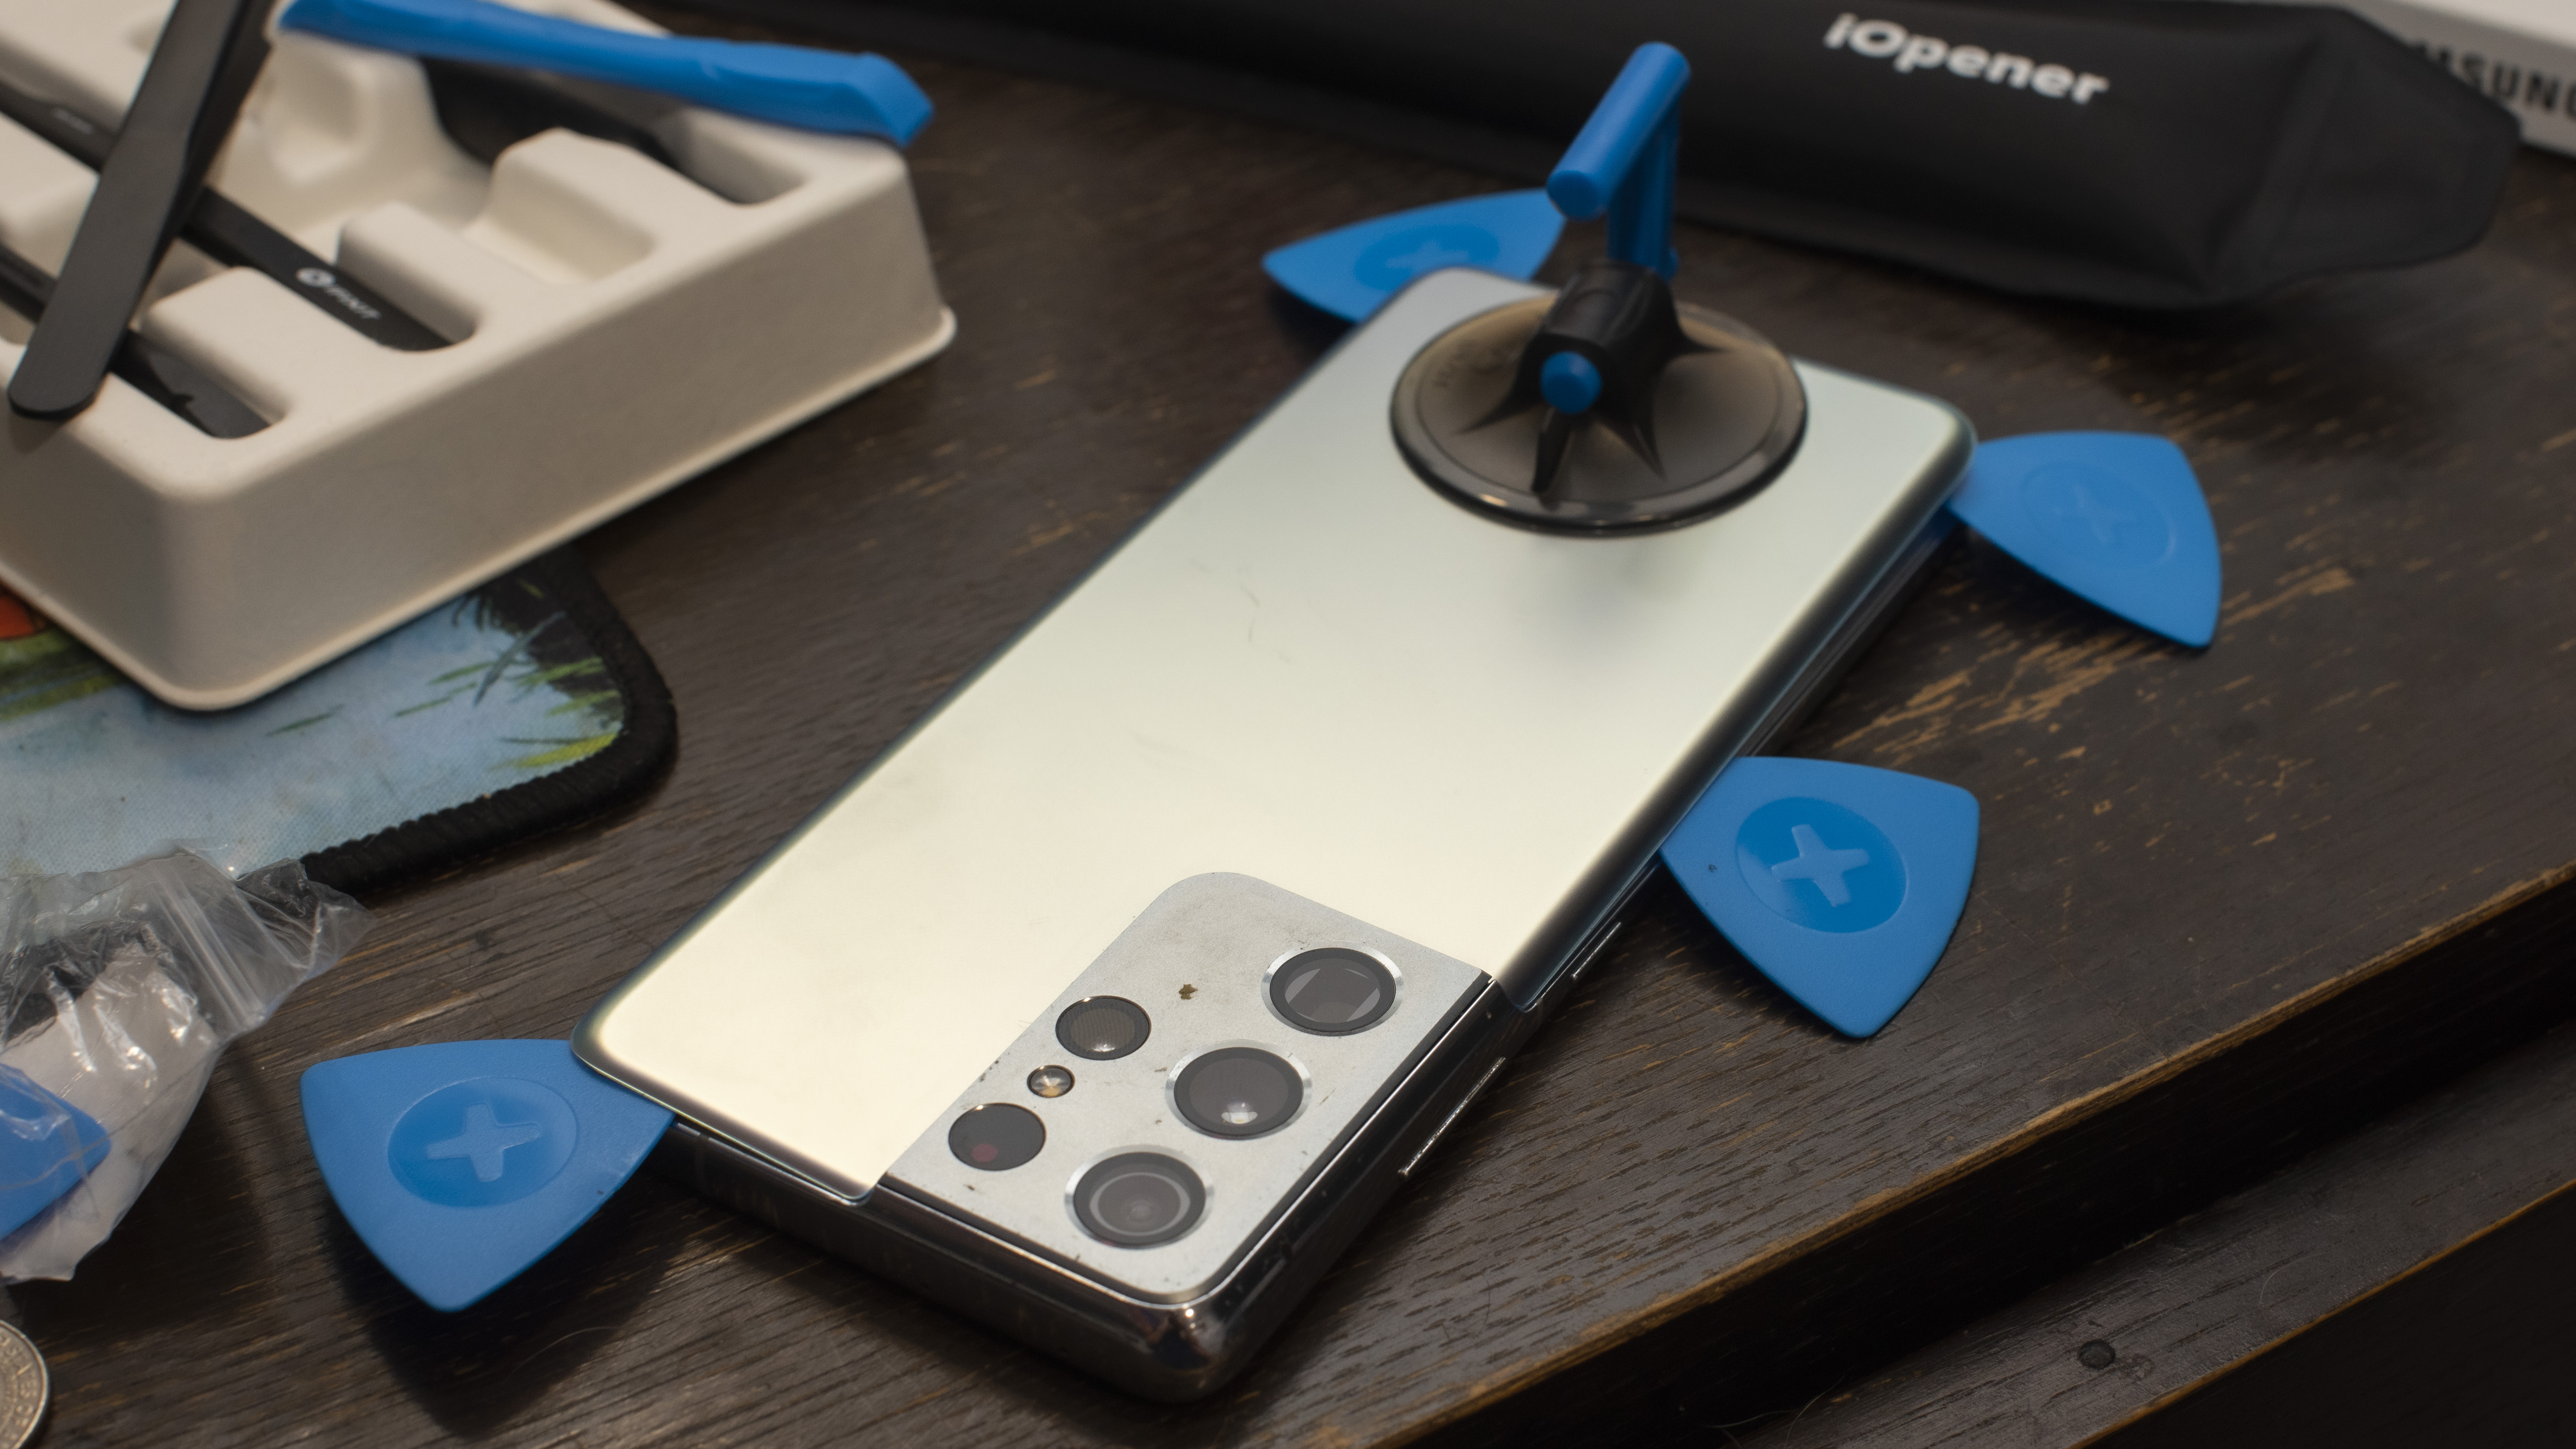
This time the top and bottom peeled slowly apart with a sticky smack. I quickly jammed one of the spreader picks into the phone. Following the instructions, I pushed more picks into my phone, pushed them up the sides to break the glue seal, then continued along the edge. It took some effort but not a scary amount – I never felt like I would break my phone. I had to twist and jimmy a bit, but it worked.
Here’s the bad news. Once your phone comes unglued, it will not be watertight again. If I wasn’t sure of this before I started the repair, scraping old adhesive tape and wiping gunk from the inside of the covers made it clear that I was not going to be capable of redoing what the factory had done. I will just need to be careful until it is time to buy a new phone.
Taking the Galaxy S21 Ultra apart
The back cover was removed, but we were still just getting started. There are a number of components that need to come out, and then later go back in. Each of these is connected in some way with a ribbon wire and a pushable connector port. I was worried that I would damage these ports, either by pushing too hard or by misaligning them. but I never had any trouble. All of my phone functions were restored after the fix.
In order, you will remove:
- The NFC antenna and charging coil
- The loudspeaker
- The daughterboard and interconnect cables
- The earpiece speaker
- The front camera
- The motherboard
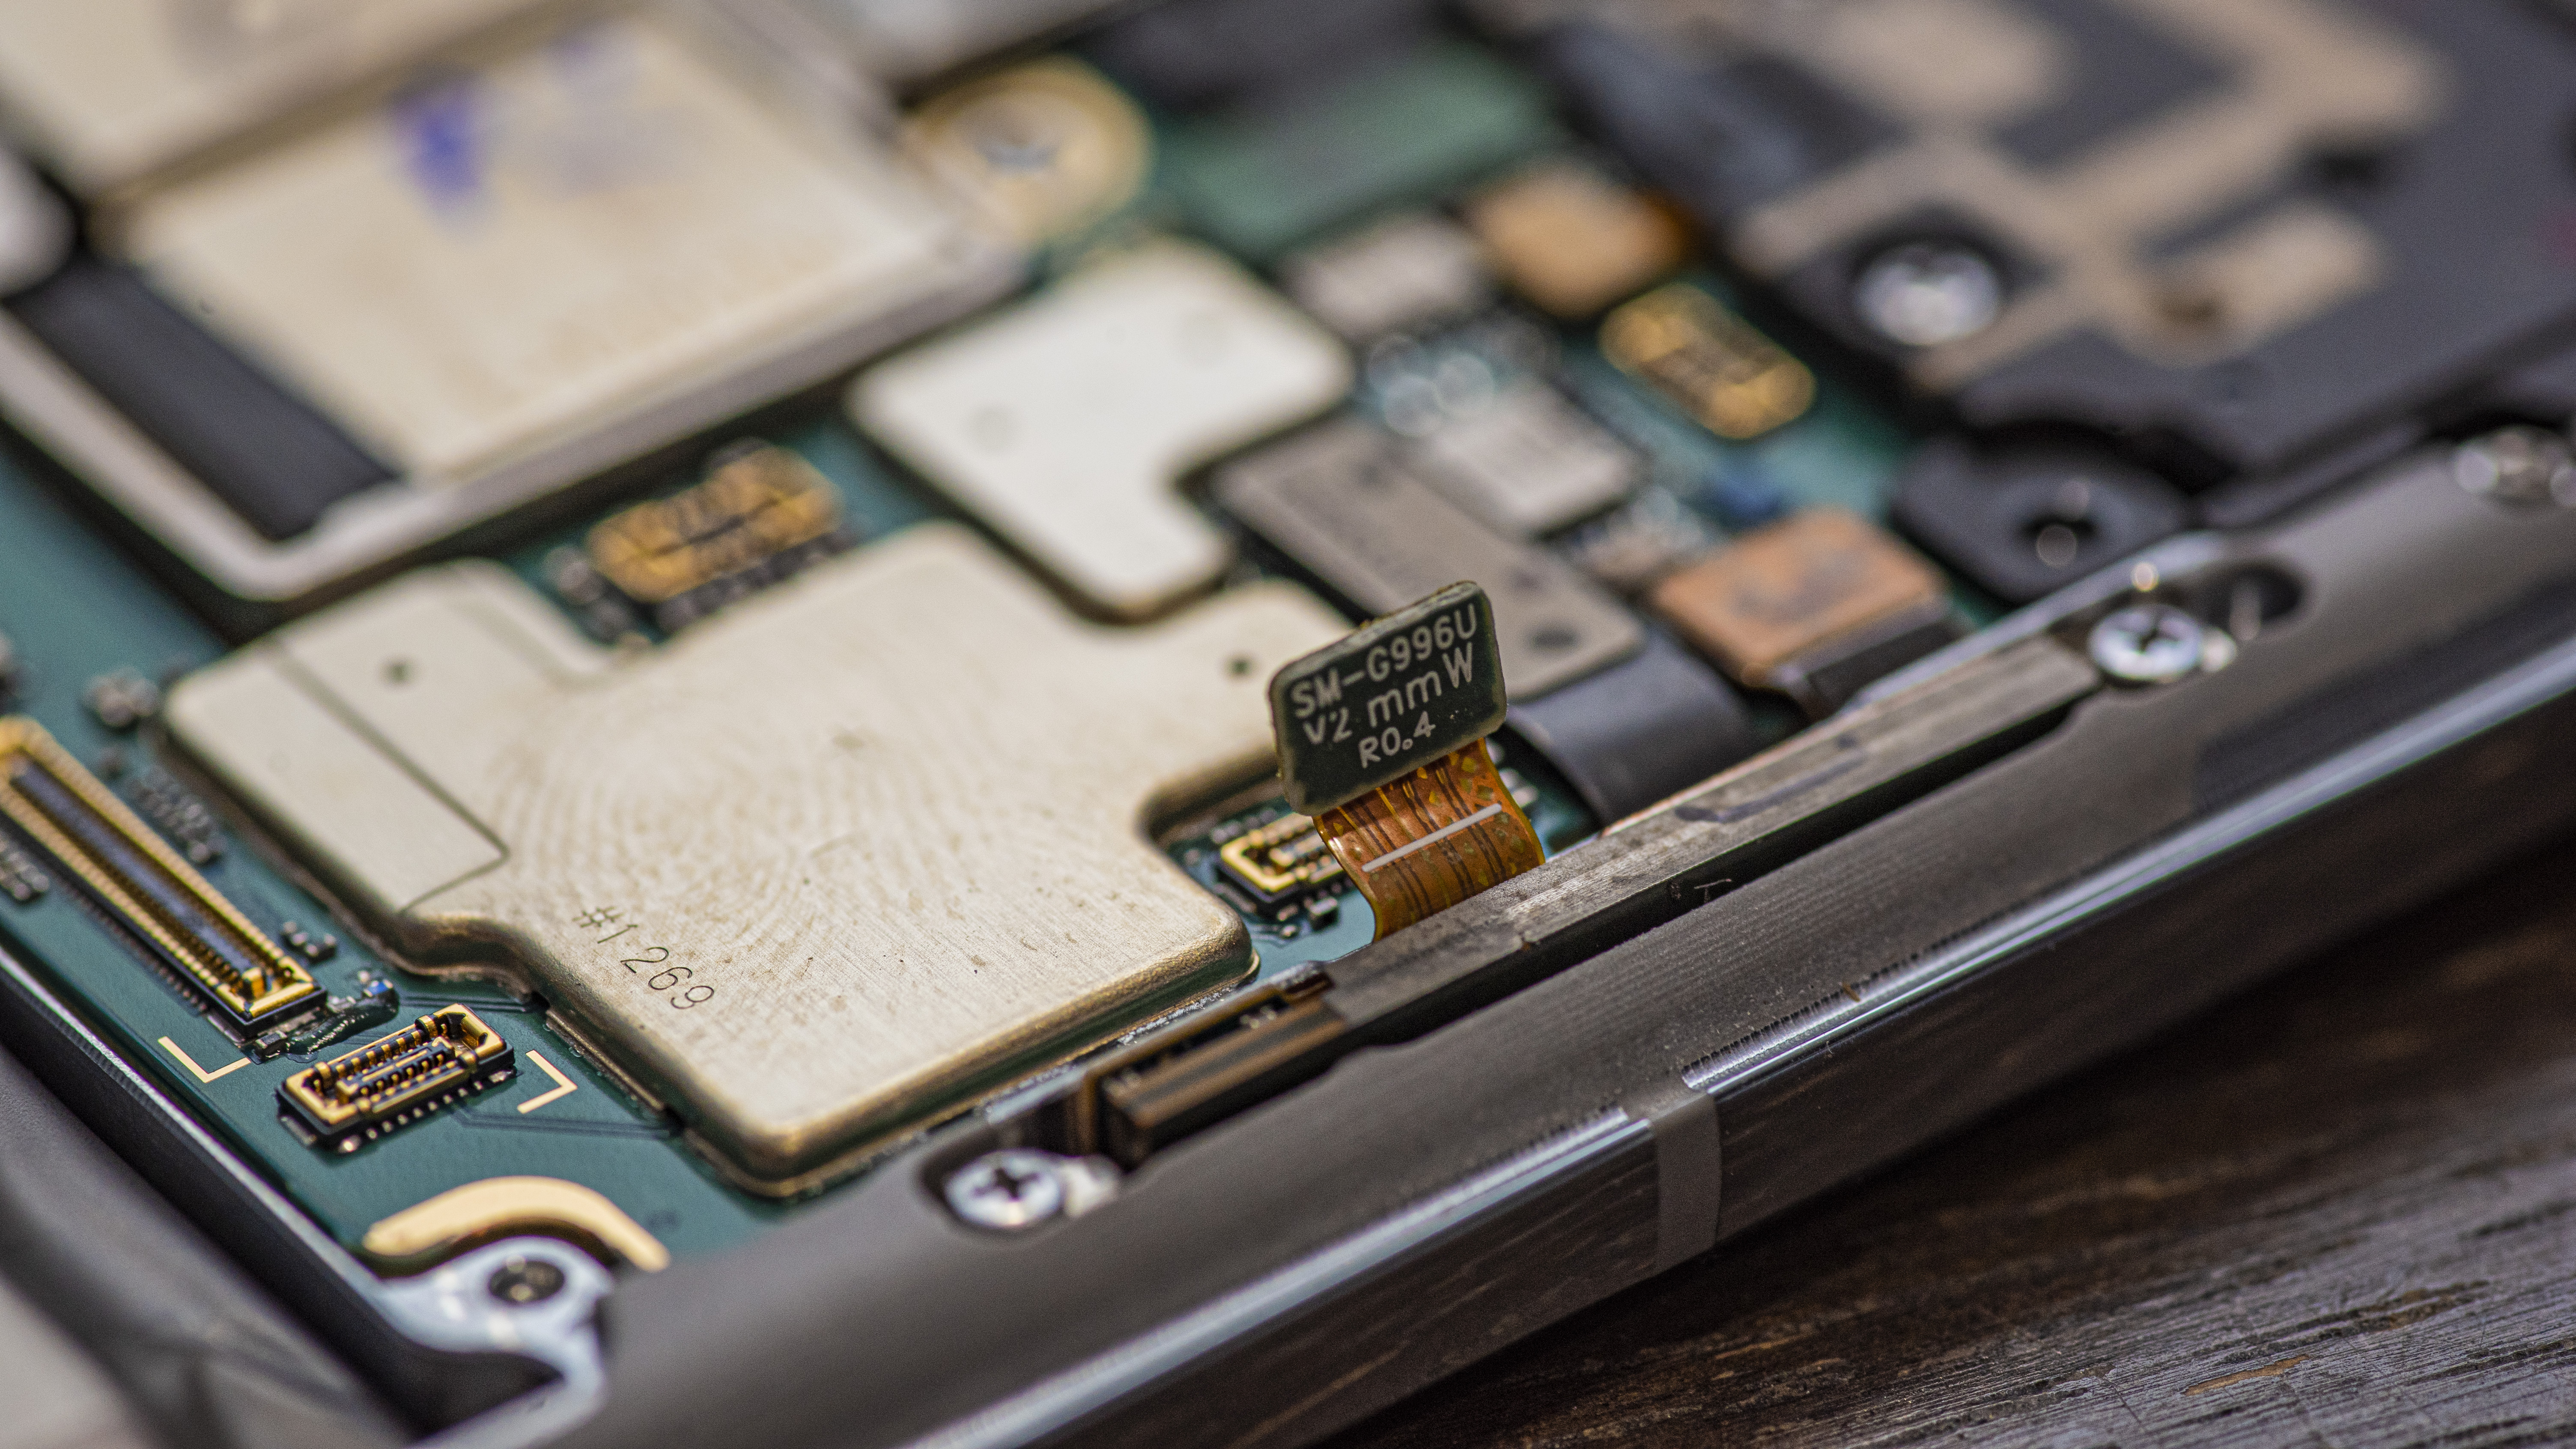
- The left and right 5G mmWave antennae
It’s actually a very cool, if slow, process. I’ve been using Samsung phones extensively for more than a decade and I’ve never gotten such an intimate look at the device, and how Samsung designs its devices to be repaired.
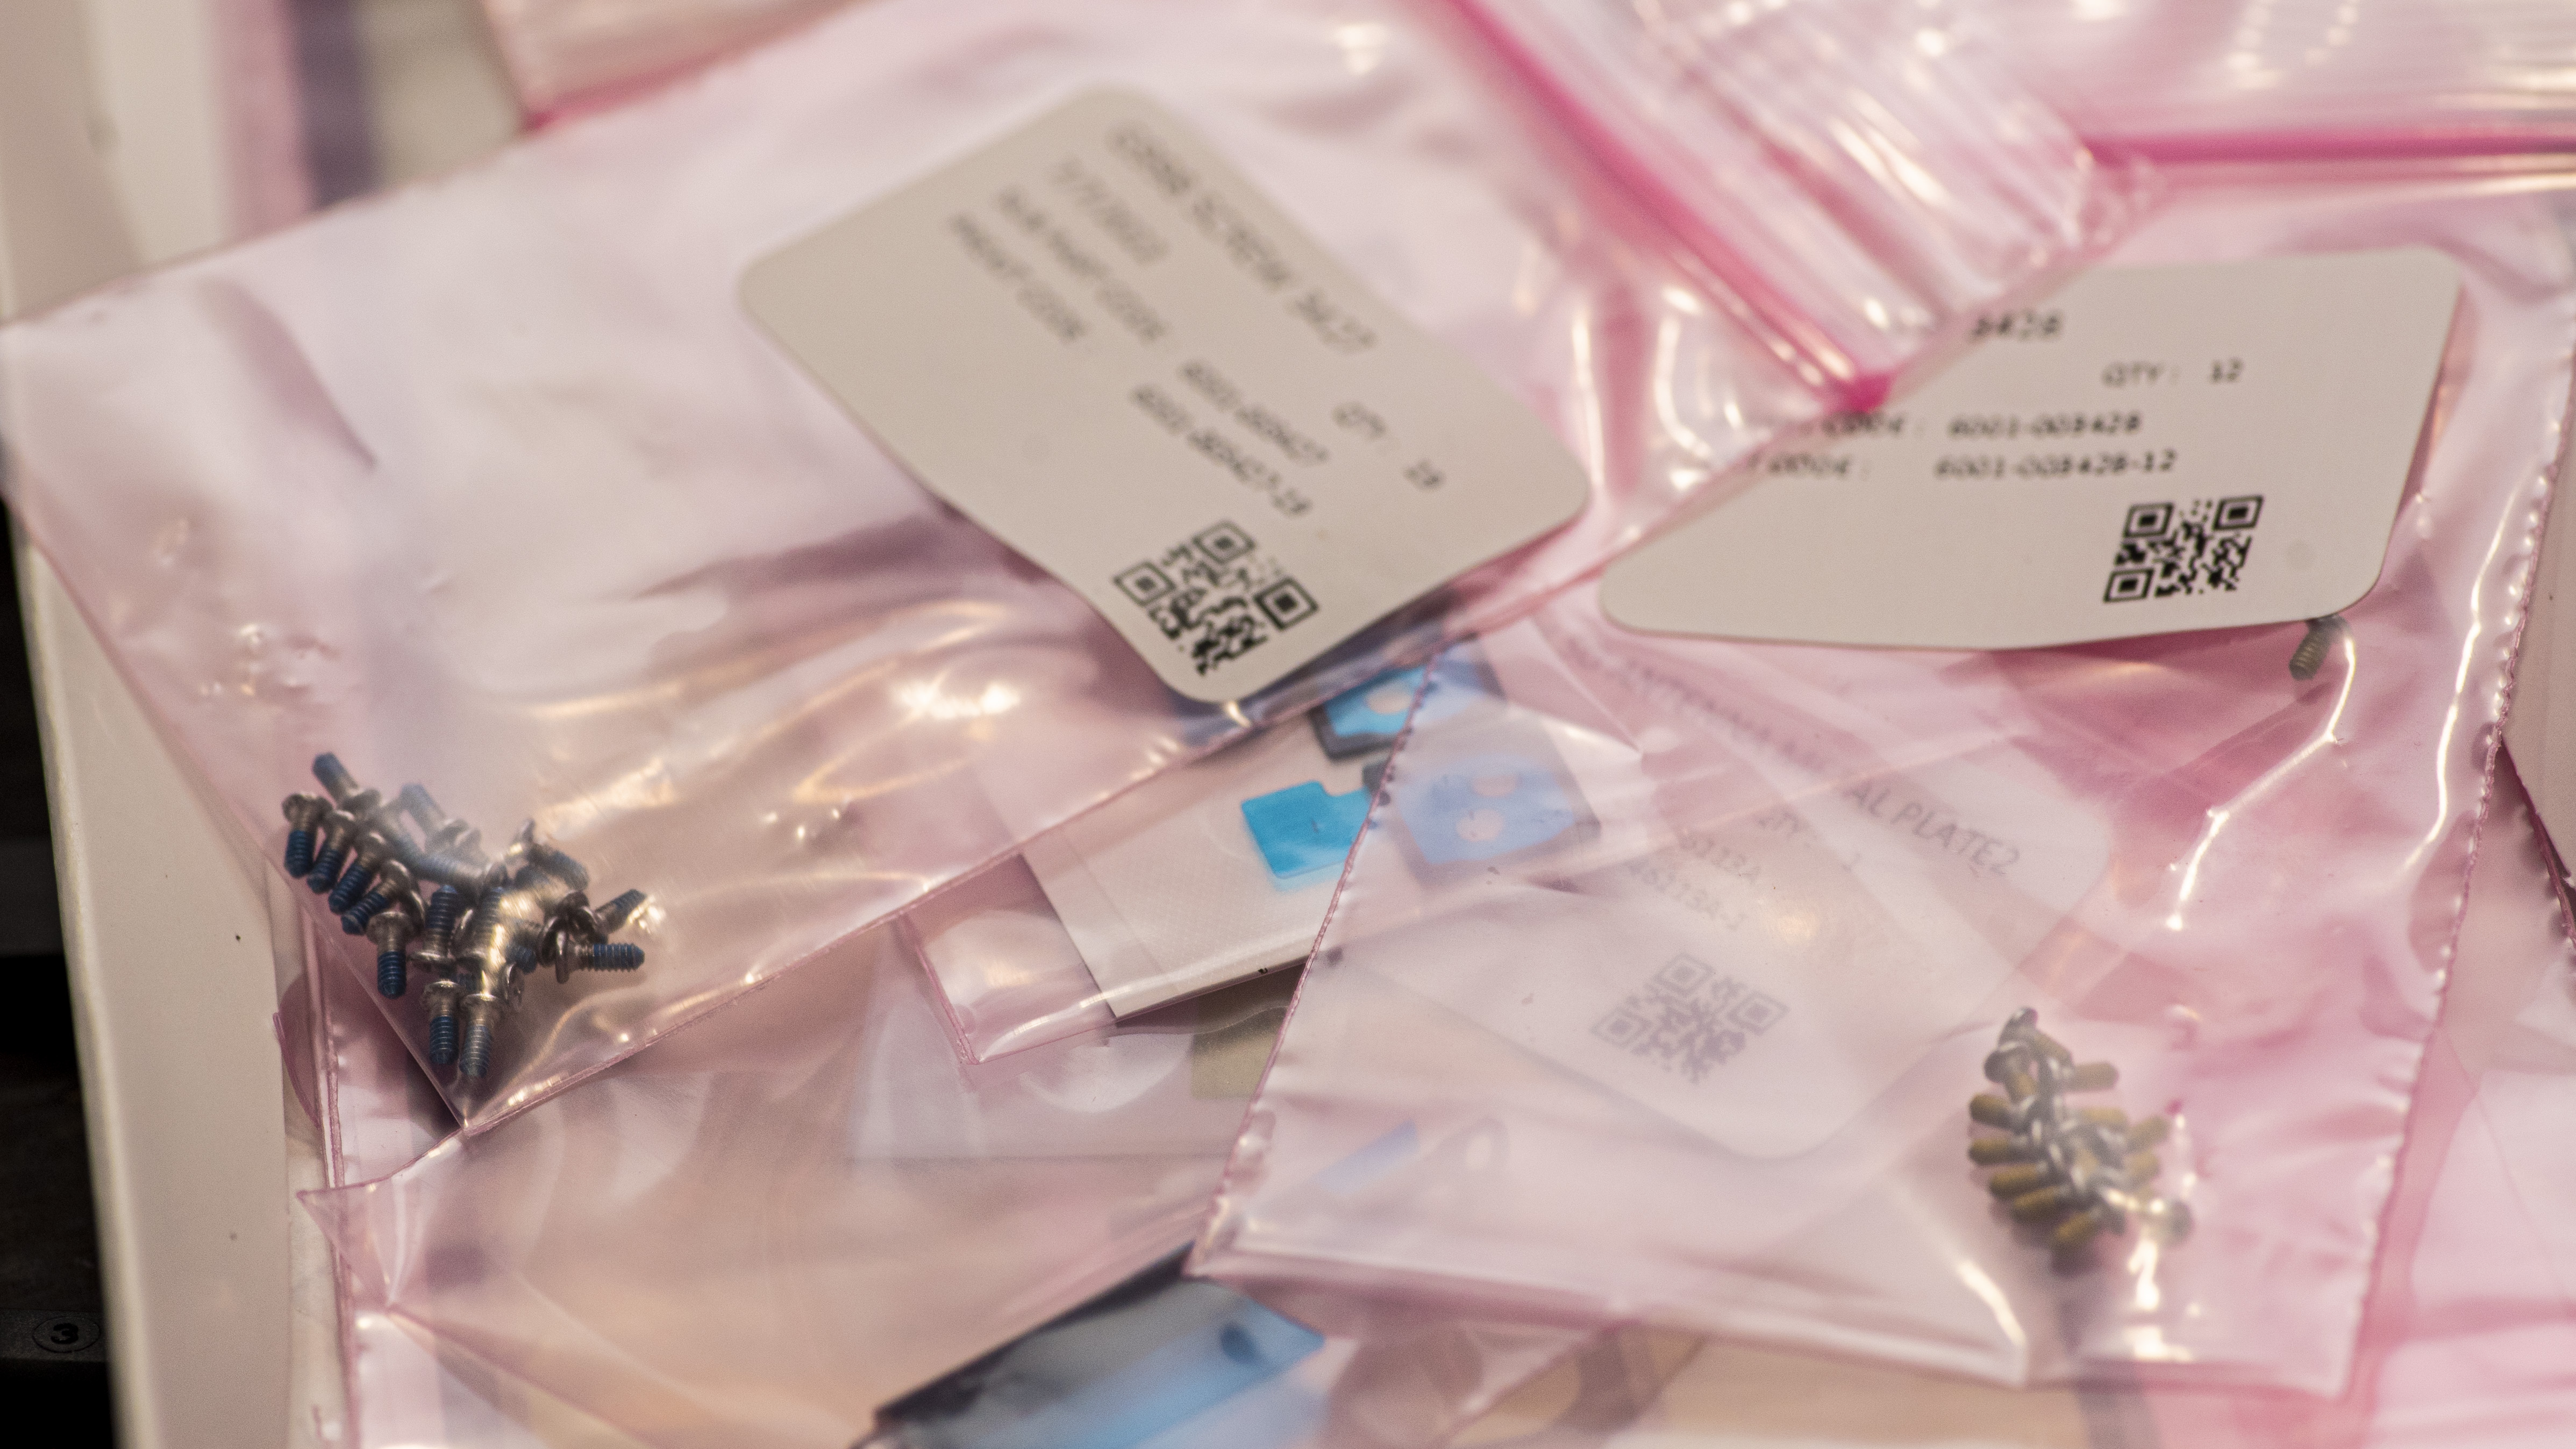
There are a lot of screws involved. The iFixit repair kit I requested along with the Samsung parts came with a multi-head driver. Thankfully, and I mean a huge thank you, you can throw away every screw as you remove it. Samsung includes bags with plenty of screws of every necessary size. They are clearly labeled. You can even lose a few - there are extras.
Does everybody want to go backwards?
Once everything is removed, you are done, right? That’s how the iFixit instructions make it seem, as you have reached the ominous end of the document. The final step is to peel off all of the protective film from the new part, then reverse your steps.
Yup, instead of giving you the second half of the instructions, the document ends and it says “To reassemble your device, follow these instructions in reverse order.”
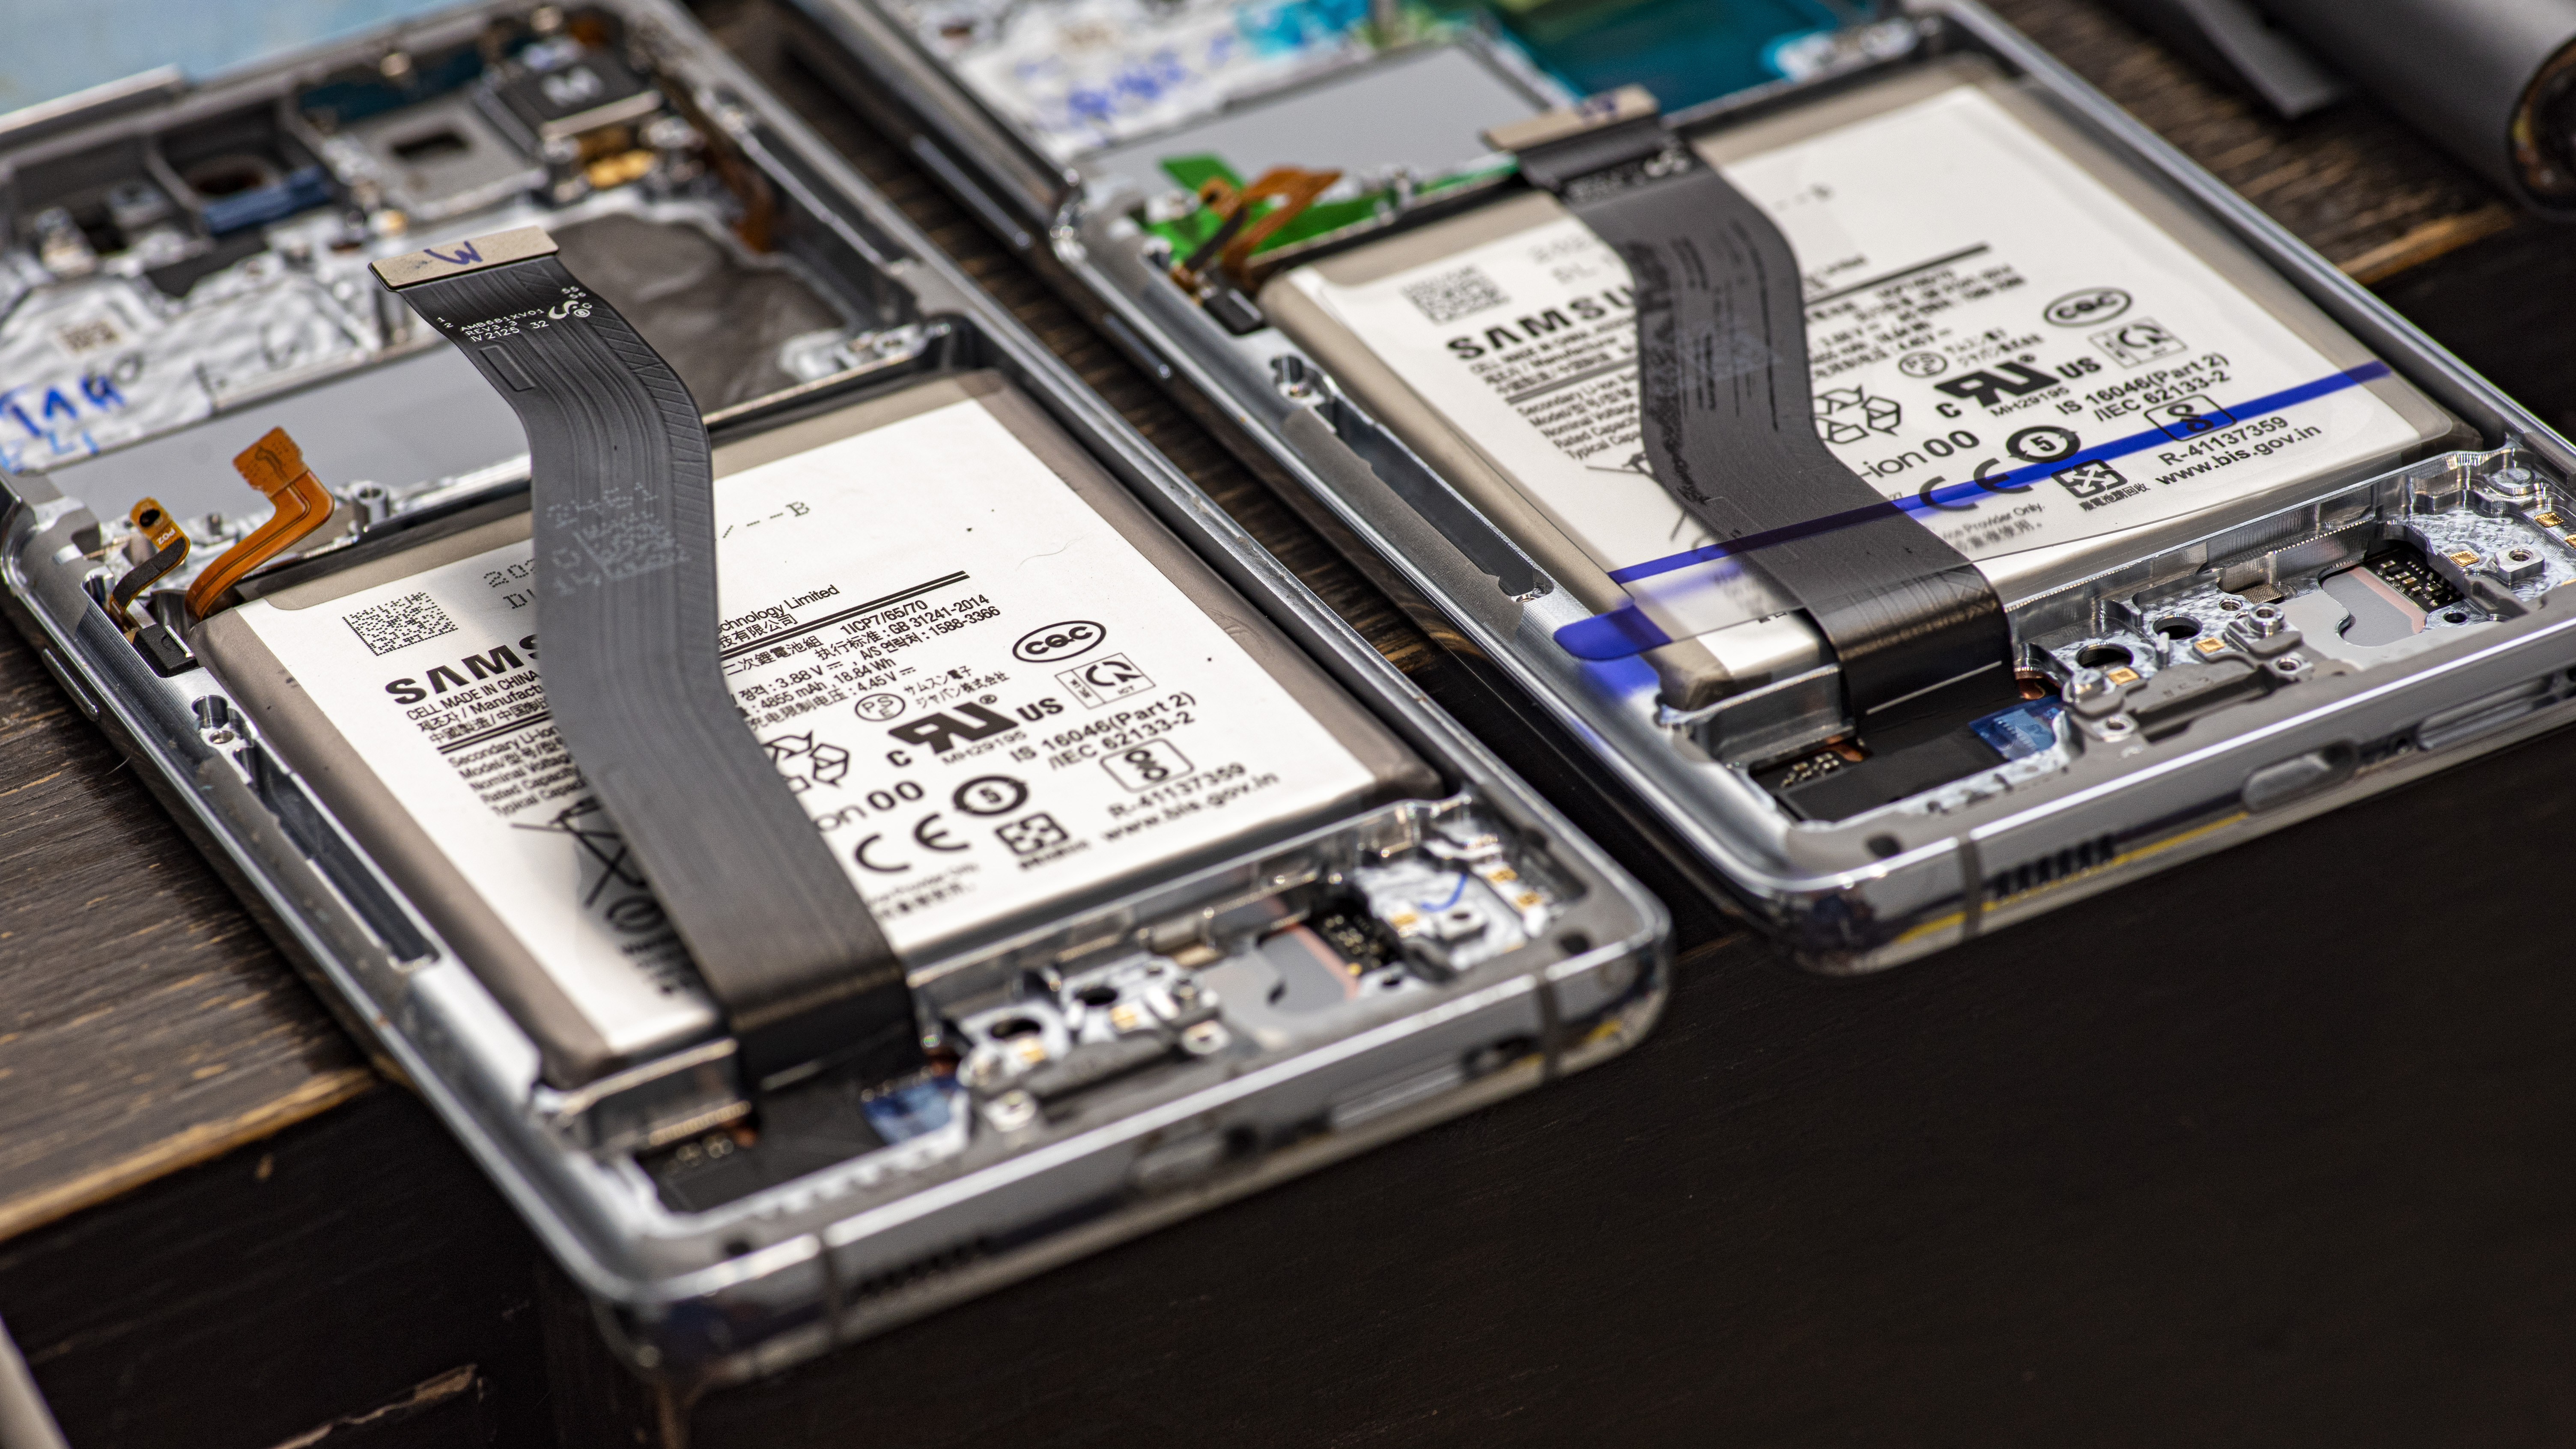
I looked at it dumbfounded. I heated the phone and unsealed the glue. How do I reverse those steps? I looked for more instructions in the Samsung box, but there was nothing. So, I tried my best to reverse my steps, and it worked, up until the very end.
Ready to close up the patient
Once all of my parts were safely screwed inside my new screen, I turned the phone on. The instructions tell you to check that all of the functions that you just reattached work properly before you seal it up. Everything worked. I was ready to seal.
At the top of the instructions, when you get to “Step 9 Remove the back cover,” there is a tiny note labeled “During reassembly:” Here I found a link for how to use the included adhesive tabs. These tabs look like a screen protector, but instead of glass, you get a slim outline of intensely sticky tape that fits the perimeter of the phone.
Applying the adhesive is similar to applying a screen protector, back in the days before screen protectors came with molded guides that fit your phone perfectly and made sure you never screwed up. This adhesive has no guide. You lay it down on the phone, peel off the film to reveal the sticky side up, and lay the back cover down upon the adhesive. Carefully. Slowly. Perfectly.
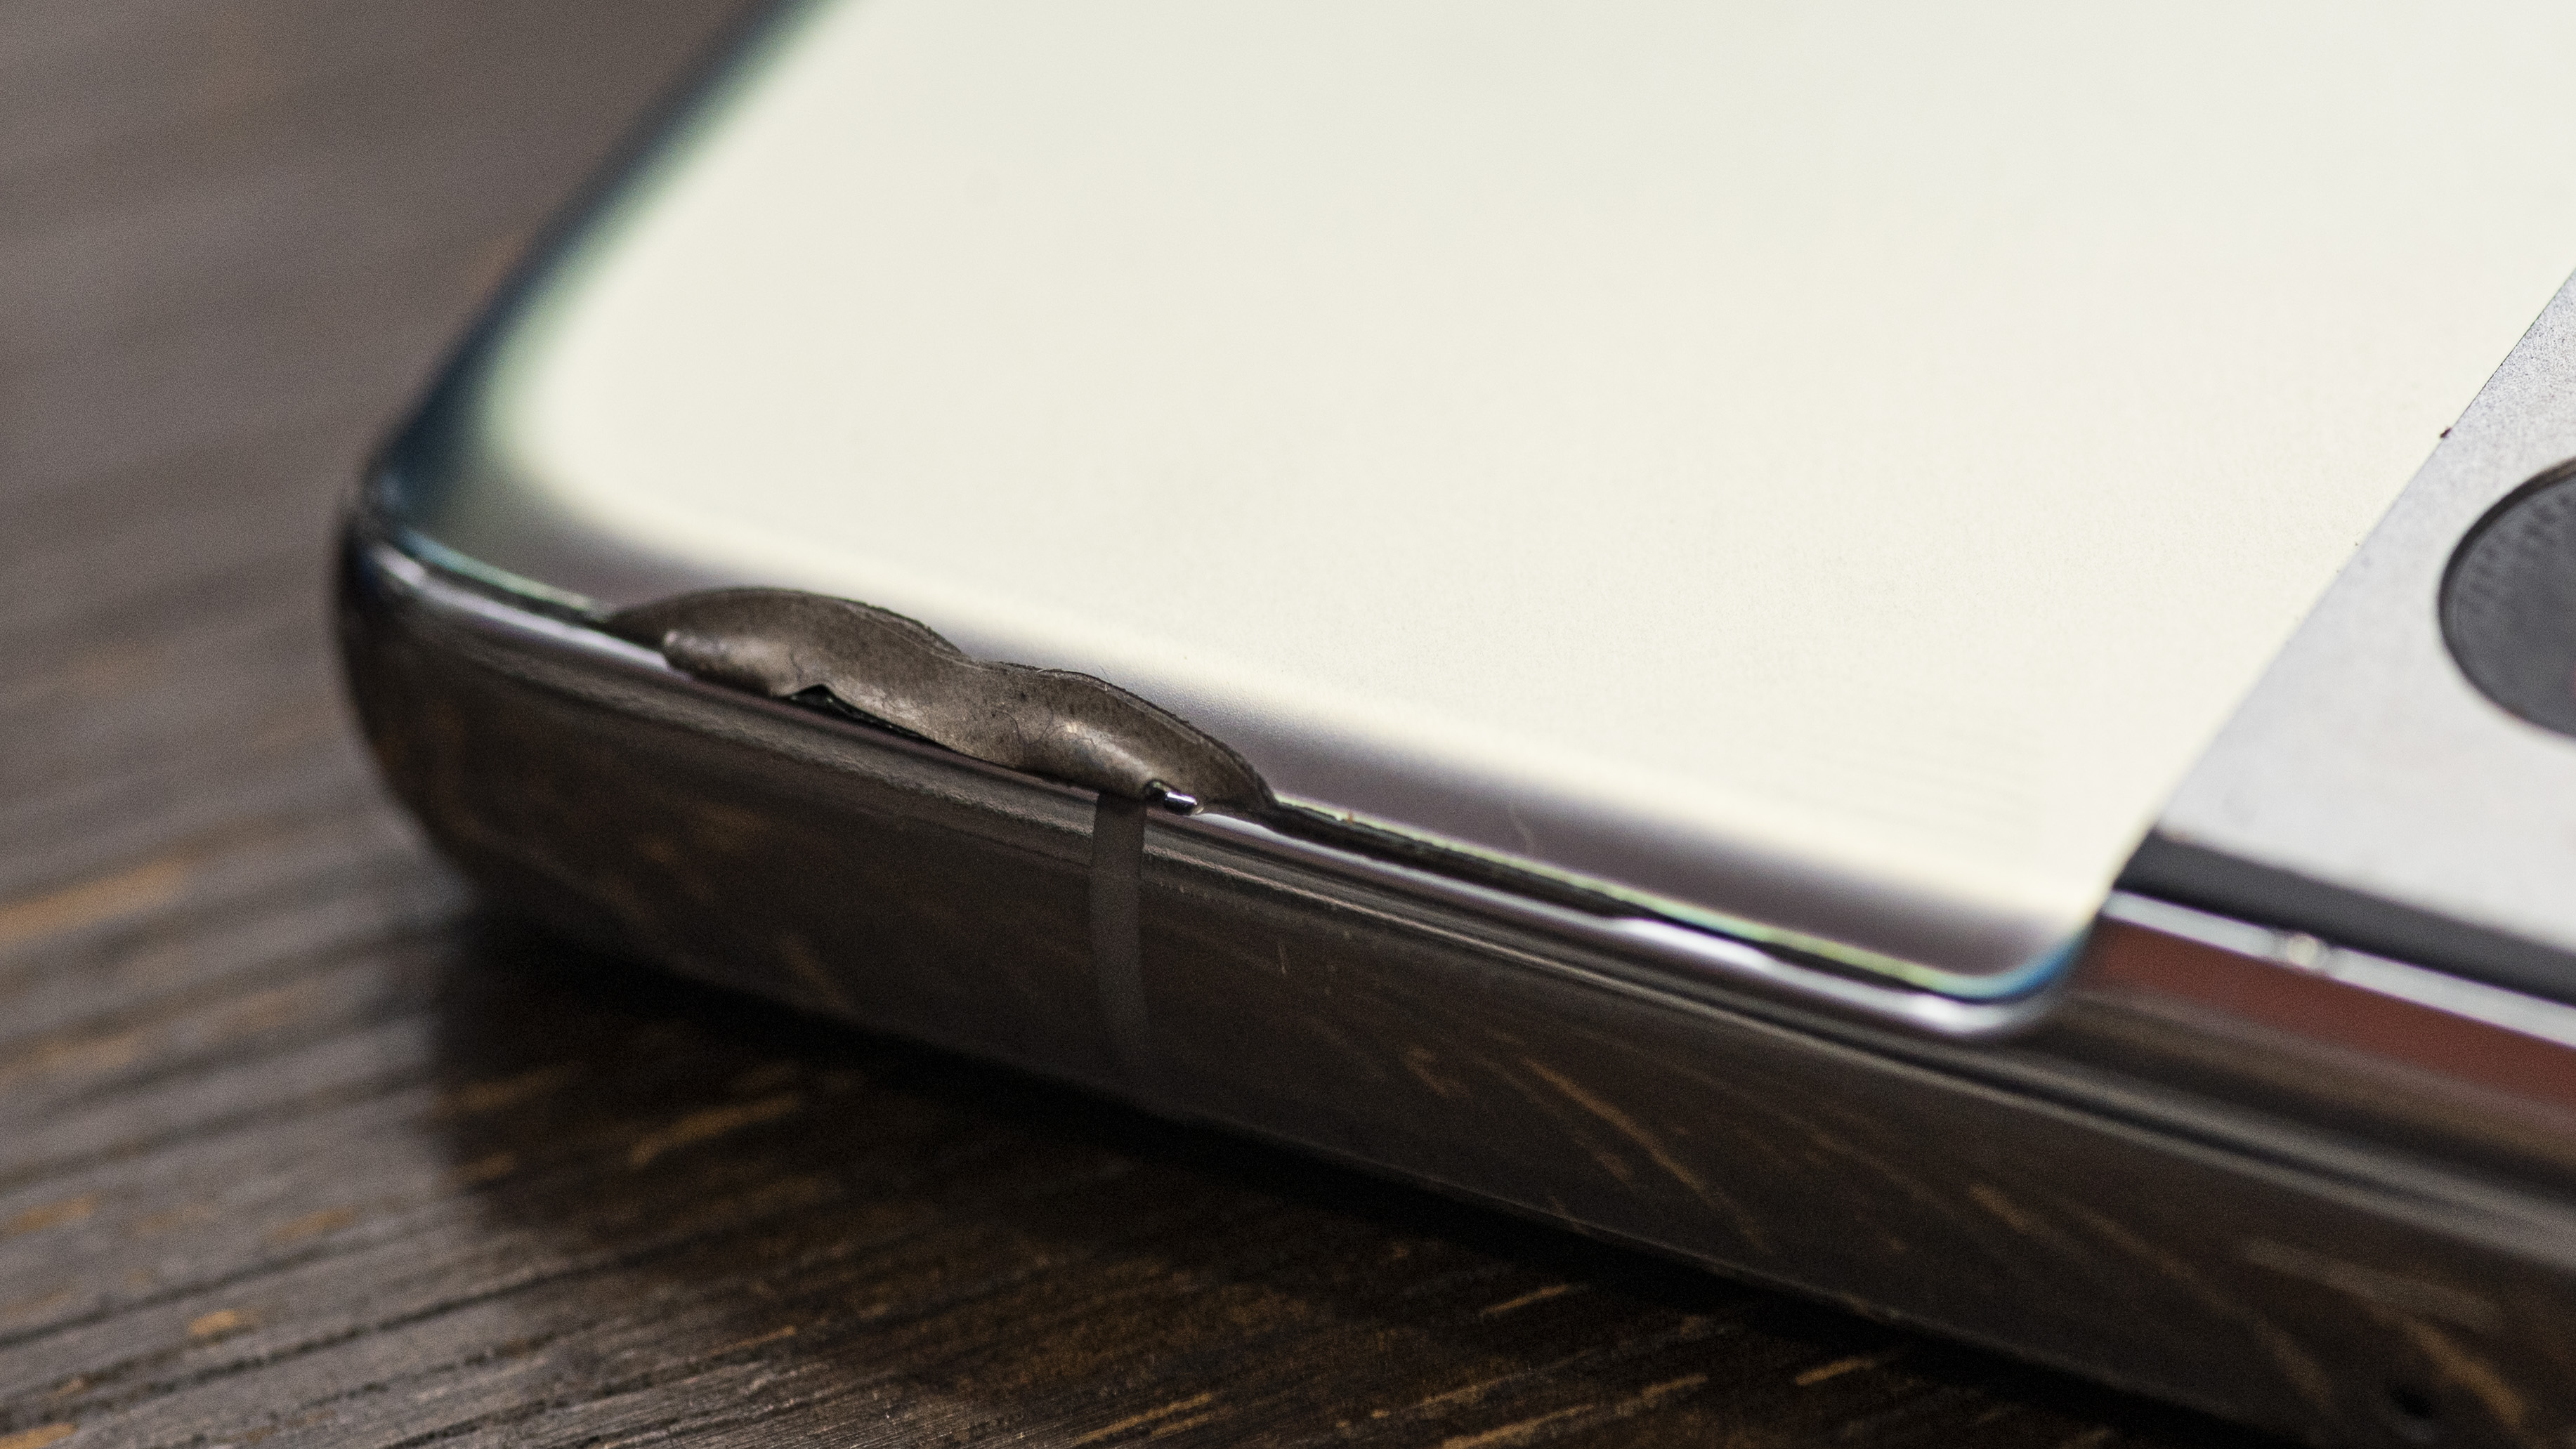
I was not perfect. The film kept sliding ever so slightly as I lay the back cover upon it. The curve of the cover kept moving the flat film of the adhesive. I tried to readjust a few times but ruined my first adhesive film. The repair kit came with two. I tried again.
I was very careful. I tried very hard to get it right. I still screwed up. Everything looked perfect until I pressed the phone to seal it. Then, as you can see, a tiny bit of adhesive spit out from between the bottom and the top, wagging at me like a tongue.
In the end, it still looks better than it did before when it was cracked. I cut off as much of that waste as I could and you cannot tell the difference: there is no gap. My friends at iFixit have offered to send me new adhesive, and if I learn a better way to apply it I will pass that along. For now, I’m satisfied with the new look of the phone, though, I will think twice before I fix my kid’s broken iPhone.

Phil Berne is a preeminent voice in consumer electronics reviews, starting more than 20 years ago at eTown.com. Phil has written for Engadget, The Verge, PC Mag, Digital Trends, Slashgear, TechRadar, AndroidCentral, and was Editor-in-Chief of the sadly-defunct infoSync. Phil holds an entirely useful M.A. in Cultural Theory from Carnegie Mellon University. He sang in numerous college a cappella groups.
Phil did a stint at Samsung Mobile, leading reviews for the PR team and writing crisis communications until he left in 2017. He worked at an Apple Store near Boston, MA, at the height of iPod popularity. Phil is certified in Google AI Essentials. He has a High School English teaching license (and years of teaching experience) and is a Red Cross certified Lifeguard. His passion is the democratizing power of mobile technology. Before AI came along he was totally sure the next big thing would be something we wear on our faces.