How to set up your new Meta Quest 3 or Meta Quest 3S
Just got a Meta Quest 3 or 3S? Here's how to set it up
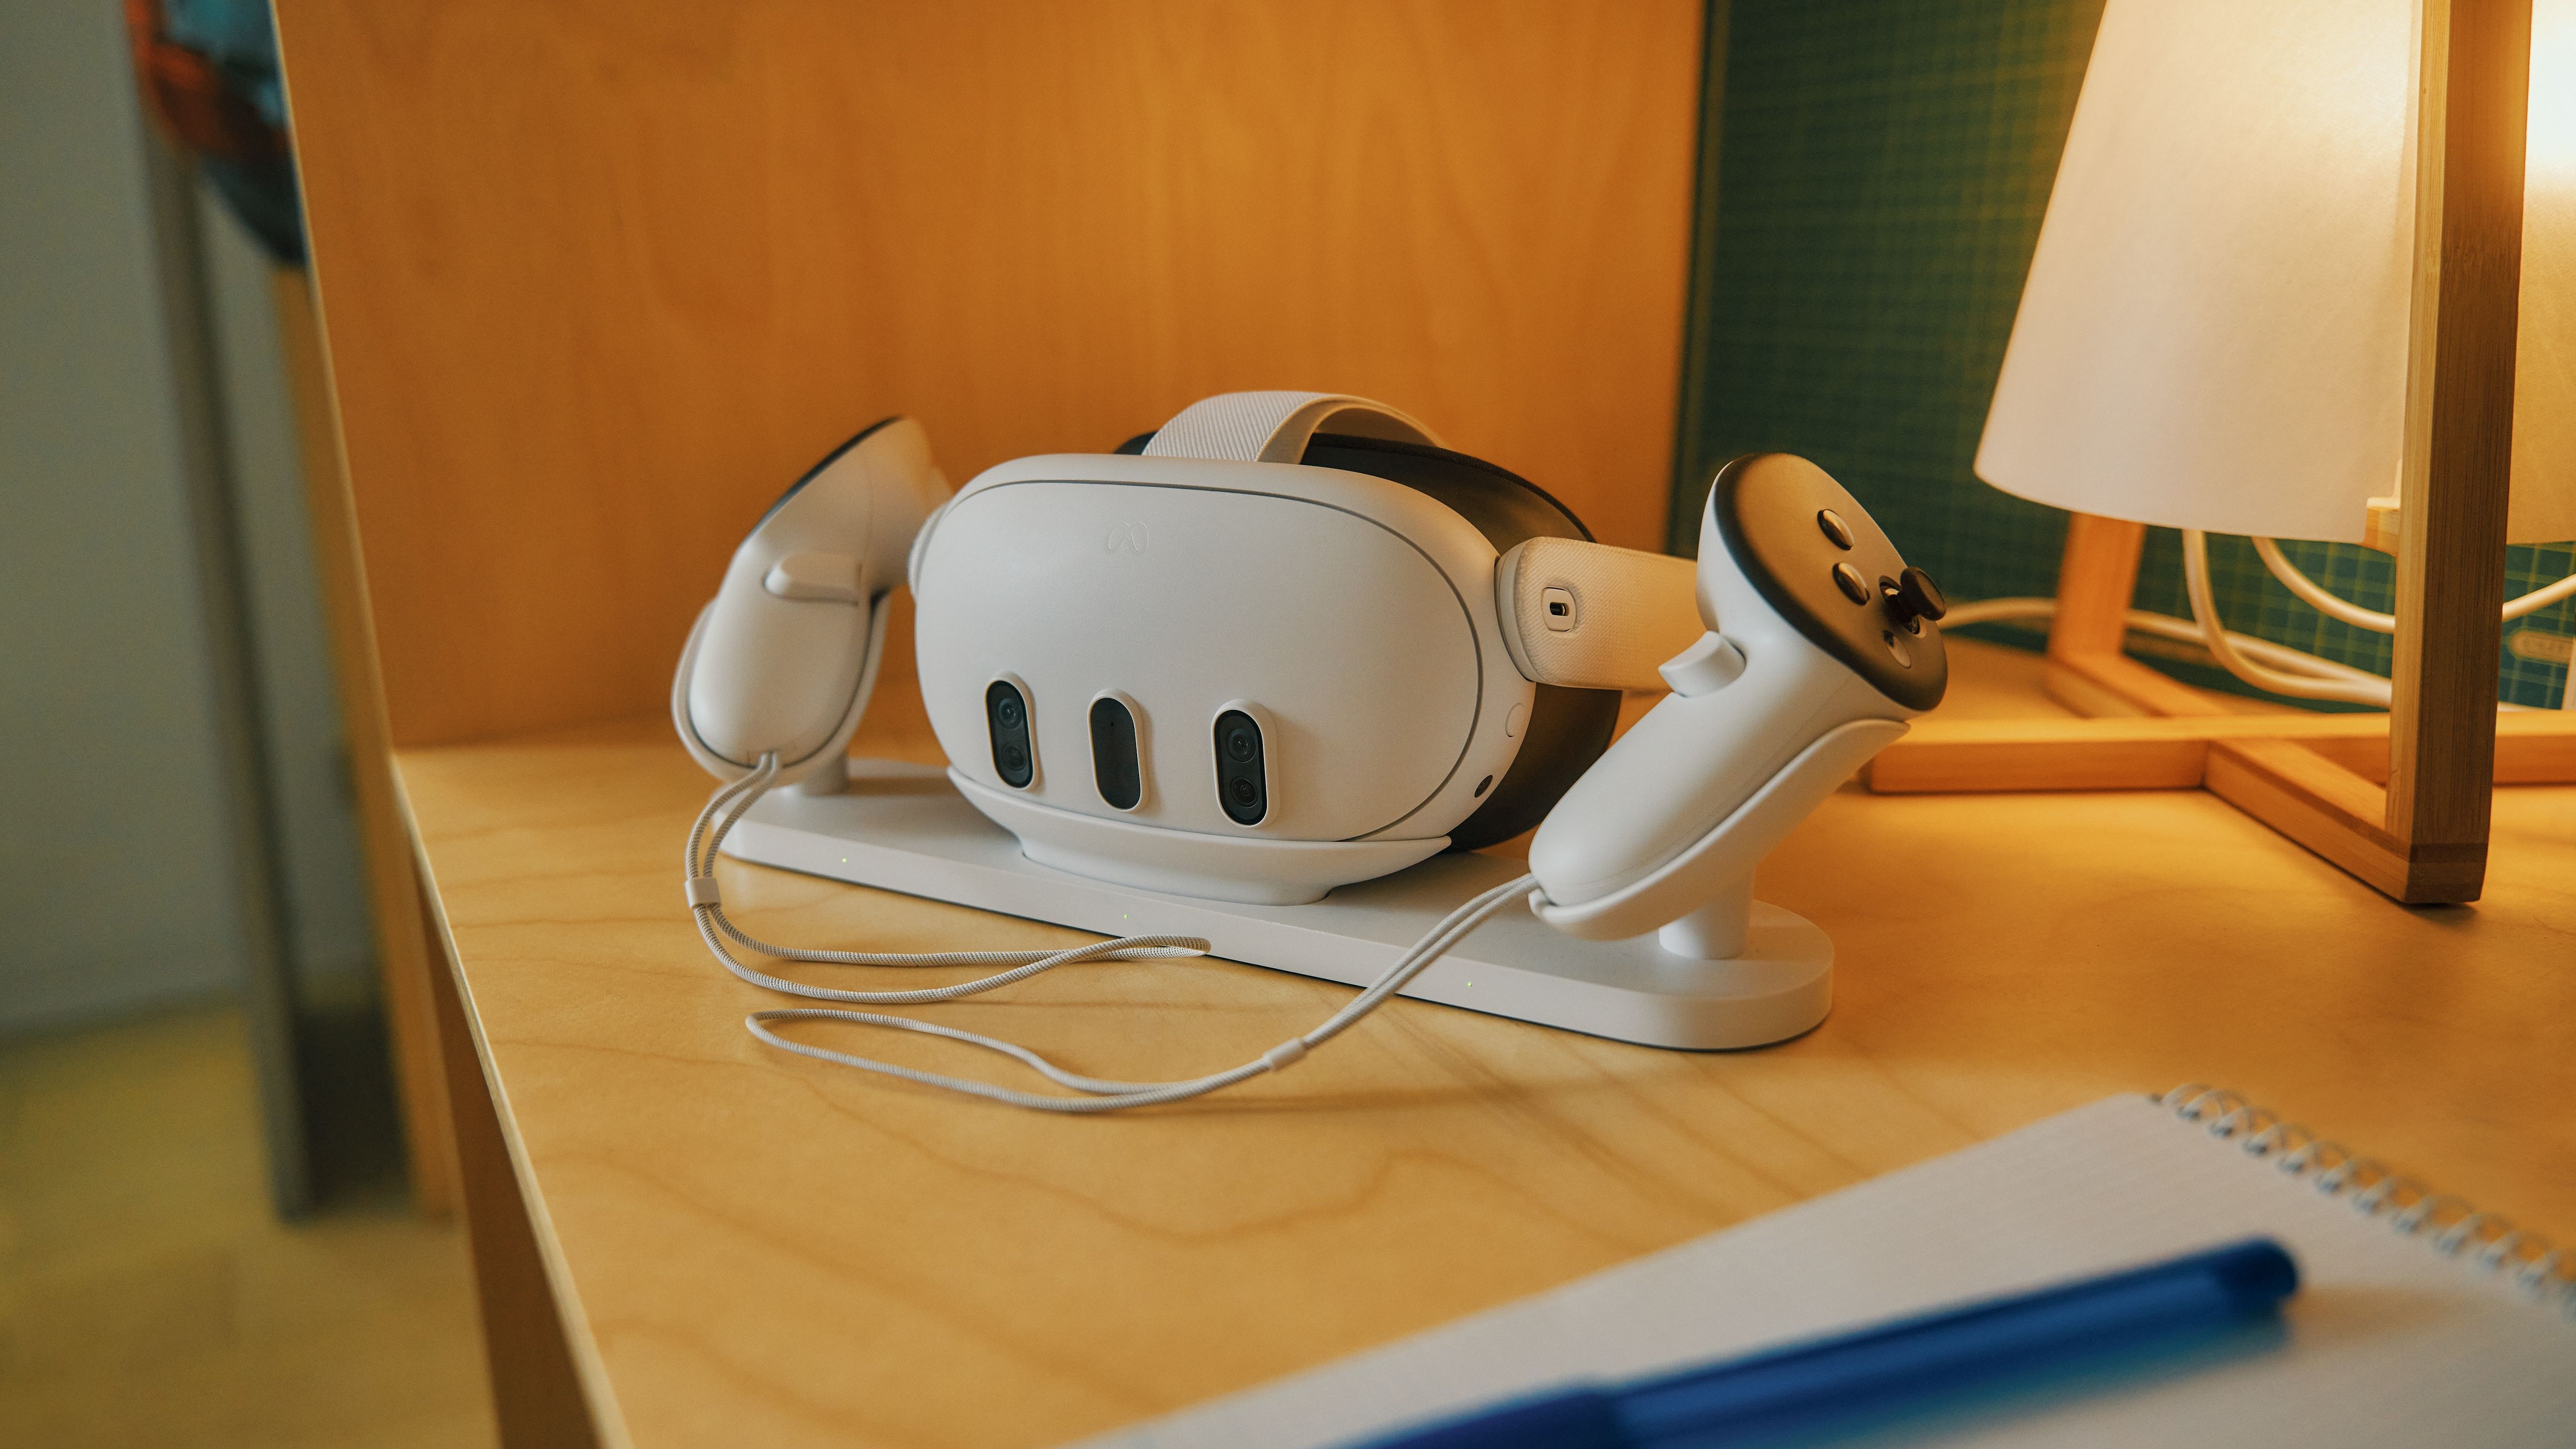
If you’ve just got the Meta Quest 3 or Meta Quest 3S for yourself, or as a gift from someone else, we’re sure you’ll want to start using it as soon as possible – so here’s an easy to follow set up guide so you can get right to using your new VR headset.
We’ll take you through the main steps, but also throw in some extra guidance that Meta’s own headset setup guide might miss out
One quick note before we begin: as the Meta Quest 3 and Quest 3S are very similar not only in terms of specs but also setup steps, below I might simply refer to them collectively as the Meta Quest 3. The same setup will work for the Meta Quest 3S as well, so make sure you follow the full process even if your model is not the one specifically mentioned.
Quick Steps
- Unbox and charge your new headset
- Install the Meta Horizon mobile app on a phone
- Sign into the app and choose to add a new headset
- Put on your headset and follow the instructions
Tools and Requirements
- Meta Quest 3 or Meta Quest 3S
- Smartphone running latest version of Android or iOS
Step by step guide
1. Unbox your headset
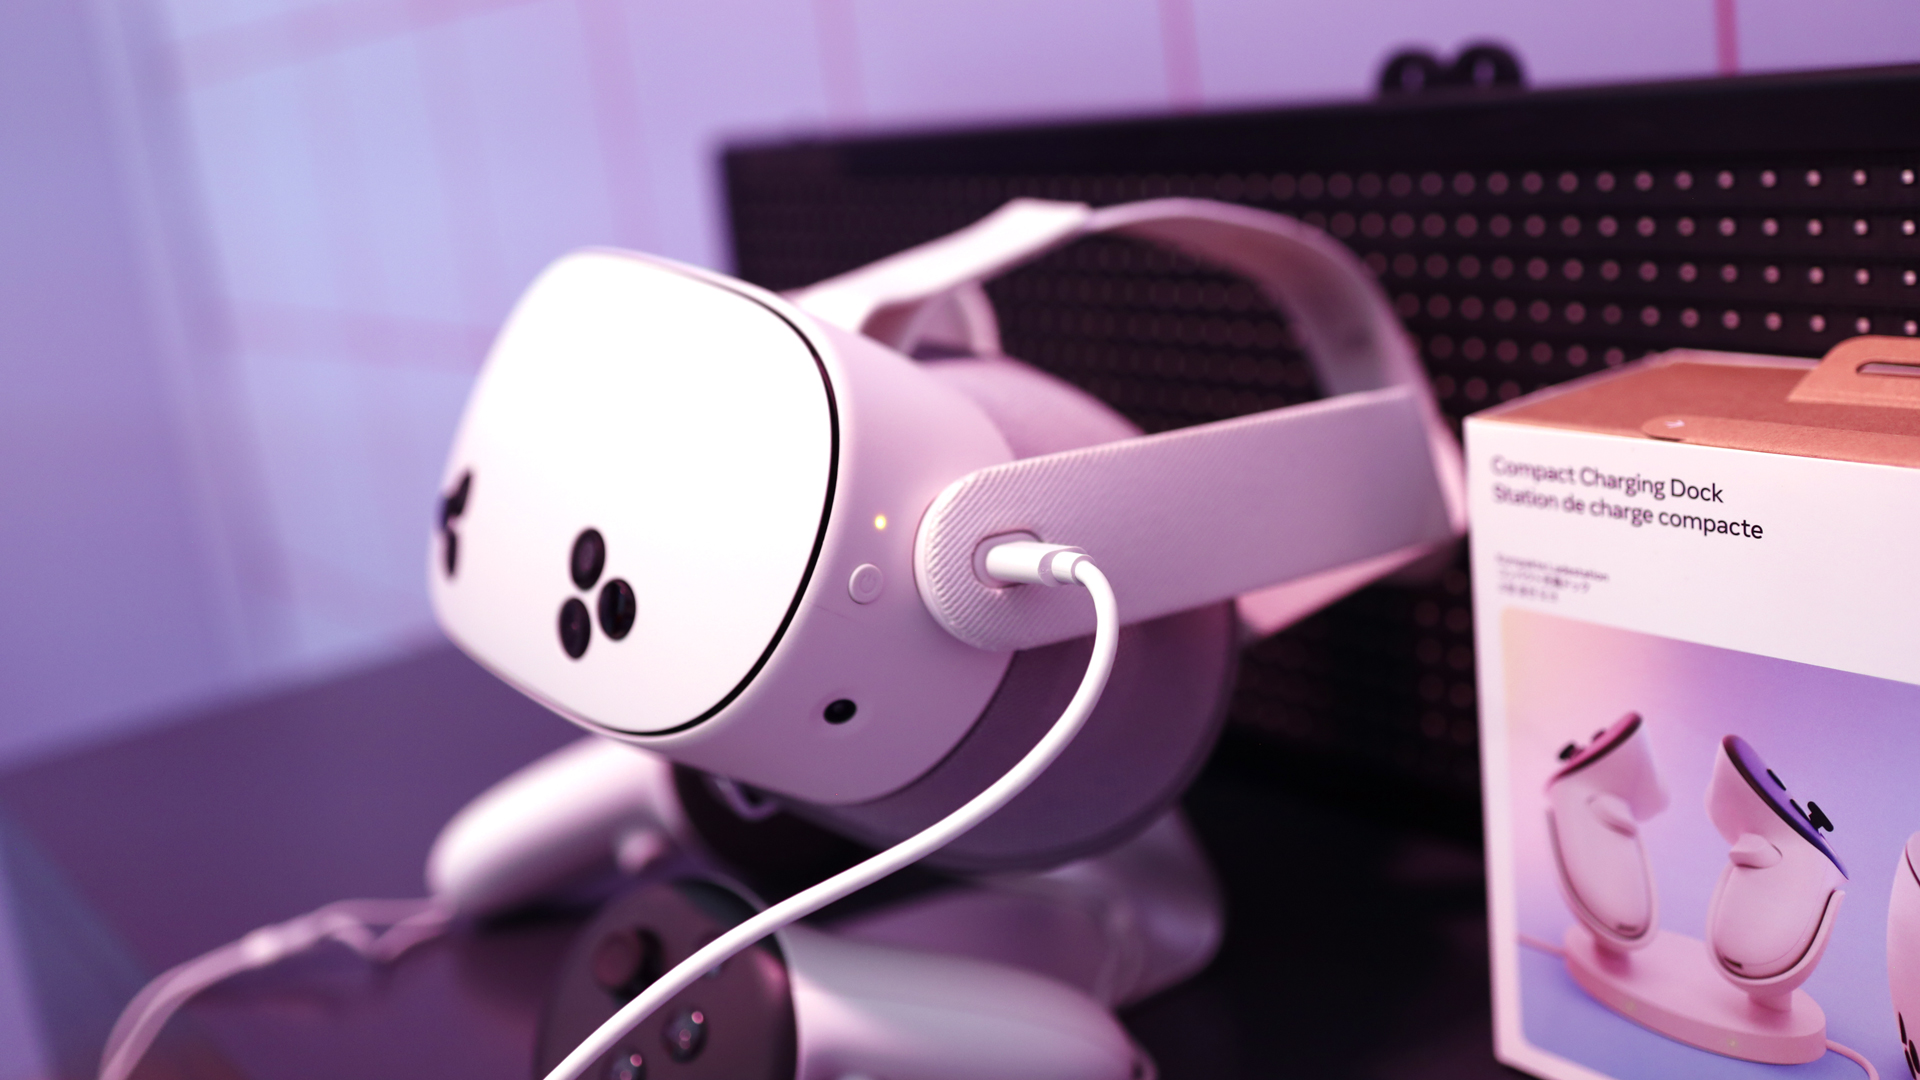
You’ll want to start by unboxing your Meta Quest 3 and locating your headset, the USB-C power cable and power adapter – that’s right, unlike some tech these days you do still get a charger in the box.
At this stage I’d recommend leaving all the film and paper blockers in place – especially on the lenses – but if you’ve removed them already please make sure you don’t leave your headset charging in direct sunlight. This isn’t just to prevent overheating, but because direct sunlight can permanently warp VR headset lenses; so at the very least you’ll want to make sure your headset’s lenses are facing away from any windows.
2. Install Meta Horizon mobile app
While your headset is charging you should grab your phone and install the official Meta Horizon mobile app from the Play Store on Android, or the App Store on iOS.
Once downloaded you’ll want to either log into your Meta account, or create a new one. Then, if you’re new to the Meta Quest ecosystem the app should automatically go to the headset setup process, however if you already have a Quest device you’ll need to manually add a new device.
Get daily insight, inspiration and deals in your inbox
Sign up for breaking news, reviews, opinion, top tech deals, and more.
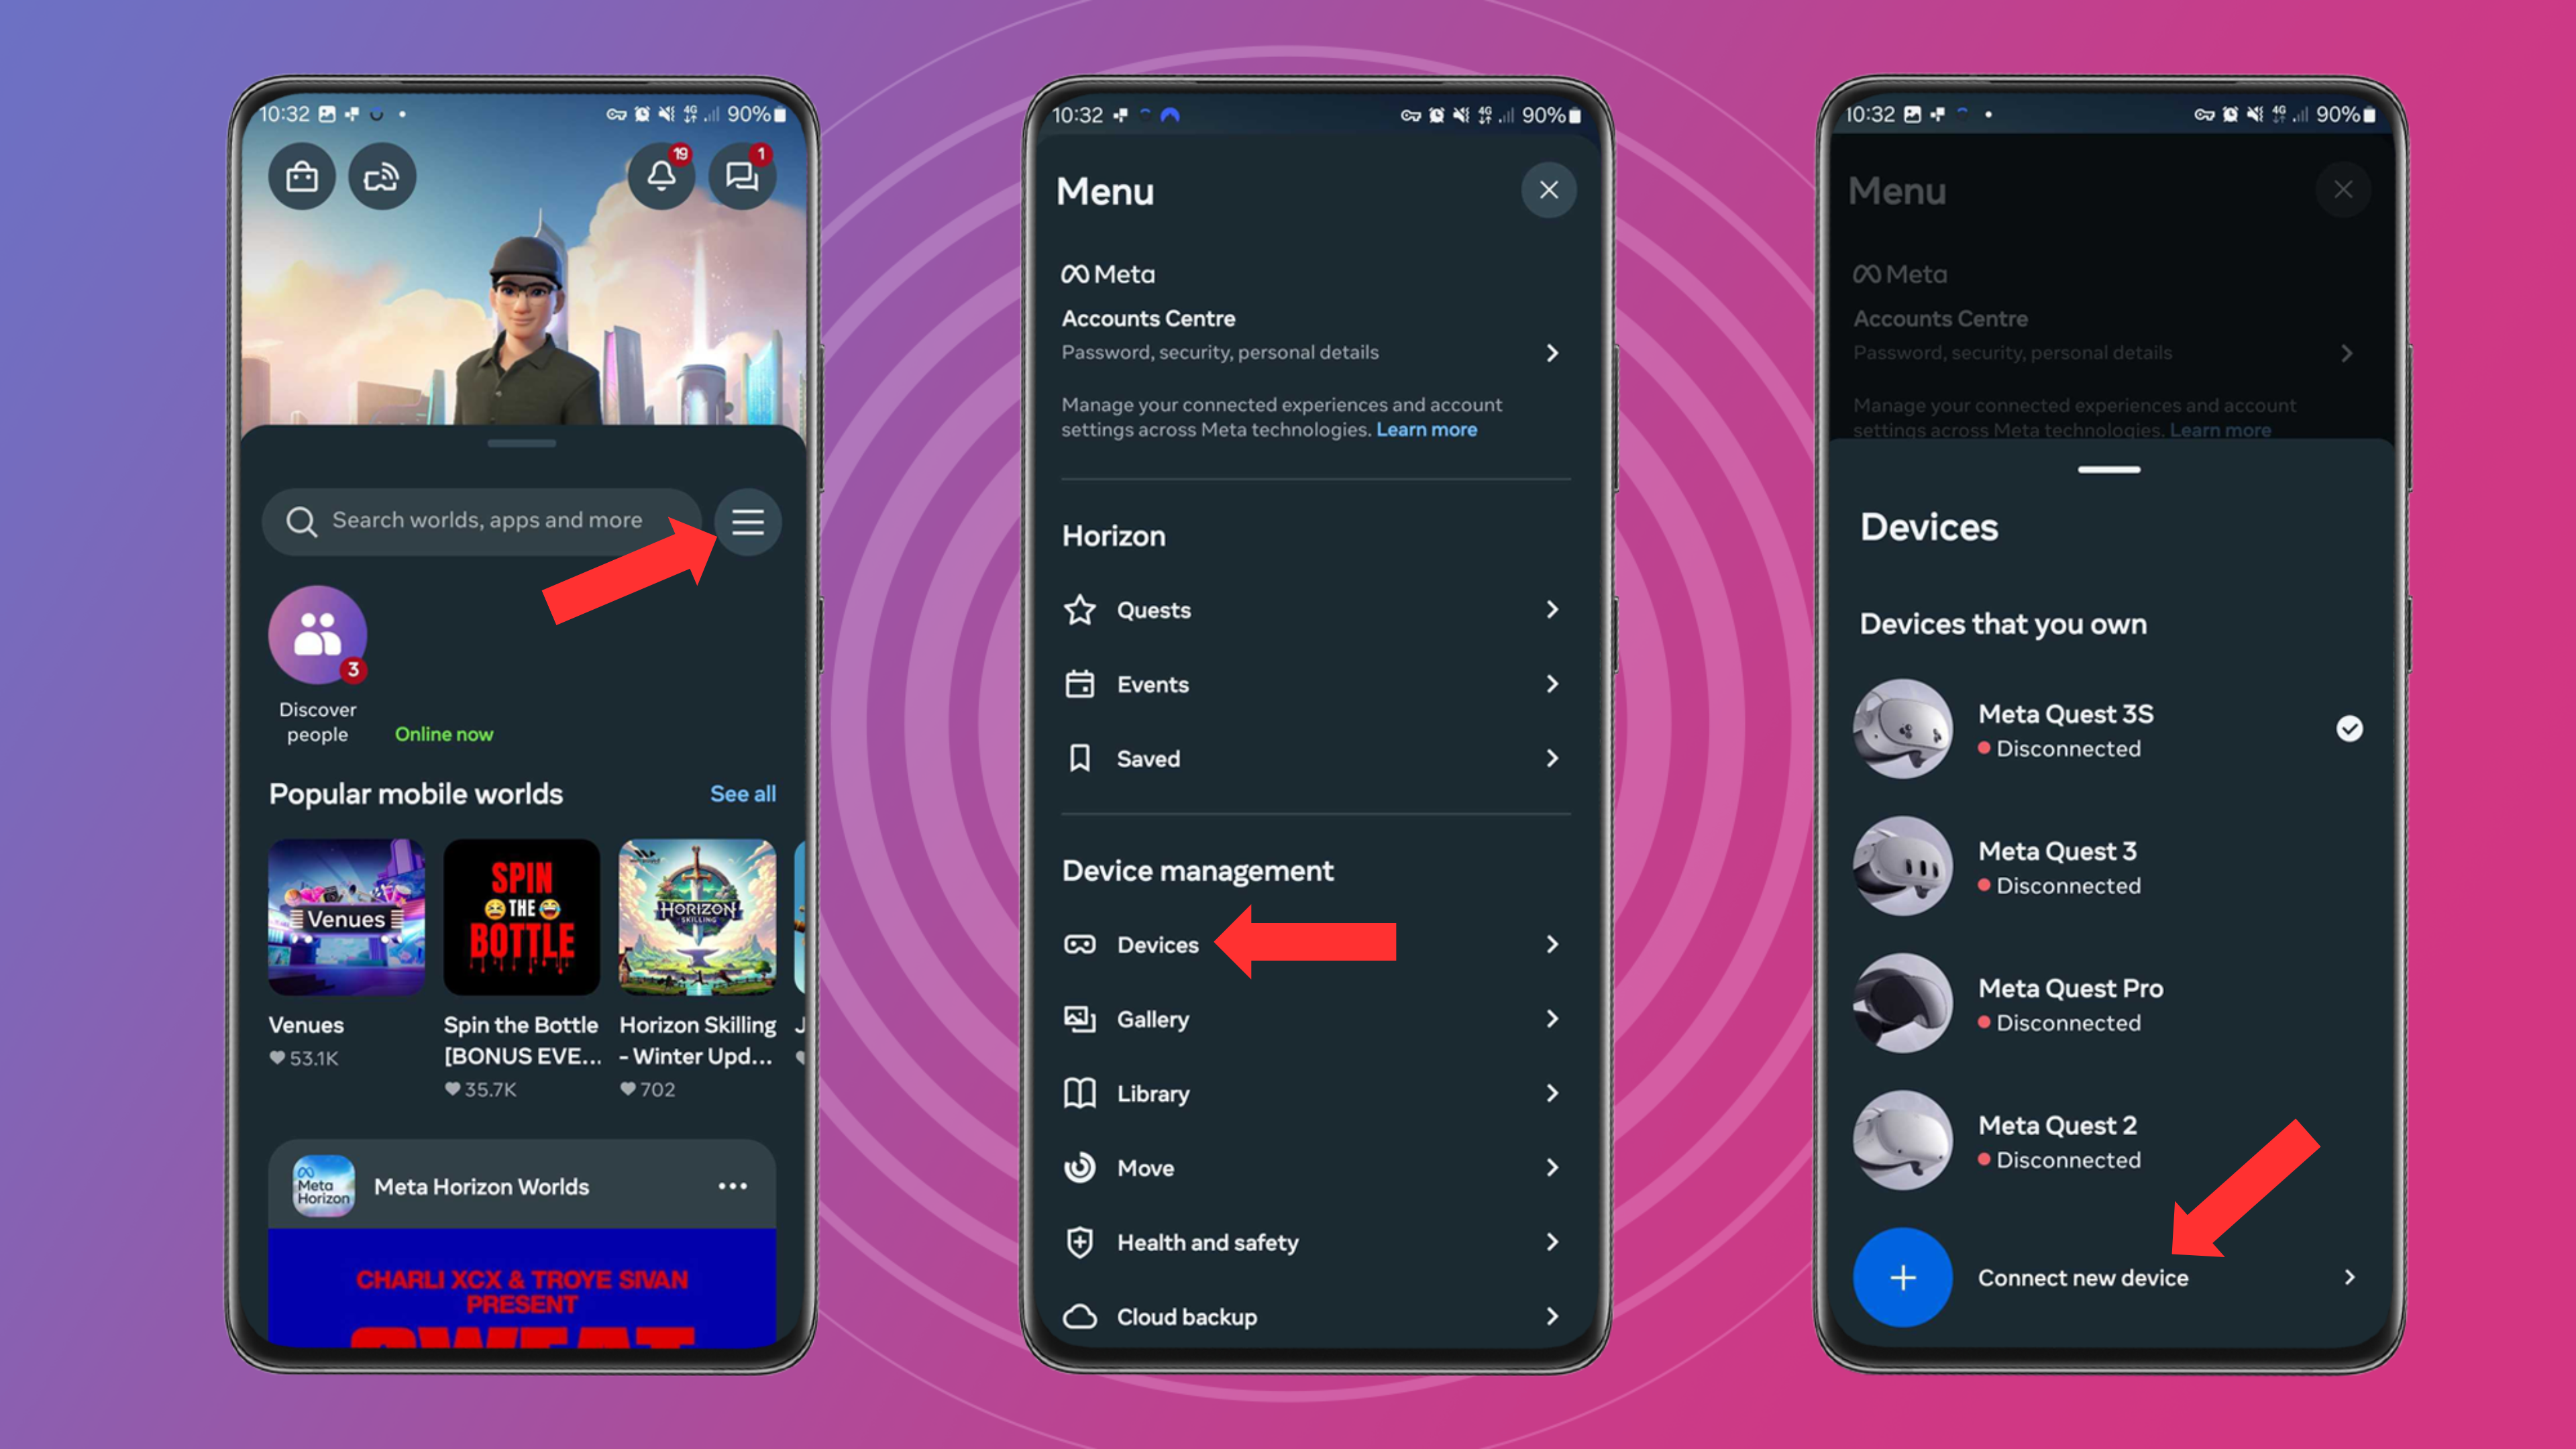
To do this open the app, tap the three-line menu button at the top of your feed on the home page, look under Device management and choose Devices, then finally select Add device at the bottom of the page – which will then let you choose if you want to add a Meta Quest 3 or Meta Quest 3S (or any other Quest headset).
3. Power on headset and controllers
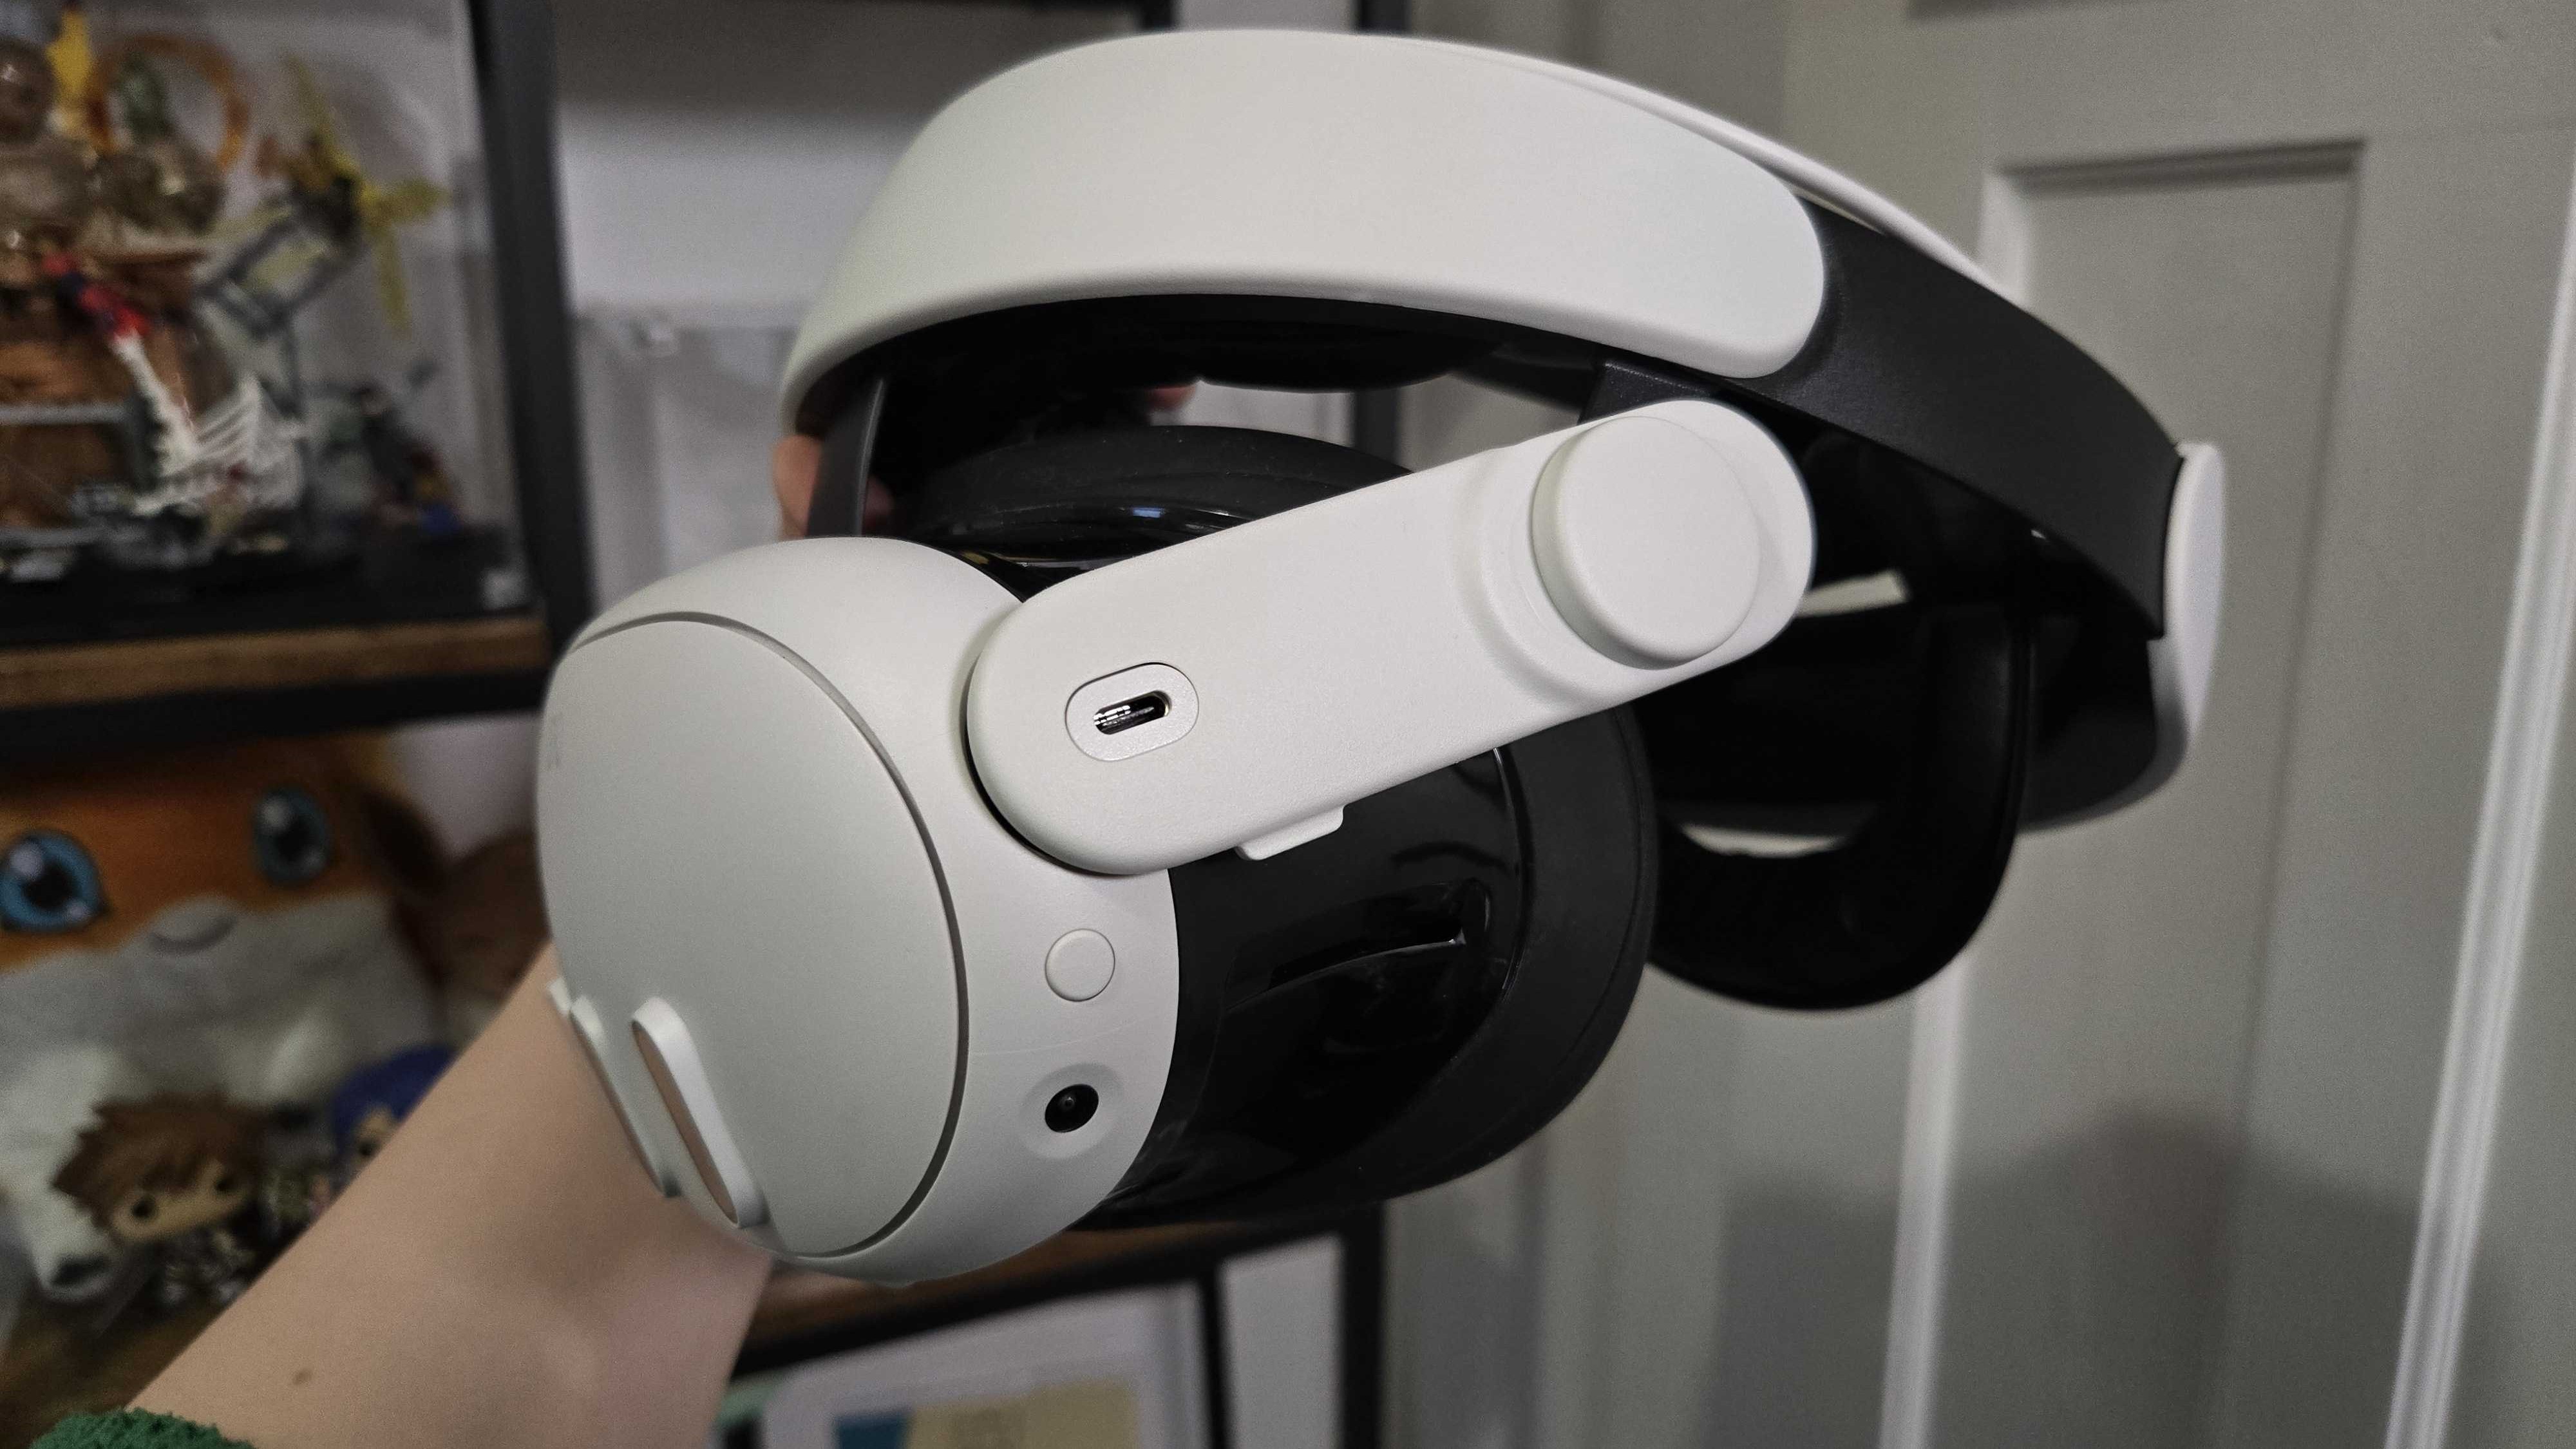
Now that your Meta Quest 3 or Quest 3S is charged and you’re ready with the app, it’s time to remove the protective films, and locate the power button – it’s a circular button on the front left side of the headset as you’re wearing it.
Press and hold it for three seconds, or until you hear a chime, and your headset will be powered on.
Now locate the controller pair from your Quest 3 box and remove the battery blockers by gently pulling the paper tab. You shouldn’t have any difficulty with this, but if you do you can remove the battery cover by pressing the button on the side of each controller next to its control stick.
With the battery in place you’ll want to turn your controllers on. To do this press and hold the Meta logo button on the right controller, and the three-line menu button on the left controller for two seconds each – you should then feel a haptic buzz and see a blinking white light come on to indicate they’re ready to go.
4. Follow headset's instructions
Now it’s time to slip the headset on and follow the instructions your headset and app give you to finish the Meta Quest 3 and Meta Quest 3S set up process.
It should only take a few minutes, after which point you'll want to know the next steps you should take.
What should you do with your Meta Quest 3 first?

Now that your Meta Quest 3S is set up you’ll want to download some games and apps, and upgrade your setup with accessories
Games and apps-wise, you can’t do better than Batman: Arkham Shadow, and at the time of writing it’s being given away with Quest 3 and 3S headset purchases for free.
But other excellent picks include Walkabout Mini Golf, Beat Saber, Vendetta Forever, Painting VR, I Expect You To Die, Asgard’s Wrath 2, and The Last Clockwinder – the list is frankly very, very long.
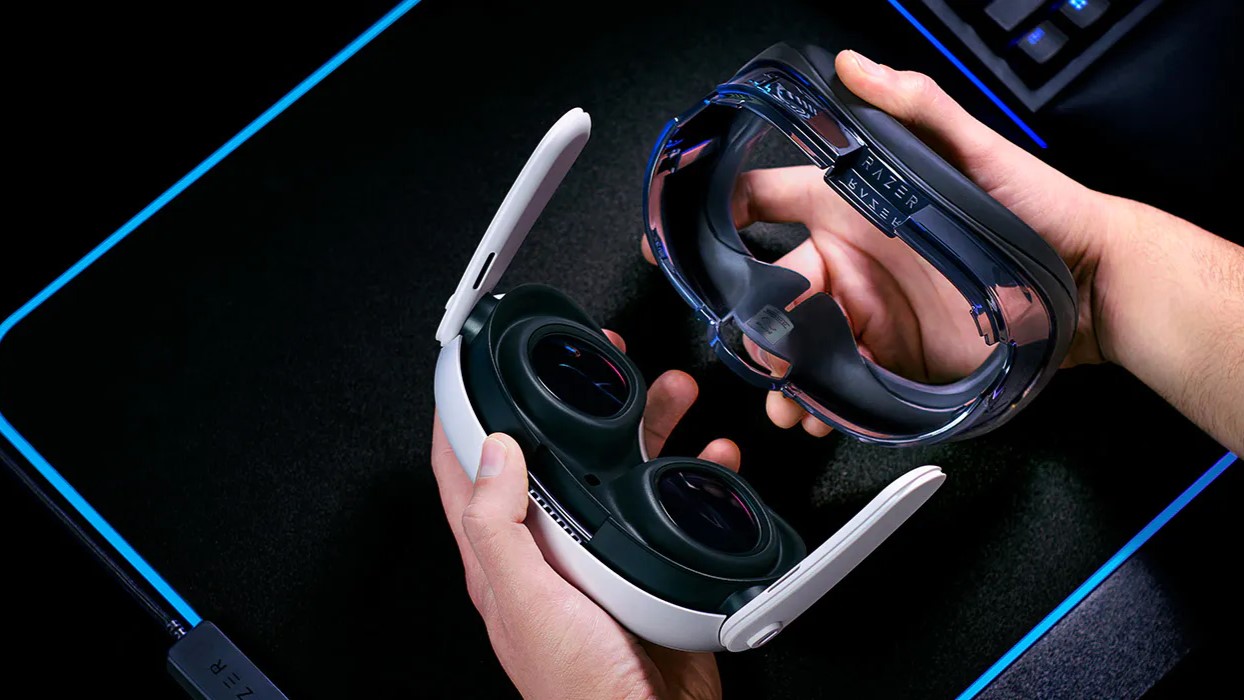
You’ll also want to consider grabbing some accessories. The Meta Quest 3 and 3S are solid out of the box, but if you plan to use them frequently, investing in some upgrades is really worthwhile.
My three biggest suggestions are: a silicon facial interface to replace the sweat absorbing default Meta provides as silicon is easier to clean which is perfect for VR fitness and simply sharing the headset with others; then a travel case to keep your headset protected at home and as you move around with it; then finally an improved strap for added comfort, and maybe improved battery too.
Specifically I’m a fan of the Razer accessories, the Kiwi accessories, and the official Meta options as these are the ones I’ve tested.
You might also like

Hamish is a Senior Staff Writer for TechRadar and you’ll see his name appearing on articles across nearly every topic on the site from smart home deals to speaker reviews to graphics card news and everything in between. He uses his broad range of knowledge to help explain the latest gadgets and if they’re a must-buy or a fad fueled by hype. Though his specialty is writing about everything going on in the world of virtual reality and augmented reality.