5 things you need to know before your first open-water swim
Open-water swimming is a great hobby, but also one that can look quite intimidating to first-timers. What kit do you need, where should you go, and how do you avoid flailing around like your first swim in armbands? If you’re keen to take the plunge in 2024, here’s a primer on the main things to think about before you wade into your first lake or river.
While open-water swimming is often used interchangeably with ‘wild swimming’, we’ll mainly be focusing on the kind that takes place at supervised outdoor locations, or organized events, in this guide. I first dipped my toes into outdoor swimming with triathlons about ten years ago before moving onto longer distance events from about 2016, as injuries started to curtail my running.
Many of the best running watches also cater to swimmers and triathletes, counting strokes and distances with GPS, so its an easy transition if you're already a keen runner.
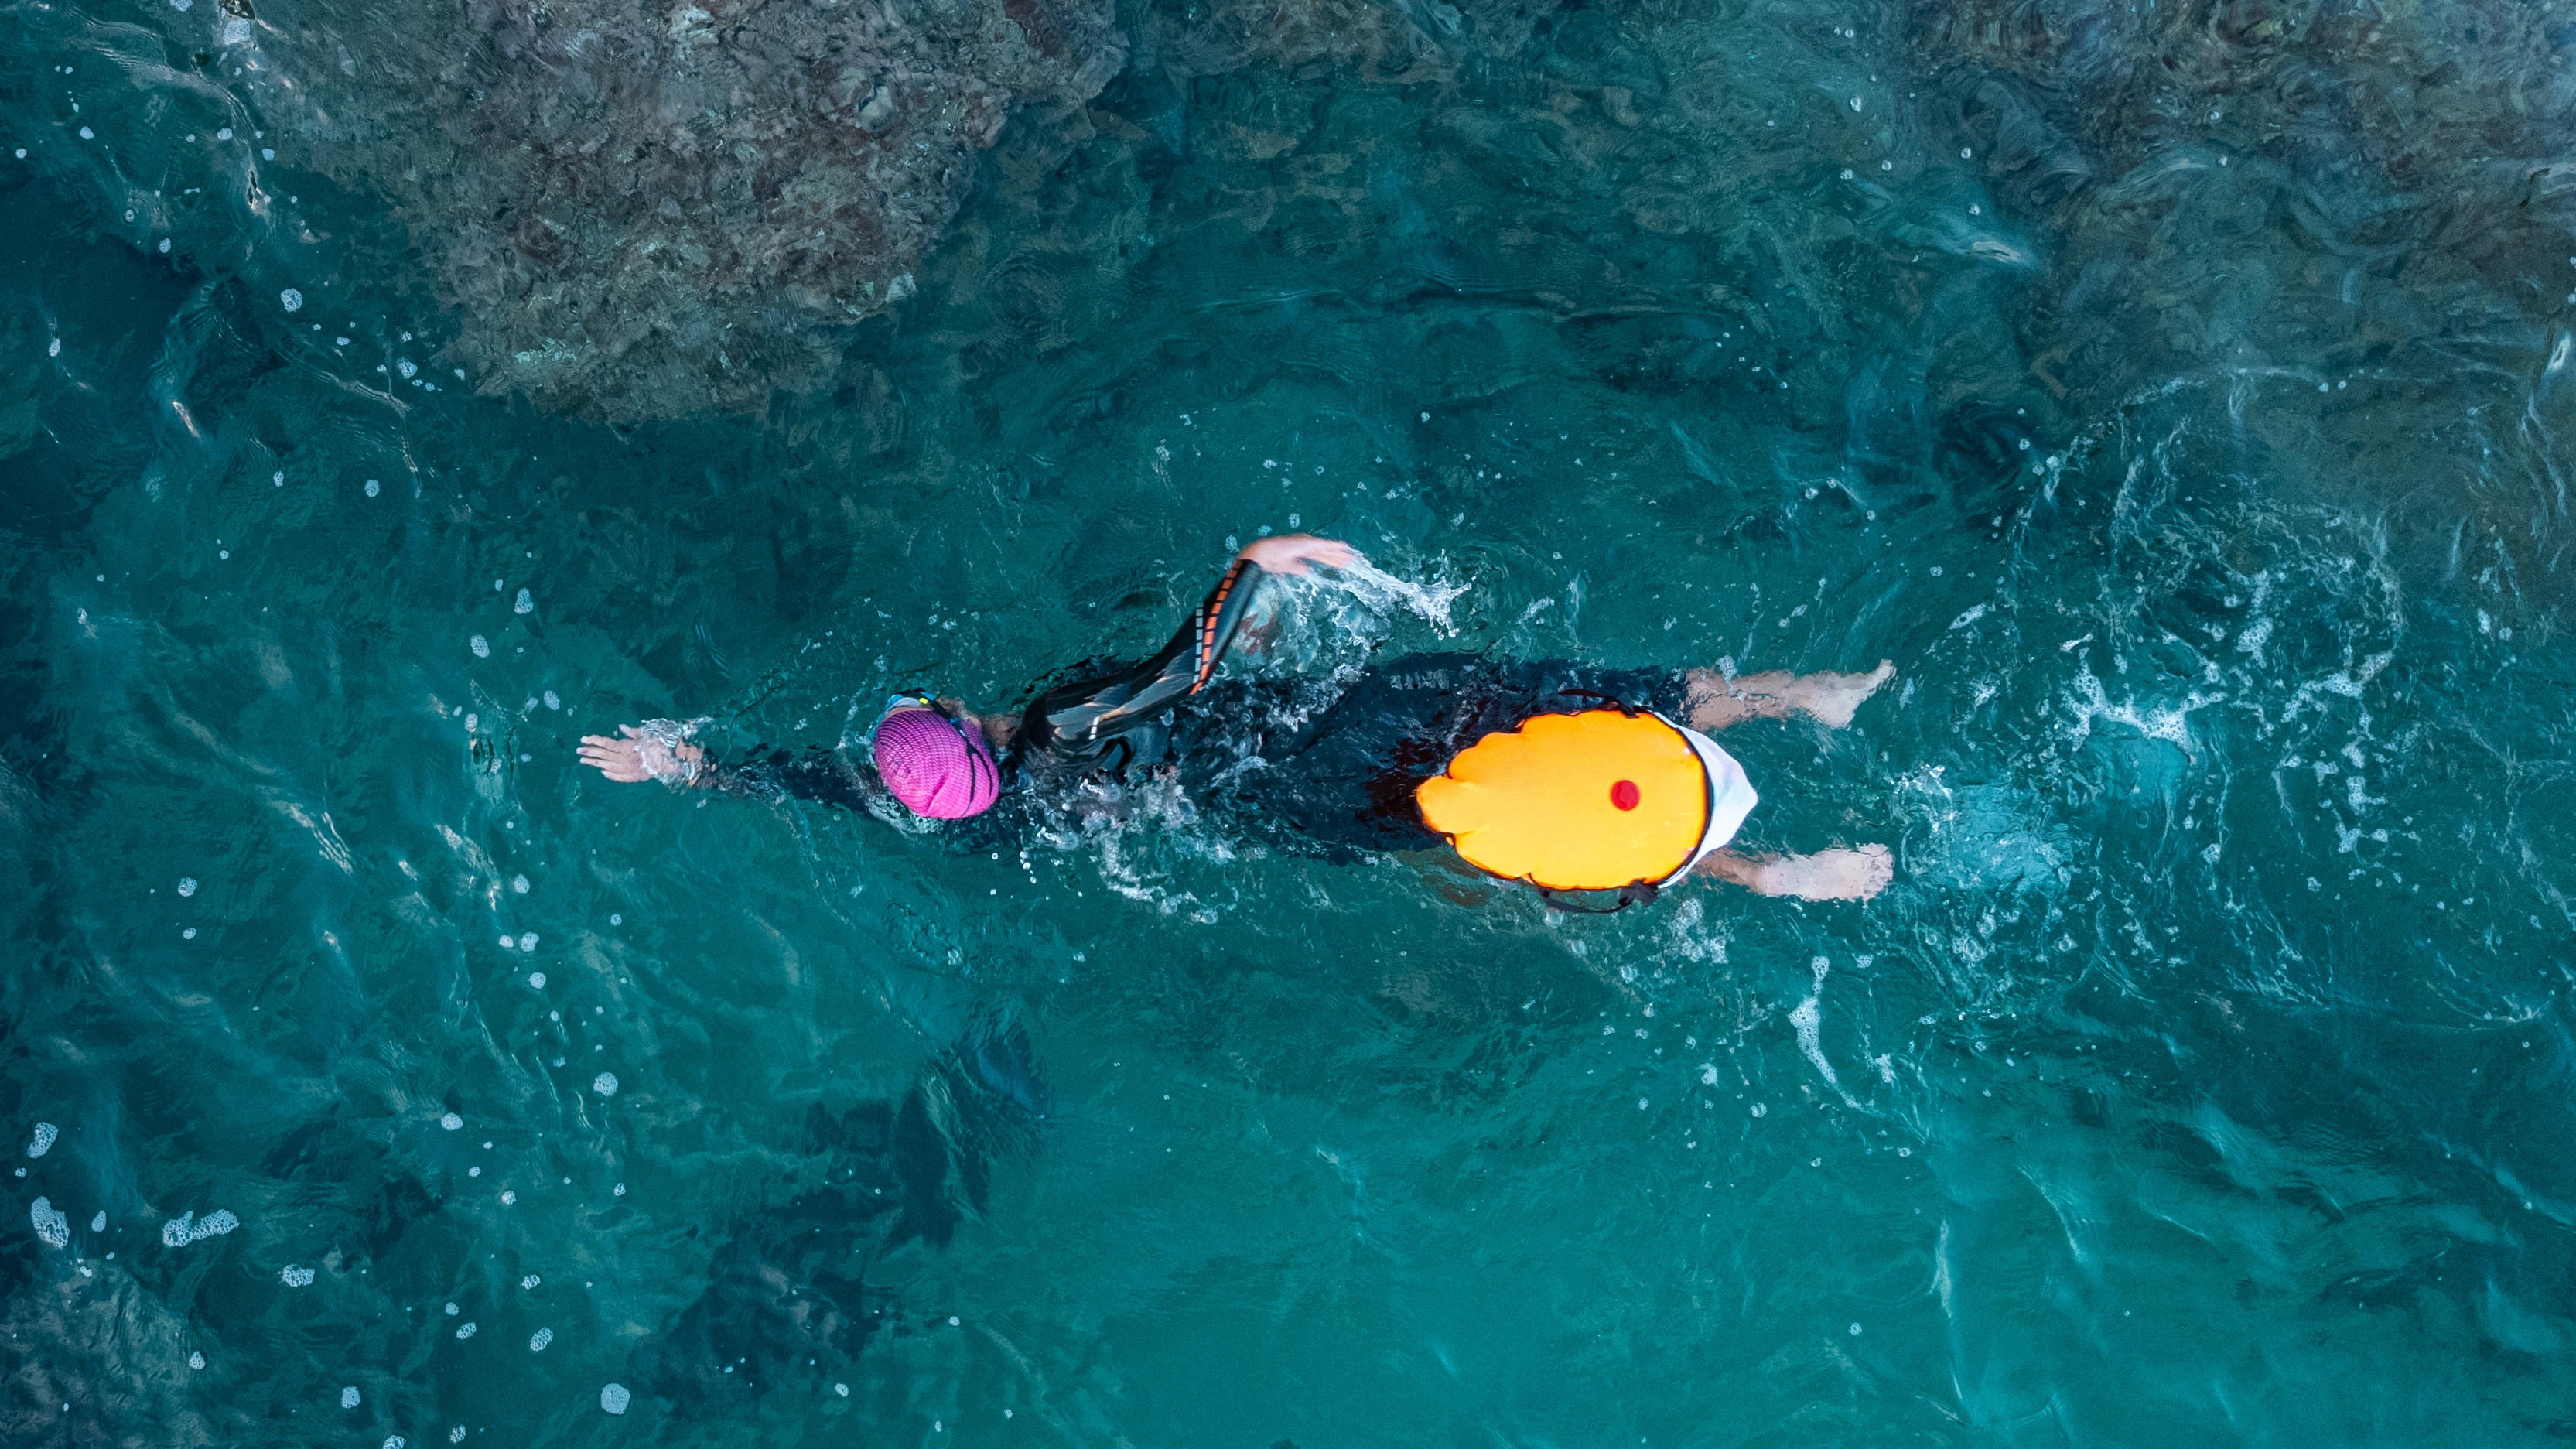
During that time, I’ve soaked up wisdom from experienced open-water swimmers and also made some newbie mistakes that I learned the hard way. Fortunately, it doesn’t take long to feel comfortable in the open water – and as I’ve found, outdoor swimming is a great, full-body workout that some studies have found can even boost your immune health.
Here are the main open-water swimming lessons that I’ve picked up along the way, along with some links to useful extra info…
1. Practice in the pool
It isn't the same as open-water swimming, but if you’re new to swimming – or even just a bit rusty – I’d highly recommend getting some lengths in at an indoor pool before you head outside.
This will help you build a strong foundation in your breathing and technique. You don’t need to be a world-class swimmer before you can jump into a lake, but feeling calm and comfortable in the water really helps. Colder outdoor water can also affect your breathing initially, so it’s good to have some confidence to fall back on.
Sign up for breaking news, reviews, opinion, top tech deals, and more.
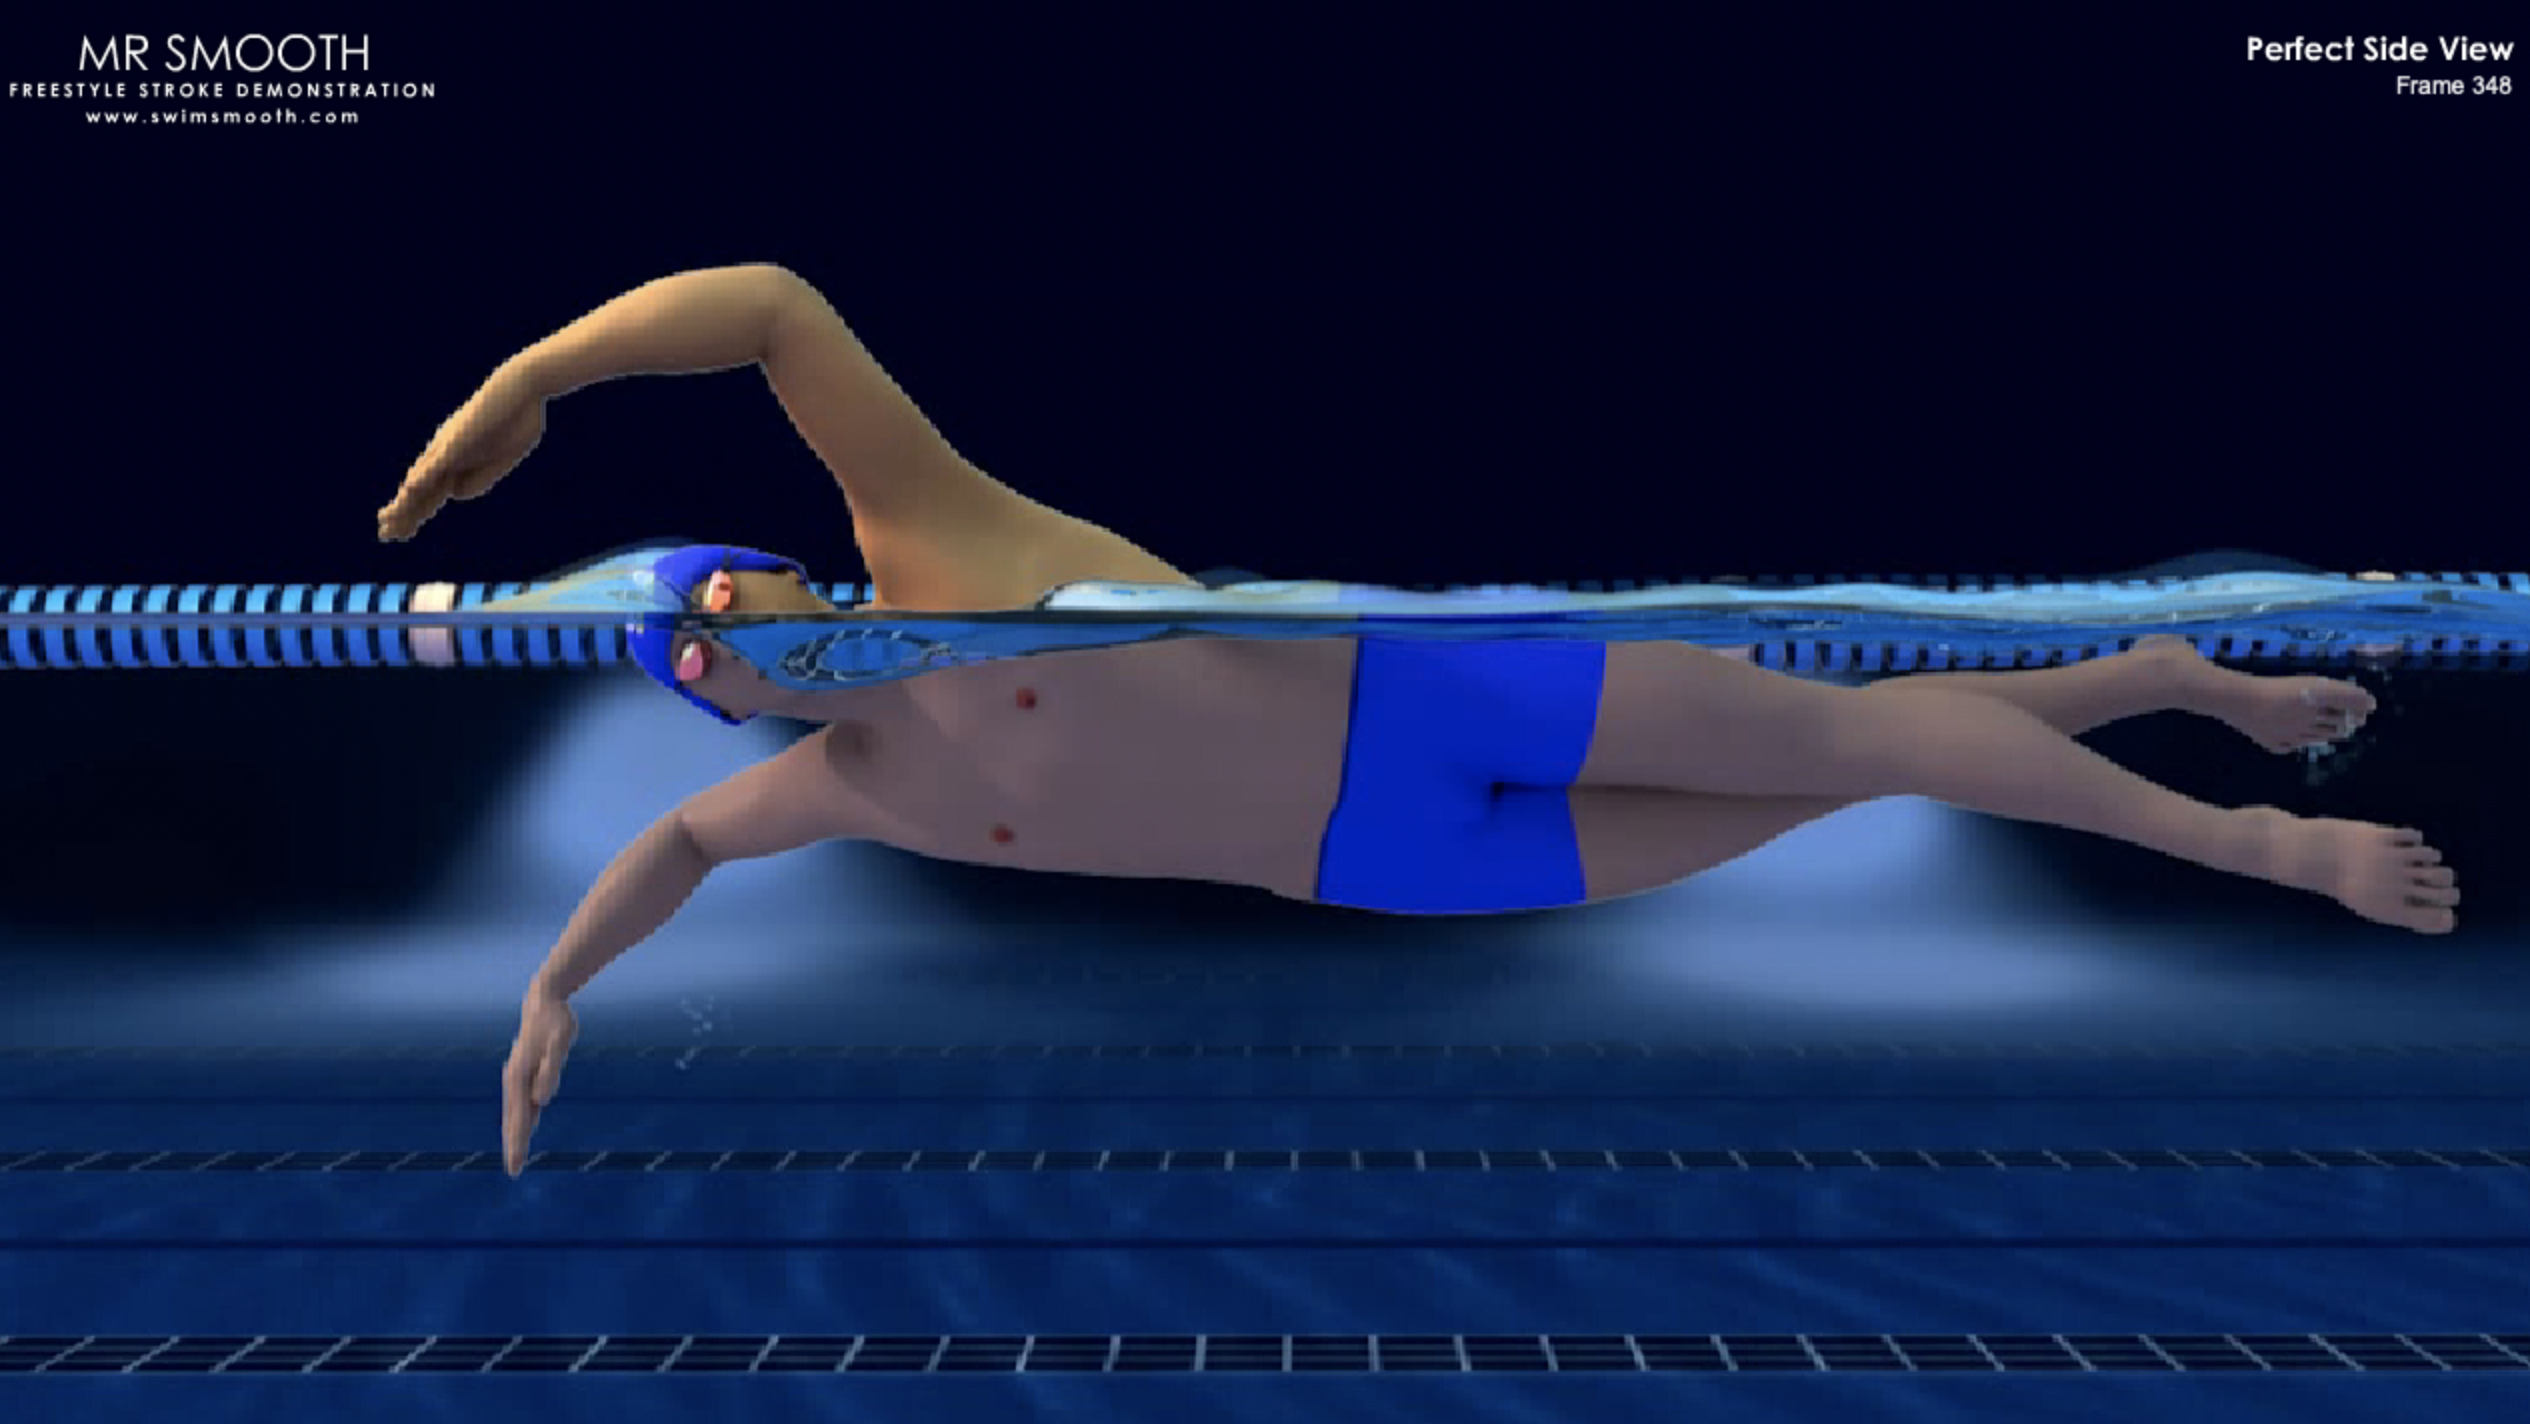
I found the 3D animated models from Swim Smooth (above) to be a helpful way of visualizing good swimming technique in the early days, although a swimming tutor or group is even better. You can also get Mr Smooth Pro apps for iOS and Android apps ($1.99 / £1.99 / AU$2.99), one of the best fitness apps for swimmers.
Don’t worry if you don't have the 'perfect' high elbow – many of the best open-water swimmers and triathletes use the so-called ‘swinger’ technique (as demonstrated by the 'Miss Swinger' graphic in the Mr Smooth Pro app), which can be more efficient in rougher waters.
2. Find your wetsuit match
You don’t necessarily need a wetsuit for open-water swimming. Many experienced swimmers prefer going in ‘skins’ (just a swimming costume or trunks). But wetsuits do bring two big benefits for beginners – they keep you warm and also provide buoyancy, which makes swimming easier (both physically and mentally).
What kind of wetsuit should you get? If you have your eye on competing in an event, then a full-length (or ‘wrist-to-ankle’) wetsuit is probably wise, as this type is compulsory for some events. Swimming wetsuits (rather than surfing ones) will also have more flexibility in the hips and shoulders, which will boost your endurance.
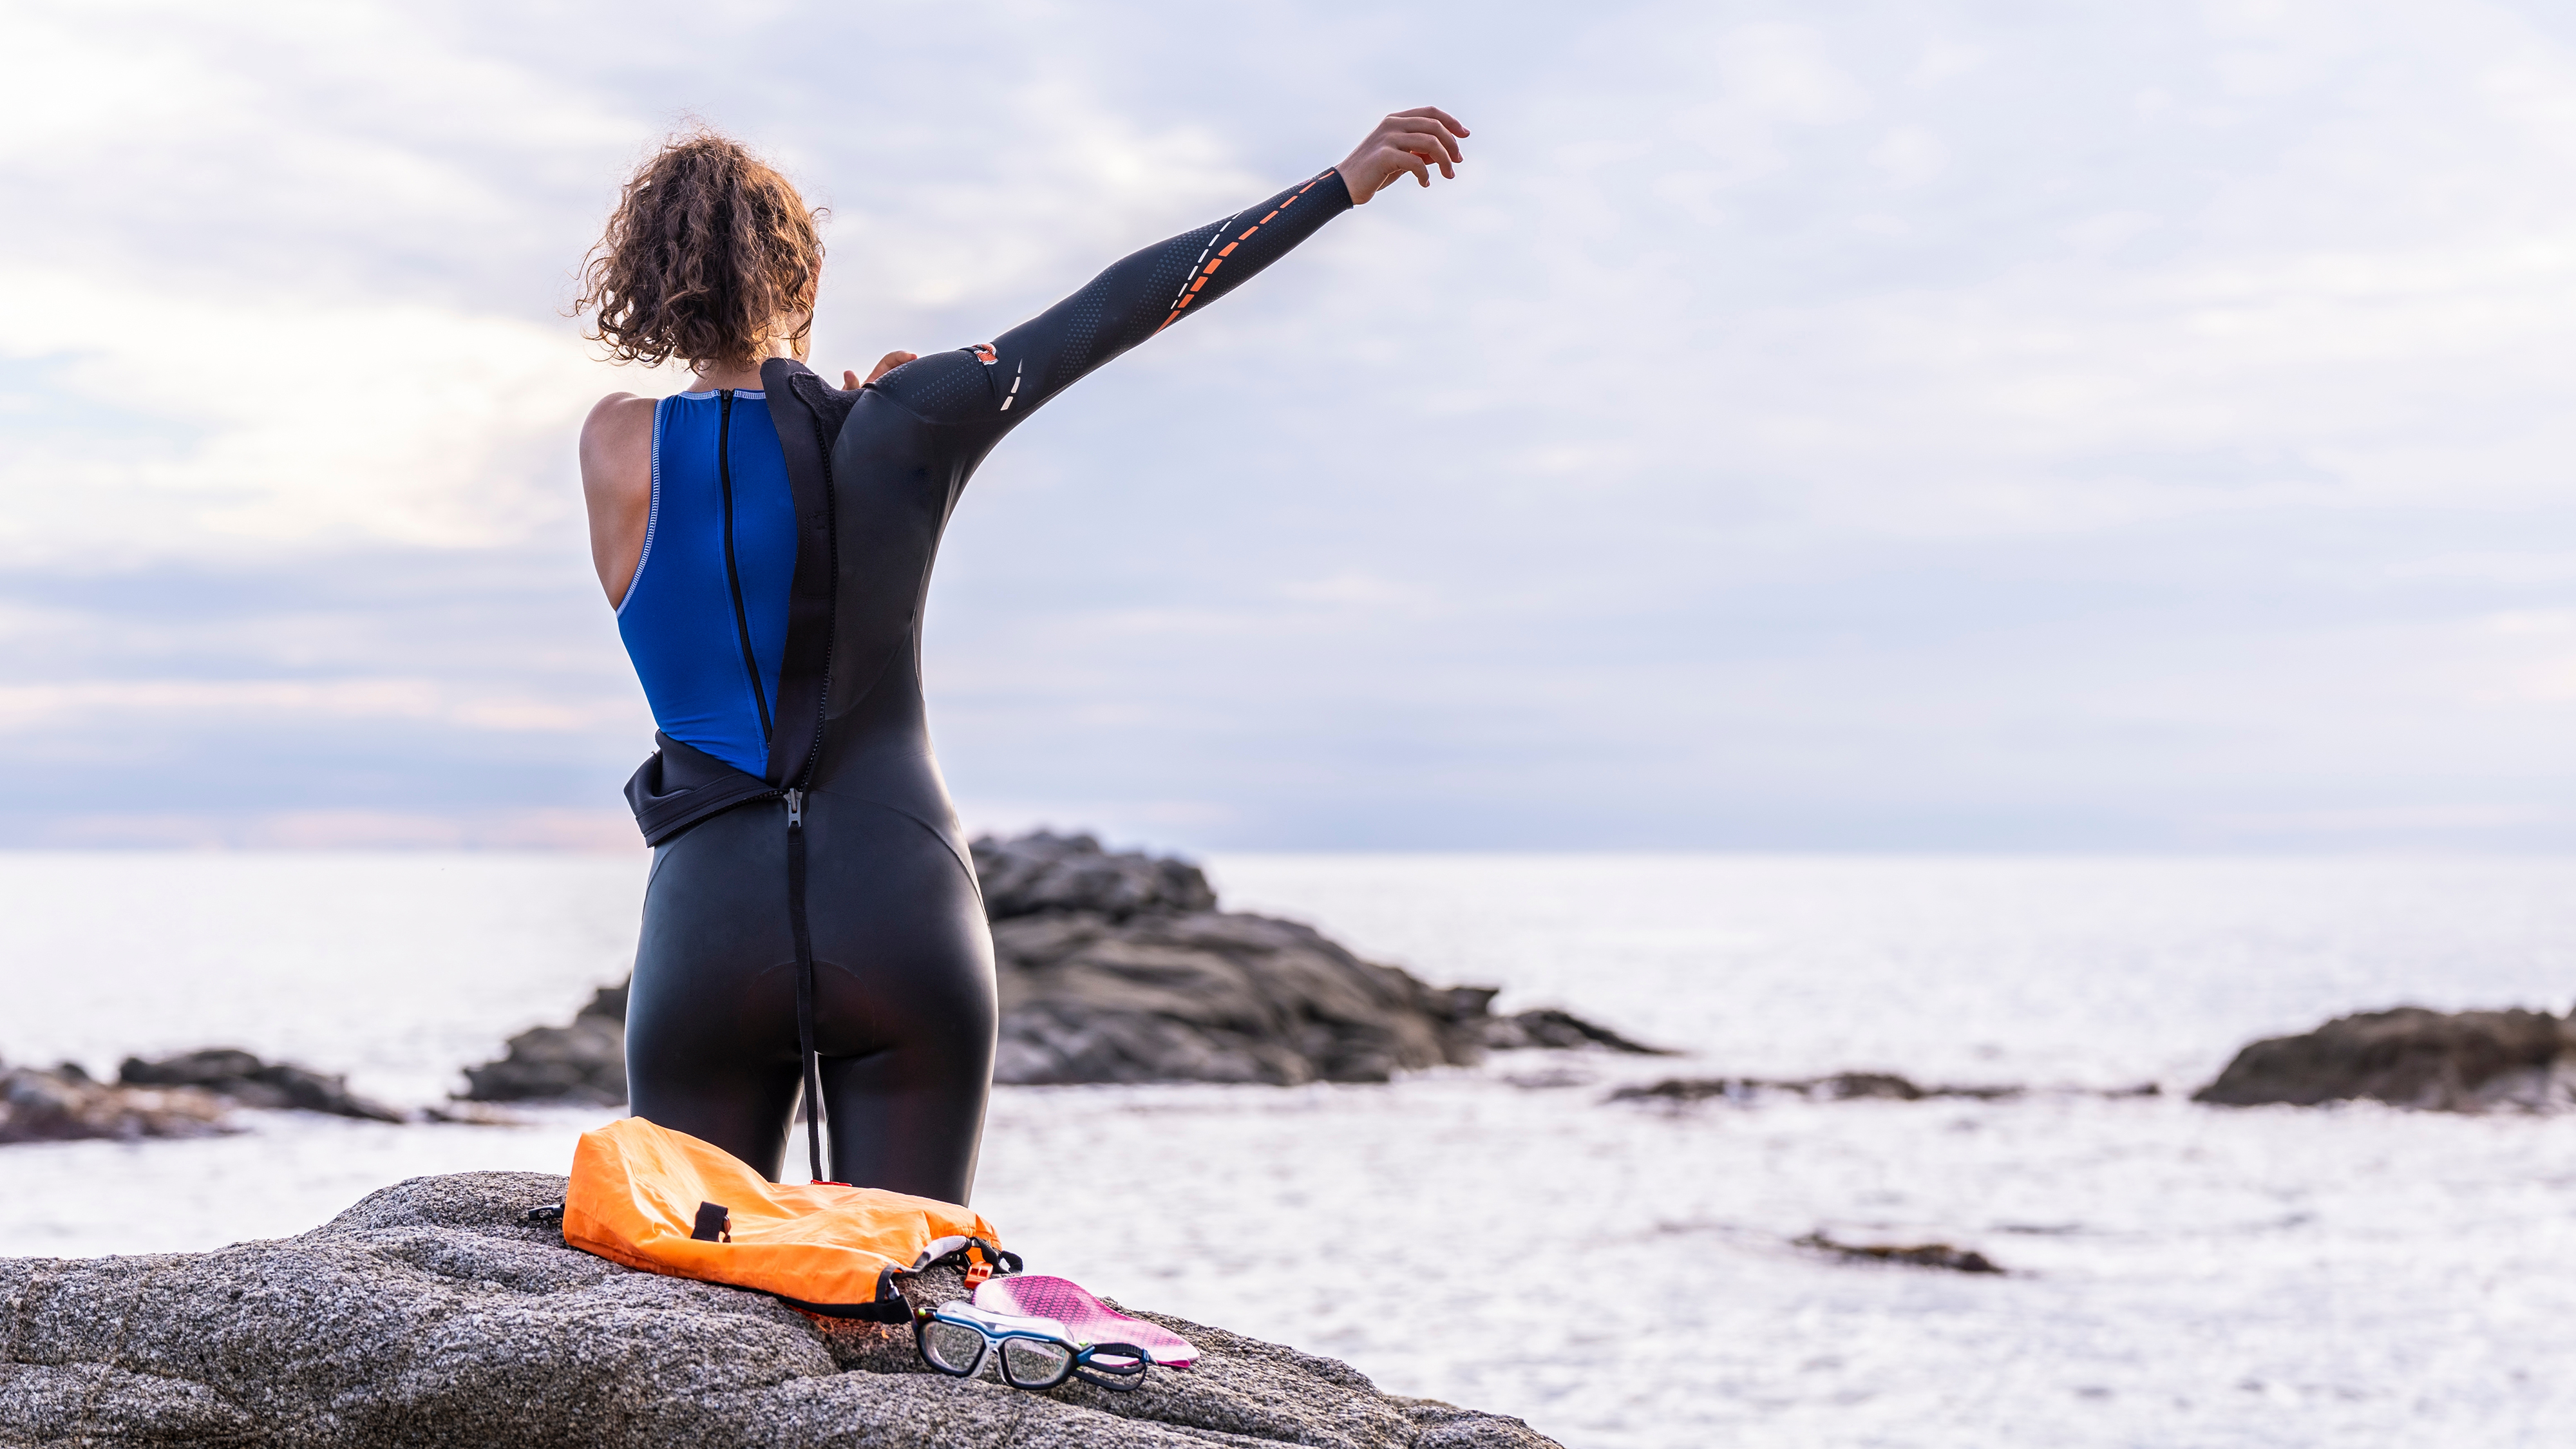
The right thickness depends on where and when you’re planning to swim. I’m mainly a summer and autumn swimmer in the UK, so a 3mm or 4mm thickness works best for those conditions. Our colleagues at Advnture have a handy table of wetsuit thicknesses and water temperatures to help you match the right one for your conditions.
But the most important thing with wetsuits is comfort and many swimming centers will let you hire them first, which can be a good way to test-drive them and find the right fit.
3. Gather the essentials
Other than a wetsuit, the main three things you’ll need for your first open-water swim are a brightly-colored swimming cap, some goggles, and a towel. But I'd also recommend bringing some earplugs and wetsuit-friendly lubricant (something I've regretted forgetting before).
Any well-fitted goggles will work for your first swim, but as you do longer sessions you’ll benefit from some that are both mirrored (to reduce glare) and have a wider field of view. Last year I used the Bezzee Pro goggles (£11.49, around $14 / AU$21) which are affordable, have an anti-fog coating, and give you 180-degree visibility for keeping an eye on fellow swimmers.
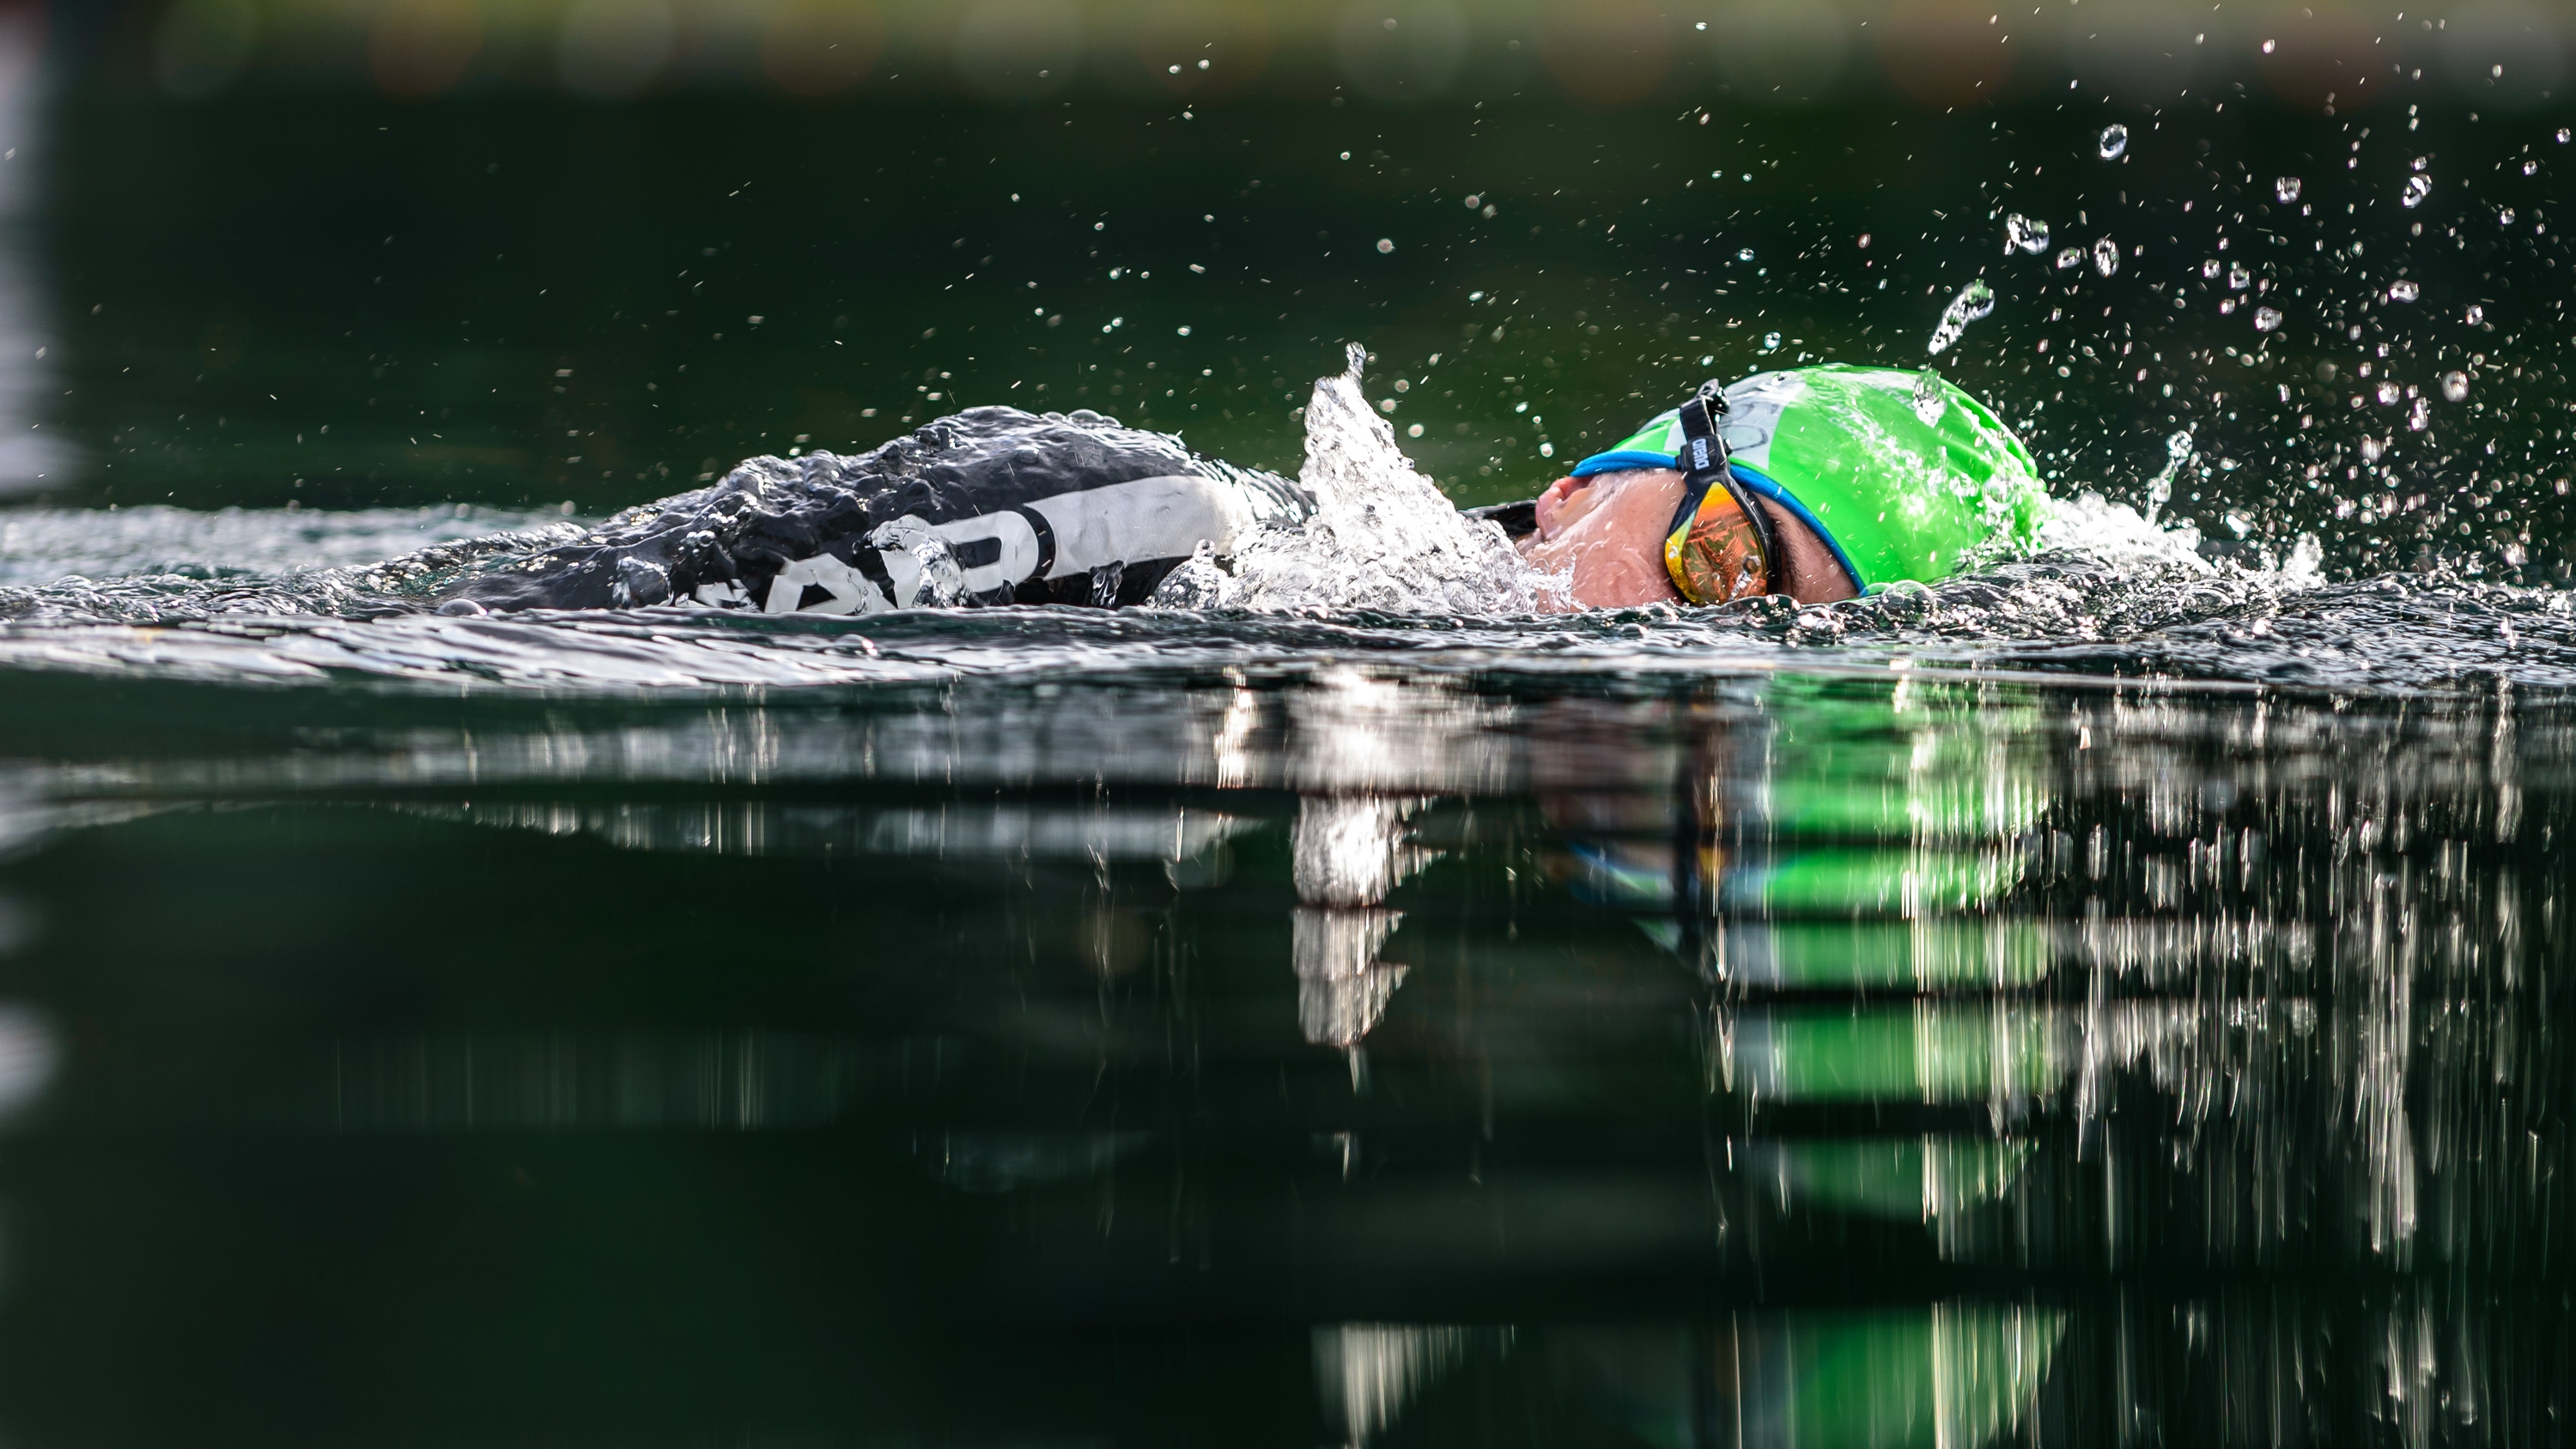
Not all swimmers wear earplugs, but I like to use waterproof ones to reduce the risk of ‘swimmer’s ear’ infections. A good fit is essential, though, otherwise, they may have the reverse effect.
Lastly, a wetsuit-friendly lube (for example, Body Glide) is both helpful for getting your neoprene suit on and off, and also preventing painful chafing – a generous layer on your neck can make longer swims much more comfortable.
If you're looking to track your progress, one of the best swimming watches is also a helpful bonus (if not exactly essential for your first swim). Look for ones with 50m waterproofing, GPS and swimming-specific modes that can track your stroke rate. I use an Apple Watch SE, but alternatives like the Garmin Swim 2 and Garmin Forerunner 955 are also good options.
4. Consider getting a tow float
Wait, another accessory? A tow float – otherwise known as safety buoy – again isn’t essential, but is particularly handy if you’ll mostly be swimming outdoors solo.
These bright, inflatable dry bags attach to your waist and have an obvious safety benefit – spotters and fellow swimmers can see you from great distances away. Even if you’re confident in the pool, that’s a bonus for your first outdoor sessions – and tow floats are now mandatory at some open water swimming centers. Check your local one to see what their policy is.
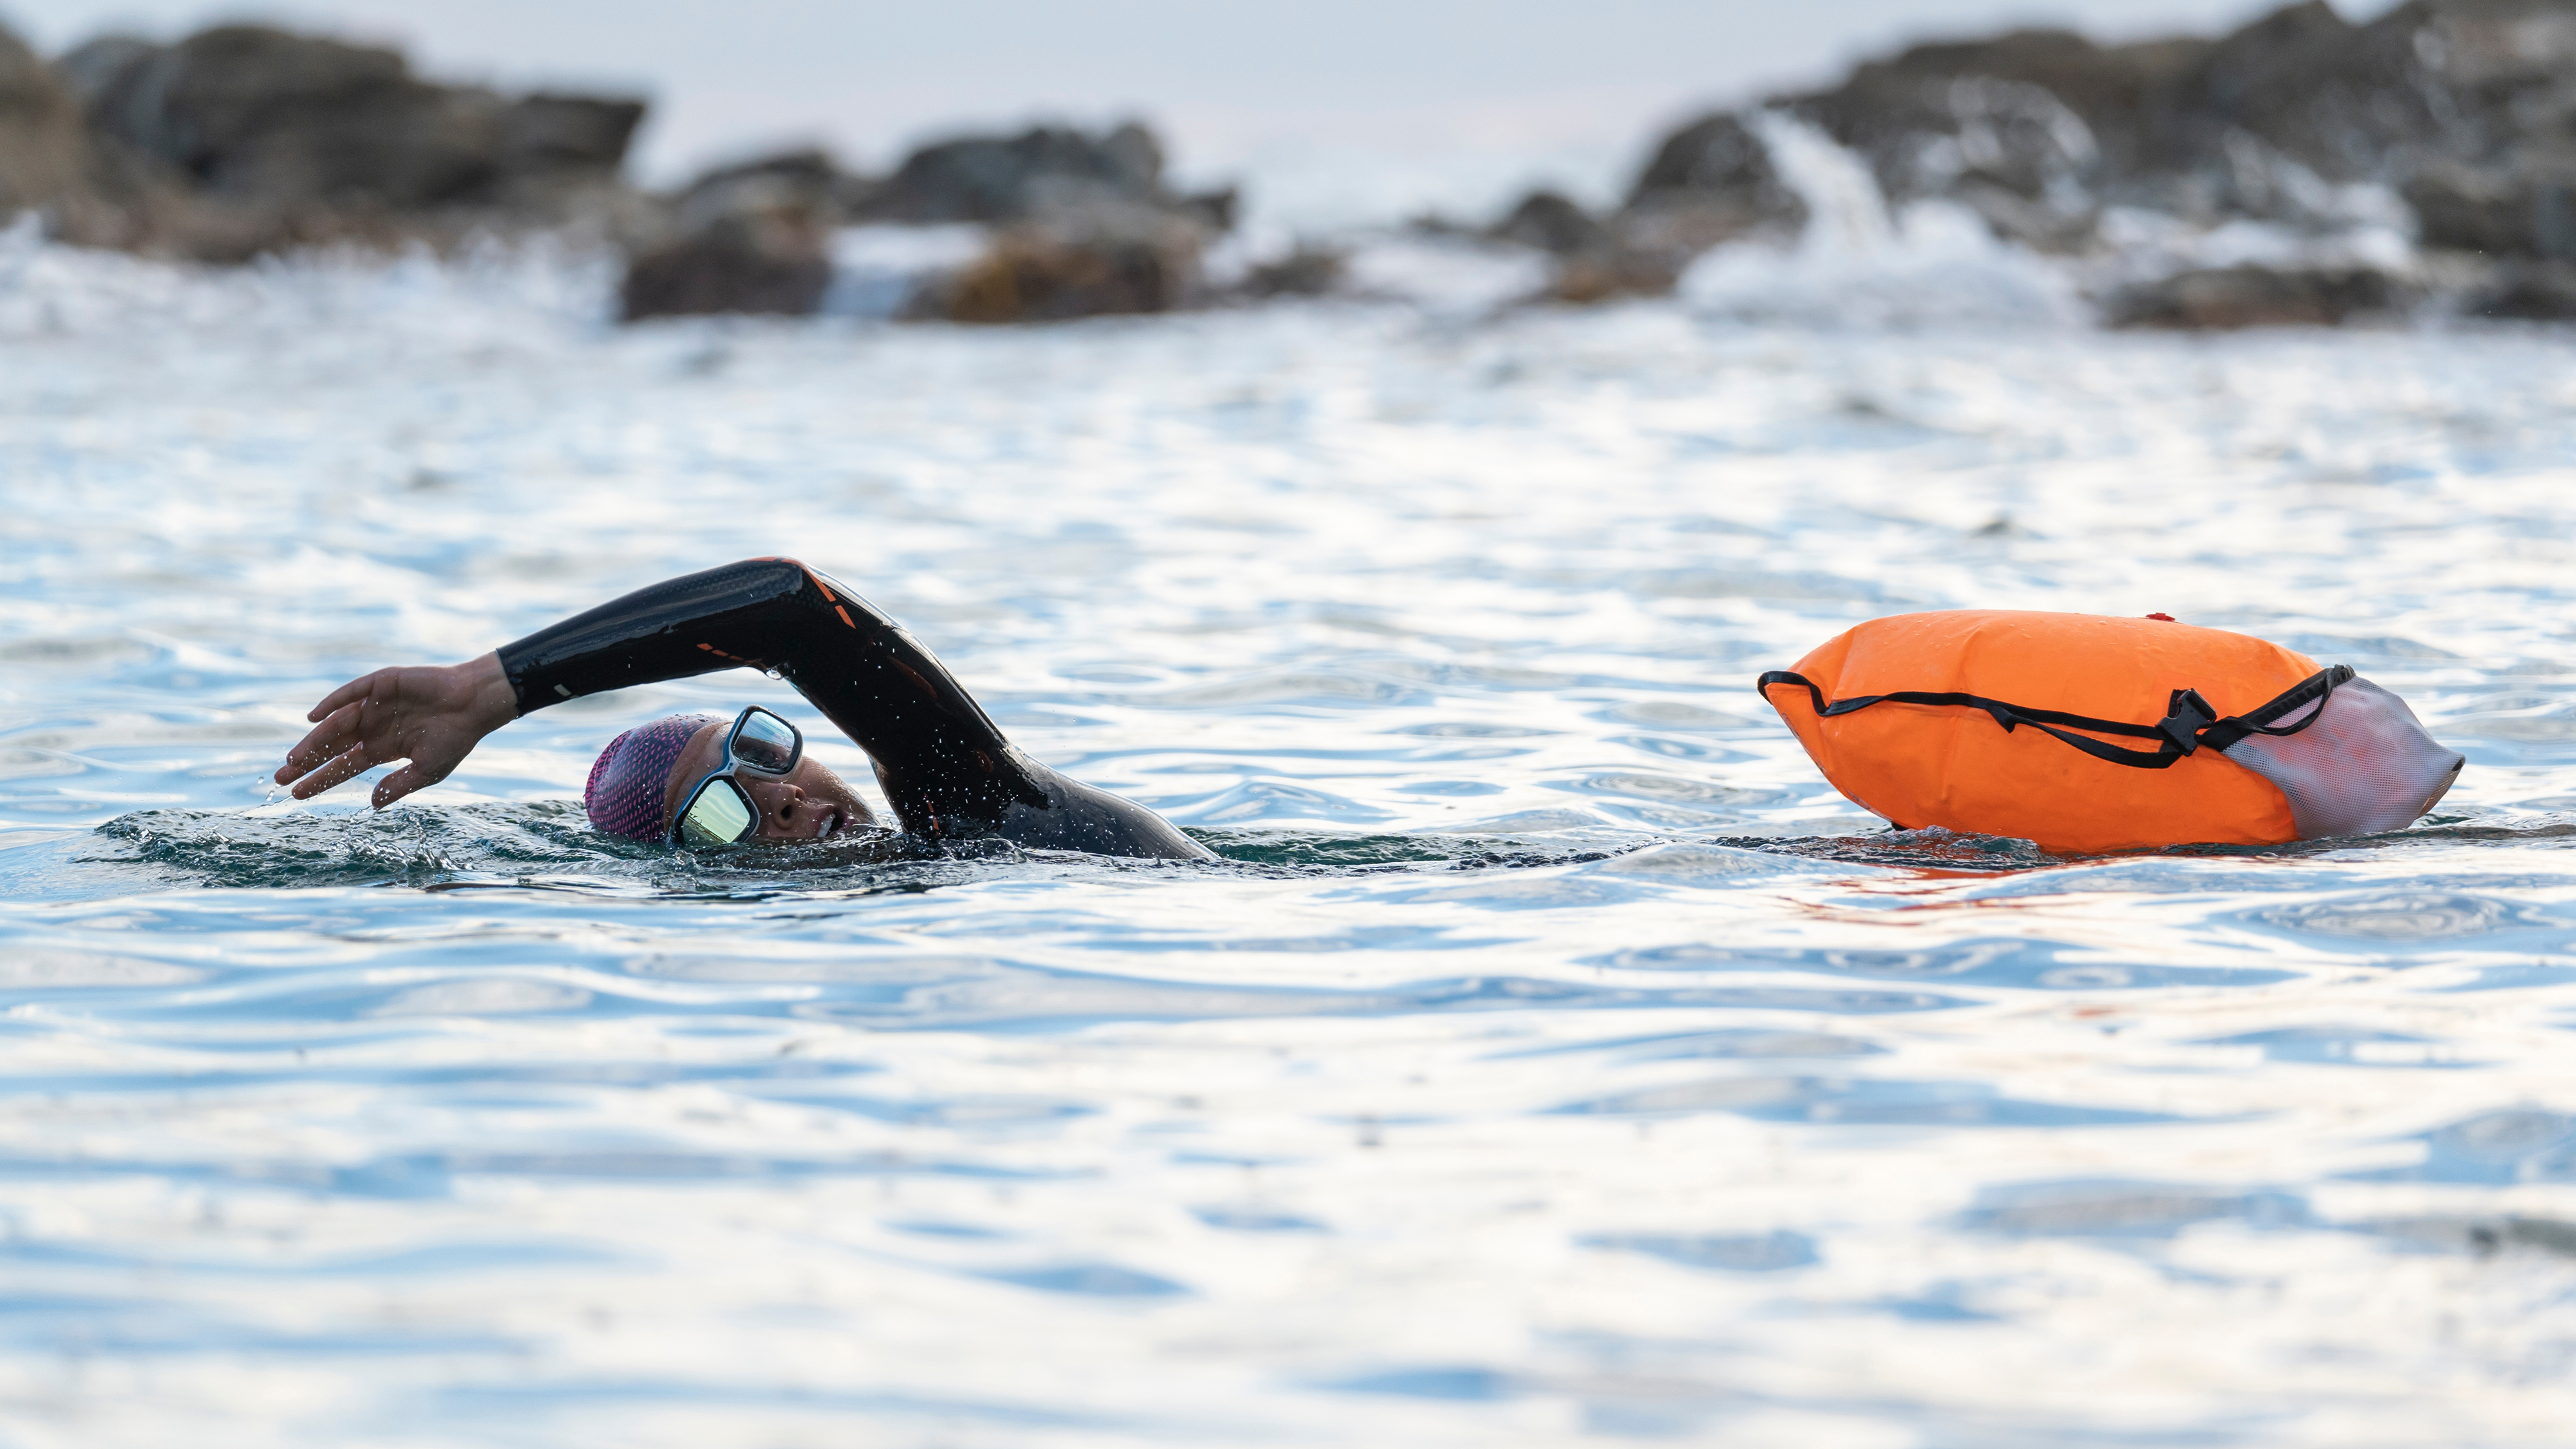
But another big benefit of tow floats is that you can stash your valuables (and even secret snacks) inside them while you swim, rather than leaving them by the water.
They’re available in all shapes and sizes, but I’ve been very happy with the Zone3 Swim Safety Buoy 28L (around $30 / £20 / AU$40 right now).
5. Find the best spots
So-called ‘wild swimming’ saw a boom in popularity during the pandemic, but beginners should definitely start at open-water swimming centers. Sure, they don’t have the thrill of leaping into a remote freezing river, but these supervised locations – which usually have car parks and coffee vans – are the perfect place to learn.
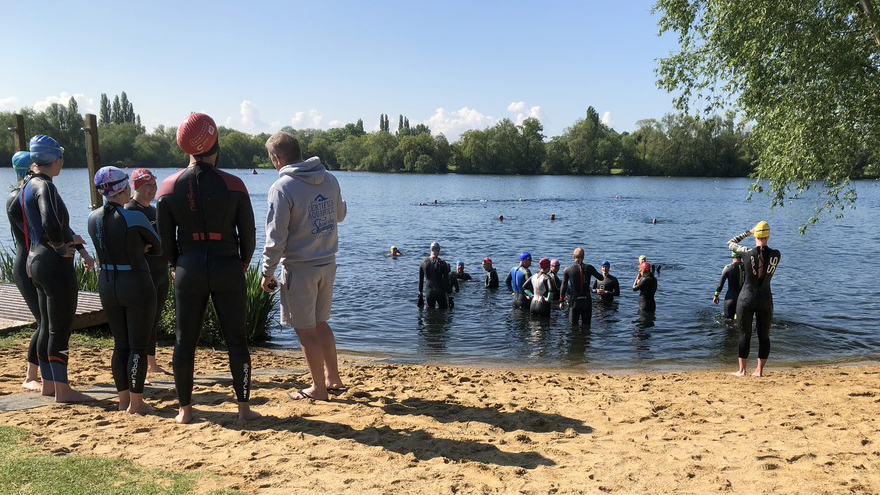
In the US, there’s no exhaustive directory of outdoor swimming centers, so you’ll need to search by state – although the Swim Across America directory is a good place to start for events. In the UK, check out Swim England’s list of venues or the Outdoor Swimming Society’s directory.
I’ve also found that signing up for NOWCA – a network of approved outdoor swimming venues – to be a helpful way of quickly booking sessions in the UK using its app. It’s only £15 per year and you get a wristband for quickly checking in and out of your swims with minimum fuss.
This article is part of TechRadar's Get Fit for '24 week of fitness content.
You might also like:

Mark is TechRadar's Senior news editor. Having worked in tech journalism for a ludicrous 17 years, Mark is now attempting to break the world record for the number of camera bags hoarded by one person. He was previously Cameras Editor at both TechRadar and Trusted Reviews, Acting editor on Stuff.tv, as well as Features editor and Reviews editor on Stuff magazine. As a freelancer, he's contributed to titles including The Sunday Times, FourFourTwo and Arena. And in a former life, he also won The Daily Telegraph's Young Sportswriter of the Year. But that was before he discovered the strange joys of getting up at 4am for a photo shoot in London's Square Mile.