How to install a smart video doorbell
Take these steps to fit your new video doorbell

Video doorbells are among the best smart home devices. With just a camera, speaker, microphone and a Wi-Fi connection, they turn the humble doorbell into a live, Full HD intercom accessible from anywhere in the world.
Many also have infrared-powered night vision, a cloud storage service and the ability to act as a security camera, while some even employ artificial intelligence to more reliably spot the difference between a human and other movement.
Generally speaking, there are two types of smart video doorbells to consider. Battery-powered models are the simplest to install and usually require no professional skills or specialist equipment.
Then there are wired video doorbells, which have the same smart features but are powered by the wiring from your existing, non-smart doorbell. These sometimes require professional installation, but in many cases an amateur DIYer with a working knowledge of domestic wiring can complete the job themselves.
Some of the best video doorbells, like the Ring Elite, are powered by Ethernet, and because it’s unlikely that your home already has such a cable next to the front door, installation will likely require a professional.
Naturally, every model from every brand has its own specific set of installation instructions, but if you're looking for a general idea of how to install a smart video doorbell, we've laid it all out for you below.
Steps for how to install a smart video doorbell
- Locate doorbell chime and install bypass cable (if applicable)
- Fully charge the battery (if applicable)
- Mark out screw locations
- Drill holes for wall anchors
- Attach doorbell to chime wiring (if applicable)
- Mount doorbell with included screws
- Install app and complete installation
Tools and Requirements
- A smart video doorbell
- Screws
- Wall plugs/anchors
- Spirit level
- Drill
- Screwdriver
Step by step for installing a battery video doorbell
Since they are battery-powered and connect to the internet with Wi-Fi, these are by far the simplest video doorbells to install. They also usually come with all of the relevant screws, wall plugs/anchors and brackets needed to fit them to a wall or door frame.
Get daily insight, inspiration and deals in your inbox
Sign up for breaking news, reviews, opinion, top tech deals, and more.
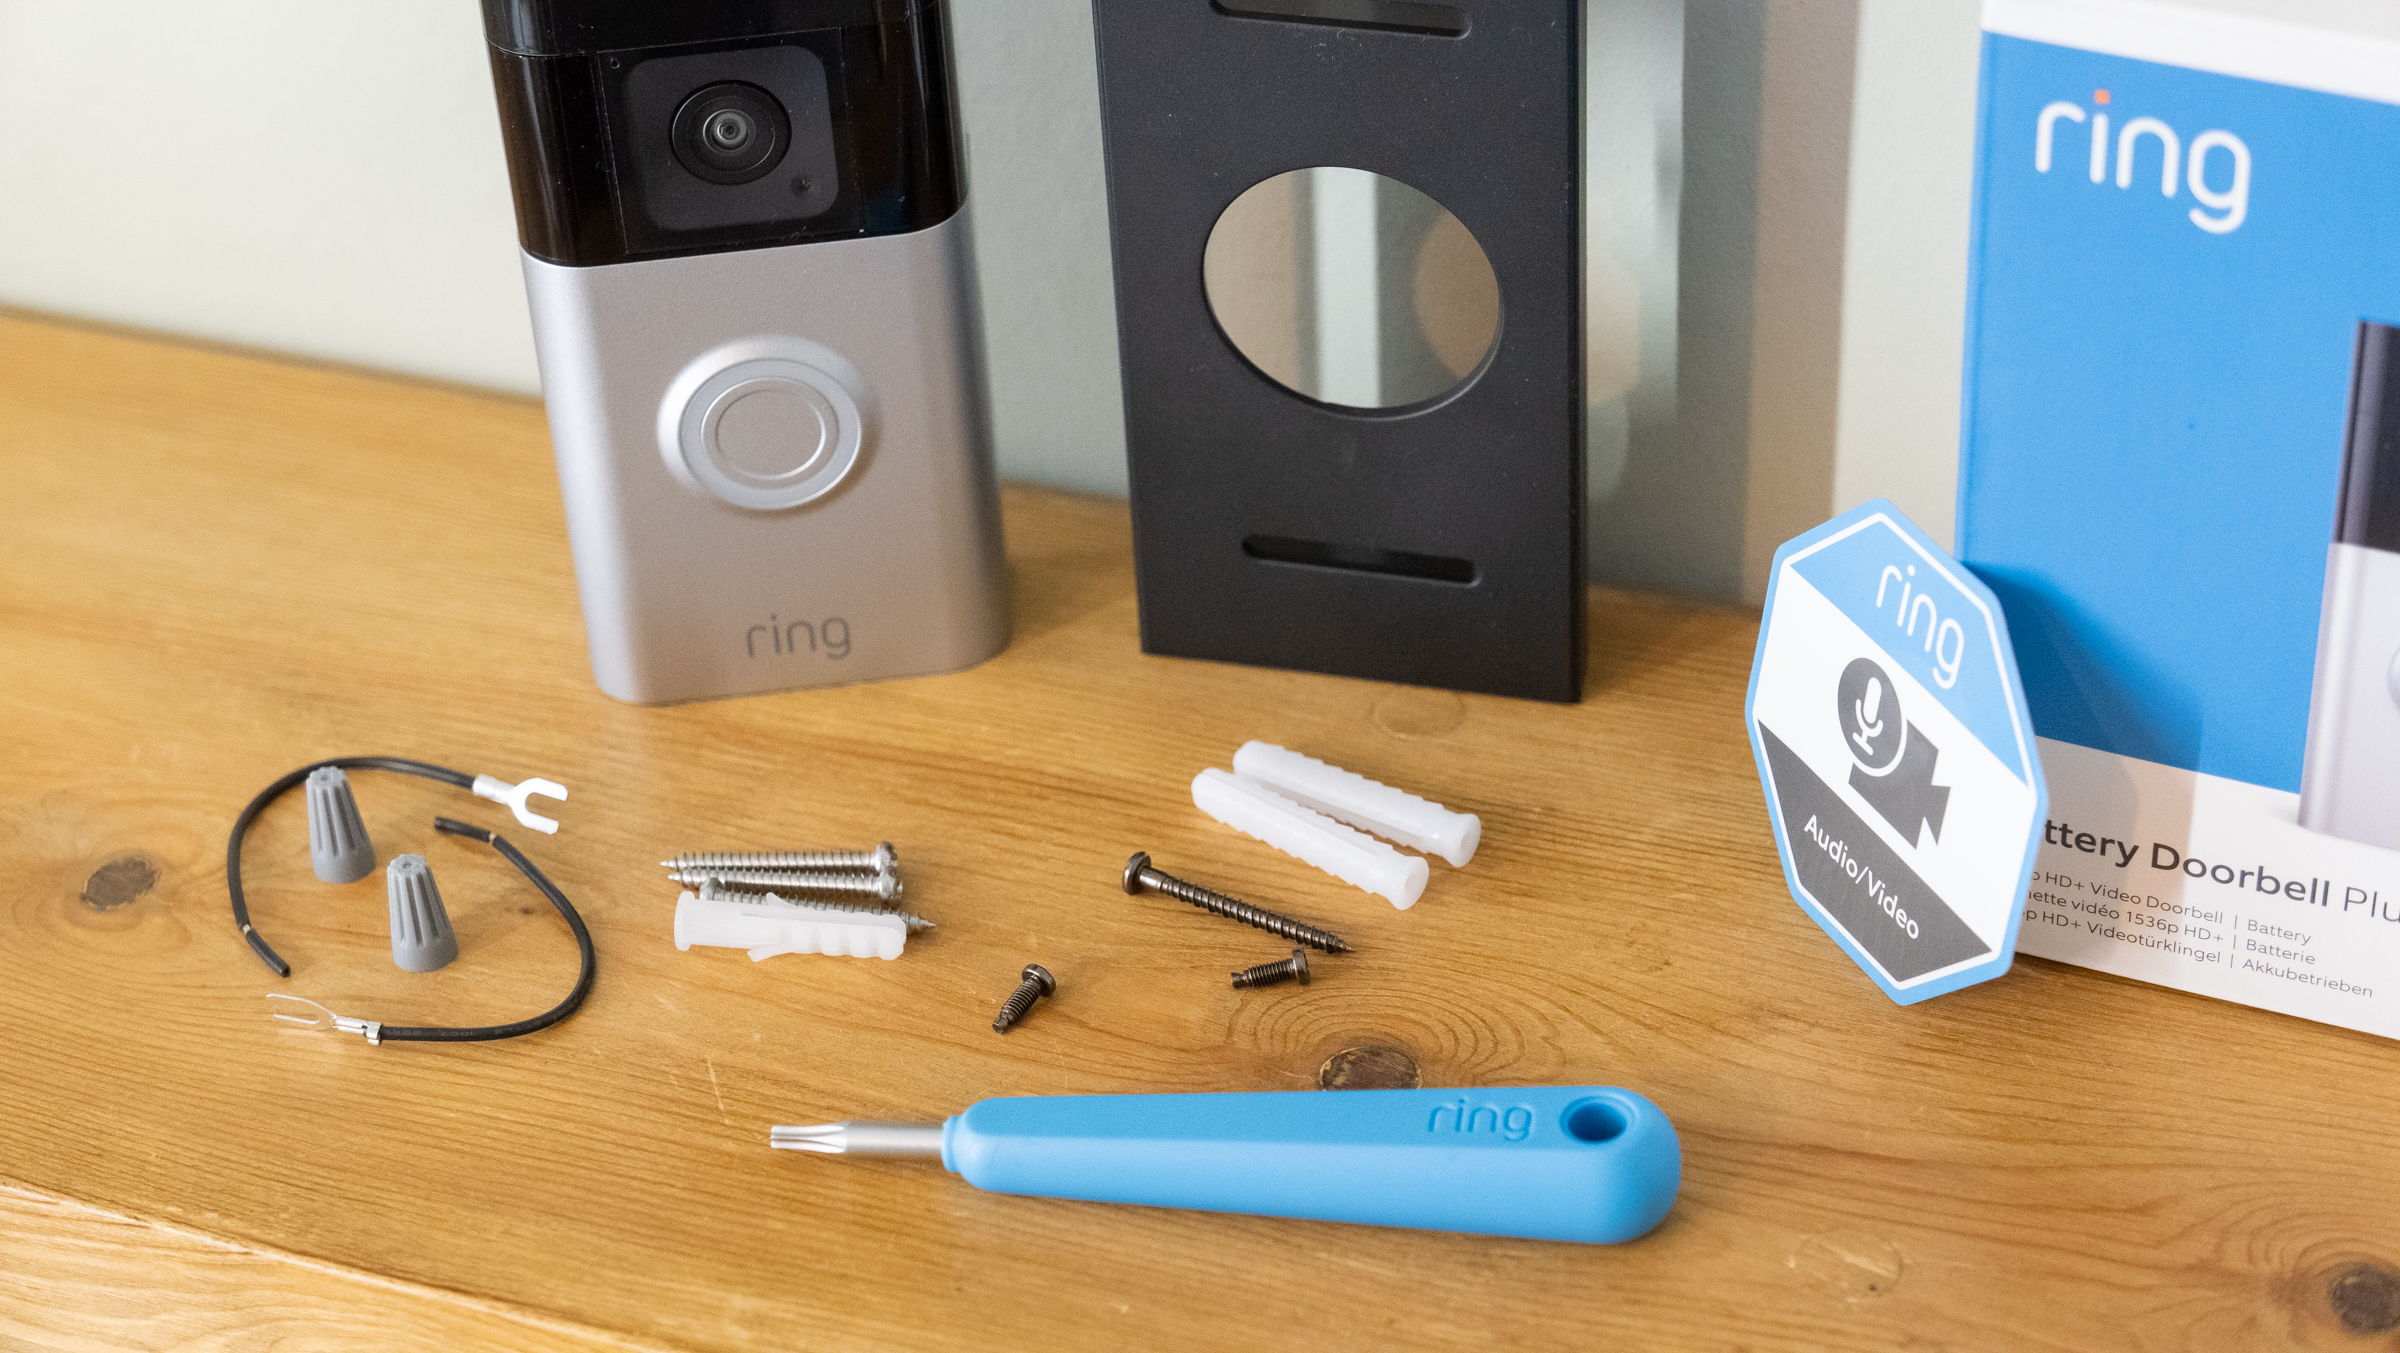
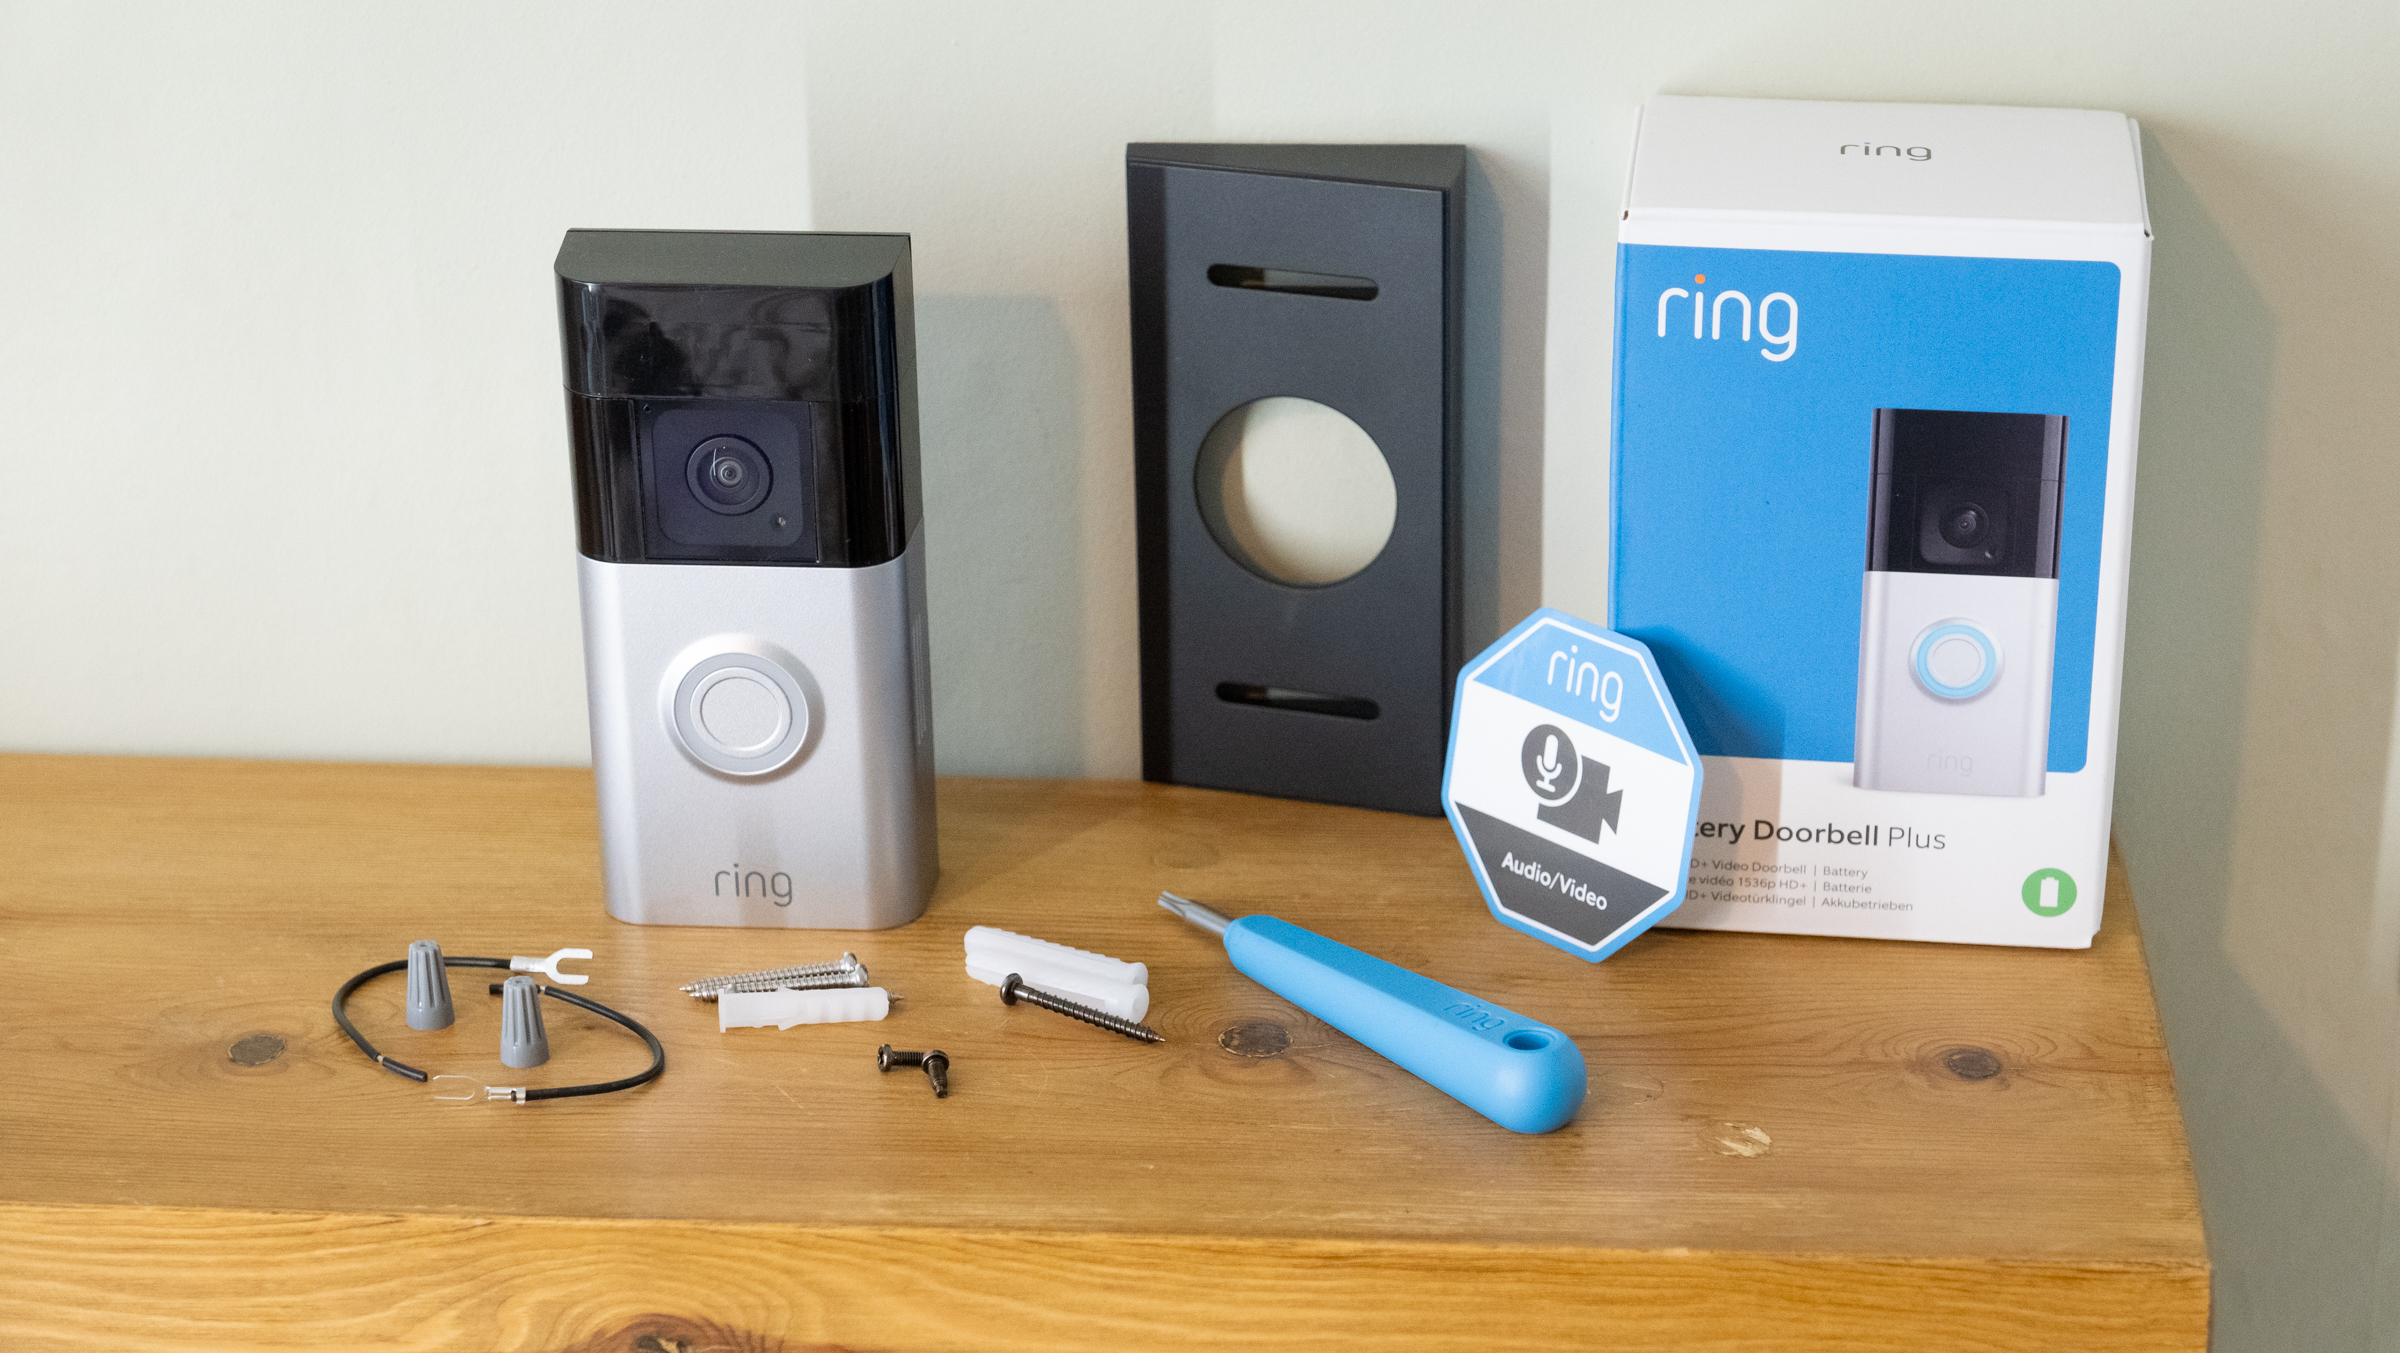
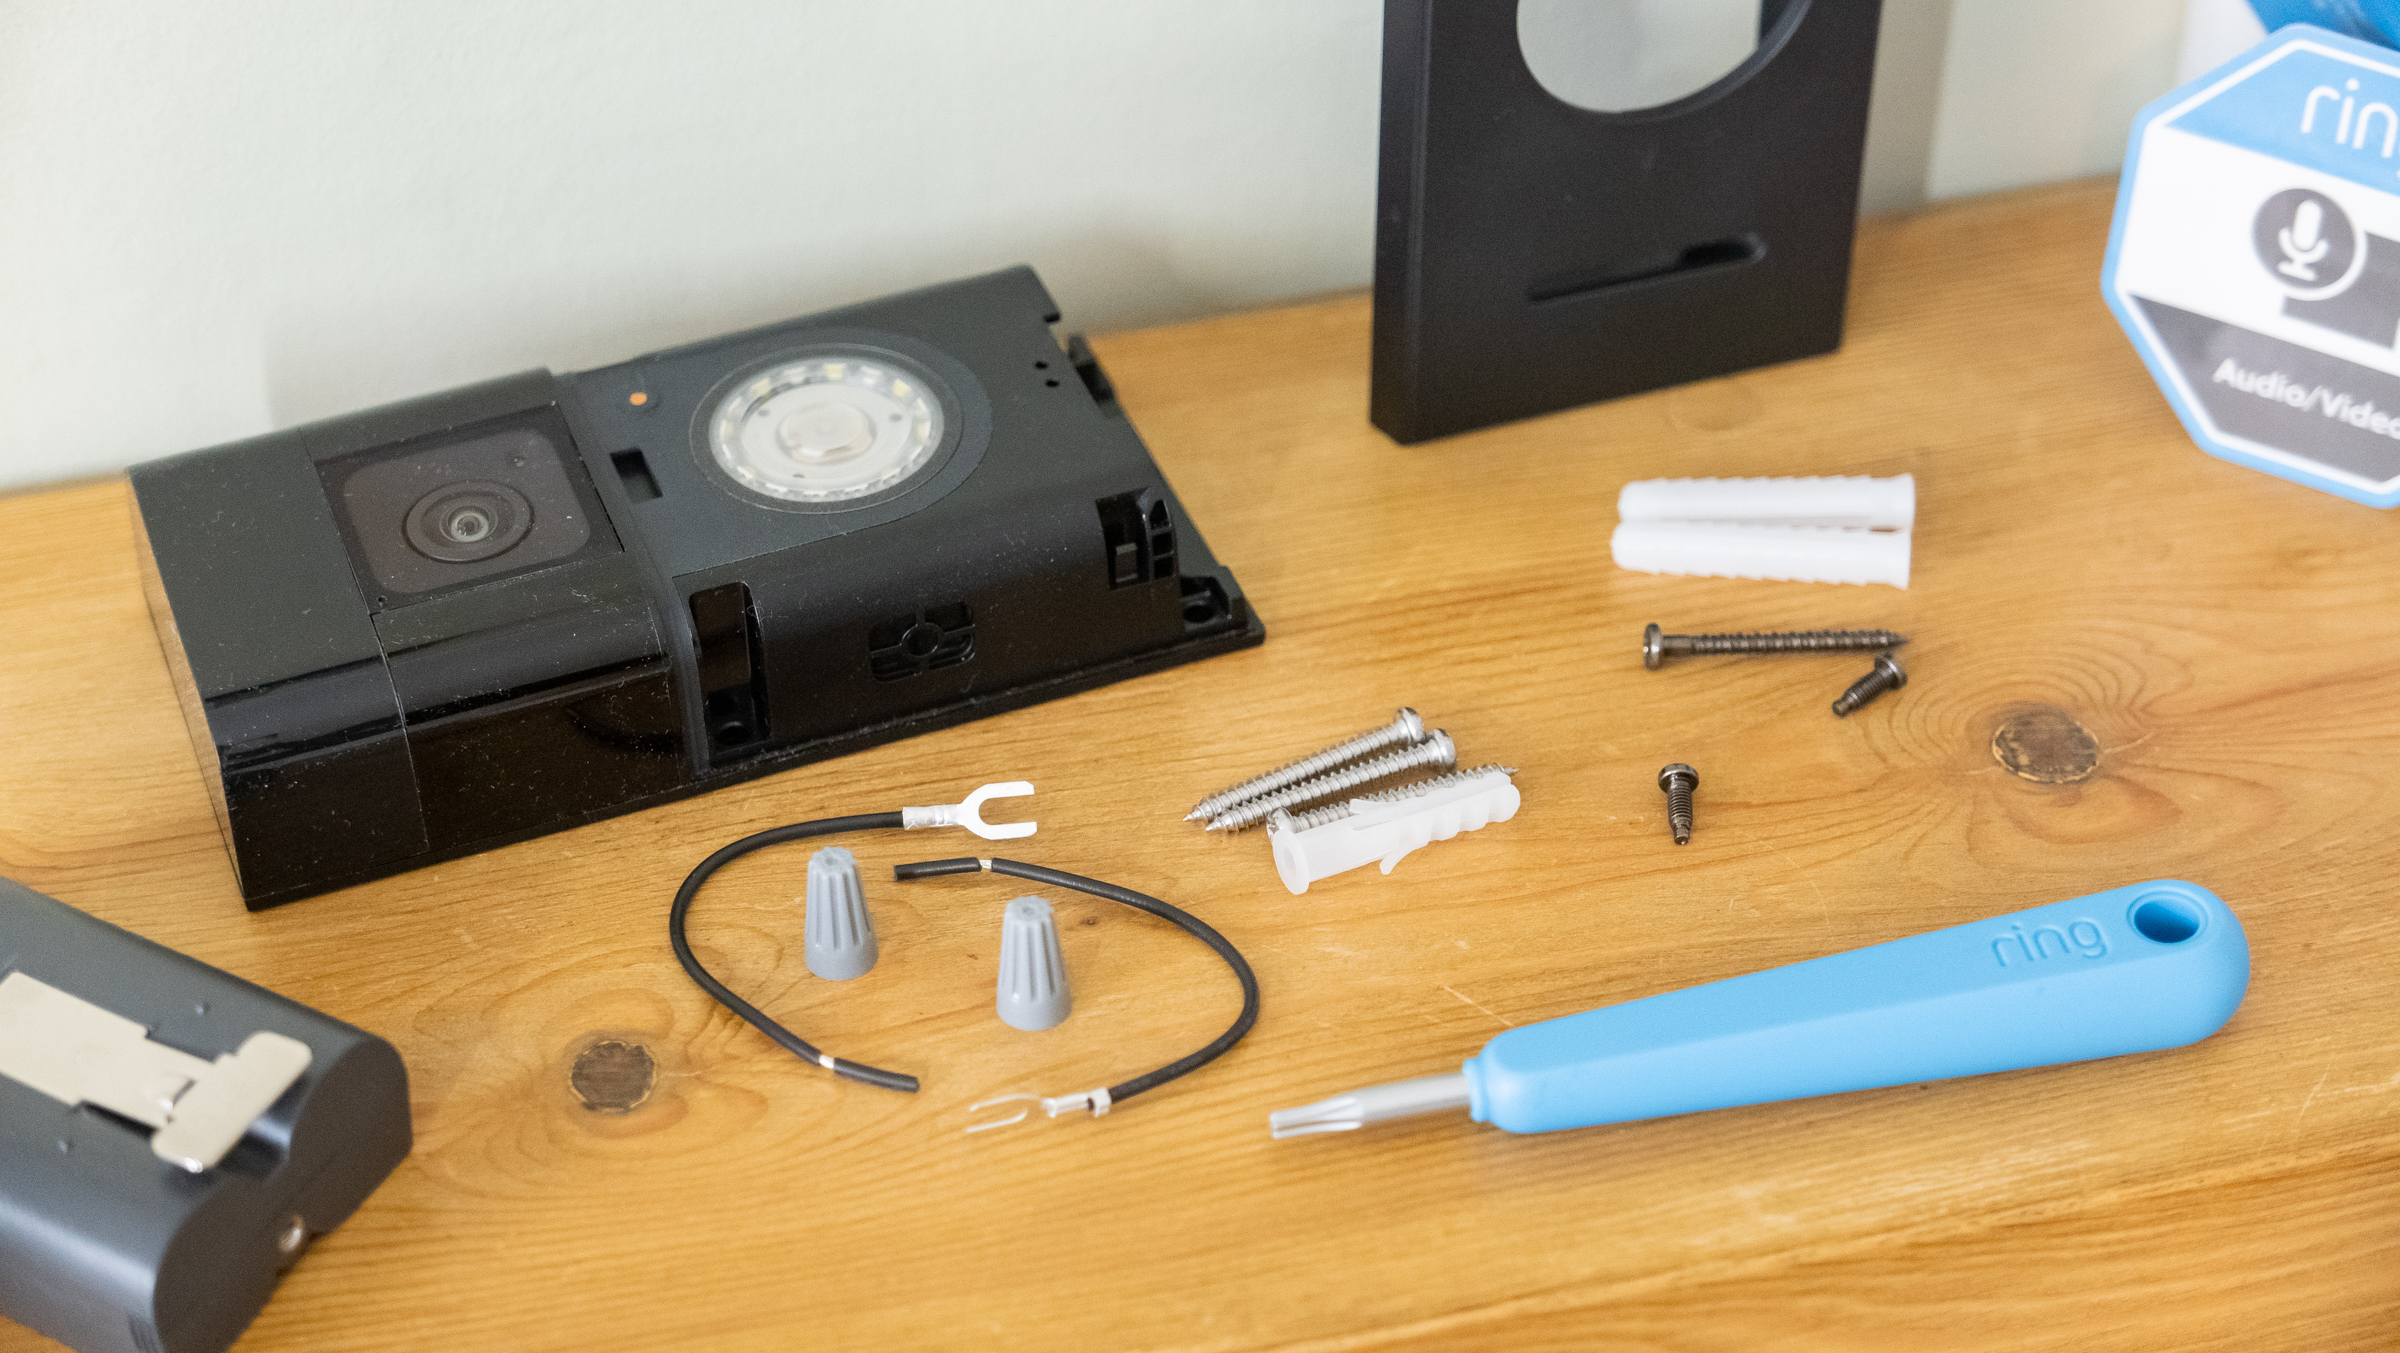
Let’s take the Ring Battery Doorbell Plus as an example. Included in the box are screws and wall plugs for mounting to both wood and brickwork, plus an optional mounting plate that adjusts the angle of the doorbell. There’s also wiring for connecting to an existing chime, and a pair of security screws for locking the doorbell closed, plus a special screwdriver for said screws.
That’s a generous amount of included kit, but you’ll also need a drill, a spirit level and a screwdriver of your own to complete the installation.

1. Charge the battery
Some batteries only come partially charged so you may need to fully-charge that battery first before anything else. Once your battery is charged, slot that into the device.
2. Pair with the app
Usually, manufacturers ask that you pair the smart video doorbell with their app first so make sure to download the appropriate app and follow the instructions for pairing.
Follow the steps to connect the doorbell to your Wi-Fi network. As long as the doorbell can comfortably connect to your network (you might need to install a signal booster if not), then you’re good to go.
3. Install the doorbell
Anyone with even a very limited amount of DIY skill should be able to install a wireless doorbell.
All you need to do is drill four small holes into the wall, using the screw holes in the provided template, or if you have a Ring smart video doorbell, in the frame of the doorbell itself as your template.
Then use the included wall anchors and screws to fix the frame into place.
4. Secure the faceplate
Once the doorbell is secured, add the faceplate, if there's one. With a Ring video doorbell, the whole thing locked closed with a security screw designed to deter thieves, since it can’t be undone with a regular screwdriver.
Make sure you keep the compatible screwdriver safe though, as you’ll need to remove this screw every few months to take out the battery and charge it.
Step by step for installing a wired video doorbell
Household electrics can be intimidating, but the most important thing to know with doorbells is that they use low-voltage wiring. This removes the dangers associated with high-voltage wiring like that used by wall outlets, and means amateurs with only basic DIY knowledge should manage without hiring a professional.

1. Check compatibility
Your first job is to make sure your new video doorbell is compatible with the transformer used to power your home’s existing doorbell and chime. Using the Ring Video Doorbell Wired as an example, the company says a transformer meeting these specs – 8 to 24 VAC, 50/60Hz, 8VA to 40VA – is what’s needed.
Do not attempt to fit a video doorbell to an incompatible transformer, as this can cause damage and electric shock. Ask a professional if you think you need to buy a replacement transformer.
2. Turn off the fuse

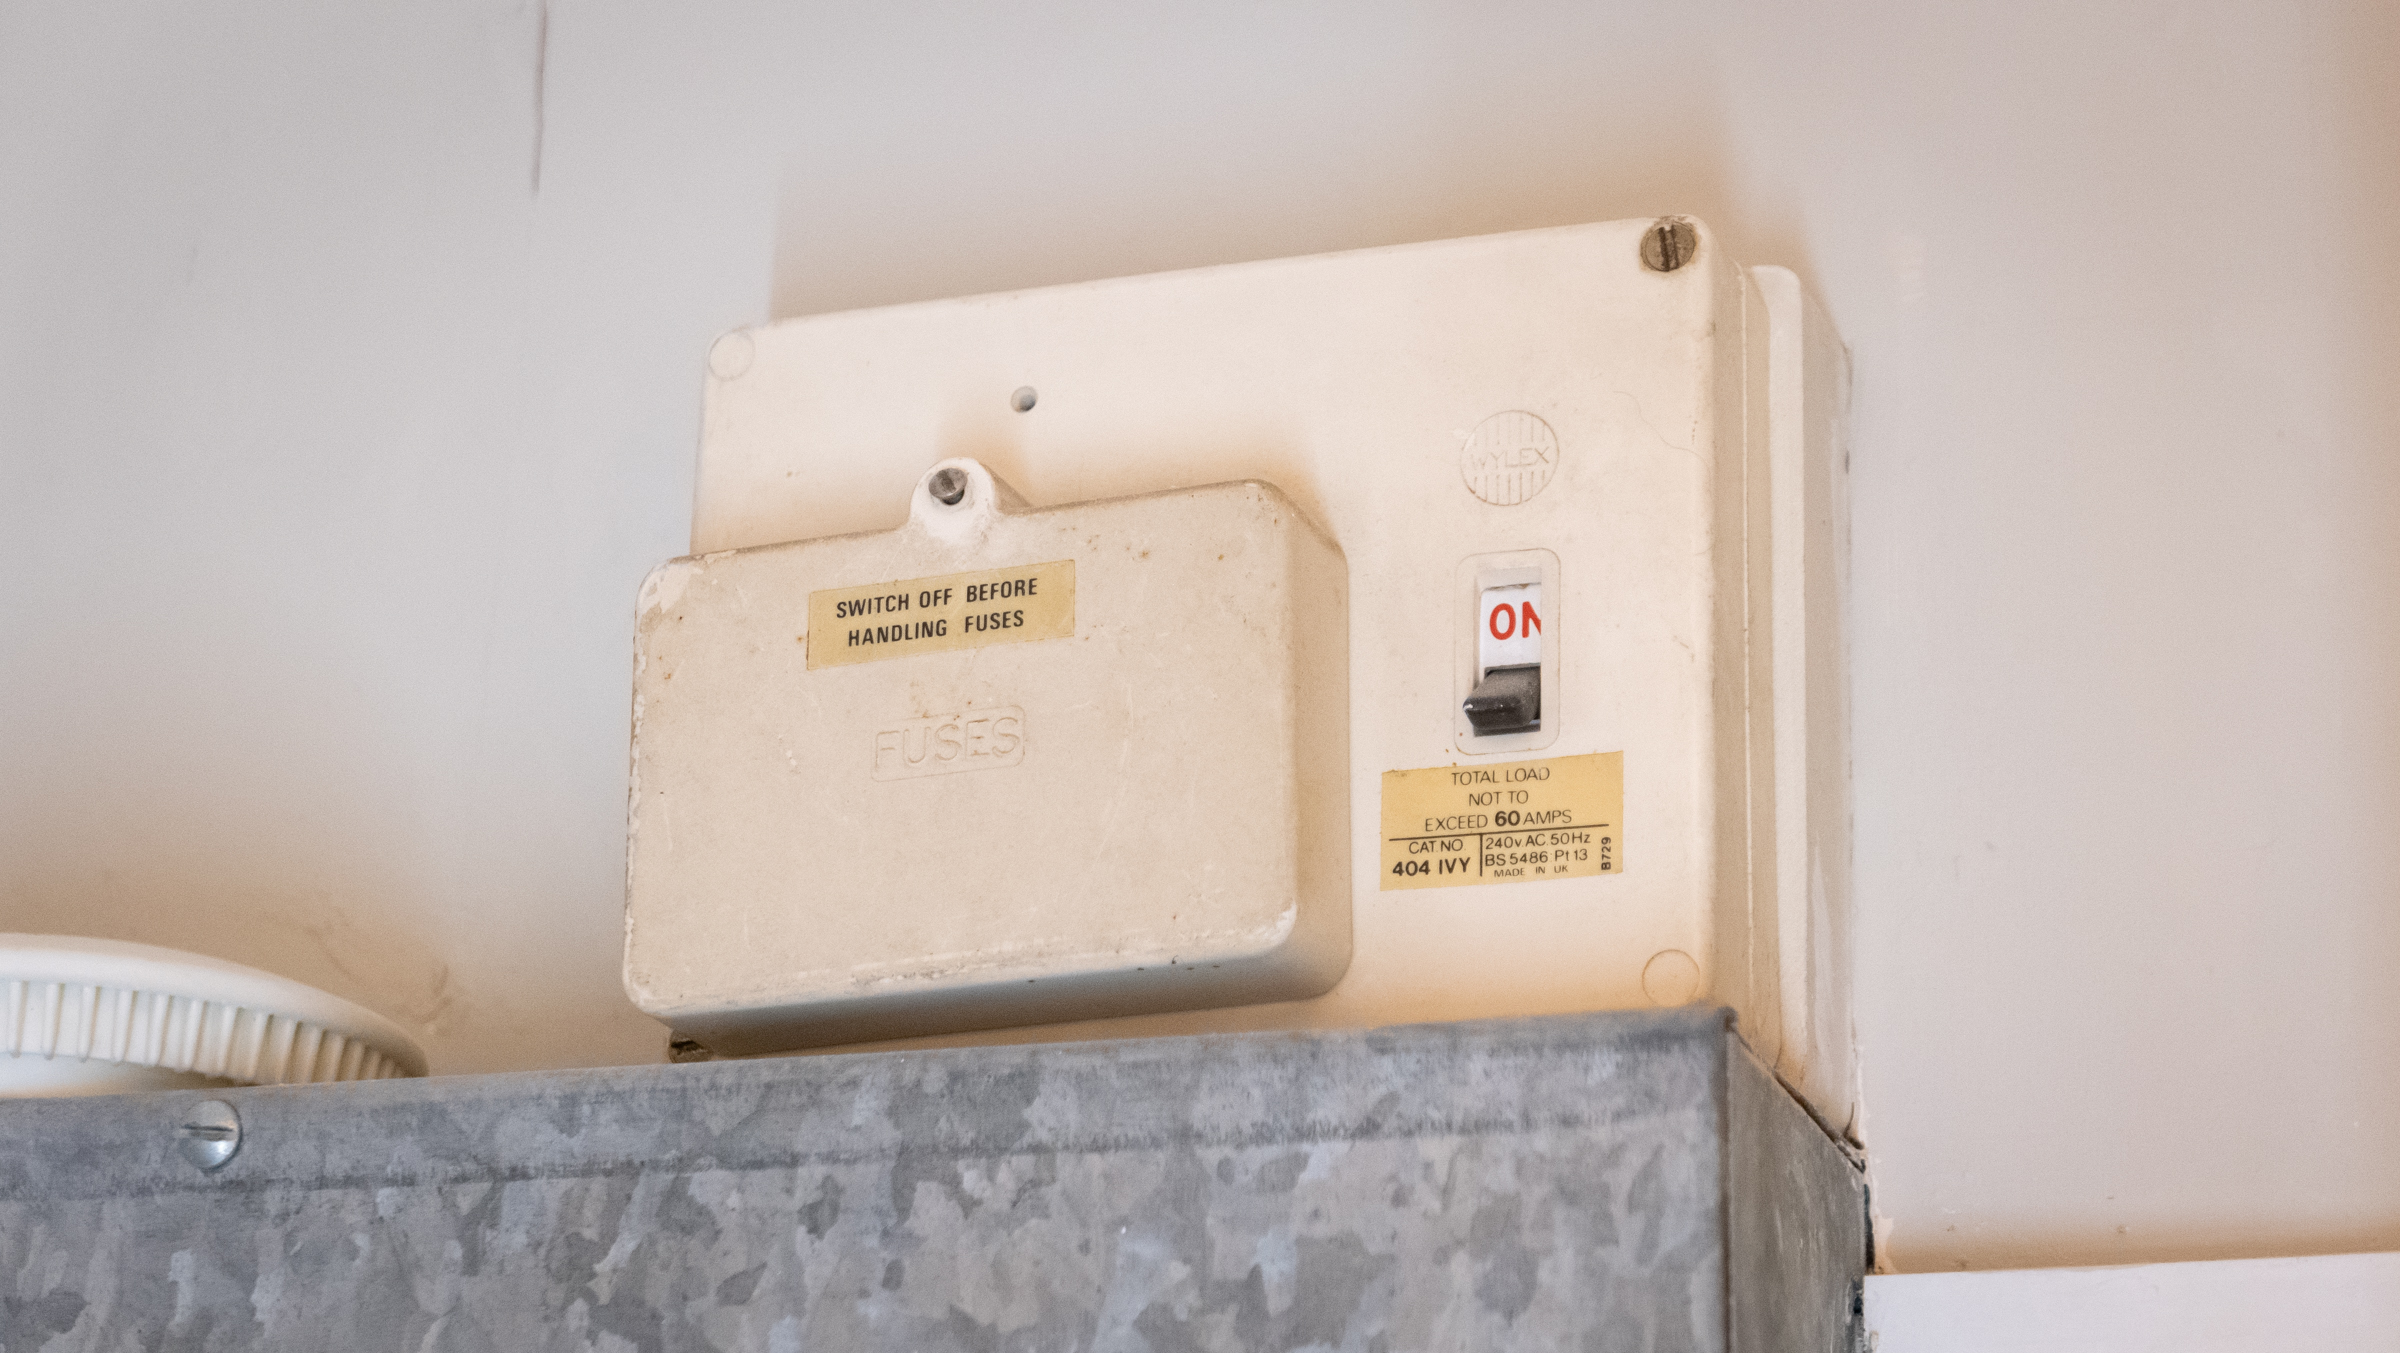
Next, locate the fuse box and either disable the fuse responsible for powering your old doorbell and chime, or if you aren’t sure which that is, flick the master switch to turn off every fuse.
Your home’s power is now disabled (try a light switch to be certain) and the wiring is safe to work on.
3. Connect it your existing doorbell chime
We can’t write a guide covering the installation of every type of video doorbell. But, generally speaking, the next step is to use the bypass cable included with the new doorbell. This attaches to your doorbell chime and uses its power supply to feed the video doorbell instead. Your new video doorbell won’t work with the old chime, but it will use its power supply.
4. Carefully follow the next instructions
Carefully follow the instructions included with your video doorbell. These will differ between the various makes and models available, but you should always take your time, read the instructions carefully, avoid working on any high voltage cables (they will be marked as such) and seek help from a professional electrician if you get stuck.
5. Remove your old doorbell
With the bypass cable installed, it’s time to put the cover back on your chime and remove the old doorbell. This should just be a case of removing a couple of screws, gently pulling the doorbell from the wall and disconnecting a pair of wires from behind. Be careful not to let these wires disappear into the wall cavity, as they'll be used to power the smart doorbell later.
6. Install your new video doorbell
The rest of the installation is just like that of a wireless video doorbell. Mark out where the screws need to go (you can use the screw holes in the doorbell itself as a template), drill into the wall and insert the wall anchors. Now connect the wires to the rear of the doorbell as per the manufacturer instructions, and screw the device into place.
7. Finish the setup
Finally, turn the power back on at the fuse box, wait for your Wi-Fi router to reconnect, and go through the video doorbell’s setup process.
FAQs
Can Ring doorbell use existing doorbell wiring?
Yes, most Ring doorbells can be powered by your existing wiring and they come with everything you'll need to connect them. This includes the wireless models, which can be powered either by their included rechargeable battery, or by your existing doorbell wiring.
There are some exceptions, however. The Ring Video Doorbell Elite is powered by Ethernet cable, while the Video Doorbell Pro 2 can be powered by a wall socket or the existing wiring. The Ring Door View Cam fits into the peephole of your door and can only be powered by its included rechargeable battery.
What power does Ring doorbell require?
If you choose not to power your Ring doorbell with a battery or wall socket, you'll need to connect it to your property's existing doorbell wiring. The first thing to do is check that the transformer powering your doorbell chime meets these specifications: 8 to 24 VAC, 50/60Hz, 8VA to 40VA.
If it does, then the transformer can be used to power the video doorbell. This means that your chime will no longer function, as the power previously feeding that is now redirected to the Ring. If your transformer is not suitable, speak to an electrician about fitting a replacement.
Will my chime work with a Ring doorbell?
No. The transformer powering your existing doorbell chime can be used to power the Ring video doorbell, but when a visitor presses the Ring's button your chime will not function.
Instead, a press of the Ring button fires a notification to your smartphone (and the phones of anyone else logged into your Ring account).
Ring doorbells can also send an alert to Alexa smart speakers and displays, so you can have the Amazon assistant announce "someone is at the door" or whatever custom message you like. Lastly, Ring sells a chime (imaginatively called Chime), which plugs into a wall outlet and can be set to play a range of sounds when a visitor presses the button.
Final thoughts
Installing a wireless video doorbell is no different to fitting other home security devices. So long as you have a drill and a screwdriver, and are familiar with using wall plugs/anchors, then you’re good to go.
Just make sure you take your time with measuring and ensuring the doorbell is mounted perfectly straight (if you don’t have a spirit level there are plenty of smartphone apps that do the same job). Also ensure the doorbell has a solid Wi-Fi connection, and remember to locate the doorbell in a way that the camera doesn’t invade the privacy of your neighbors.
Wired video doorbells are trickier. The installation will depend on your DIY skills and familiarity with domestic wiring, but also on the type of chime and transformer your home already has. The latter might need replacing before a video doorbell can be installed. If not, then take your time, read all of the instructions carefully and remember to turn off the fuse box master switch before getting started.
You might also like
Alistair Charlton is based in London and has worked as a freelance technology and automotive journalist for over a decade. A lifelong tech enthusiast, Alistair has written extensively about dash cams and robotic vacuum cleaners for TechRadar, among other products. As well as TechRadar, he also writes for Wired, T3, Forbes, The Independent, Digital Camera World and Grand Designs Magazine, among others.
