Digital camera tips: 22. Don't forget Program Shift

Grossly underrated, your camera's Program (P) mode effectively gives both aperture and shutter speed priority in one semi-automated package. If you want a wide aperture, simply 'shift' the Program to get it. You want a slower shutter speed? Then shift in the opposite direction.
- Learn more: The A to Z of Photography: Program AE
Digital camera tips: 23. Which is best - Aperture or Shutter Priority?
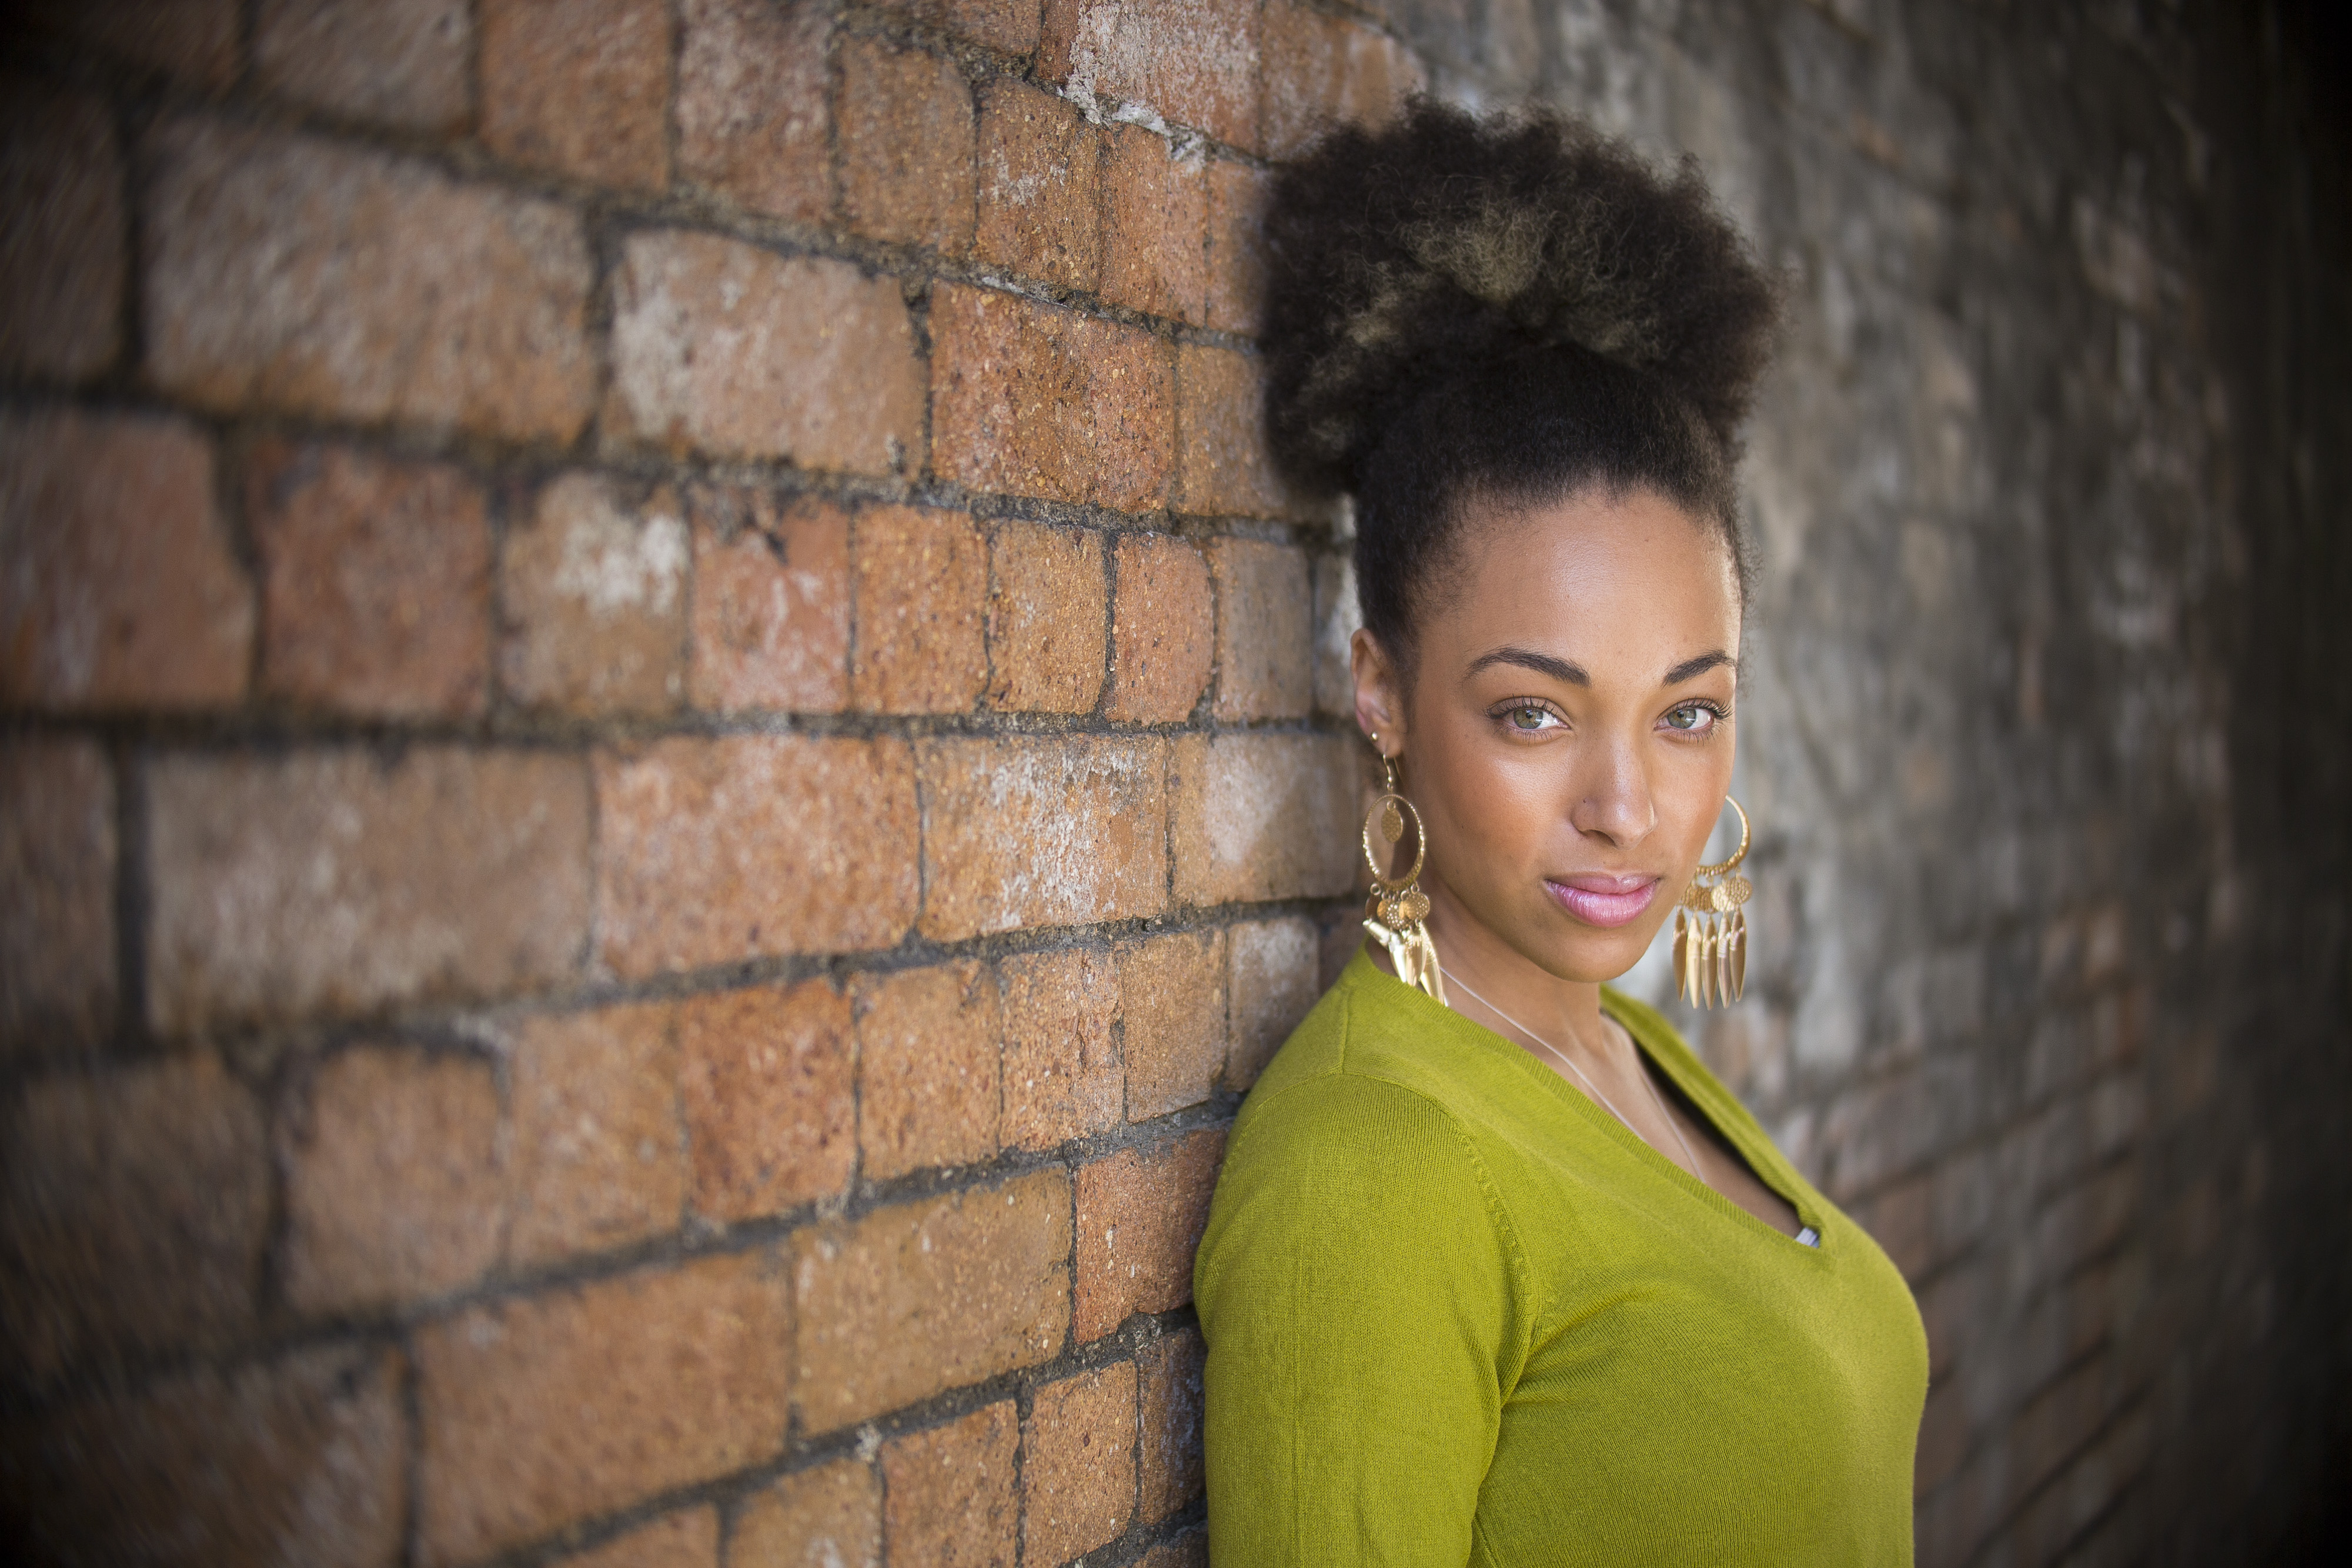
In a nutshell, the aperture controls the depth of field in an image and the shutter speed controls how movement is recorded. Not sure which shooting mode to go for? Decide which of those two things you want to keep most control over in your shot and that's the priority option to go for.
- Learn more: The A to Z of Photography: Aperture
Digital camera tips: 24. Try bracketing
You may be able to adjust the exposure of an image in your editing software, but lightening an under-exposed shot will exaggerate any noise, while over-exposed highlights are impossible to recover. If you're in any doubt, bracket your shots to be sure you've got one that's correctly exposed - even if you choose to shoot raw files.
- Learn more: Bracketing explained
Digital camera tips: 25. Read the histogram

While your DSLR's LCD screen will give you a guide to how well an image has been exposed, it shouldn't be relied on. In bright light, images will appear darker than they actually are, while looking at the screen at night will make images appear bright, even if they're actually slightly under-exposed.
The histogram is the only way to accurately assess an exposure on your camera, and the main thing to avoid at the time of shooting is clipping the highlights and, less serious, the shadows. If the histogram hits the right edge of the scale, consider reducing the exposure and shooting again.
- Learn more: The A to Z of Photography: Histogram
Digital camera tips: 26. Expose for the highlights
It's far easier to recover detail in areas of shadow than it is to disguise burnt-out highlights, so when the contrast is high, expose to preserve the highlight detail.
Digital camera tips: 27. Spot the midtone
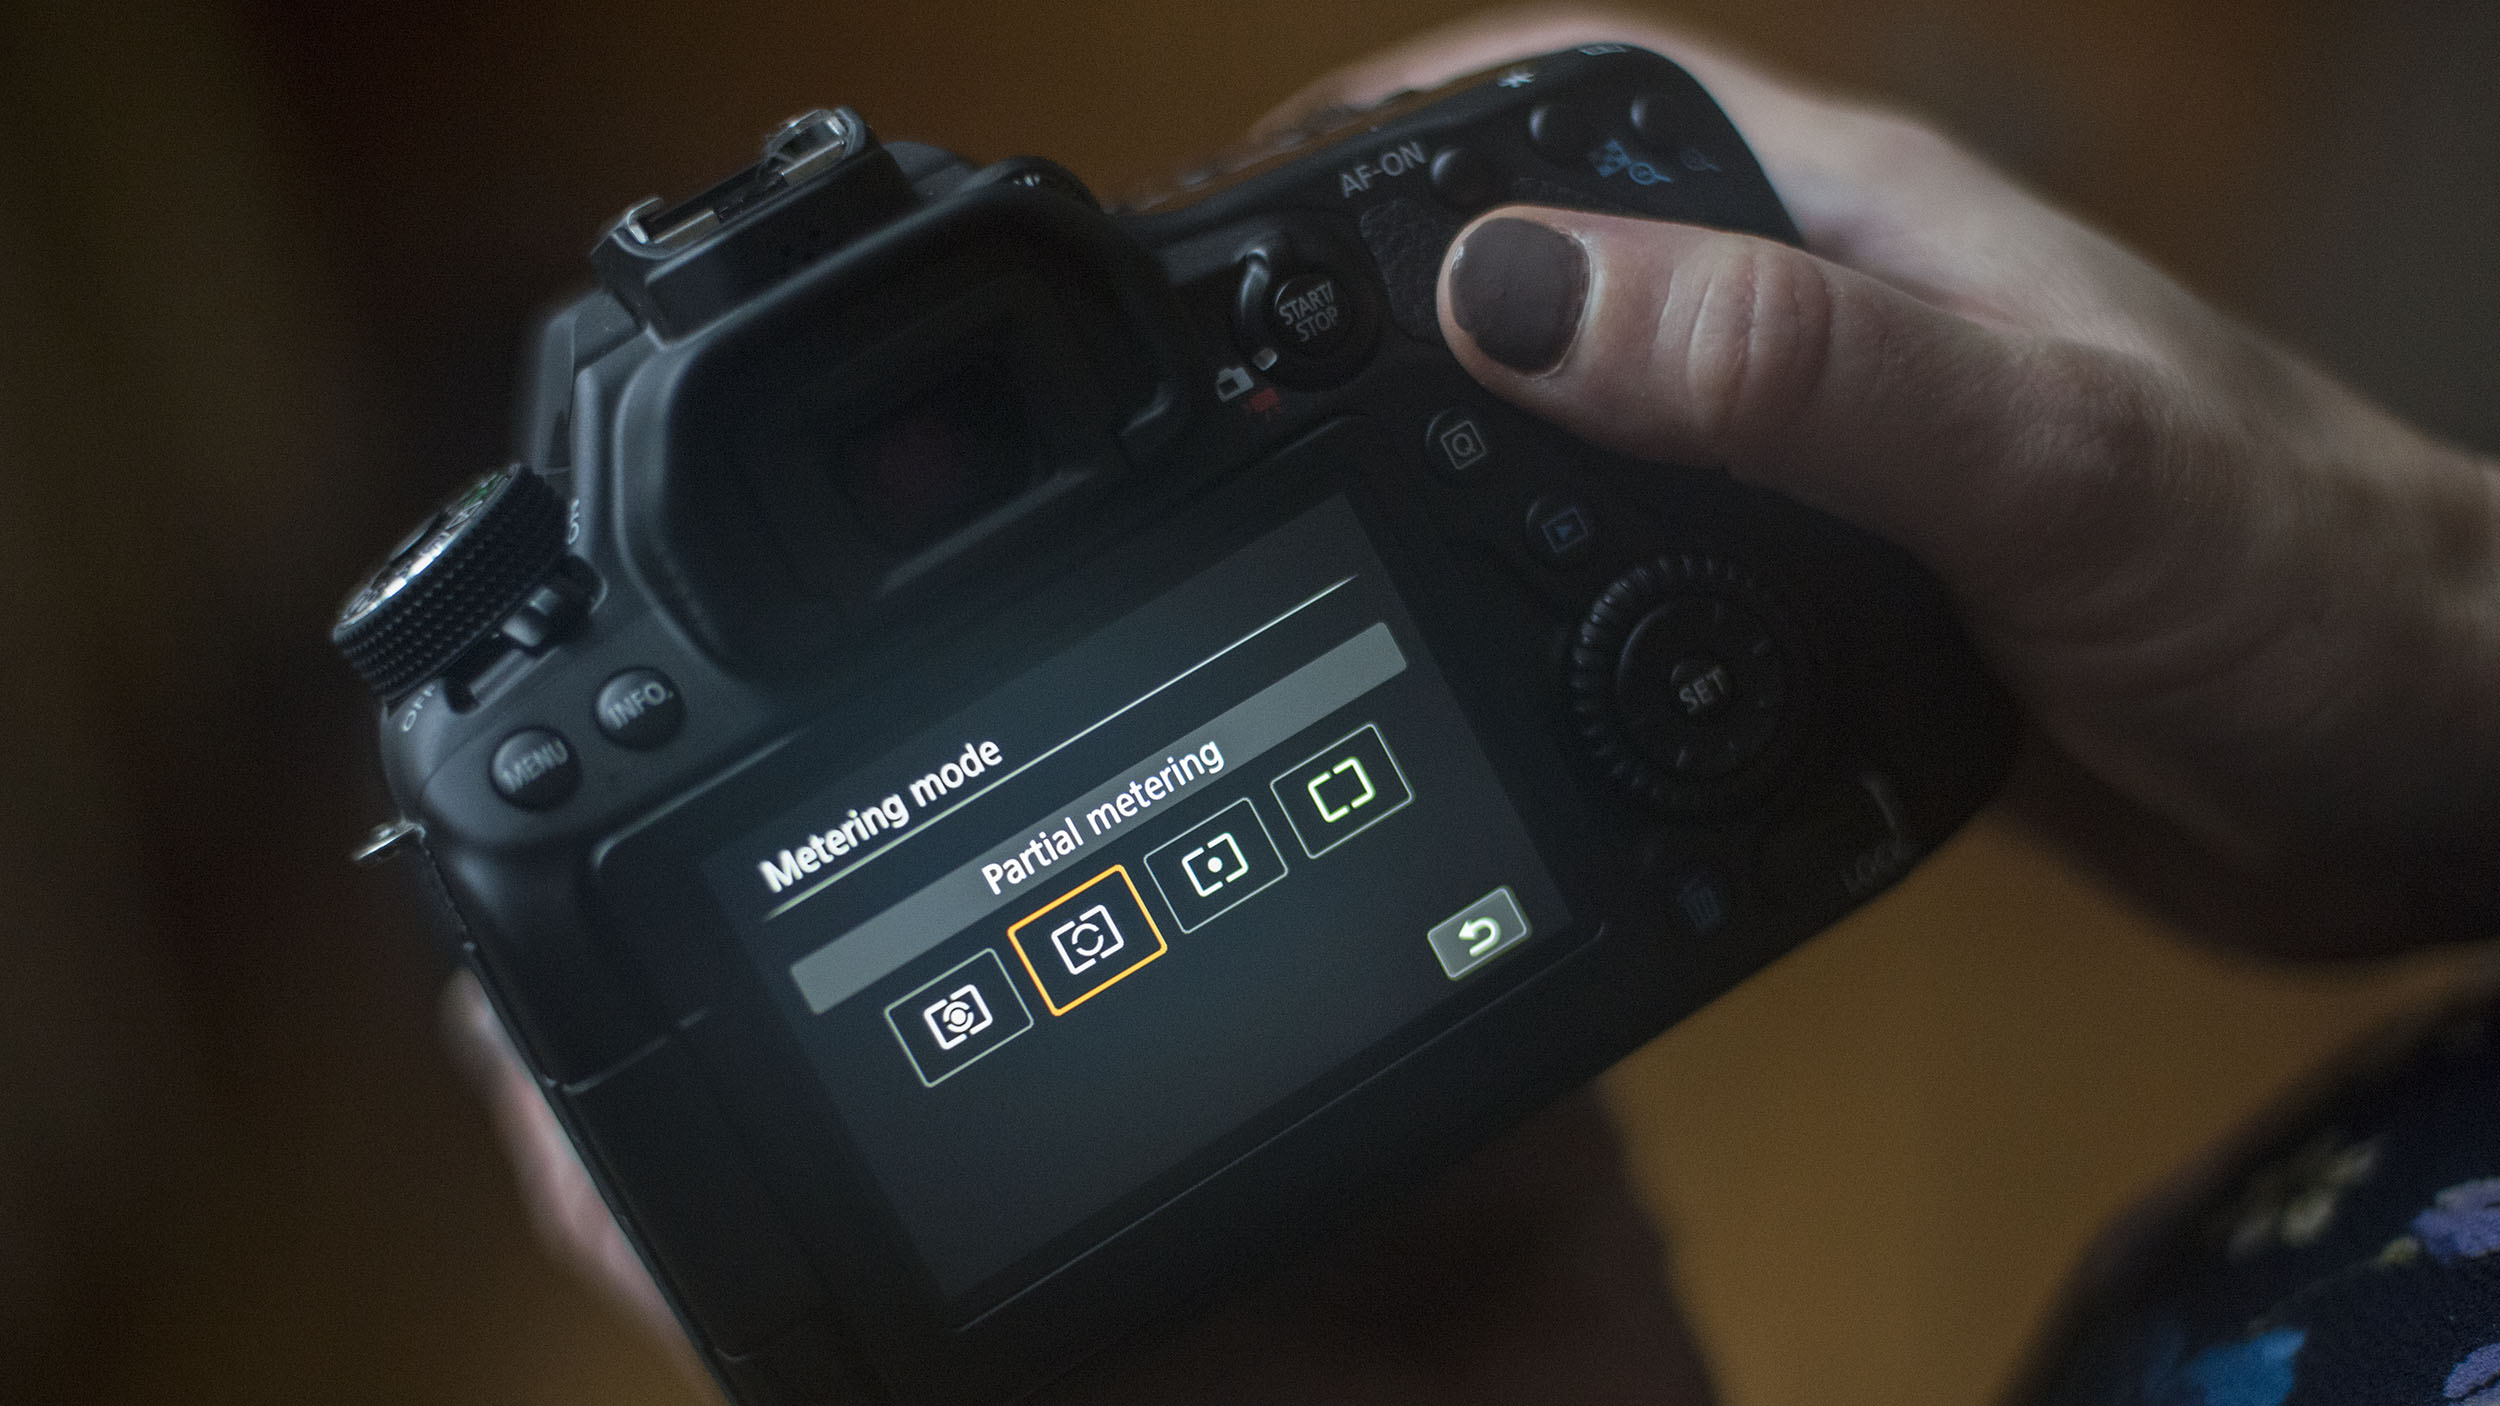
While your camera's multi-zone metering mode (aka Matrix or Evaluative) will deal with most scenes, a Partial or Spot metering pattern can also be invaluable when you're shooting in mostly bright or mostly dark situations, when you can use it to take a reading from a nearby midtone, such as a pavement or grass.
Get daily insight, inspiration and deals in your inbox
Sign up for breaking news, reviews, opinion, top tech deals, and more.
- Learn more: The A to Z of Photography: Metering
Digital camera tips: 28. Assess the contrast
As well as enabling you to take a precise meter reading, you can use your camera's Spot meter to determine the contrast in a scene. Take one reading for the brightest highlight area, and another for the deepest shadow to determine how many stops separate the two readings. If this exceeds your camera's dynamic range, you'll have to accept some clipping in the shadows, highlights, or both, or consider shooting a bracketed sequence for an HDR (High Dynamic Range) shot.
Digital camera tips: 29. Shoot for HDR
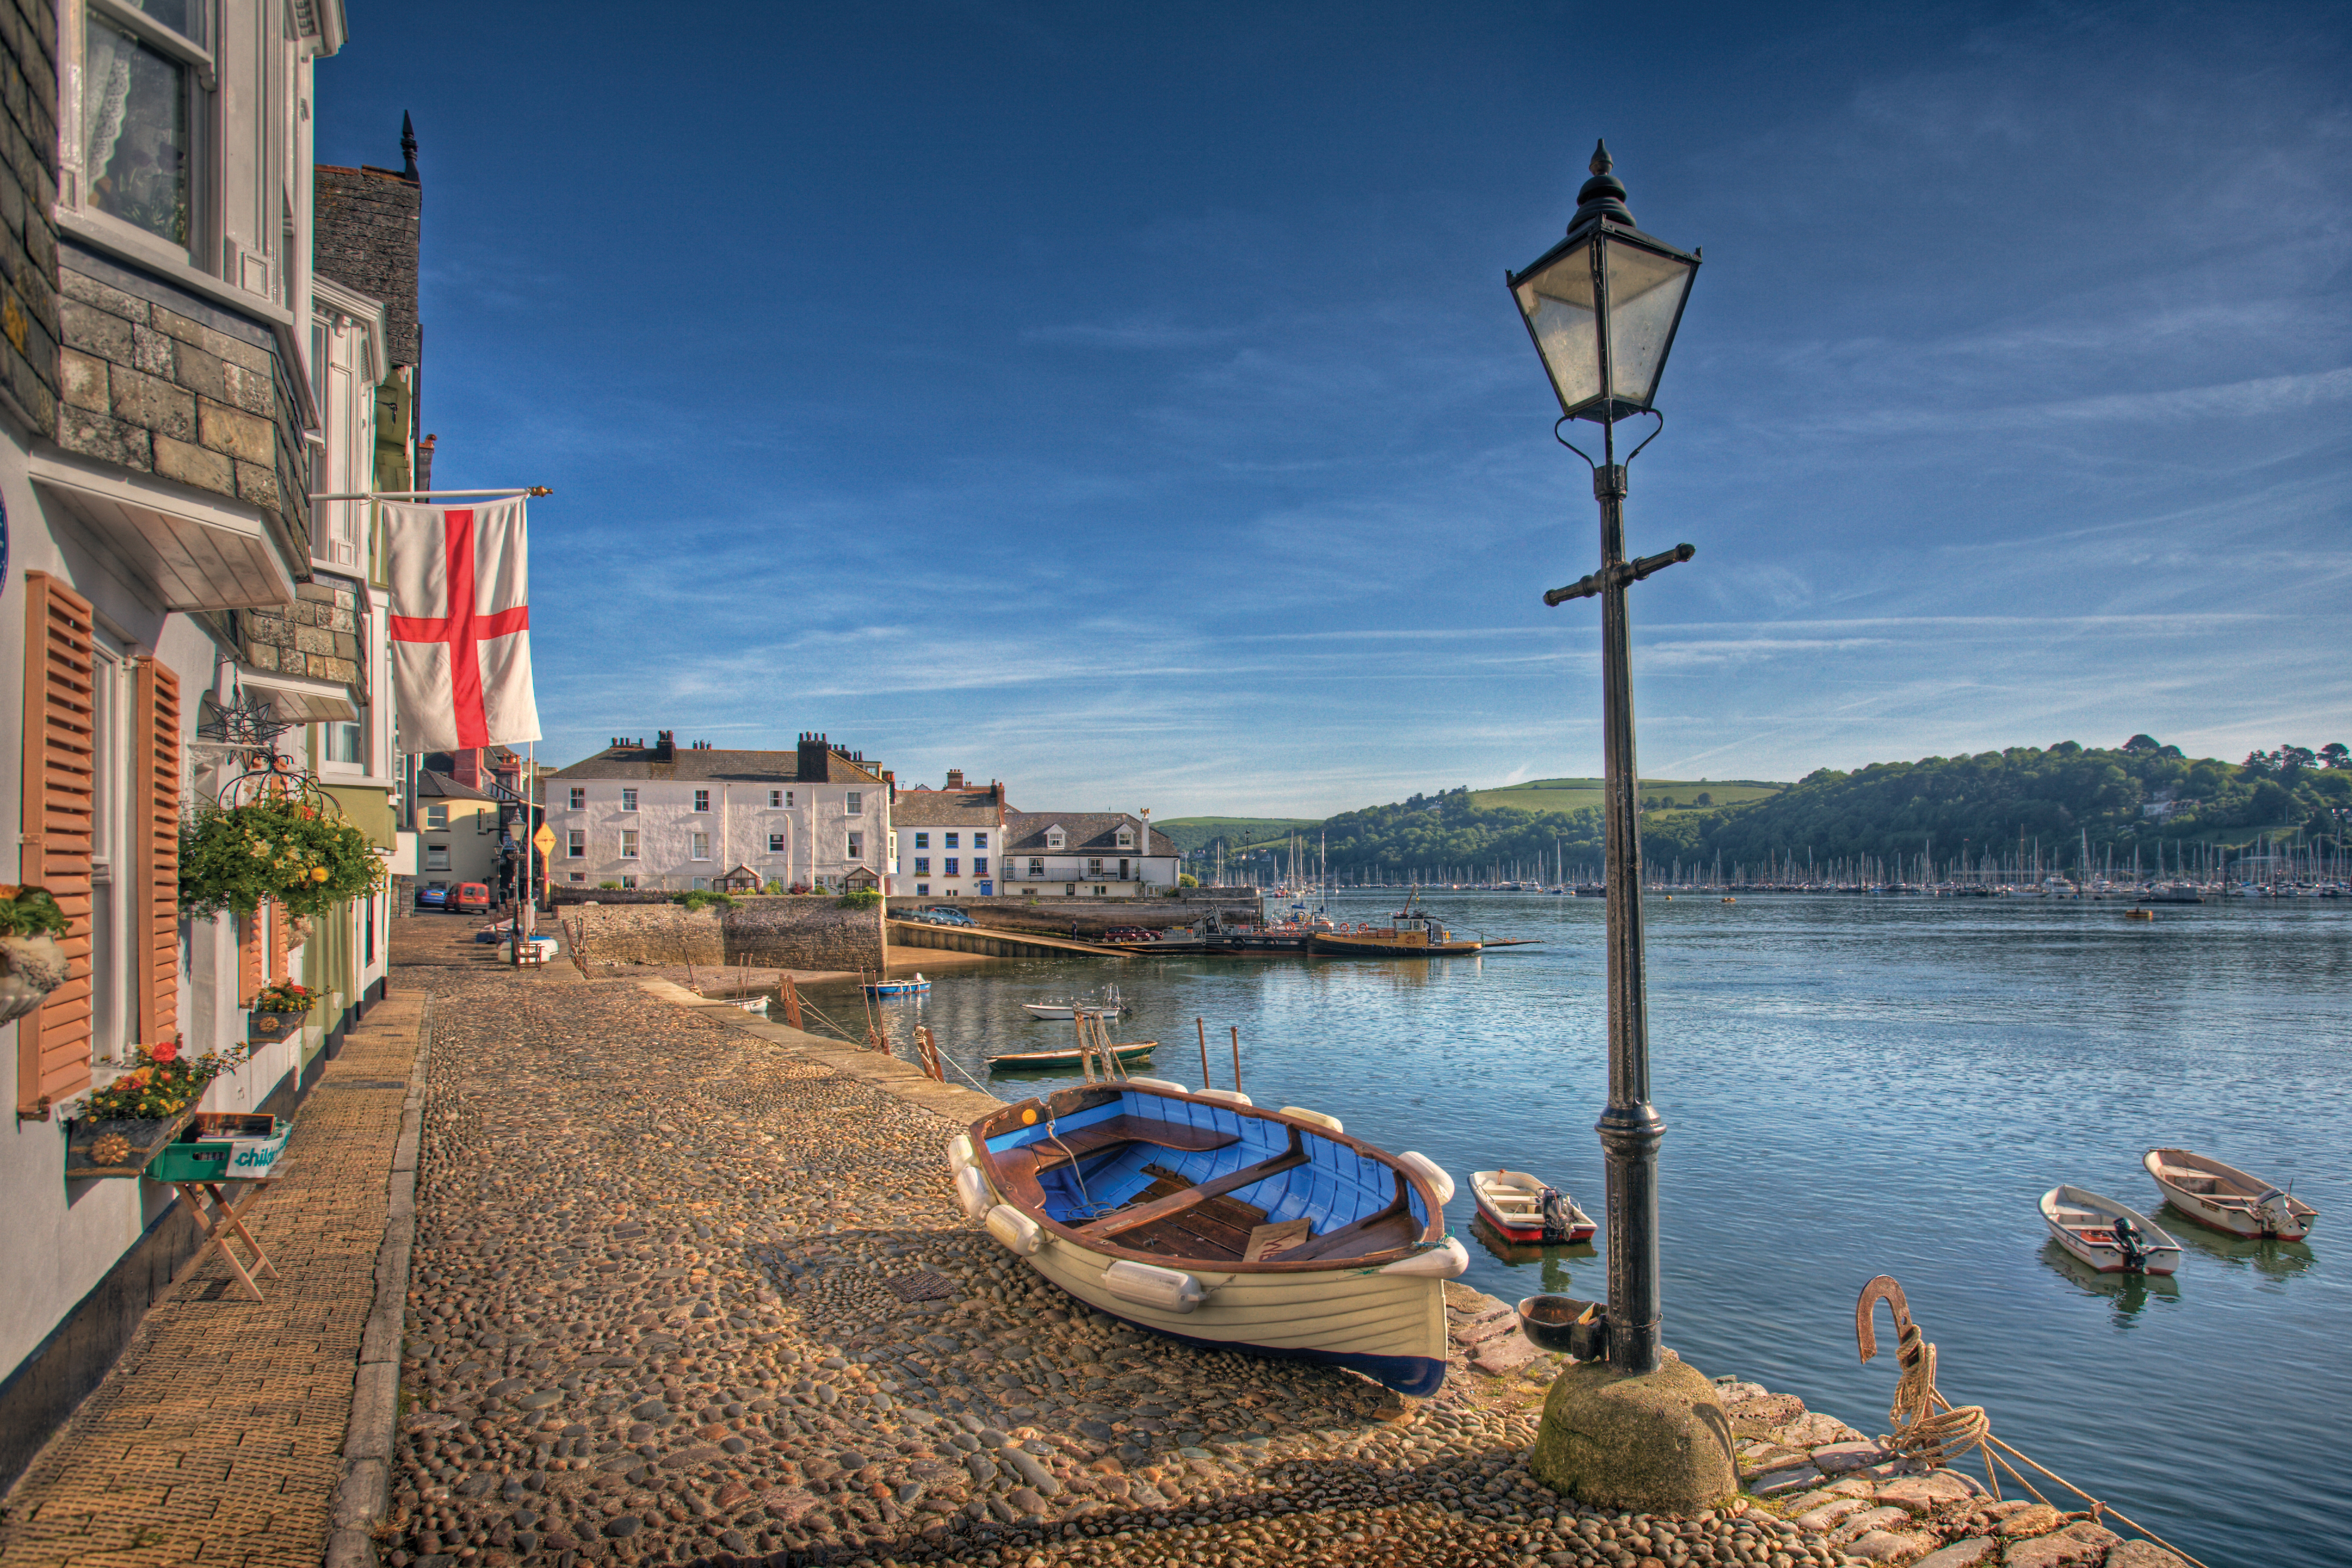
To determine the exposure range for an HDR image, take Spot meter readings from the highlights and the shadows in the scene, with the camera set to Aperture Priority. Switch to Manual, set the aperture, and use your Spot readings as the start and end points of your HDR sequence. Adjust the shutter speed a stop at a time until you have covered the exposure range. The exposures can then be combined in software.
Digital camera tips: 30. Use an ND grad filter to balance exposures
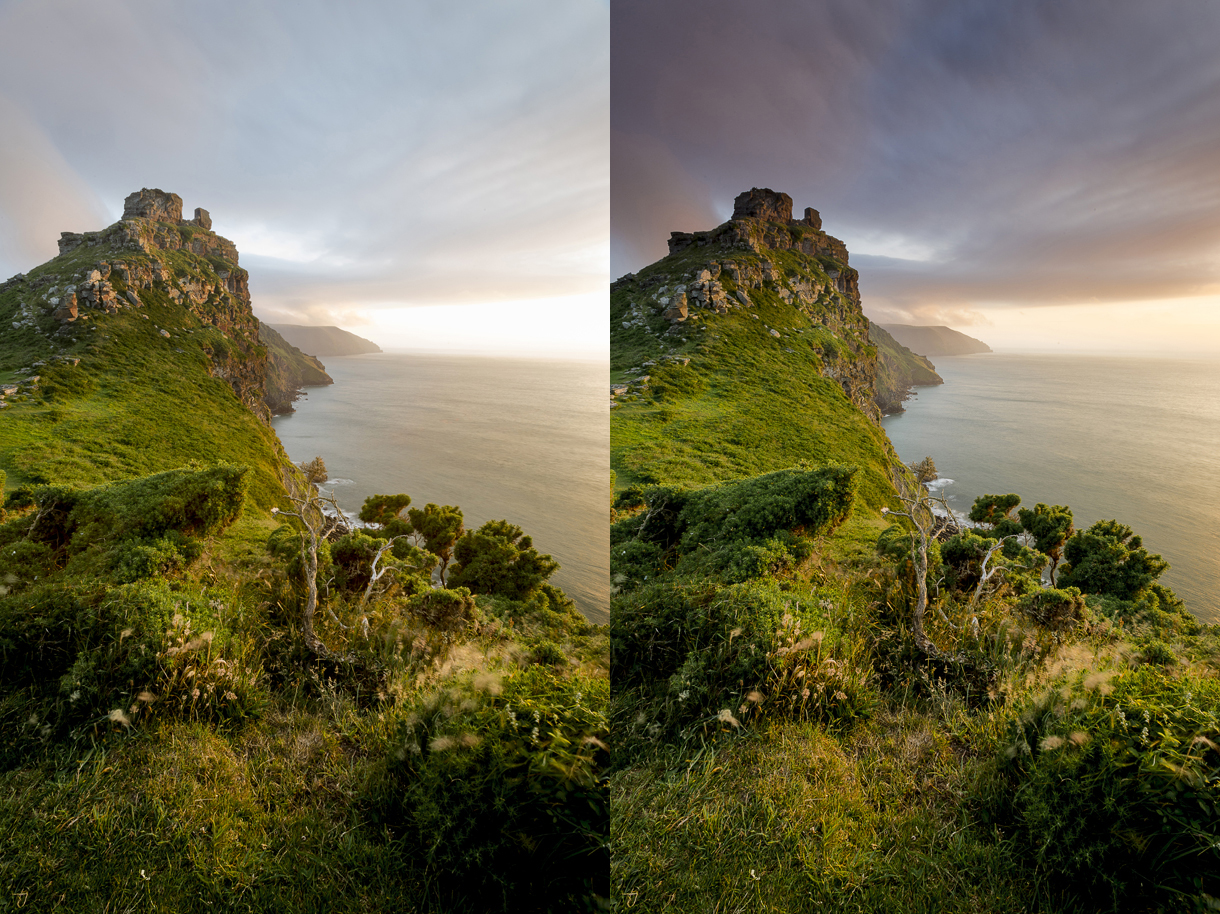
You can banish featureless skies from your landscape shots by using a graduated ND (neutral density) filter to balance the exposure between the sky and land. It's best to have a set of ND grads with different transitions so you're prepared for a variety of conditions. Alternatively, make two exposures - one for the sky and one for the foreground - and then blend them in your photo-editing software.
- Gear guide: Best ND grad filers: 6 top models tested
Digital camera tips: 31. Use a solid ND filter to extend exposure times

Solid ND (neutral density) filters are great if you want to extend your shutter speed, but they can be used to control the aperture as well. A three-stop ND filter would allow you to open the aperture by three stops to get a shallow depth of field, even in bright conditions.
- Gear guide: Best ND filters: 6 top models tested
Digital camera tips: 32. Polarizers
The effect of a polarising filter is impossible to recreate digitally, which makes it the number one filter choice for outdoor photographers looking to cut down reflections or intensify blue skies. Don't skimp on price, or you'll be skimping on quality.
- Gear guide: Best circular polarizing filters
Digital camera tips: 33. Black & white
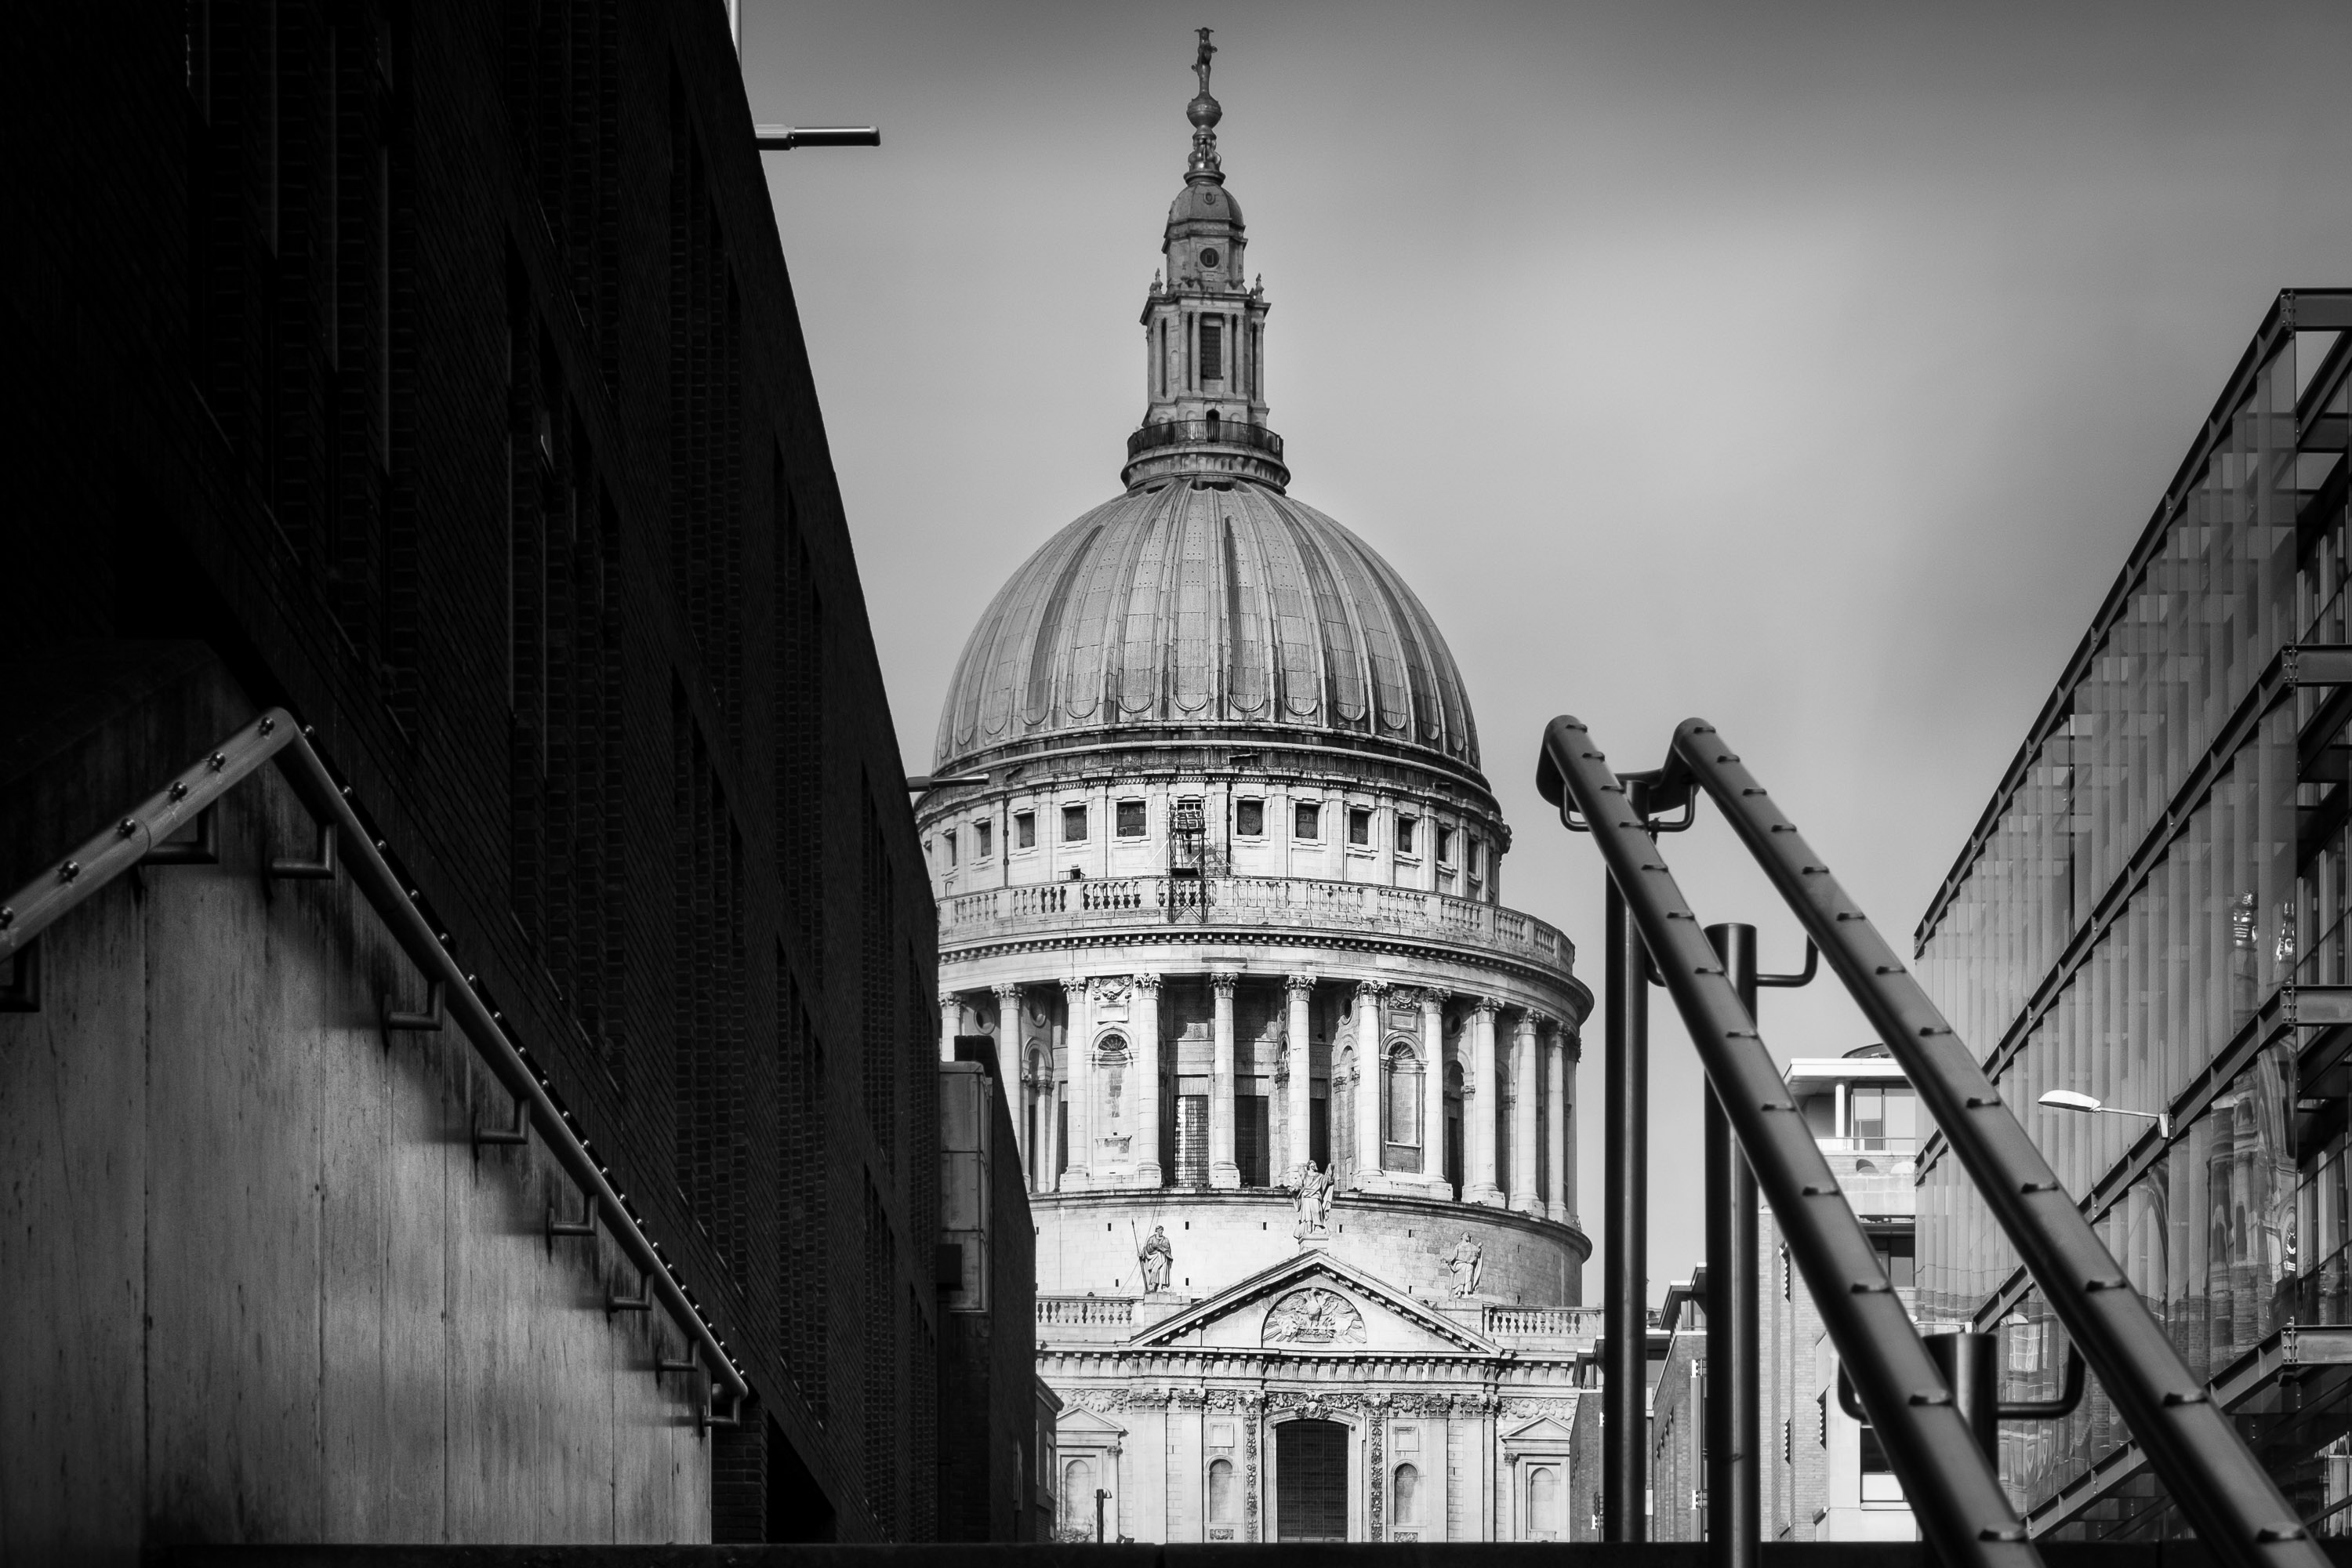
Unless you know that you definitely want to print black-and-white images from your memory card, it's best to shoot in color and then convert to mono later in your image-editing software - it will offer a lot more control than your camera. If you decide to shoot black-and-white JPEGs, don't forget about in-camera filters: red, orange and yellow filters can all add drama to boring skies, while an orange filter will reduce the appearance of freckles and blemishes in portraits.
- Learn more: How to master black and white photography
Digital camera tips: 34. Use a white balance preset
Because they're processed in-camera, you'll want to get the color right for JPEG files at the time of shooting. So use your camera's preset options (Daylight, Shade, Tungsten, etc) instead of relying on the auto option to get it right. Although Auto White Balance is often considered a little 'basic', if you're shooting raw files there's no reason to choose anything else - you can set the white balance when you process your images.
Digital camera tips: 35. White balance bracketing
If you're shooting JPEG images and your camera allows it, try activating white balance bracketing. JPEG files take up minimal space on your memory card and it could save you hours on your computer spent correcting a slight unwanted color cast.
Digital camera tips: 36. Using the wrong white balance
Deliberately setting the wrong white balance can add an overall color cast to your images - blue if you shoot in daylight with a Tungsten white balance, and a warm orange if you shoot under tungsten lighting with a Daylight white balance. During sunsets, an auto white balance setting can try and correct for the overall warm tone, which is exactly what you're trying to capture. 'Trick' your camera by using the Cloudy preset, which is designed to warm up cool scenes.
Digital camera tips: 37. Shoot a color target
If you want your colors to be consistent from shot to shot, include a color target in the first frame of a sequence. When it comes to processing, set the grey point (and black and white points) using the target reference frame, and your software will match the subsequent batch of images.
Digital camera tips: 38. Fill-in flash
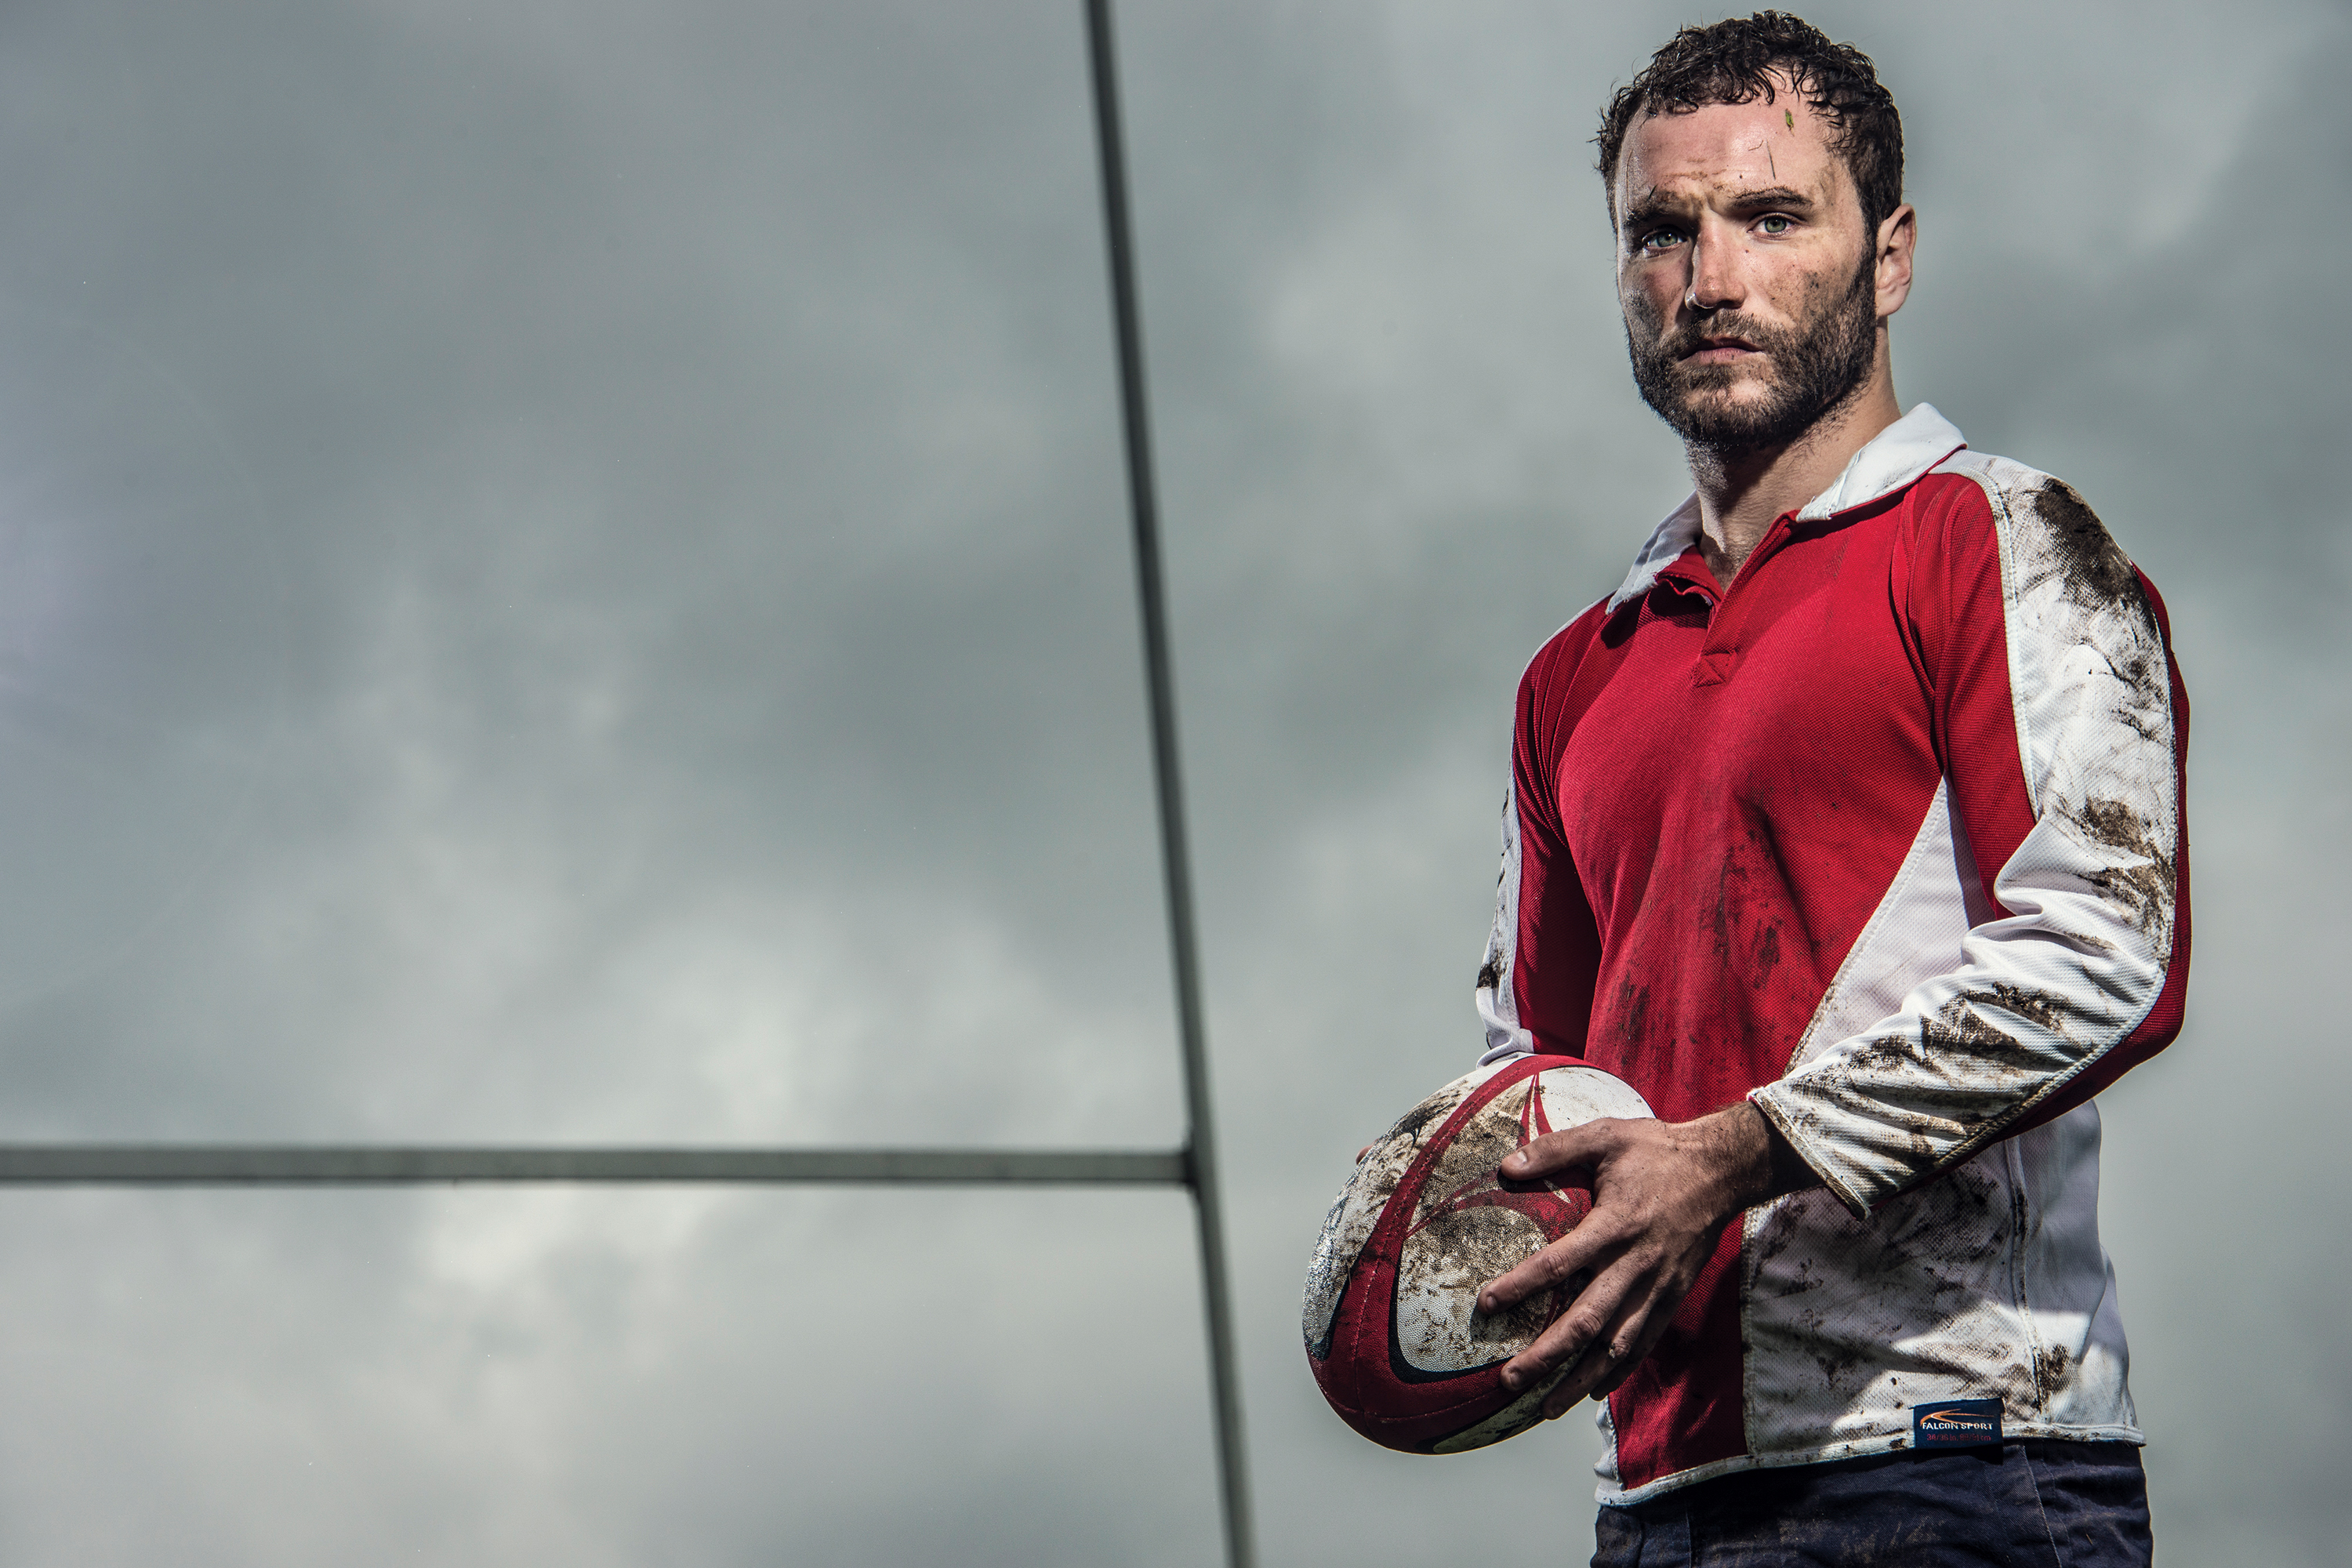
Fill-in flash is great for lighting shadows, but it can also be used to create quite dramatic images. Use your camera's Exposure Compensation to reduce the overall exposure by 1/2 a stop, and then increase the Flash Exposure Compensation to +1/2 to balance the exposure. (Some cameras enable you to adjust the exposure for the ambient light without affecting the flash exposure, and in this case you wouldn't need to dial in +1/2 for the flash.) The result is a flash-dominated shot where a well-lit subject stands out against a subtly darkened background.
Digital camera tips: 39. Get the flash off-camera
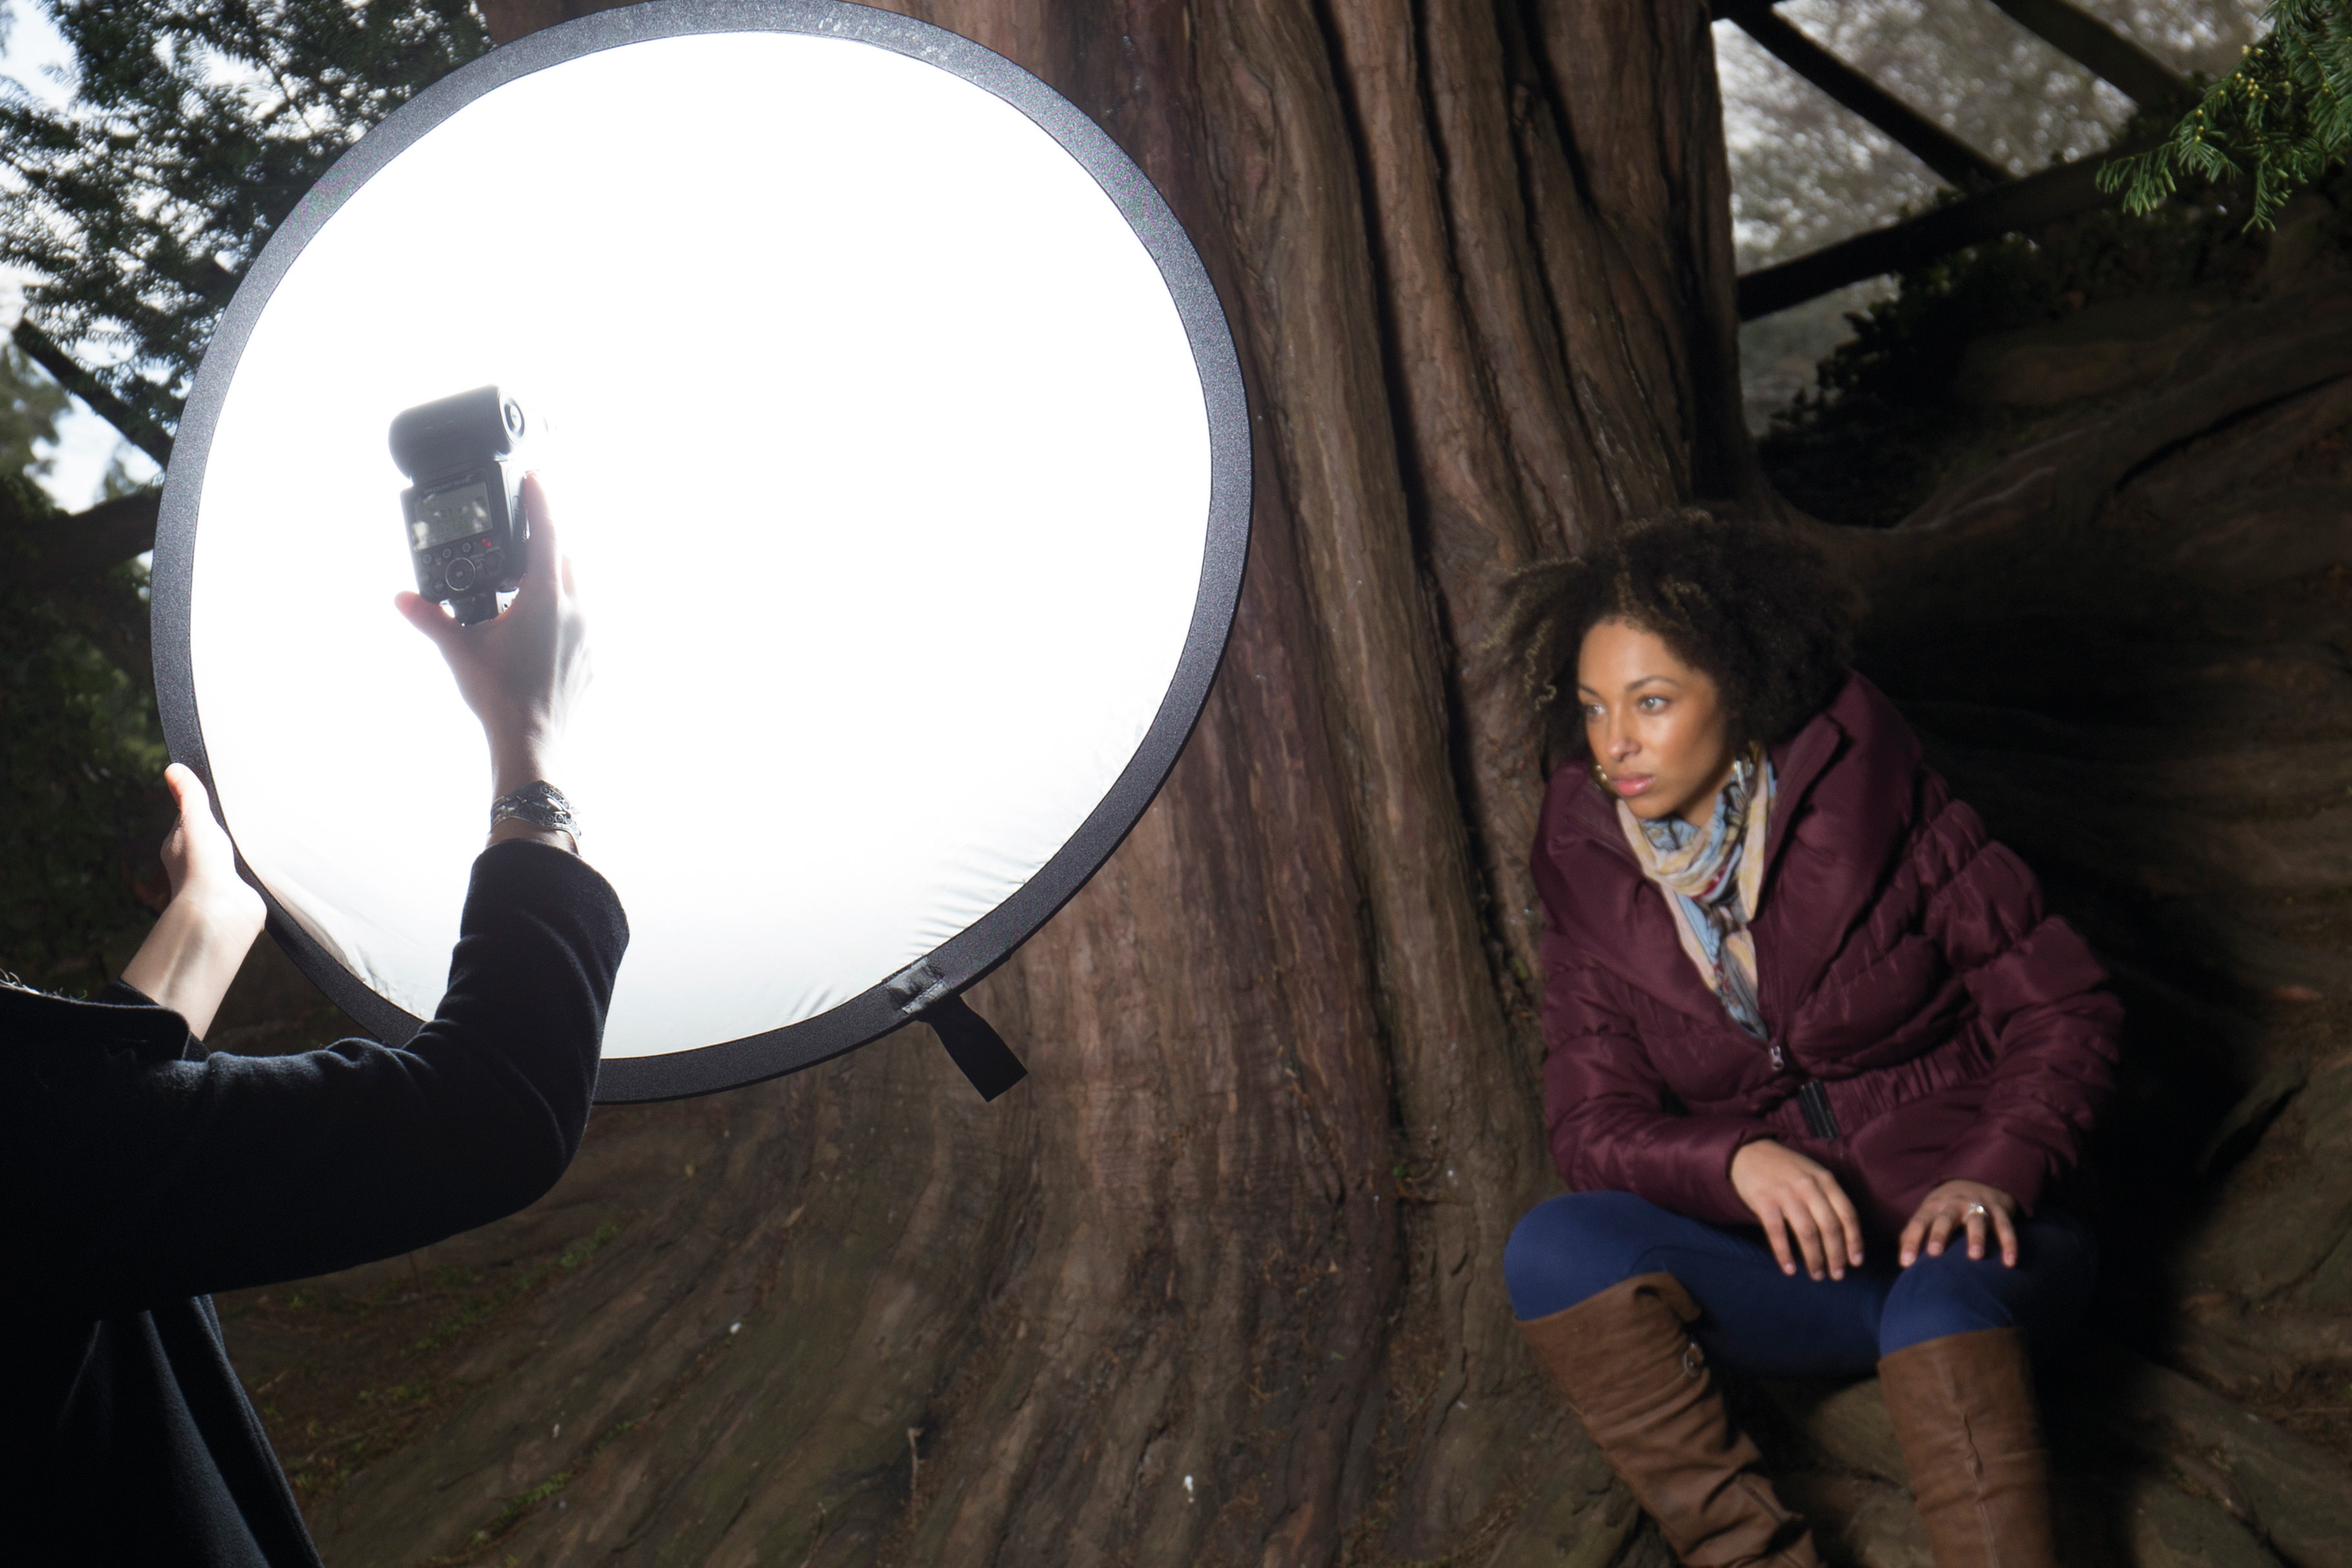
Getting your flash away from your camera will transform your portraits, especially if you use a dedicated flash that can be controlled wirelessly by the camera, and reflectors to reduce any harsh shadows.
Digital camera tips: 40. High speed flash
The duration of a flash is much shorter than your DSLR's exposure times, which allows it to 'freeze' high-speed events. Water drops are the easiest place to start, and all you need is a dark room, a flash, and a whole heap of patience.
Digital camera tips: 41. Changing lenses
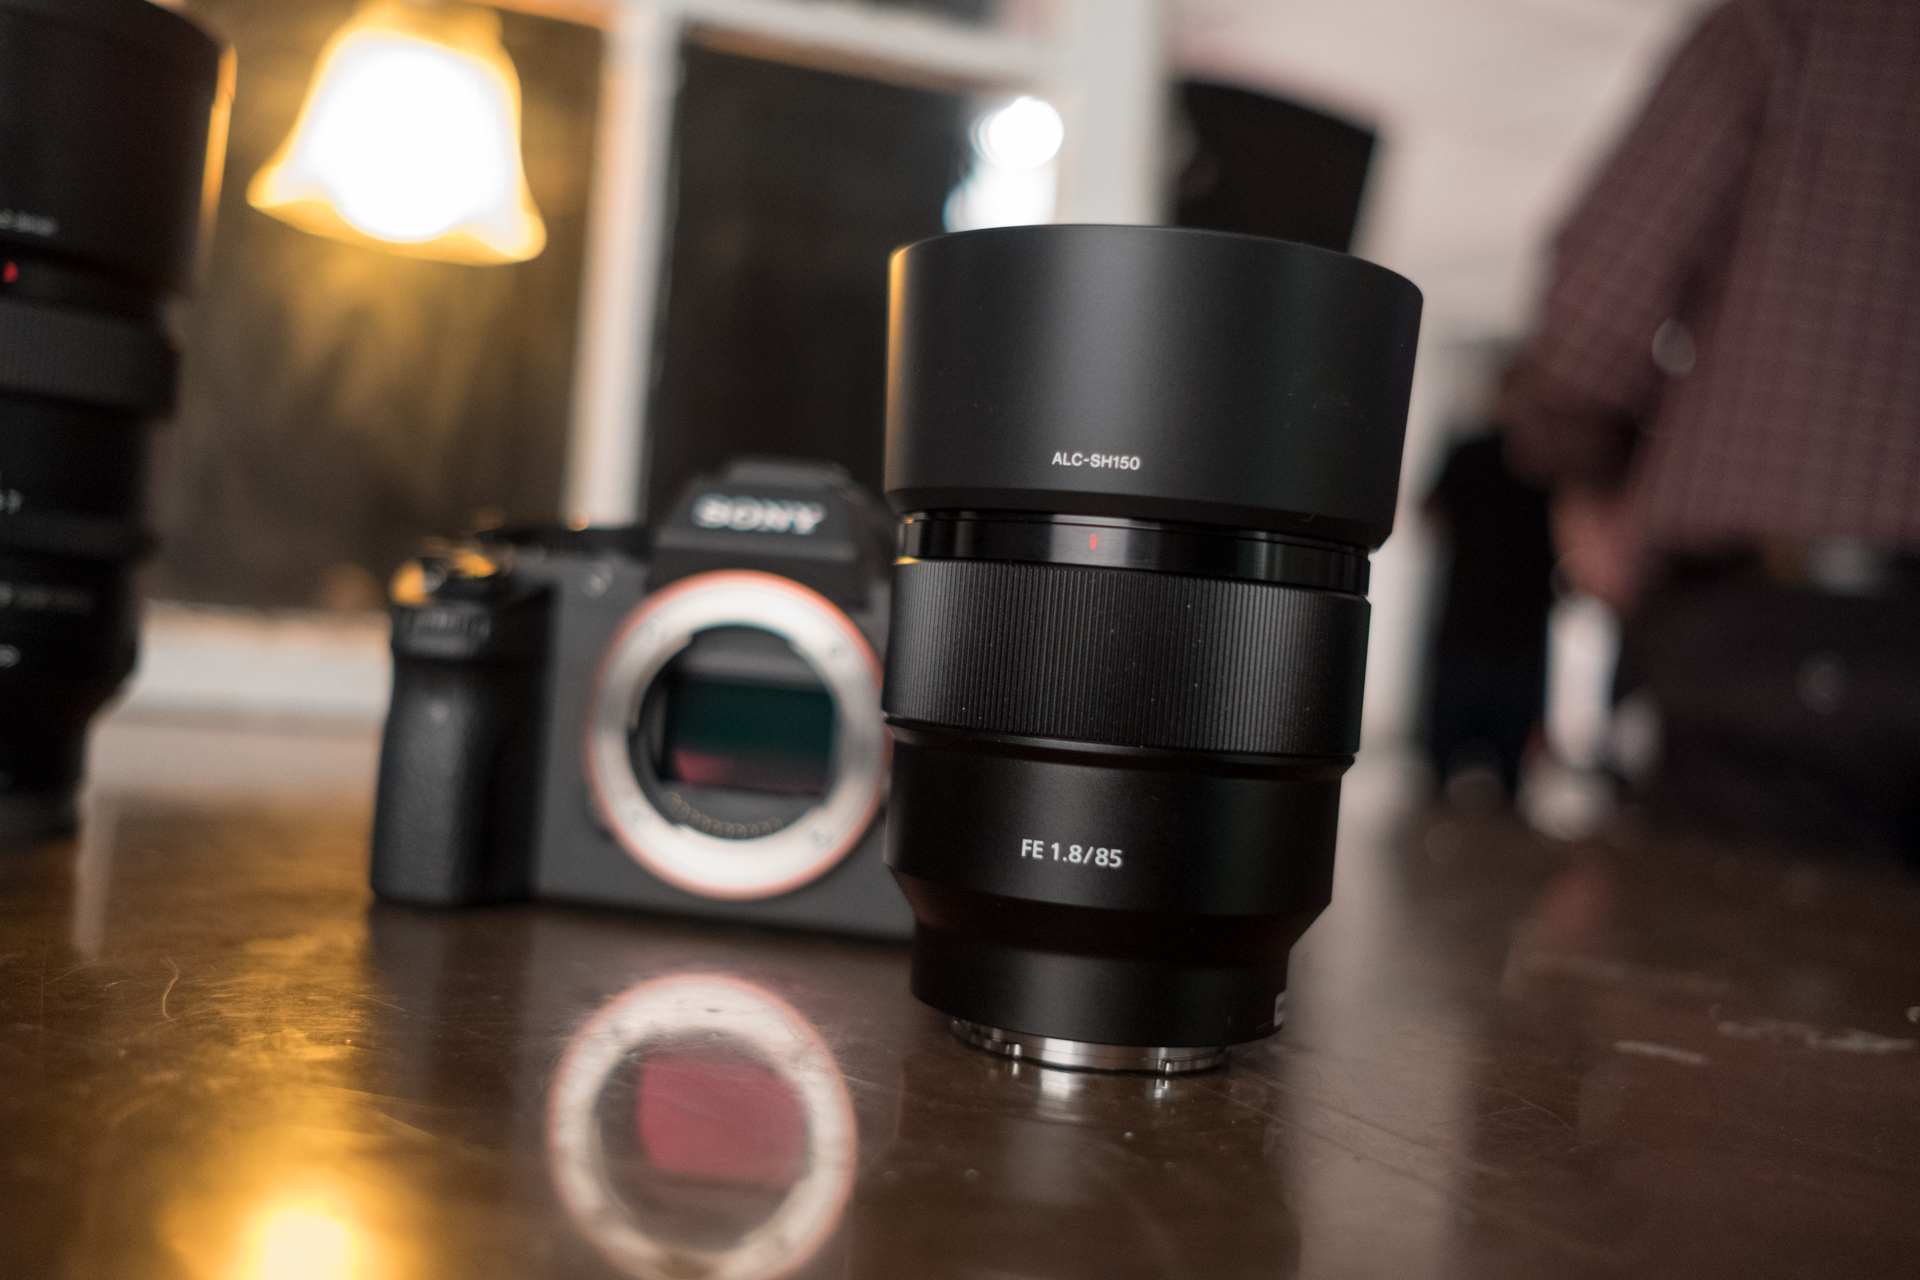
So much has been said about 'dust bunnies' (small particles of dust that can land on your camera's sensor and cause dots in images) that many photographers seem paranoid about changing lenses - but that's one of the main attractions of DSLR and mirrorless photography! There are some simple precautions to take though.
Always switch the camera off when changing lenses, as this removes any static charge from the sensor which can attract dust particles. Shield the camera from the wind and weather and make sure you have the replacement lens ready to fit. Finally, keep the camera's lens opening pointing downwards when changing lenses, to minimise the risk of anything falling into it.
- Learn more: 9 things you should know about prime lenses
Phil Hall is an experienced writer and editor having worked on some of the largest photography magazines in the UK, and now edit the photography channel of TechRadar, the UK's biggest tech website and one of the largest in the world. He has also worked on numerous commercial projects, including working with manufacturers like Nikon and Fujifilm on bespoke printed and online camera guides, as well as writing technique blogs and copy for the John Lewis Technology guide.
