4. Festive food
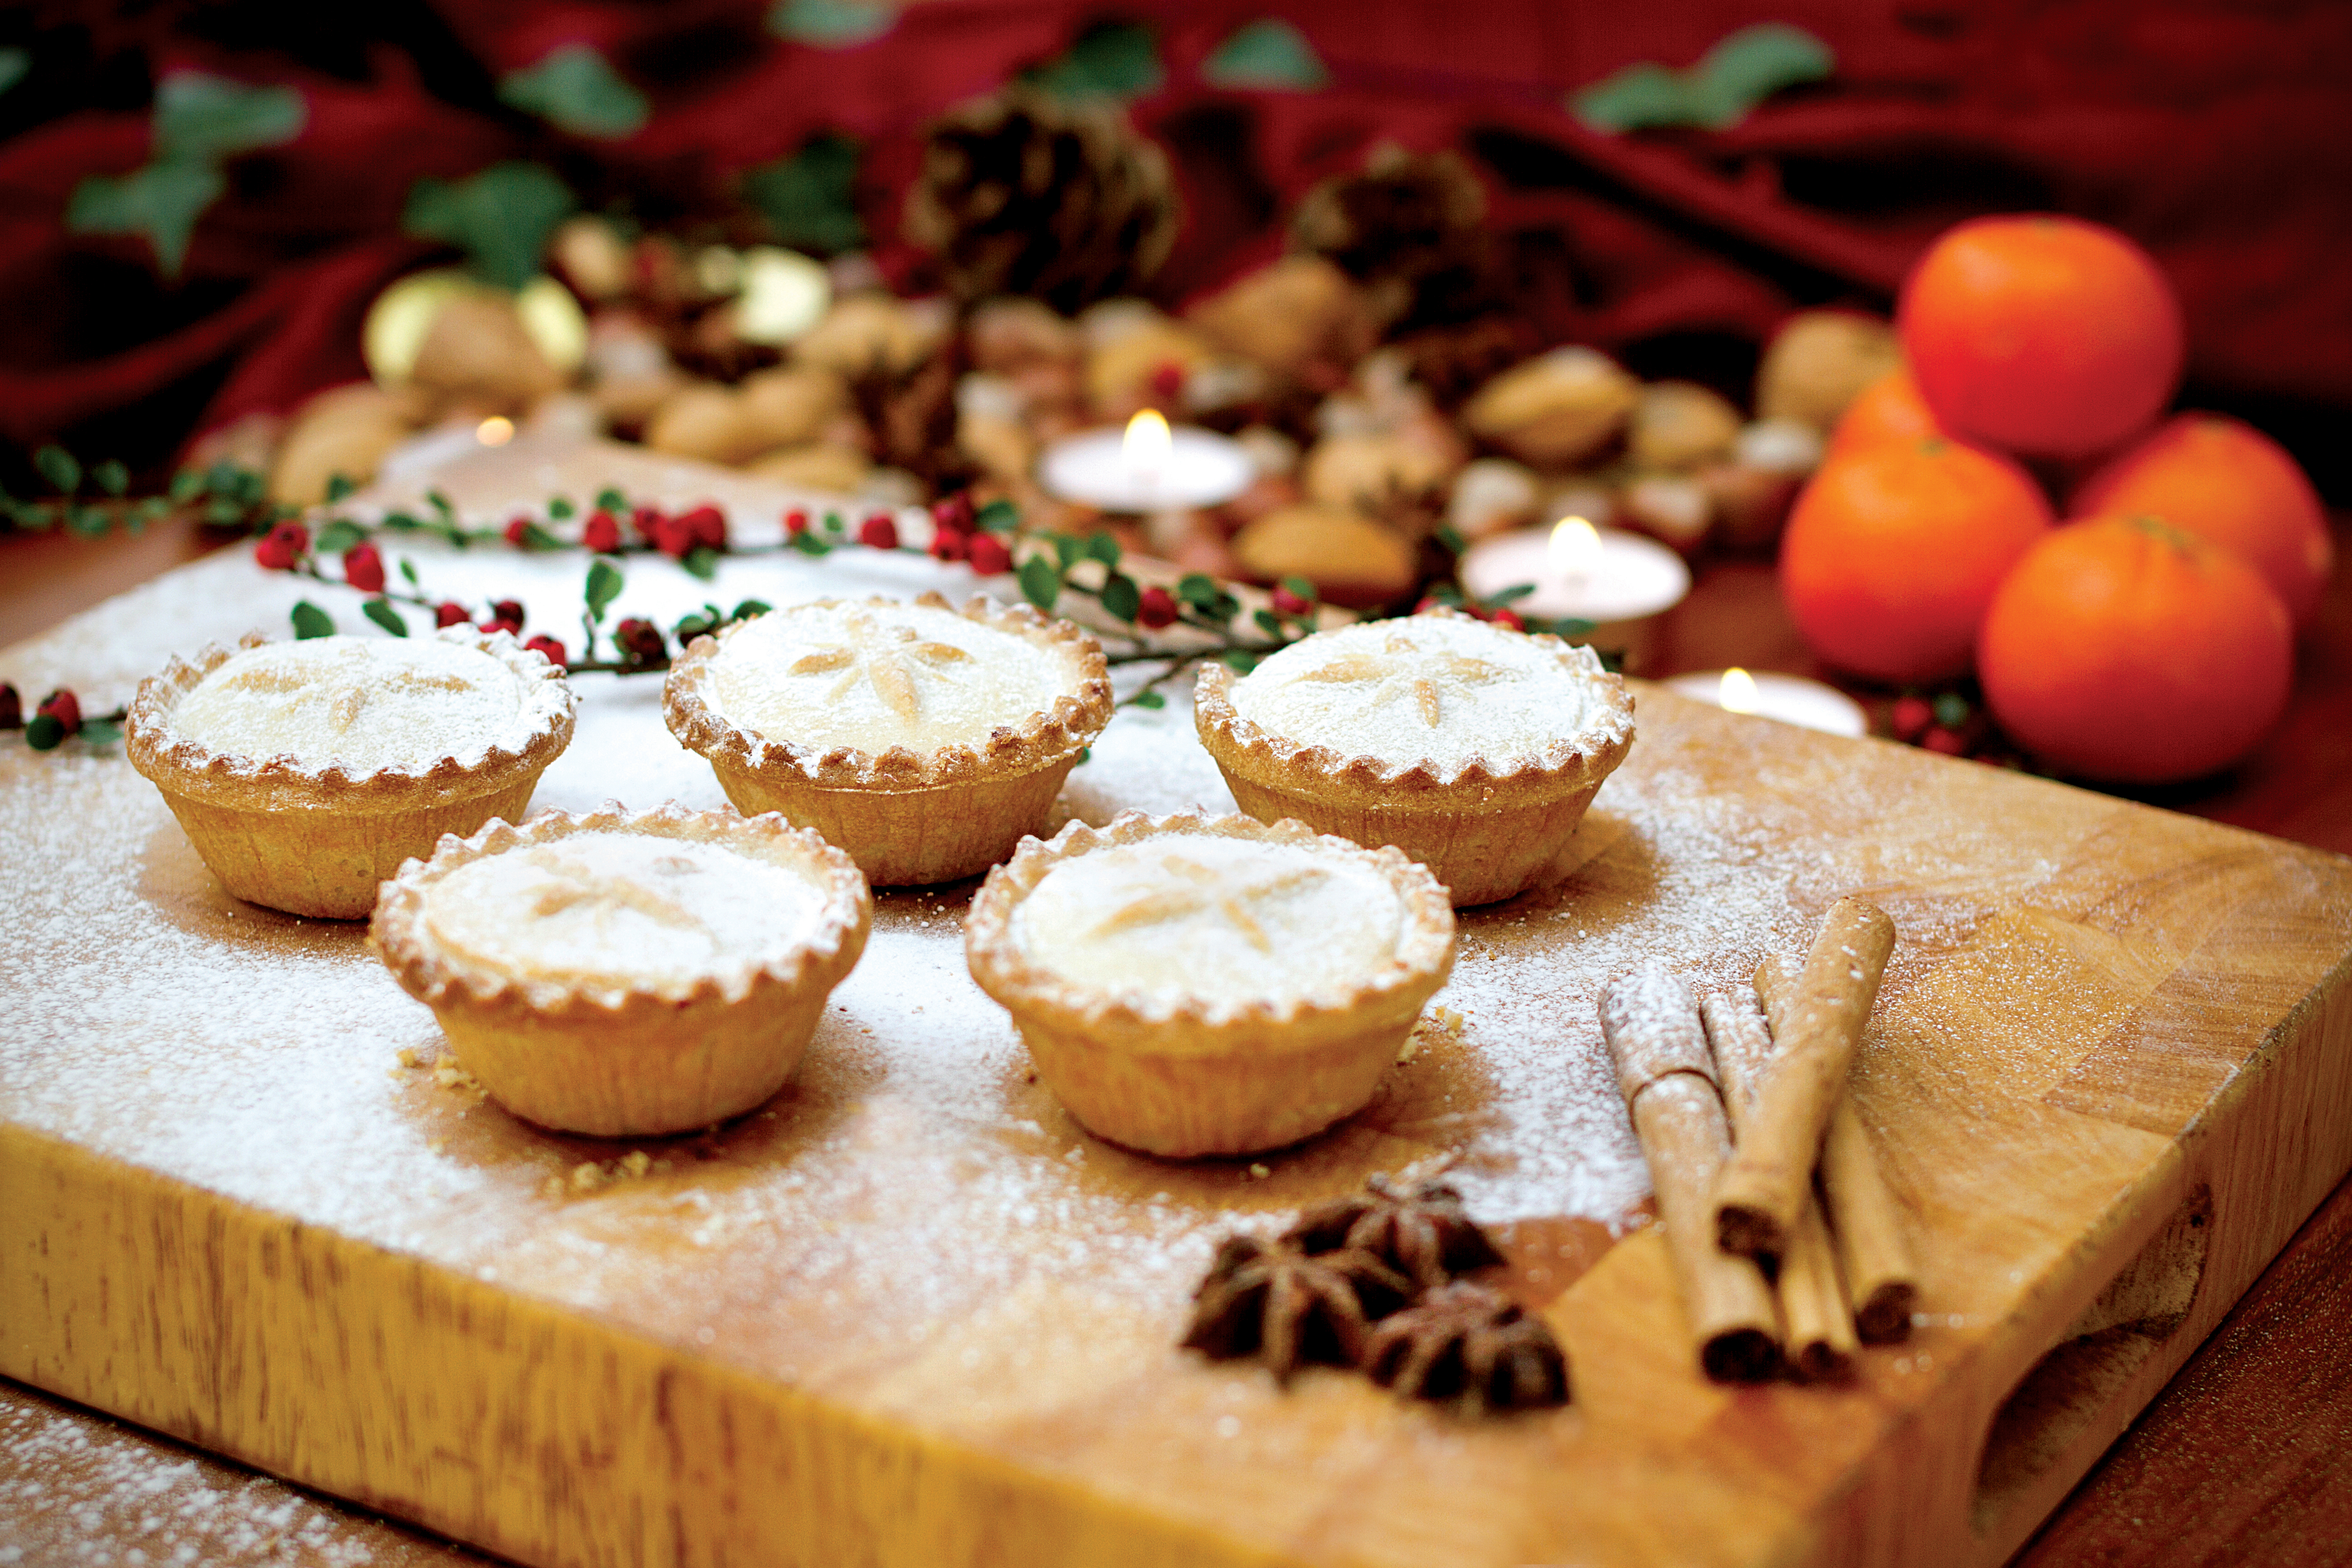
One of the best things about Christmas is the amount of colourful festive food that’s on offer; it doesn’t just taste good, it looks good too! If you’re a photographer who’s also a food lover, food photography can be great fun, and even more so at this time of year. And you don’t need any expensive specialist kit – you can easily put together a simple setup at home.
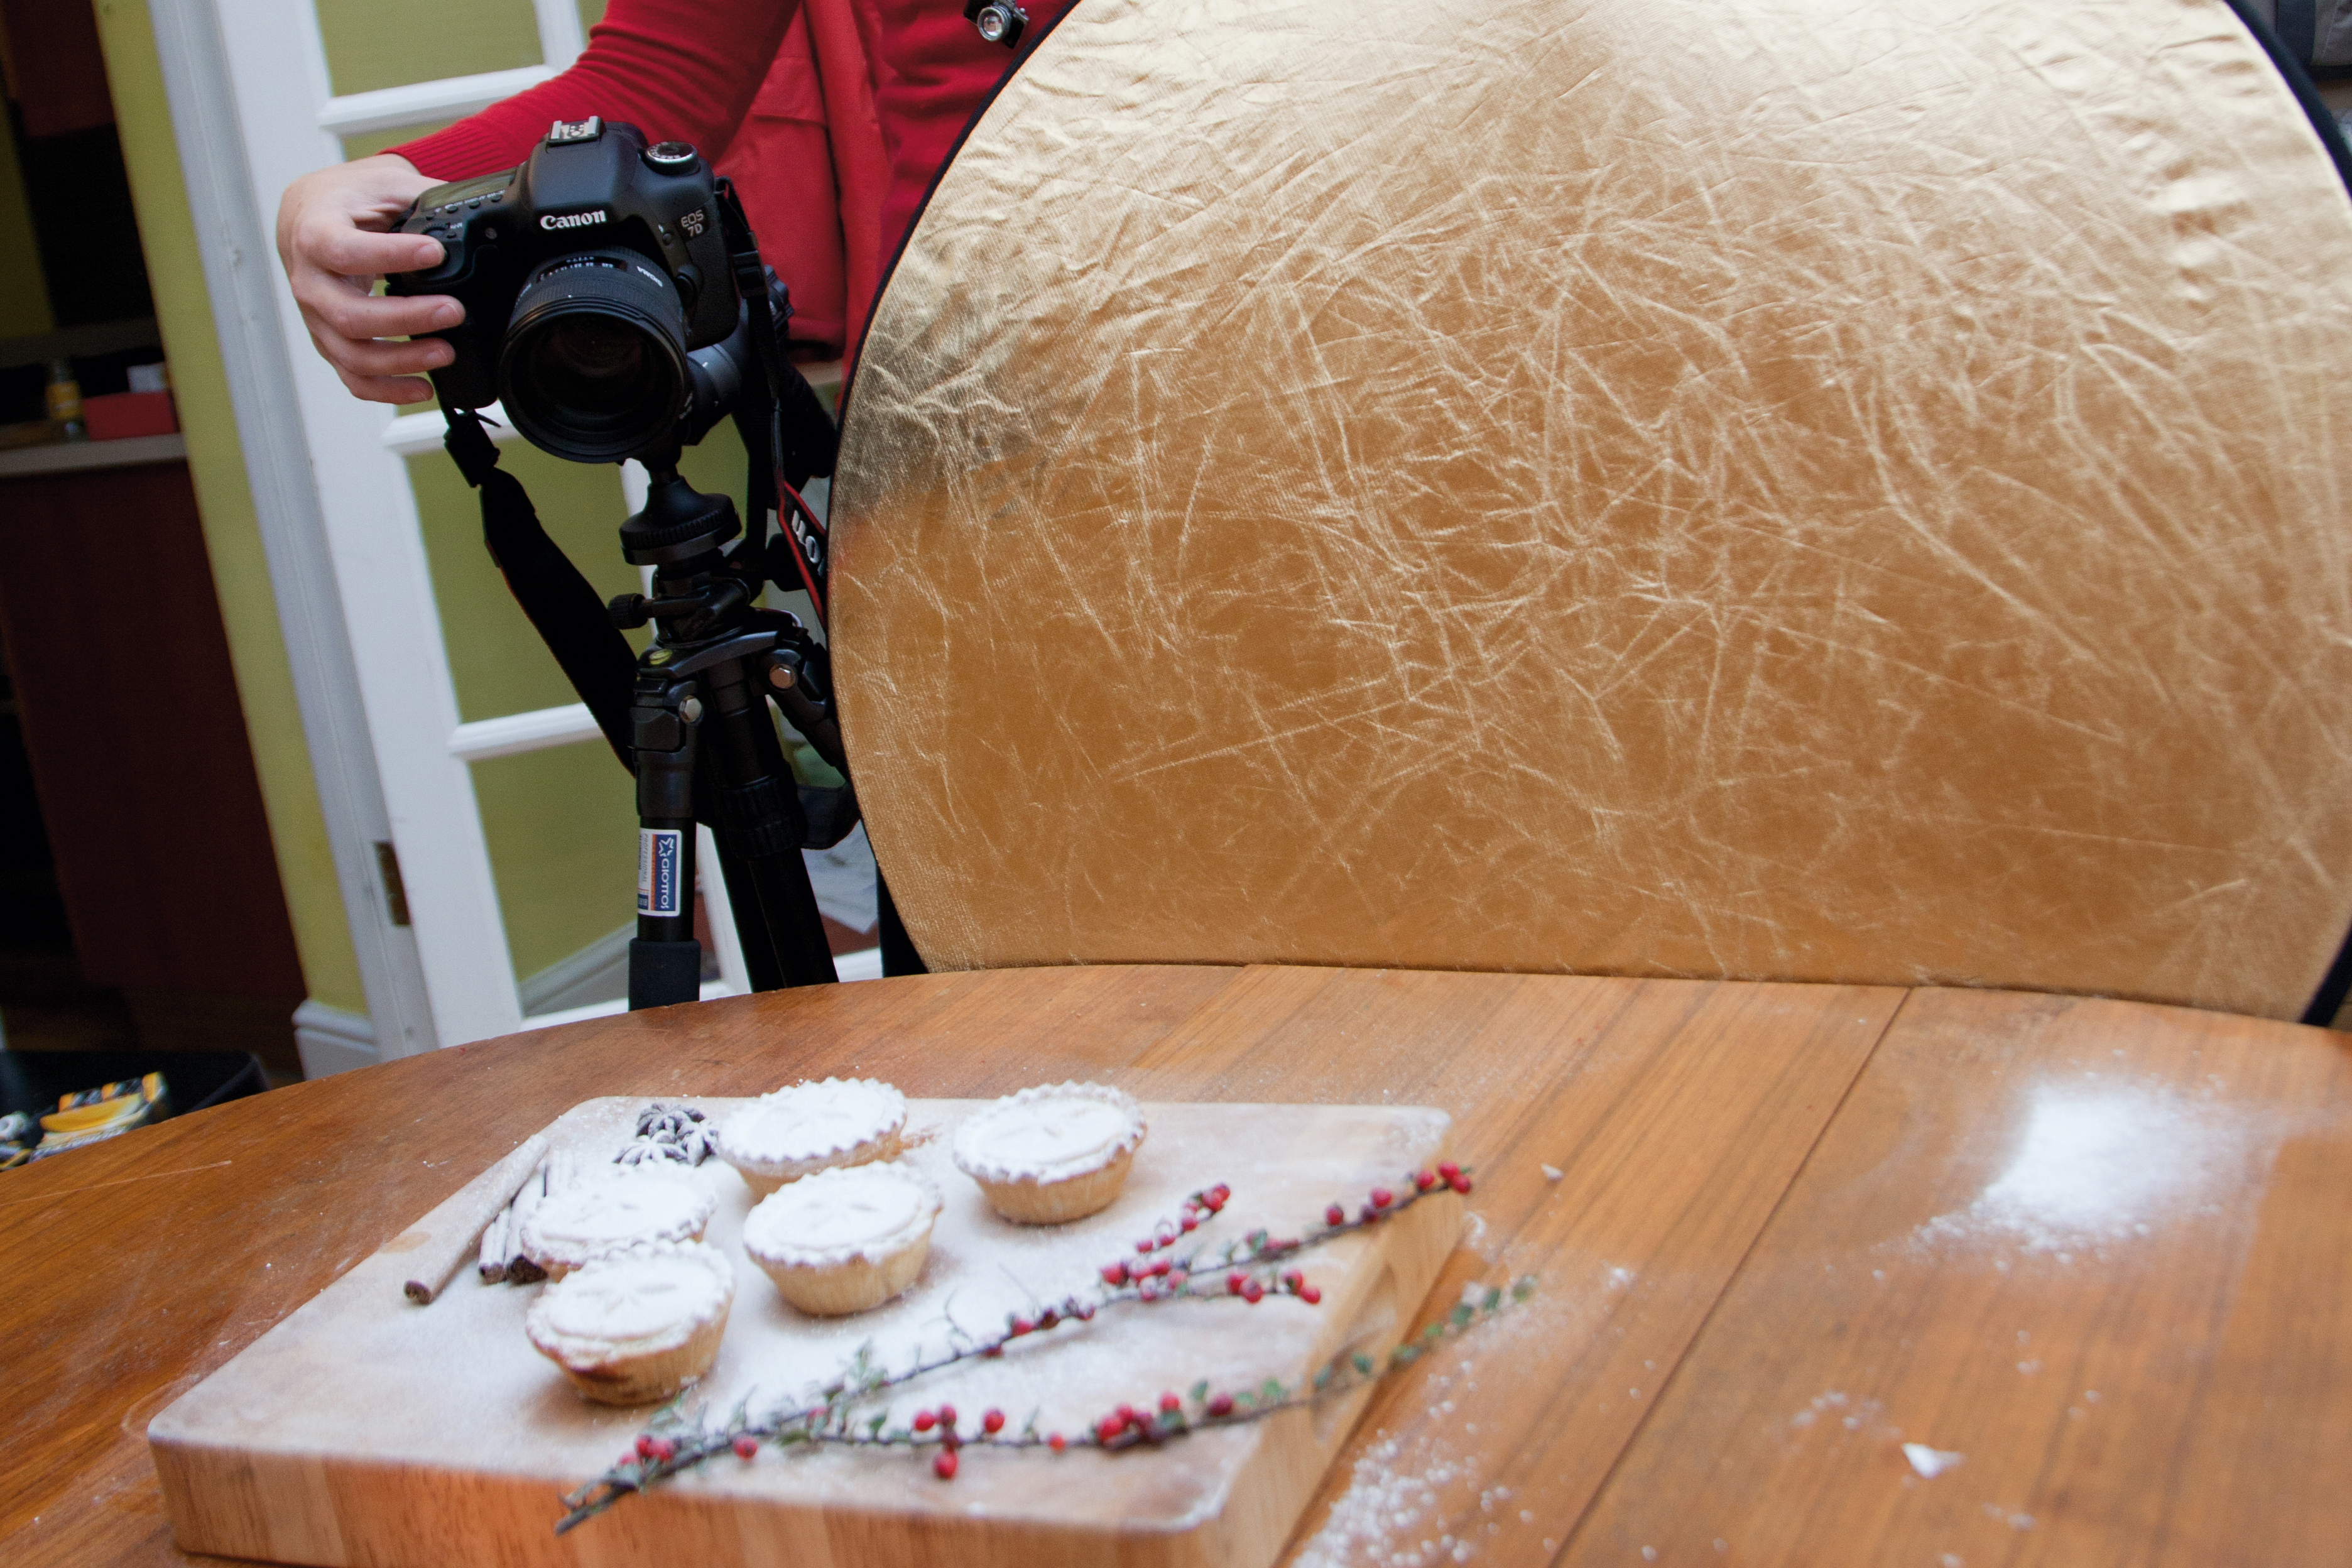
For the best results you’ll want to use natural light and a reflector. Reflectors enable you to bounce natural light onto subjects to bring out detail in shadow areas, and they come in a variety of colours – we’re using a gold reflector to produce lovely warm tones for our shoot. You can pick up a reflector for around £15/$15, but if you don’t have one you can wrap tinfoil or gold wrapping paper around some cardboard.
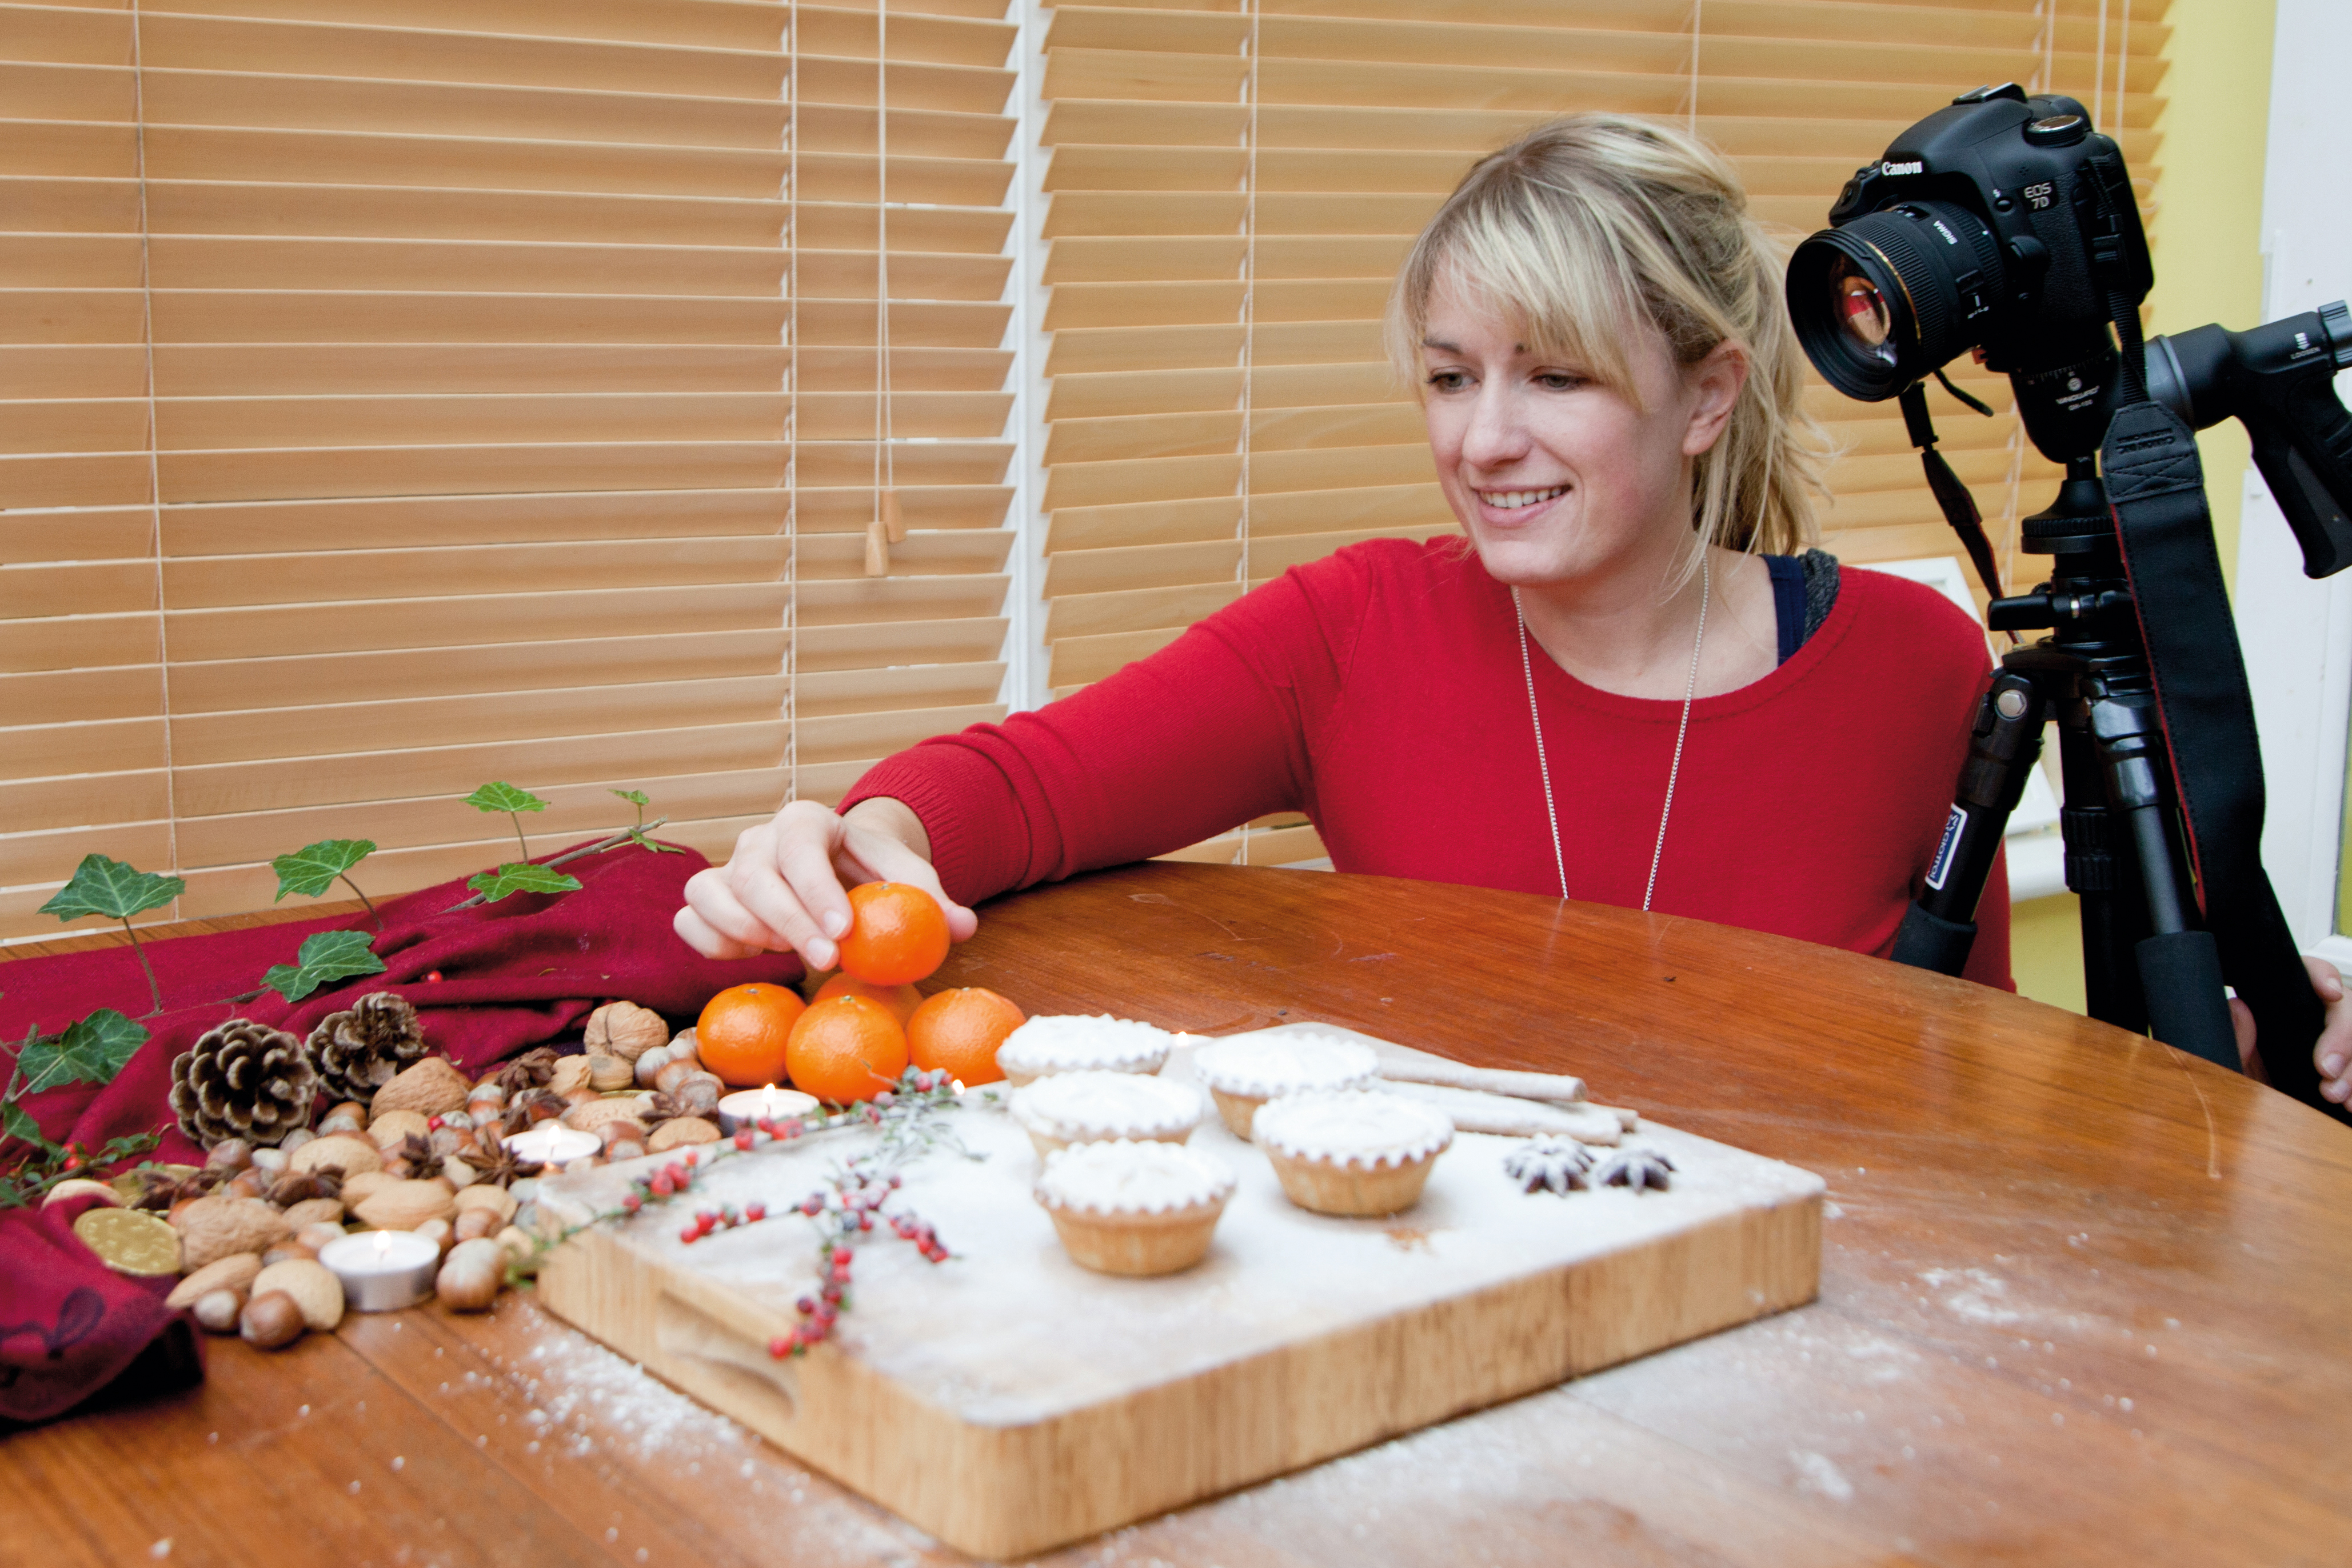
We’ve selected some mince pies as our main seasonal subject, but the same principles apply to whatever food you’re shooting. The most important thing is to spend time on the small details, and keep checking the frame for distracting elements. Take plenty of shots, and fine-tune your setup until you’re happy with the end result. And the best part of this project is that you get to eat your subjects when you’re done!
Step-by-step: Arranging your food
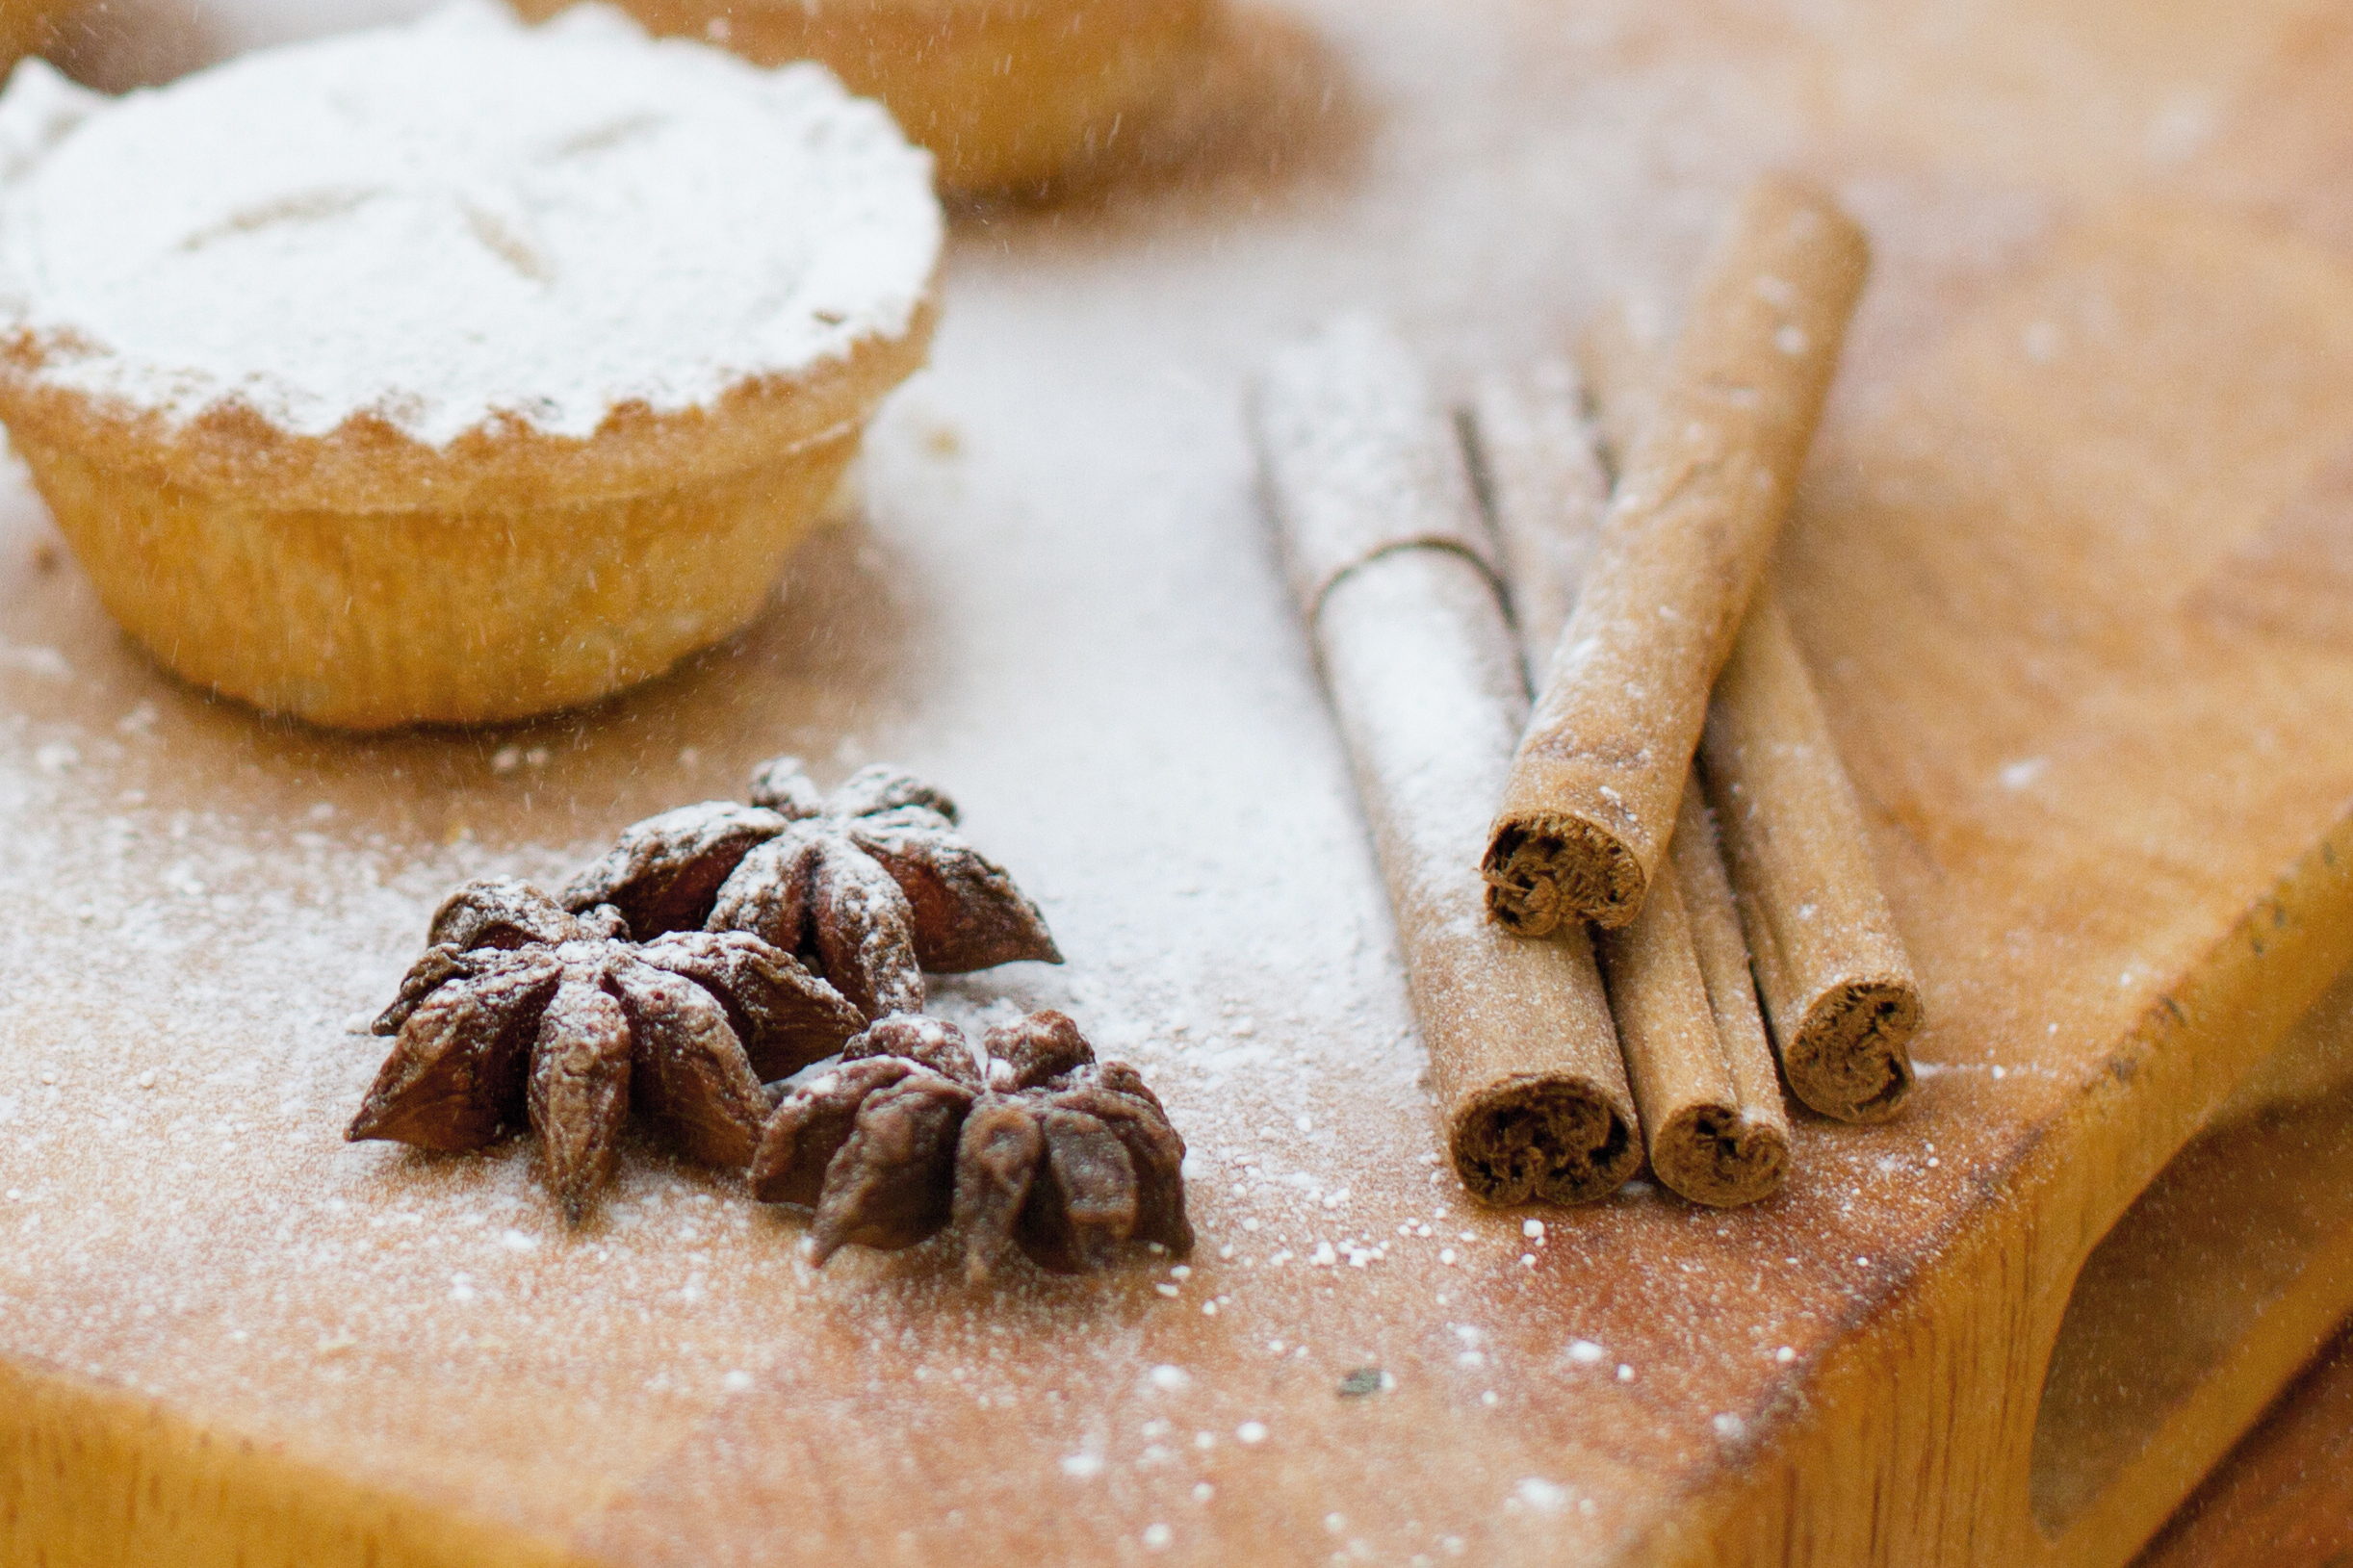
1. Food glorious food
It’s best to use only natural light, so set up your shoot in a conservatory or next to a large window. Compose each shot so you’re looking down and over the food. Put the main subject (mince pies in our example) onto a board or presentation plate, and place this in the foreground of the frame; we angled the board to help lead the eye into the frame, and we included some star anise and cinnamon sticks to add interest. Arrange your food and decorations, bearing in mind that you’ll want the main food items to be the centre of attention compositionally, and sharply in focus.
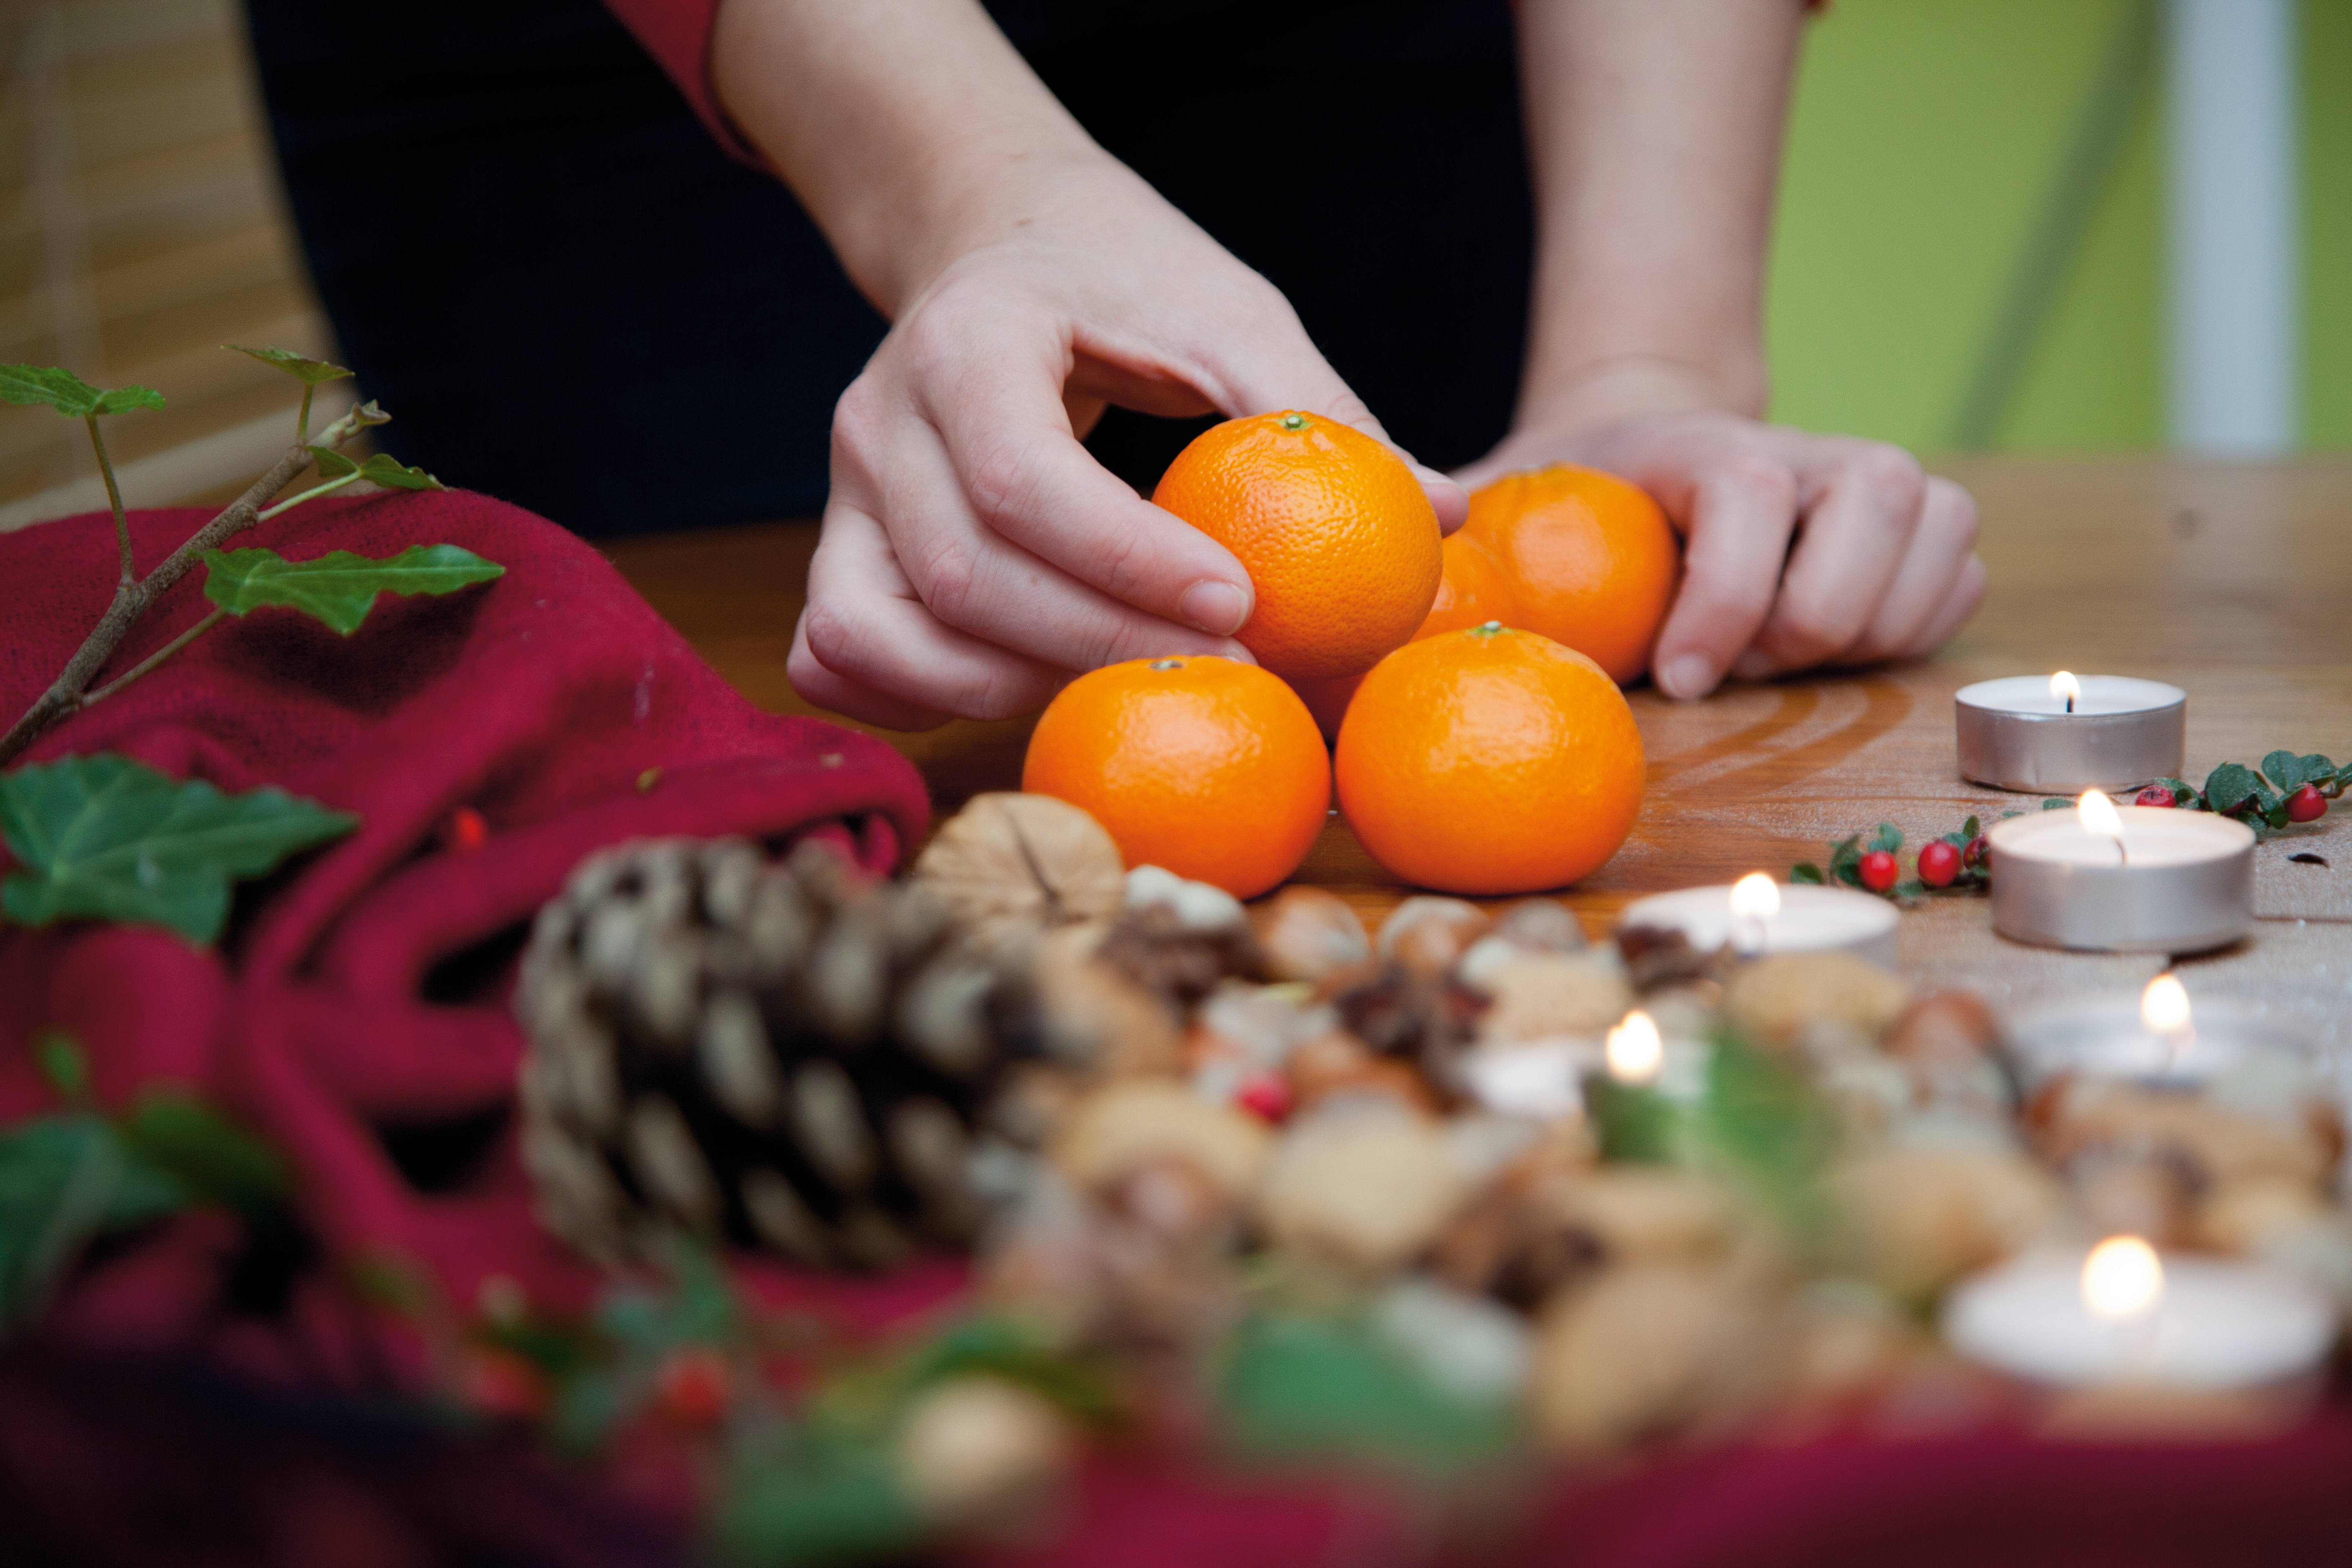
2. The backdrop
Next set up the backdrop. Drape a red piece of material (a scarf or jumper will do) behind the food, and sprinkle items such as mixed nuts and foil-wrapped chocolate coins in the background. Light some small candles, and dot these around the scene. We also stacked some oranges on the right- hand side to balance the composition and, to bring in some festive greens and reds, we introduced a cutting of ivy and some red berries from the garden.
3. Keep it steady
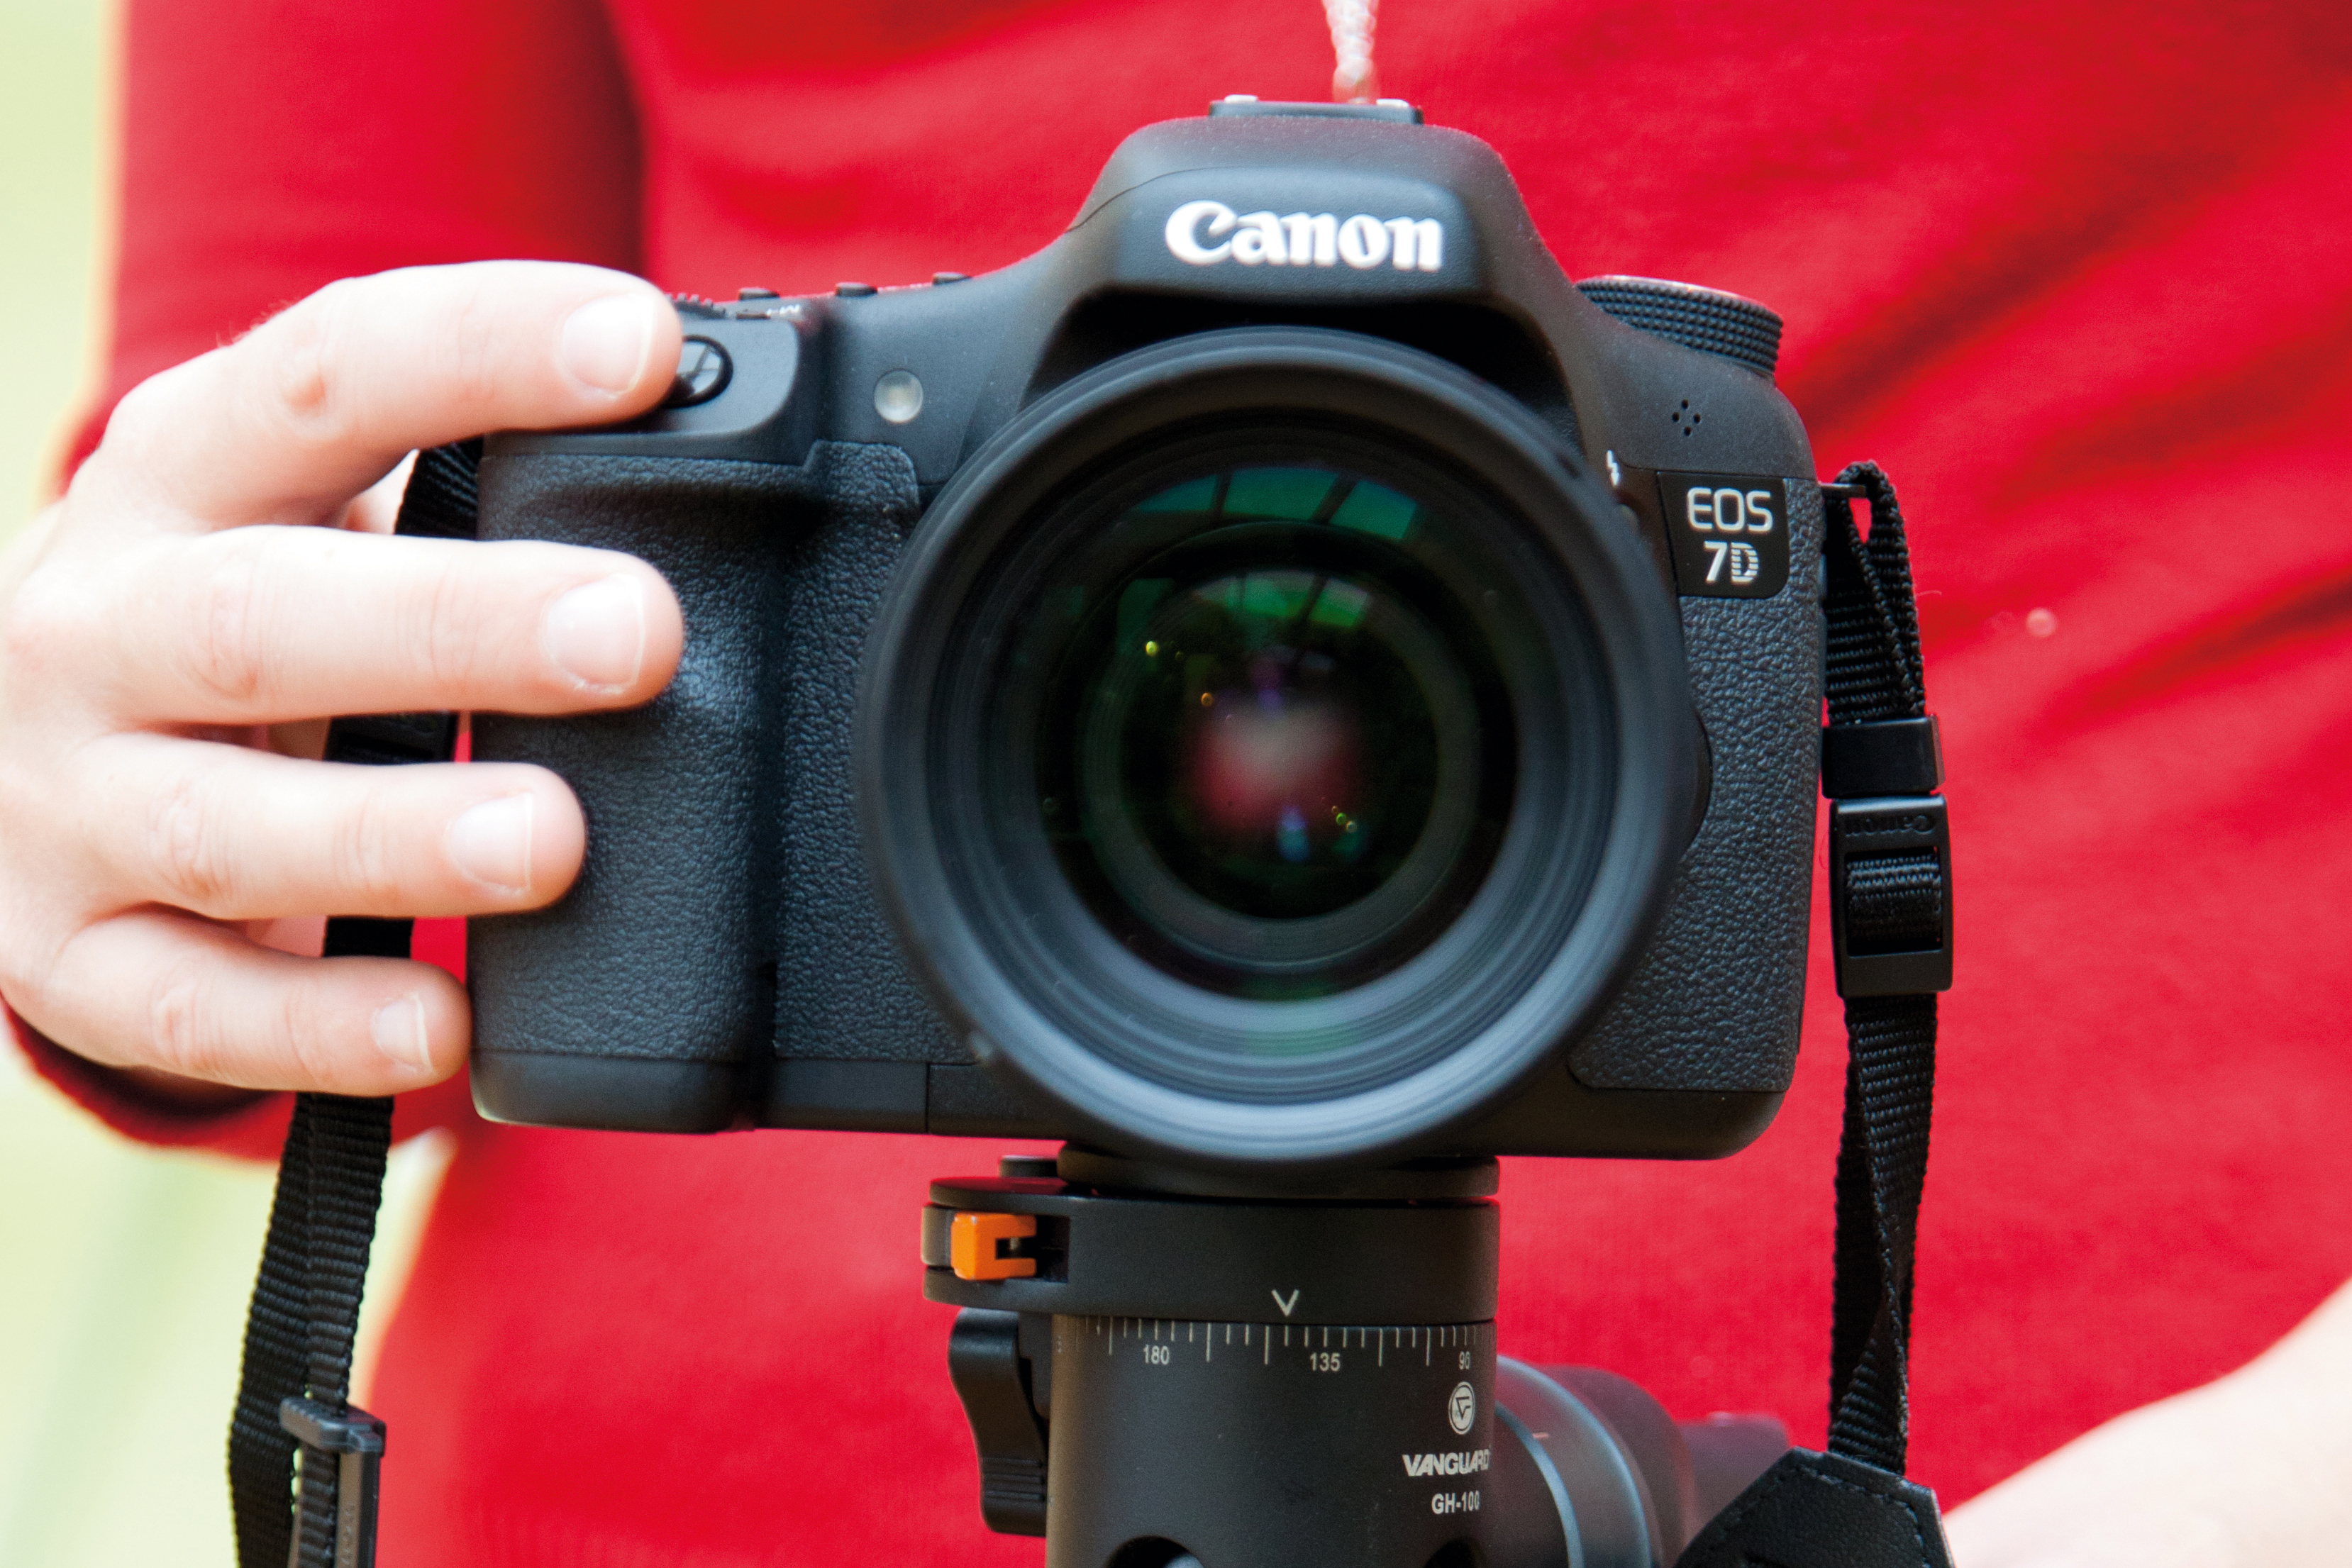
As we’re using natural light, it’s best to set up your camera on a tripod – that way you won’t need to worry if you need to use a slow shutter speed to get a good exposure. Using a tripod also makes it easier to fine-tune the composition of your shots; if your camera remains in the same place, you can see which elements in the frame are or aren’t working, and you can then tweak your camera settings and move items around until you’re happy. This can be a painstaking process, but it’s worth taking some time in order to get the best results.
4. Camera set-up
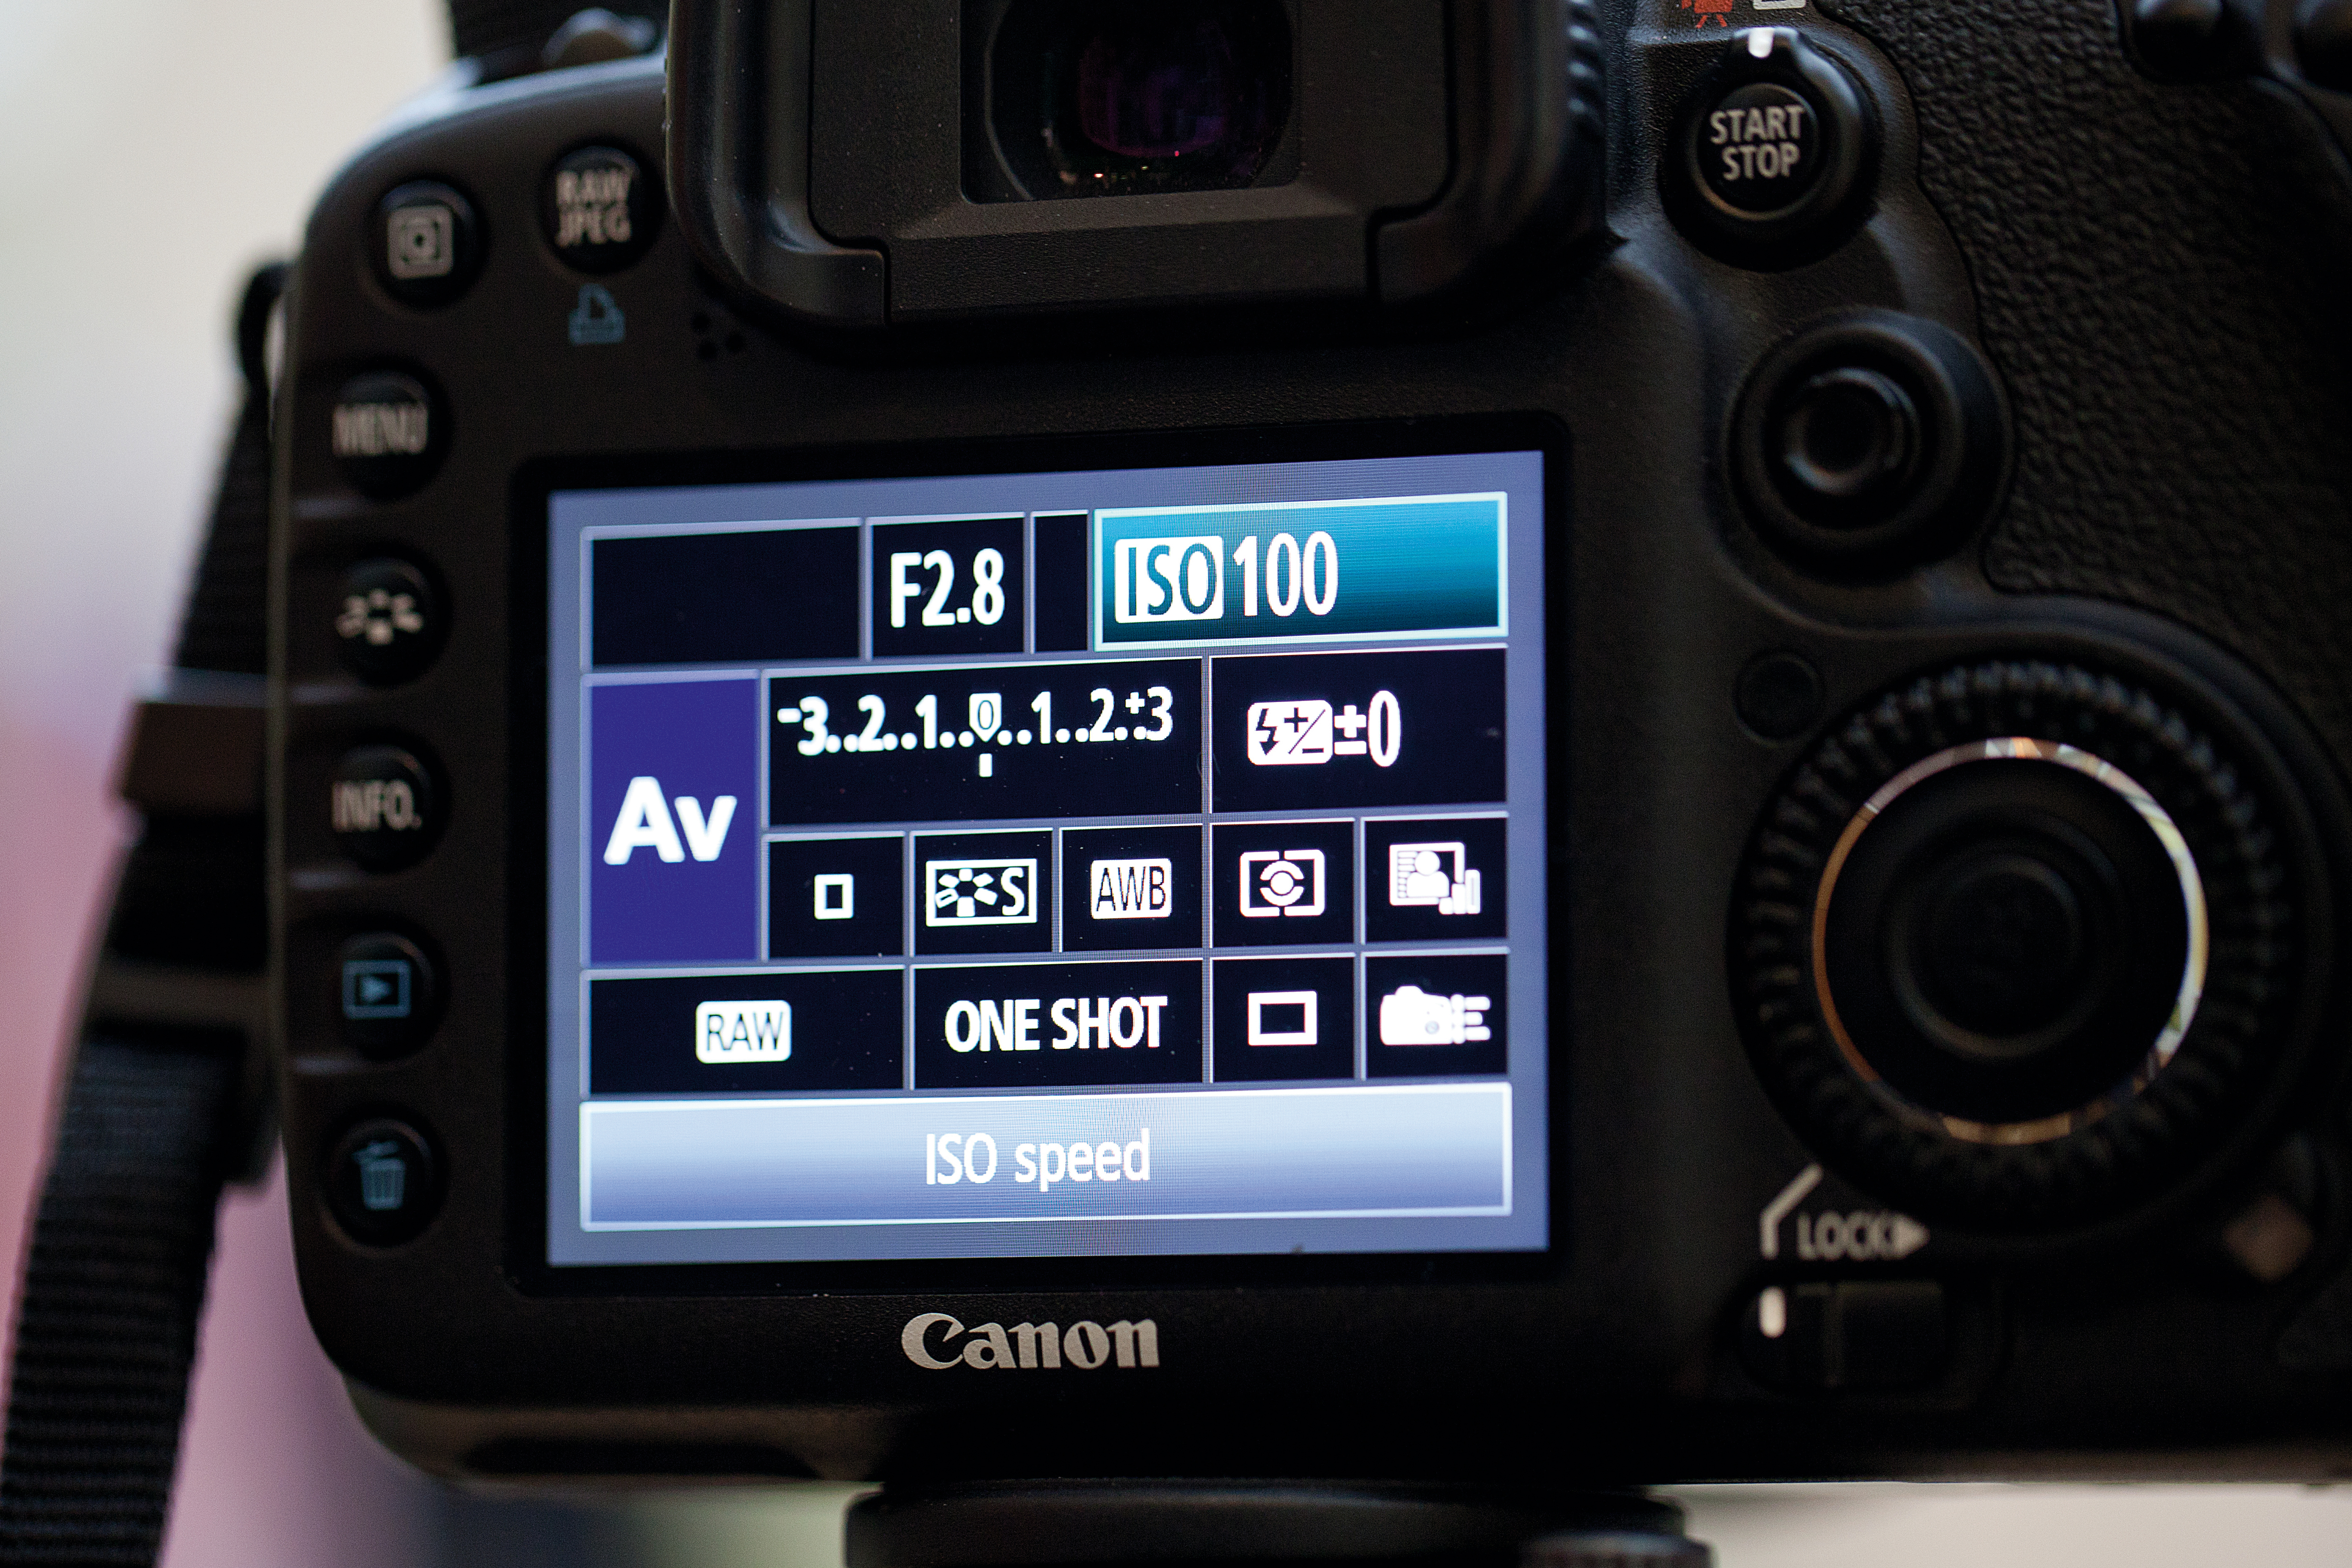
Set your camera to Aperture Priority (Av) mode, and set the aperture to the widest value available (the smallest number – for our lens it’s f/2.8). If you find that background objects aren’t blurred as much as you’d like them to be, you can always move them further away from the foreground items, and adjust the composition to come down a little lower. Set the white balance to Auto, and for maximum quality set the ISO to 100 and shoot Raw files.
5. Manual focus
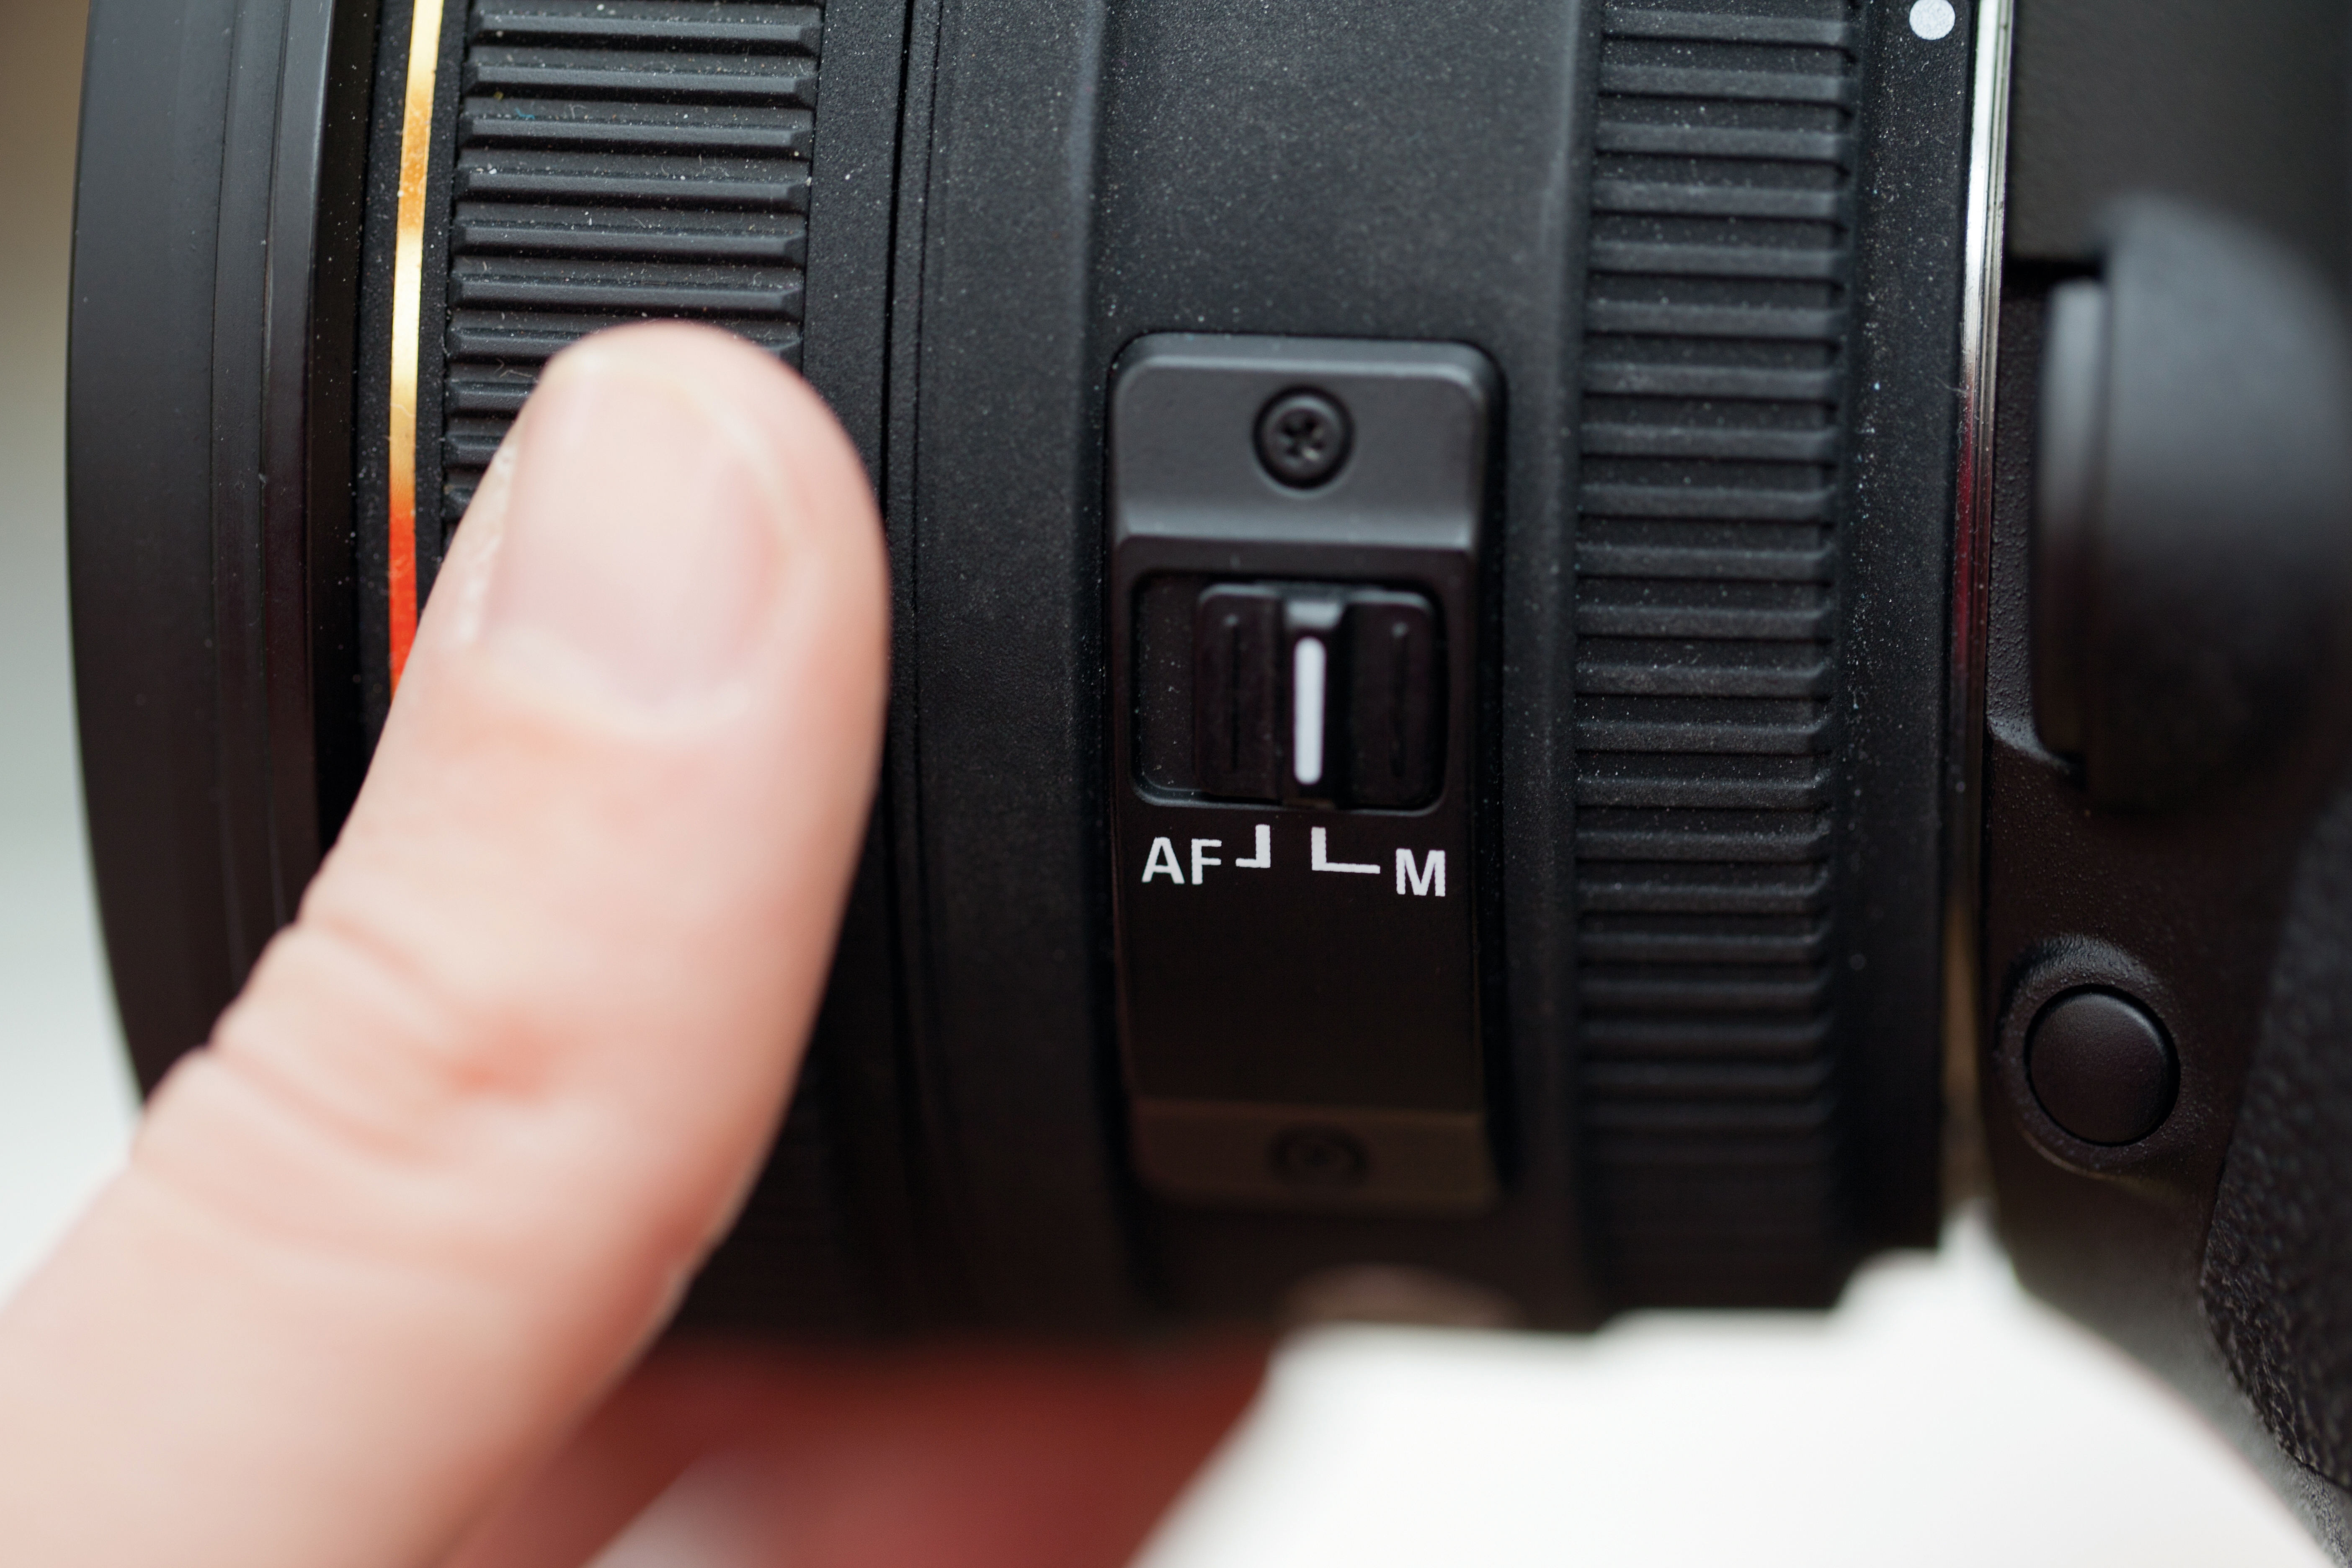
We used a 50mm prime lens for our shoot. Prime lenses are great for this type of set up, as they deliver superb image quality, and the wide aperture setting will blur the background nicely; a standard lens will work fine, though. To focus the shot, switch your lens to Manual. In our shot we made the mince pies in the centre of the board the focal point. You may need to adjust the distance between the background and foreground objects to get the desired depth of field effect.
6. Lighting your scene
To throw light into the shadows use a reflector. You can use more than one reflector if need be, and you’ll need to keep checking to see what areas need attention; it’s particularly important to light the main subjects well. As we wanted our images to have a warm festive feel we used the gold side of our reflector – if you don’t have a reflector, use tinfoil, or gold wrapping paper wrapped over some card.
Get daily insight, inspiration and deals in your inbox
Sign up for breaking news, reviews, opinion, top tech deals, and more.
Phil Hall is an experienced writer and editor having worked on some of the largest photography magazines in the UK, and now edit the photography channel of TechRadar, the UK's biggest tech website and one of the largest in the world. He has also worked on numerous commercial projects, including working with manufacturers like Nikon and Fujifilm on bespoke printed and online camera guides, as well as writing technique blogs and copy for the John Lewis Technology guide.
