1. Prepare to Record
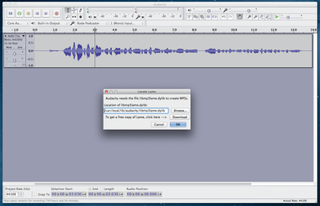
If you need recording software, download Audacity from http://audacity.sourceforge.net. It’s an easy tool to use. In the top left, you’ll find the playback controls, and next to those, your main tools — the most important being the Selection tool for selecting a point, the two arrows for moving an audio file around, and the zoom control. Click with the latter to zoom in, Shift-click to zoom out. Volume settings are in the top-right, and not to be confused with the ones by each track. The first just determines how loud you hear everything. The second, how loud the track actually is. Most of the other buttons you can safely ignore.
2. Volume Control
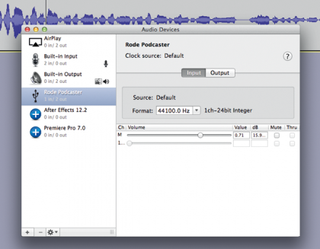
Make sure your microphone/mixer is plugged in over USB (directly, rather than via a hub) and make sure it’s set as the recording device in Audacity — here, we’re using a Rode Podcaster. Next, use Spotlight to find an app called Audio Midi Setup and select your microphone. Under Input, the Master slider controls the recording input level. The higher it is, the more sensitive your microphone will be. It’s possible to control this using the slider in Audacity, but this is a consistent place to check whatever app you’re using, and one where the volume is given as a number rather than just a basic slider.
3. Test Your Volume
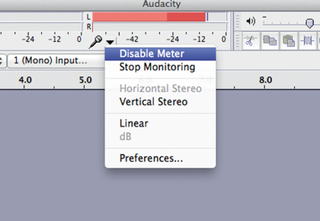
Set the volume to 1.0 initially. In Audacity, look for the volume settings in the middle of the screen, click the arrow by the microphone, and pick “start monitoring.” Now, talk into the microphone in your normal voice, a little louder, and finally, more excitably. The volume indicator should go nearly, but not quite all the way across — capping somewhere between -6 and -12. When you shout, it’s going to spike — to compensate, move your head farther from the microphone. The actual volume level can be changed later. If it reaches 0dB during recording, though, the audio will be clipped and unpleasant.
4. Begin Recording
Get daily insight, inspiration and deals in your inbox
Sign up for breaking news, reviews, opinion, top tech deals, and more.
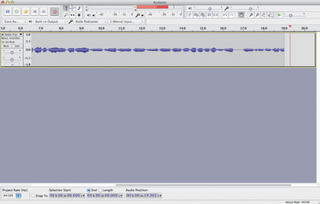
Save the project, giving it a name, and click the big red record button. If you need to pause the recording, press pause rather than the stop button. If you stop, pressing record creates a new track and goes back to the start. Pausing and unpausing continues where you left off. If you find yourself doing a lot of takes, try a big loud clap into the microphone to separate sections — this gives you an obvious peak in the waveform to find. Also, at the end, sit absolutely silently for about 10 seconds, so that the microphone can record some ambient noise to help clean things up later.
5. Prepare for Editing
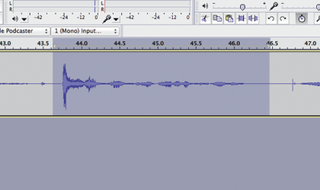
To zoom in, use the magnifying glass tool. You should also drag down on the bottom of each audio track to see the waveform more clearly. This makes it easier to target bits of noise, and see any coughs, etc. To select part of the waveform, choose the caret-shaped tool from the top and click and drag. This marks the selection in blue. You can also select each side and nudge it, and to deselect it, click outside the selection. Don’t edit straight in your recording, though — create a new file, then cut and paste the bits you want into it. Press Command + X to cut a selection in the recording. Click where you want it on the new timeline, and tap Command + V to paste.
6. Combining Recordings
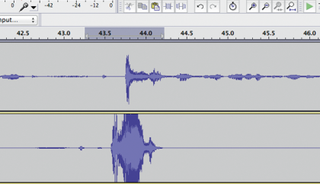
For Internet recording, you can record directly from tools like Skype, but the professional way is for everyone to record their own side with a microphone/headset combination and the editor to merge them together as multiple audio tracks. To get the two recordings in sync, start each recording with a “3…2…1…” and loud clap. Once imported, this makes it easy to see where they should overlap. In your edit file, after aligning them, choose “Sync Lock” under the Tracks menu. Now, cuts and added silences affect all equally. To fix the inevitable volume differences, tweak the sliders on the left-hand side.


