Because Windows and Mac OS X aren't the only two OSes in town.
Difficulty Level: Tricky
What You Need:
> A distribution (or "distro") of Linux. We used Linux Mint (free, www.linuxmint.com). (See "Pick a Distro, Pick a Mac," below.)
> An Intel Mac, preferably a desktop. We used an iMac. (See "Pick a Distro, Pick a Mac," below.)
> At least 32GB of free hard drive space.
> The rEFIt boot manager (free, refit.sourceforge.net)
> A blank DVD or CD
Get daily insight, inspiration and deals in your inbox
Sign up for breaking news, reviews, opinion, top tech deals, and more.
Are you getting tired of Mac OS X or just really miss that feeling of struggling with your computer? Windows isn’t your only alternative. Linux holds the key to unleashing your inner geek, and even though installing it was daunting in the past, the new versions are easier than ever to use on your Mac. We will take you through the install process step by step.

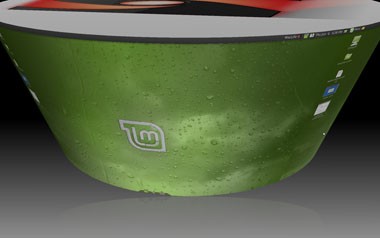
How cool is this spinning-Desktop effect? And you thought Leopard was the only OS with eye candy...
Disclaimer: Back up your data before starting. This is always a good idea before making big changes to your computer, but it is paramount when fiddling with the configuration of the hard drive. Also, even though current versions of Linux distributions are more stable than ever, they can still be a bit buggy. For example, restarting the computer is currently impossible--you have to shut down and then turn the computer on again.
1. Install rEFIt
Download the rEFIt DMG, open it, and double-click the rEFIt.mpkg file inside it to install. Unfortunately, in our tests, this often did not enable rEFIt completely. Open Terminal (in Applications/Utilities) and then type:
sudo /efi/rEFIt/enable.sh
Restart your Mac to make sure you have it installed properly. You should see a screen that says “rEFIt” before Mac OS X boots. (Don’t worry, you can uninstall this later if you decide you hate it.)
2. Create a Partition
Linux needs a partition on your hard drive. In Leopard, creating one is incredibly easy. Open Boot Camp Assistant (in Applications/Utilities) and create a partition that you will boot Linux from. We suggest you use at least 20GB--by the time you install the Linux OS, hardware drivers, and extra applications, you’ll have used up around 10GB, and it’s always good to leave at least 10GB of free space. Boot Camp Assistant will assume this partition is for Windows, but that doesn’t matter--just ignore it.

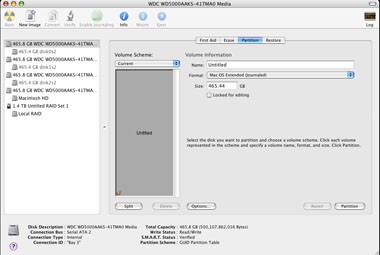
Why, Tiger Mac, what big hard drives you have!
In Tiger, creating the partition is done slightly differently. Open Disk Utility (also in Applications/Utilities), choose the hard drive you want to partition, and then click Split. Choose the size you want your Linux partition to be, and then click Partition.
If you already dual-boot Windows and Mac OS X, never fear, solutions are here! Boot your Mac into Windows and insert your Linux install disc (see step 3). When it auto-runs, click the Install Linux Mint Inside Windows option, and follow those instructions. Then skip to step 9.
3. Make a Linux Disc
Download the ISO file of Linux Mint 7 from www.linuxmint.com. (There’s a direct-download link, but using BitTorrent is much faster.) Then, insert a blank CD and open Disk Utility. Finally, click Burn, and choose the ISO file you just downloaded in the file browser.
4. Taste the Minty Freshness
With your Linux Mint disc in the optical drive, reboot your Mac while holding down the C key, which forces it to boot from the CD. After everything loads (it takes a while), you will see the Desktop of Linux Mint. We encourage you to test this system out, because if it absolutely repulses you, you probably won’t want to install it. Of course, if you want the full experience (which will be much faster), you need to proceed to step 5.