Dual boot Windows on a Mac
Have you switched to OS X from Windows? You'll find there are Mac counterparts to almost all mainstream Windows programs, or Mac apps that can open files created with them. But perhaps you work in a specialist industry and need to use arcane Windows-only software, or you want to play Windows games.
Don't worry! There are a number of ways you can run Windows software on your Mac. These include virtual environments such as Parallels Desktop and Fusion. Or there's Boot Camp.
Boot Camp is a free utility that comes with OS X, and it takes advantage of the fact that Windows PCs and Macs contain the same family of Intel processors.
With Boot Camp, you can choose to start your Mac in either OS X or Windows. Unlike the virtualisation apps just mentioned, which run both operating systems at once and thus affect performance, Boot Camp really makes the most of your hardware.
Note, though, that you'll need your own copy of Windows to install, and Boot Camp supports only 64-bit versions of Windows 7, Windows 8, Windows 8.1 and Windows 10 – not Windows XP or Windows Vista.
The Boot Camp Assistant helps you through the whole process of putting Windows on your Mac. It enables you to install Windows on your Mac by 'partitioning' the startup disk – that is, creating a separate area that's set aside just for Windows.
Device drivers
To ensure that all your devices work properly under Windows, you'll need to install the right device drivers for your Mac hardware. The Boot Camp Assistant will guide you through downloading everything that's required for your specific Mac hardware – you won't have to download things individually.
You'll need a Windows installation disc as well, but most modern Mac models don't have CD/DVD drives. In this case you can use an ISO image file – in effect, a file which replicates the structure of a real DVD – to create a bootable USB drive in Boot Camp Assistant. When the assistant downloads drivers and additional software, it incorporates them into the image.
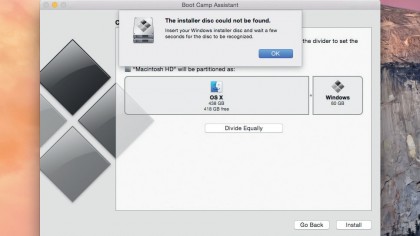
Boot Camp Assistant enables you to decide how to divide up your hard drive between Windows and OS X.
Before you install Windows, Boot Camp Assistant resizes your Mac partition. This process may involve moving data to a new position on the disk, so it's a good idea to have a full backup of your data first. Once you have Windows up and running you'll need to install the downloaded device drivers from the disc prepared by the assistant.
Then when you start up your Mac, just hold down å to display a menu to choose between booting into OS X or Windows.
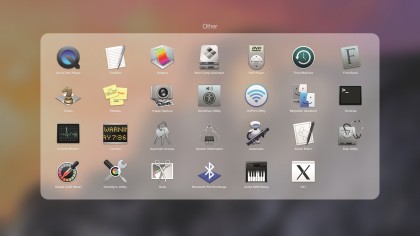
1. Boot Camp Assistant
Open Launchpad and then open the Other folder. Inside here you'll find Boot Camp Assistant. This will guide you through the process of making room for Windows and gathering all the software necessary to install it.
Click Boot Camp Assistant to launch it.
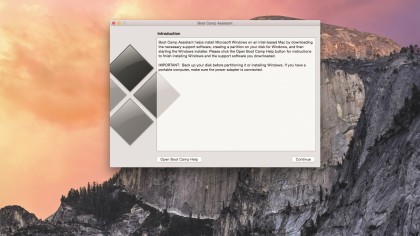
2. Setup Guide
You can optionally print off a setup guide to help you go through this process – you won't be able to use your computer for reference as you partition the drive and install Windows.
Also ensure that you have made a full backup of your data before clicking Continue.
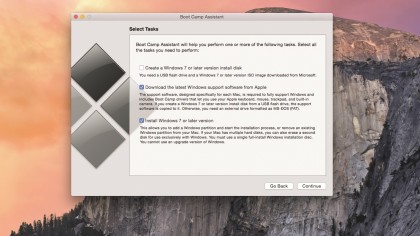
3. Select Tasks
If you need to create an installation USB flash drive from an ISO image, select the option here. (If you have a DVD drive, you don't need to do this.)
Tick both 'Download the latest Windows support drivers from Apple' and 'Install Windows 7 or later version'.
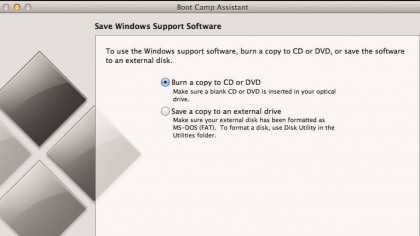
4. Support software
If you're not creating an installation USB drive, you'll need to put the Windows drivers onto a CD or DVD or copy them to an external drive that's readable by Windows, formatted as MS-DOS (FAT).
Choose the option you want, then click Continue.
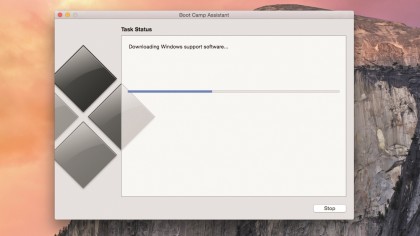
5. Download software
The Boot Camp Assistant carries out the tasks you've selected, downloading the support software and then prompting you for a blank CD/DVD or the external drive to write it to.
If you're creating a full USB install disk, it will be created at this point.
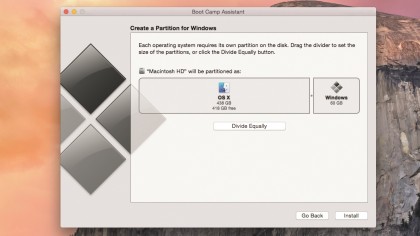
6. Windows partition
You now need to create a partition on your Mac's startup disk. Boot Camp suggests a possible layout, but you can change this by clicking and dragging the line between OS X and Windows or by clicking Divide Equally.
Next insert your Windows disc and click Install.
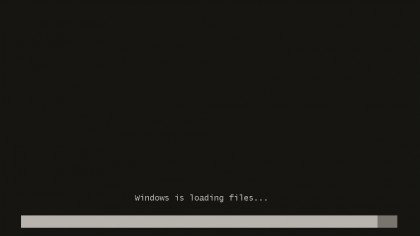
7. Partition and install
The assistant will resize your OS X partition to make space for Windows. This can take some time, depending on the size of your drive and what's on it.
Once the space is allocated, the new partition is created and Boot Camp Assistant prompts you to restart.
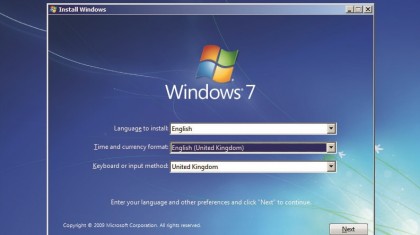
8. Install Windows
Follow the prompts to begin installing Windows (there a few screens to go through). Once you've installed Windows, insert the disc or drive containing the drivers you downloaded earlier.
You'll need to install these to make good use of your Mac's hardware in Windows.
- Enjoyed this article? Get more tutorials, guides, and tips on how to get the most from your Apple devices inside MacFormat. Take advantage of an exclusive offer in our sampler today.