How to back up your emails with KLS Mail Backup
Keep those emails safe
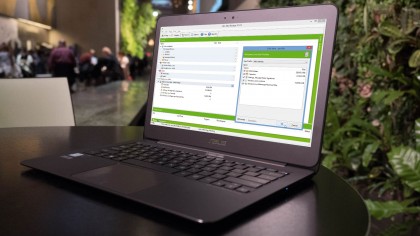
Protect your email with KLS Mail Backup
You shouldn't need reminding how important backups are – just ask anyone who has lost documents, photos or other files. Windows is pretty good at keeping your files backed up, but it never hurts to have multiple backup strategies in place to minimise the risk of data loss. This is where KLS Mail Backup comes in.
The free program allows you to selectively back up both email and browser settings for a wide range of programs, including Outlook, Mail, Thunderbird, Internet Explorer, Firefox and Opera.
This gives you the security of a secondary backup for your email and browser, as well as a quick and convenient way of restoring email, bookmarks or other key settings should you ever need to. Our step-by-step guide shows you how to get started with backup and restore.
1. Get your tools
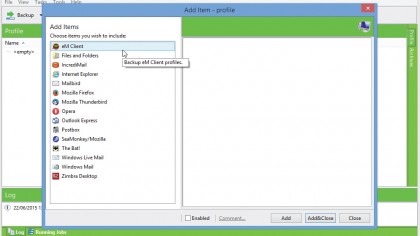
Download KLS Mail Backup, run the installer, leave 'Launch KLS Mail Backup' ticked and click 'Next' to launch it. You'll first be prompted to choose which items to choose in your profile, so click 'OK' to get started.
A list of supported browsers and email clients will appear in the left-hand pane – click one to view it.
2. Select first program
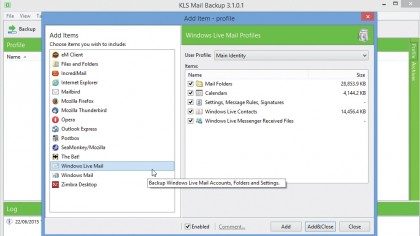
If the selected program is installed– and KLS Mail Backup can detect it – you'll see a list of settings and files to be backed up.
You can remove selected settings, but, if in doubt, leave everything ticked. Also click the 'User Profile' menu to see if more than one user profile is present. If it is, each one will need to be selected in turn and backed up separately.
3. Pick profiles
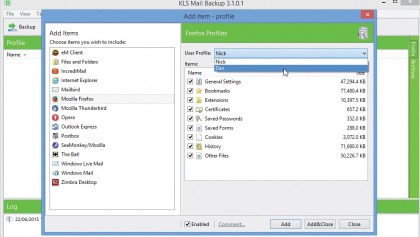
Click 'Add' to select the first program and profile; if necessary, select other profiles for that program in turn via the User Profile dropdown menu and click 'Add' to include them in your backup too.
Now move on to the next program. You can back up as many programs and profiles as you wish – including your browser settings. Once you're finished, click 'Close'.
4. Review profile list
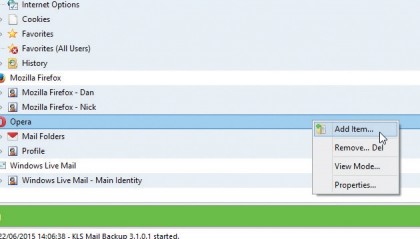
After clicking 'Close', a list of selected items for backup will appear in the main KLS Mail Backup window. Click the '…' button to the right of any item to review its contents and make changes.
Remove an item from the list by right-clicking it and choosing 'Delete', or choose 'Add Item' to reopen the Add Item dialog in order to add more programs and settings to your backup profile.
5. Set backup options
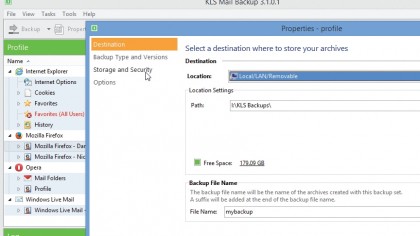
Click the 'Properties' button underneath the menu bar. Use the 'Destination' tab to choose a folder on your backup drive where your backups will be stored. You can also replace the default 'mybackup' file name with something more descriptive.
Next, select 'Storage and Security' to tweak compression settings – use 'Level' to pick 'Good' or 'Best' for smaller files, for example.
6. Set incremental backup
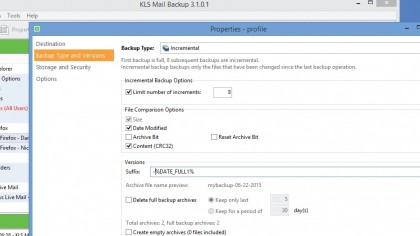
Next, switch to the 'Backup Type and Versions' tab. To maximise disk space, choose 'Incremental:' this creates a full backup, then backs up changes going forward.
You can limit the number of versions stored, plus set more sophisticated file comparison options, which may slow the backup process – choose 'Content (CRC32)' to do so. Click 'Save' when done.
7. Run first backup
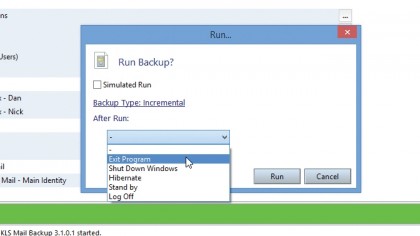
Click the 'Backup' button. A summary will be shown – tick 'Simulated Run' if you'd like to test the backup without actually performing it.
Click 'After Run…' to set an option to close the program or go further (such as shutting down, hibernating or restarting) once the backup completes. Click 'Run' to perform the backup – if necessary, allow KLS to close any affected programs.
8. Verify backup
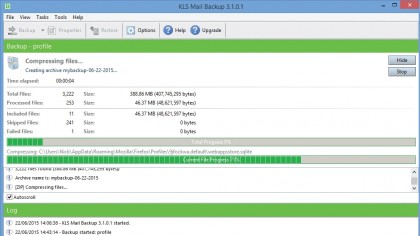
Wait while the backup is taken – once complete, if you see a message about warnings or errors, click the 'View full log…' button where these will be clearly coloured in orange or red in the log file. In most cases these shouldn't affect the rest of the backup.
The backup's integrity is automatically checked after the backup is taken, so all that's left to do is click 'Close' to finish.
9. Browse backup
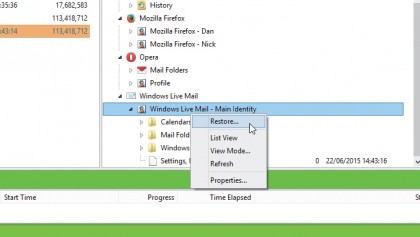
Once you return to the main screen, switch to the 'Archives' view using the green tab on the right-hand side of the main window.
You'll see a list of available backups in the left-hand window. Double-click one and its contents will appear on the right. You can browse the contents and recover individual files or settings if necessary by right-clicking them and choosing 'Restore'.
10. Backup and restore
Going forward, KLS Mail Backup doesn't run on a schedule, so you'll need to back up manually by launching the program and clicking 'Backup' again.
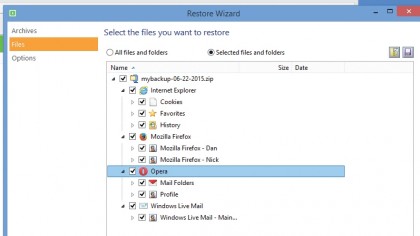
Should you ever need to restore anything from a backup, open the program and click 'Restore' to follow the simple three-step wizard: you can recover all or selected items from any backup you've previously taken with just a few clicks.
- Enjoyed this article? Discover how to get the most from your PC and new things to do in Windows Help & Advice. Take advantage of an exclusive offer in our sampler today.