How to build your own drone
Pi-powered flight
Once you have the two boards connected you can make a start on the construction of the drone. If you're doing this using one of the many basic kits out there the process should be pretty straight forward.
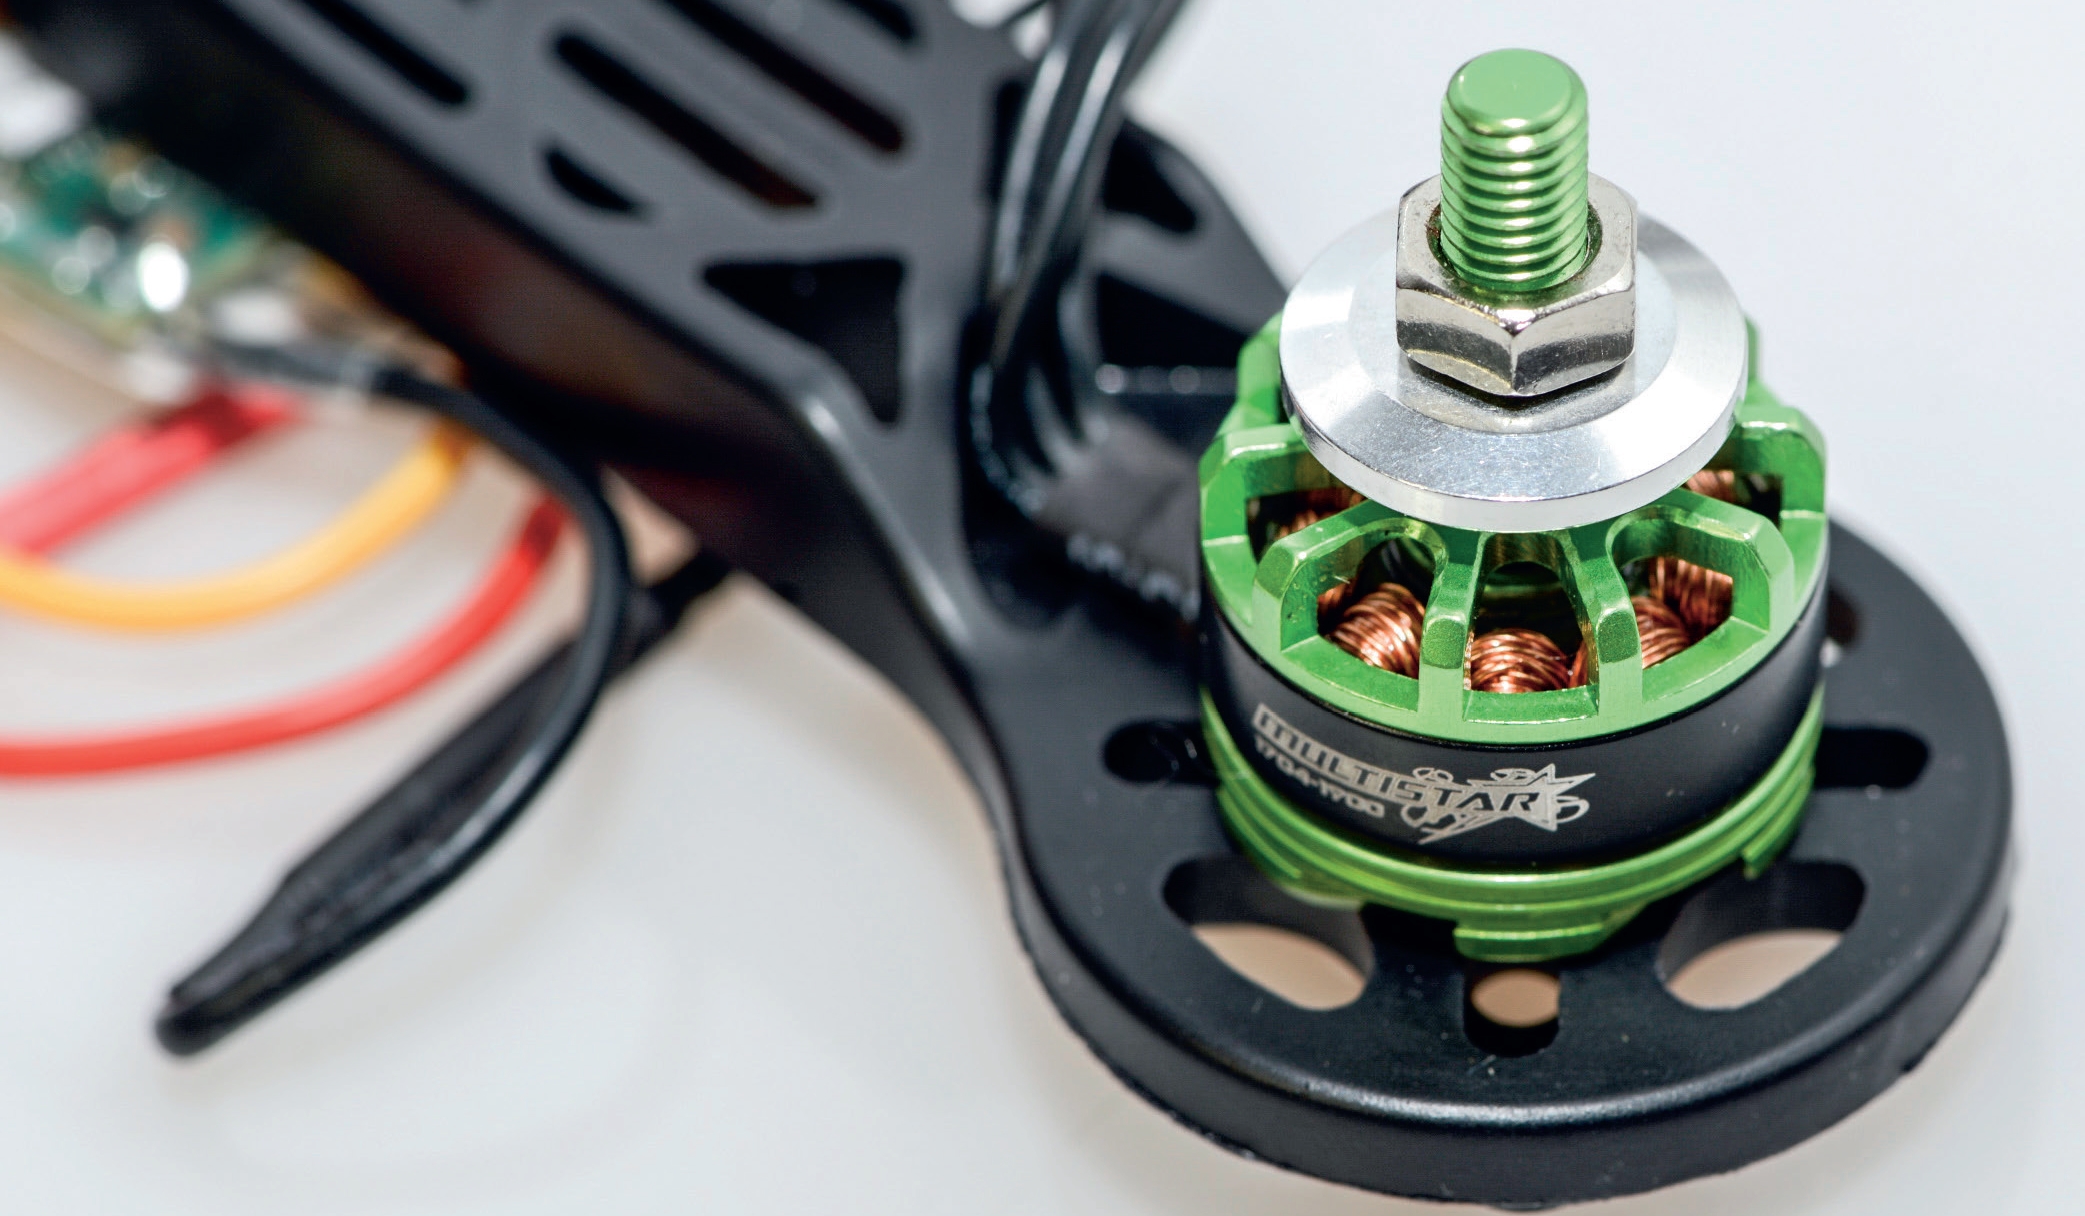
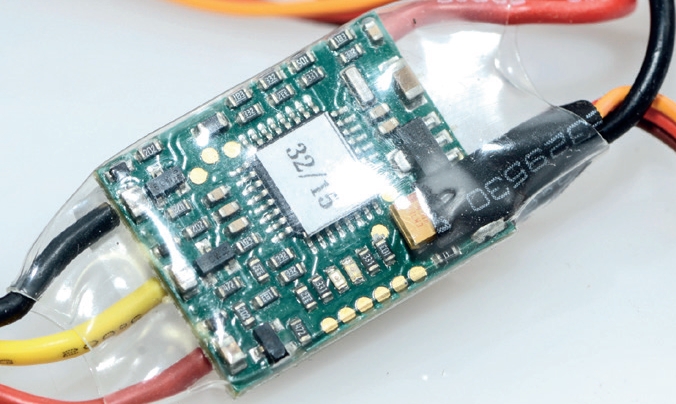
Most of the small kits include the basics with a simple bolted together frame, four small electronic speed controllers (ESC), brushless motors along with a battery. The main components and electronics all need to be taped and zipped tied to the frame with only the motors requiring screws.
At this point, it's well worth leaving the propellers off until the drone is correctly configured. As you put the drone together there are a couple of key points. The PXFmini should be mounted with its connectors facing towards the front of the craft, these pins are used to connect the ESC and the receiver if you're using an RC unit.

Between the Raspberry Pi Zero and frame, it's essential that you add a section of foam to provide slight insulation from the vibration of the motors and to ensure that the PXFMini is level. A few additional extras that you'll need during this part of the build are one male-tomale servo extension and four male and female RC XT60 LiPo connectors.
At the moment the two boards are empty of commands and before they can be used to control the drone they need to be flashed with an OS. This OS, as with all Raspberry Pi boards, is held on an SD – albeit a MicroSD card in this case – that can be quickly installed into the back of the Raspberry Pi Zero.
The OS needed for the drone and for use with the Raspberry Pi Zero and PXFMini autopilot system has been pre-compiled by Erle Robotics and is based on Debian. As long as you purchased the board directly from them the company will email through a link to the latest version of the OS.
If not, it's possible to compile it yourself although this will be a more advanced task for some of you.
Sign up for breaking news, reviews, opinion, top tech deals, and more.
Flashing the Raspberry Pi Zero
The Raspberry Pi Zero can only read the FAT32 file system, so before you continue make sure you have formatted your card correctly and not used exFAT.
With the OS downloaded and the MicroSD card ready, Type in df -h to check the disks attached to your computer. In order to flash the MicroSD card with the latest OS Image you'll need to unmount the card. If your card is 32GB or over you'll see that the disk has two partitions so make sure you eject both. Type in:
umount /dev/disk2s1
Now to flash the OS to the card make sure that the file you have downloaded hasn't been uncompressed and type in the following:
sudo zcat /Path/to/image/PXFmini.img.gz |
sudo dd of=/dev/disk bs=8M
The flashing process can take some time as the uncompressed file is well over 7GB. Once complete eject the card from your computer and install into the Raspberry Pi Zero. The Raspberry Pi must now be connected to a monitor, keyboard and mouse to finish the installation process.
After the Raspberry Pi boots you will see the basic Erle Robotics splash screen and with a bar of Icons showing the different Vehicle projects that the board can be used with. Click the Erle Copter picture and the screen will disappear and the board will reboot.
Leave the Raspberry Pi Zero to run through the boot sequence and this time rather than loading a graphical user interface, the board will boot to a command line showing that the installation has completed and the board can be unplugged.
At this point the drone should be ready for its first flight test. To get it to fly you'll need to connect it to some type of control device such as a radio control, Bluetooth or Wi-Fi with ROS (Robot Operating System). You do need to take into consideration that this is an open hardware project and the components that we'll be using will be different to those used by Erle Robotics.
For complete ease, we've opted for the traditional radio-controlled option and used a FLYSKY FS-i6 with the new FS-iA6B receiver. The important factor here is that the receiver is of the PPM type mentioned earlier.
PPM enables several servos or in this case several ESC to be connected to one port and controlled individually. This works in just the same way as traditional servos would with an individual port in the receiver for each. This cuts down on the amount of wires needed but more importantly it's the hardware required by the PXFMini in order to interface with the controller.

Once you've connected everything it should work as described here although you may find that some fine tuning of the transmitter controls is needed. The Raspberry Pi Zero doesn't feature the ability to network over the USB ports, so a Wi-Fi dongle is required in order to connect to your machine. We've used a dongle bought directly from Erle Robotics. You'll need to make sure that your machine has a 5GHz compatible Wi-Fi device in order to get things to work properly.
Once connected you can download and install AMP Planner and run through the calibration and setup process in order to get your drone to work correctly.
Alastair is a photographer, filmmaker and tech writer who has been working in the publishing industry since the late 1990s. For more than 25 years he has covered photography, video and technology across Future's photography, technology and gaming brands. He runs a photography and video production company and lectures in TV and film. He can usually be found testing mini PCs or prototyping and prop building with the aid of 3D printing.