How to change the look of your Mac
Give your Mac a facelift
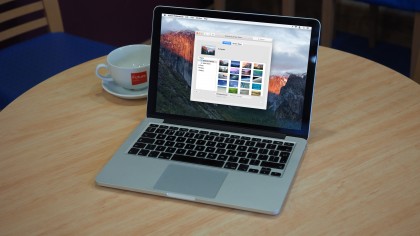
Alter your Mac's looks
Since the arrival of OS X well over a decade ago, Apple has had a tendency to lock down its operating system's visual appearance in order to ensure as much consistency for its users as possible.
By contrast, it was possible to customize the appearance of older versions of the OS to a far greater degree. Options for "reskinning" OS X have been few in number and have quickly fallen out of favor.
This is mostly because making major changes has become an increasingly complex matter, meaning it risks system instability. You might want a Mac to look like something from your favorite sci-fi film, but that's not such a joy when your computer becomes less reliable as a consequence.
- Check out our Mac help and support guides for more Mac tips and tricks
That's why previously popular programs such as ShapeShifter, which enabled you to make sweeping changes to the whole look of the desktop, were never even updated to Leopard (OS X 10.5), let alone El Capitan.
Nevertheless, Apple realizes you need at least a few easy customization options, if only to personalize your Mac a bit. Accordingly, you can change your Mac's desktop background and screensaver; it's also possible to make minor changes to various global appearance settings, including muting system-wide colors.
If you're really brave, or very experienced, and you don't mind messing about without a friendly interface to guide you, you could always try GeekTool. As the name implies, this utility is aimed at the more knowledgeable user and is meant for more than decorative ends, but it does enable you to create cool customizations.
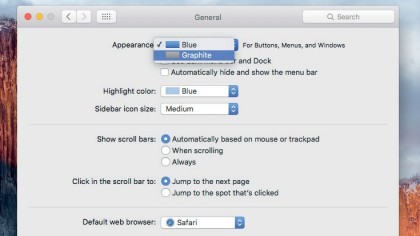
1. Gray interface
Launch System Preferences and select General in the top group. In the Appearance menu you can choose from Blue or Graphite.
The first of those is the default; select Graphite and various interface elements turn gray.
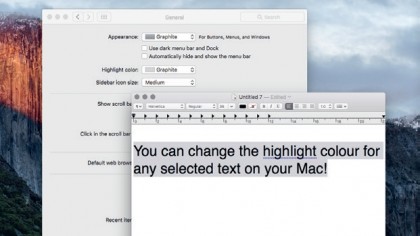
2. Update highlights
Highlighted text is shown in blue in the foreground and gray in the background.
Use the Highlight Color option to amend the foreground color, such as making it Graphite (or silver) when using the Graphite option.
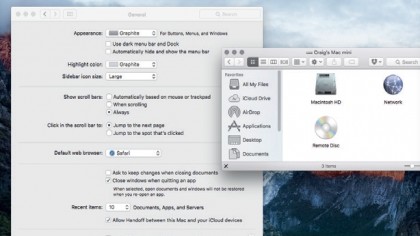
3. Scrolling, icon size
A number of settings here determine the visibility of scrollbars. They're set to Automatic by default, but you can force them on by selecting Show Scroll Bars: Always.
You can also alter the size of icons in the sidebar of windows.
4. Fewer Recent Items
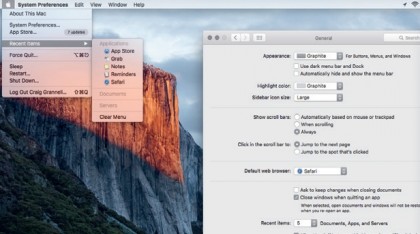
The Recent Items menu shows 10 items each for applications, documents and servers by default, but you can choose from 50 right down to none.
This affects the Apple > Recent Items menu; choose None to remove the menu item.
5. Hide the menu bar
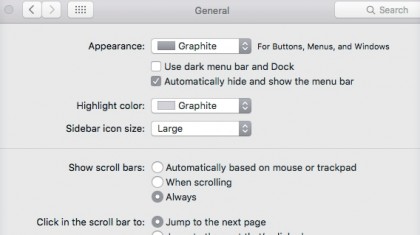
You've long been able to hide the Dock in OS X. In El Capitan, the menu bar can similarly be hidden. In General, check "Automatically hide and show the menu bar."
The menu bar disappears. Move the cursor to the top of the screen to show it.
6. Change the desktop
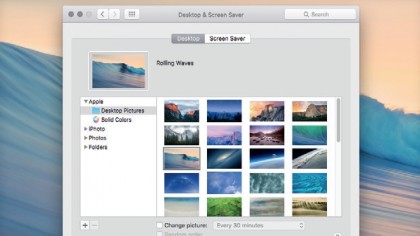
In the Desktop & Screen Saver pane, select a sidebar group and then an image. For a slideshow, click "Change picture:" and configure options to taste.
Custom folders from Finder can be dragged to the pane.
7. Change screensaver
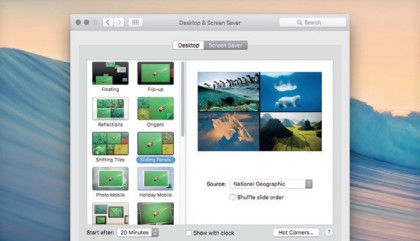
Click the Screen Saver tab. Select an option in the left pane, and set how soon it kicks in. Click the pic in the right pane to preview it.
Click Hot Corners… to choose how to manually start the screensaver if you want to.
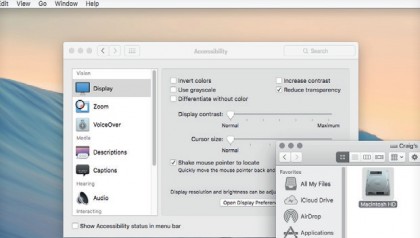
8. Transparency
Desktops show through the menu bar. If your picture is detailed, this can make the menu bar hard to read. Go to the Accessibility pane, choose Display, then check Reduce Transparency. This removes transparency all over OS X.