How to guard your home with Raspberry Pi
Guard your home with a Pi
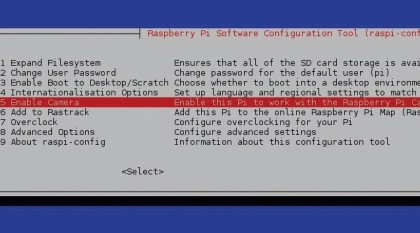
1. Enable the camera
Now we have our hardware installed, it's time to configure the software that will control it. Firstly we need to set up our camera and that is done via this command – in a terminal type:
sudo raspi-config
In the menu, there is an option to 'Enable the camera' – move to there and then press [Enter]. You will now be asked whether you would like to enable the camera, so move the cursor to 'Enable' and press [Enter]. You will now return to the original menu, so move your cursor to 'Finish' and press [Enter].
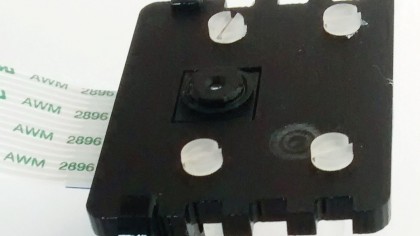
2. Test the camera
Now we have told the Raspberry Pi to use the camera, we need to test that it can take a picture, and the best way to do that is via this command in the terminal:
raspistill -o test.jpg
This command will launch an application to take a picture using the camera. If you encounter any errors, check that you have the correct syntax and that the camera is enabled in the raspi-config menu.
The last thing to check should be the physical connection between the camera and the Raspberry Pi.
Sign up for breaking news, reviews, opinion, top tech deals, and more.
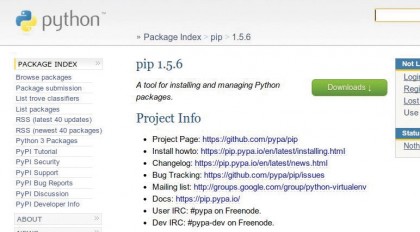
3. Install pip
In order to use the camera with Python, we need to download the library picamera, and the best way to do this is via a package manager for Python called pip.
Pip works in the same way that apt-get works on your Raspberry Pi, and it is a great tool to keep your projects up to date. To use pip we first need to install it via a terminal.
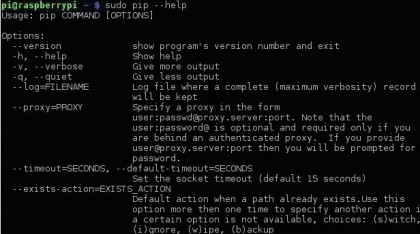
4. Install picamera
To install pip, type in the following:
sudo apt-get update
sudo apt-get install python-pip
sudo pip install picamera
Pip will now install the picamera library for Python. Now it is time to grab a copy of the project code. Download the project as a zip file.
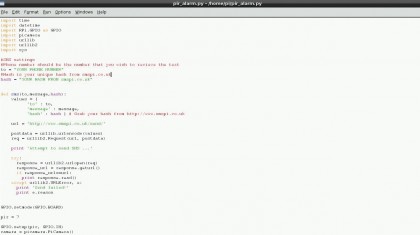
5. Open the project files
To use the project files, we need to open idle, the Python editor, but because we are using the GPIO, we need to do so using sudo:
sudo idle
This will open the idle application, and in the application, go to 'File > Open' and then navigate to where your project files are located. We will be working with pir_alarm.py.
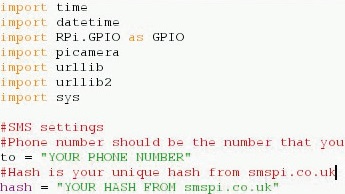
6. Added extras
In our code we have a section that imports extra functionality; these are libraries. The first is time, which enables control of our program.
Next we import datetime, which enables our program to use calendar dates and clock times. Next we import the RPi.GPIO library but rename it to GPIO to make it easier to use.
We then import picamera which enables the use of the official Pi camera with Python.