How to improve your Windows 10 laptop or tablet's battery life
Maximise battery life
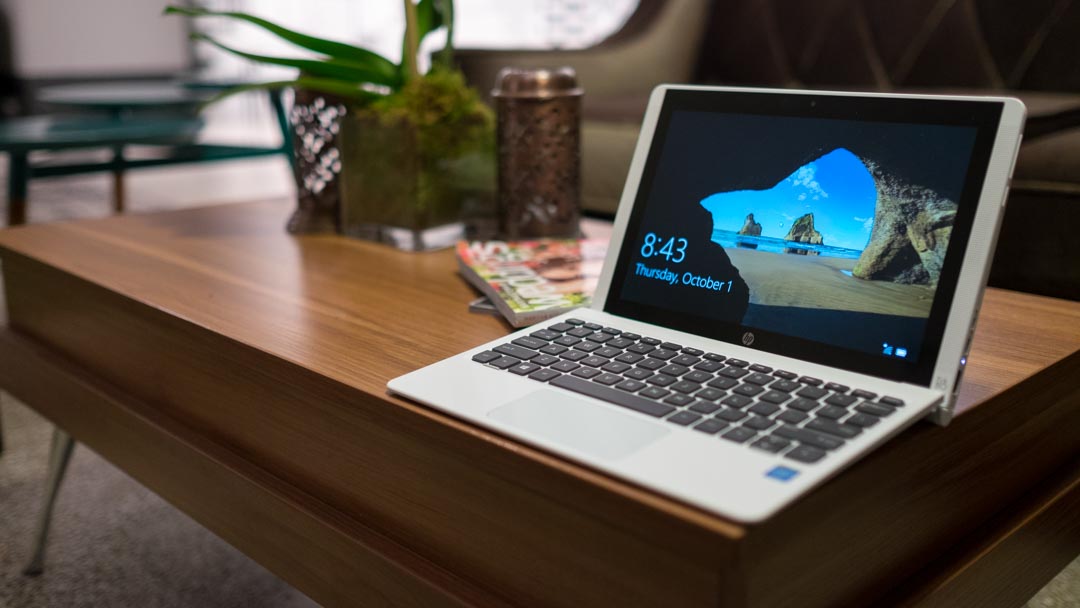
How to make your battery last longer
Windows 10 runs well on all manner of portable devices partly because of its built-in energy saving features. So whether you've upgraded your laptop to Microsoft's latest OS or got yourself a brand new machine, you're going to want to make the most of them.
In this tutorial we'll show you how to set up Windows' power-saving functions to squeeze maximum life out of your laptop's battery.
But first, it's worth familiarising yourself with Flight mode (or Airplane mode) – a quick way to turn off all wireless communications on your PC if you suddenly find your battery very low. Just select the Network icon on the task bar and choose Flight mode to turn it on.
And remember, by unplugging peripherals such as external hard drives and memory sticks when they're not in use, you can save even more power on the road.
1. Open Battery Saver
Battery Saver extends battery life by enabling you to limit background activity, and offers further access to different system settings and useful battery usage reports so you can identify your system's energy hogs.
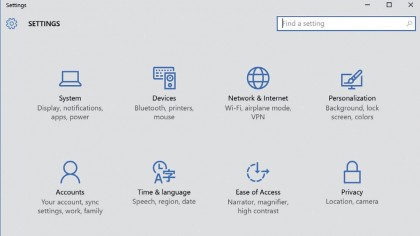
To access the feature, select 'Settings' from the Start menu, choose 'System' and then 'Battery Saver' from the side column.
2. Battery Saver options
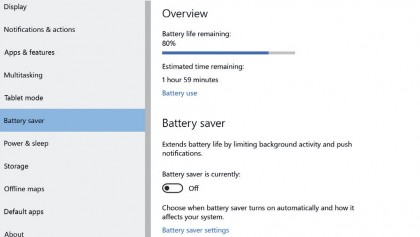
The Battery Saver window is split into two – Overview shows your current battery level and whether it's charging or draining, while Battery Saver shows whether the feature is on or off, at what level the battery should be allowed to fall to before it is activated.
Now, go ahead and select the Battery Use option in the Overview section.
3. Battery use
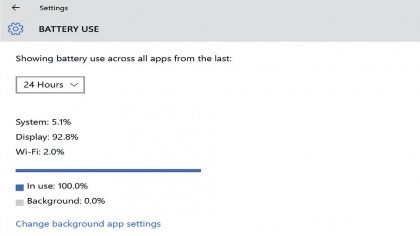
This window offers a breakdown of battery usage across currently open apps, giving you an idea of what apps you should avoid using when you're not within easy reach of a power outlet.
Select an item in the list and click 'Details' to get more information. You can also limit its background activity when you're low on battery (note that some apps can't be disabled).
4. Background apps
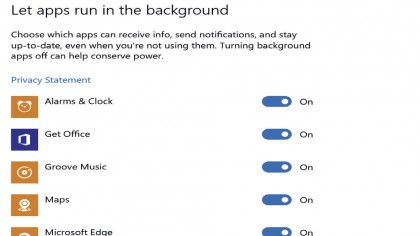
Click the top-left arrow to return to 'Battery Use' and select 'Change background app settings'. From here, choose which apps can receive information, send notifications and stay up-to-date in the background when you're not using them.
Turn off any non-essential items to conserve power. (These settings can also be accessed from 'Settings > Privacy > Background apps'.)
5. Customise battery saver
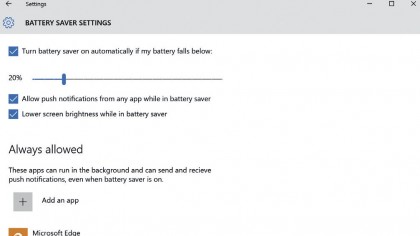
Click the top-left arrow and select 'Change battery saver settings'. From here, enable 'Battery Saver' and choose the battery level that triggers the feature. You can also choose whether to allow push notifications when the setting is enabled, and if screen brightness should be dimmed.
Click the plus button to 'Add an app' and exempt it from these settings and run as normal.
6. Power & Sleep
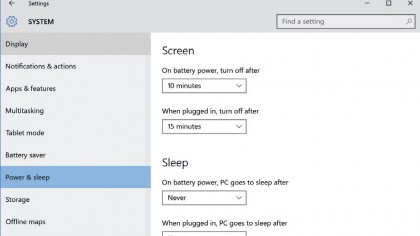
Now return to the previous screen by clicking the top-left back arrow and select 'Power & sleep' from the System settings side column. Here you can reduce the amount of time that your laptop sits idle before the screen automatically switches off – select the number of minutes from the dropdown menu under 'Screen'. Under 'Sleep', choose how long it is before your PC naps.
7. Additional power settings
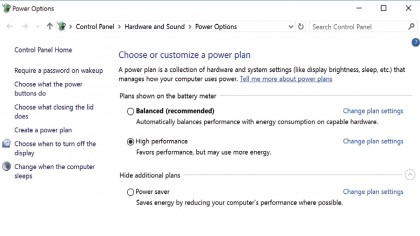
At the bottom of the Power & sleep screen, under 'Related settings', you'll see a link to 'Additional power' settings. This opens the 'Power Options' panel where you have more control over energy usage.
A collection of defined hardware and system settings is called a 'power plan'. Select a pre-defined plans, tweak its settings, or create your own from scratch.
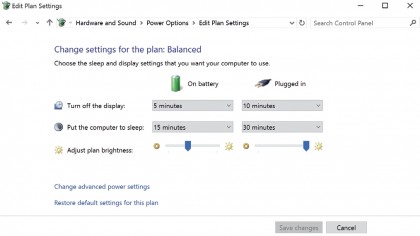
8. Pick a power plan
Choose the pre-defined Power saver plan to eke out as much time from your battery as possible. To make the plan even more unforgiving, click 'Change plan settings' and under 'On battery', further reduce the time it takes before the display turns off and your PC goes to sleep.
For more control, click 'Change advanced battery settings' to adjust other system behaviours.
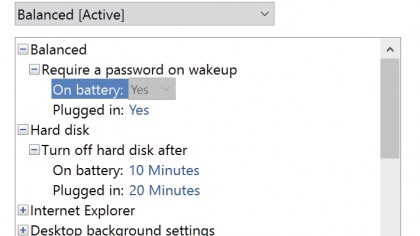
9. Advanced settings
Click the plus symbols to adjust options in the Advanced settings window. Choose 'Maximum Power Saving' mode in the dropdown menu, and set your hard disk to sleep when it's not in use.
Pause the 'Slide show' in Desktop background settings and enable adaptive brightness. Finally, choose what Windows should do when power is all but depleted, under 'Critical battery action'.
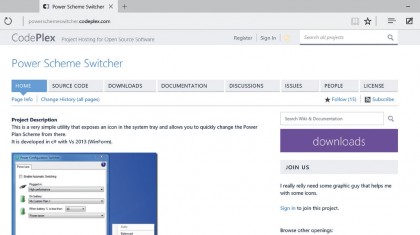
10. Final steps
Once you've applied power plan settings, you're all set. To activate power-saving mode, click the battery icon in Windows' desktop notifications bar and hit the 'Battery saving' tile. If you have more than one plan for different usage scenarios and want to switch between them from the desktop on the fly, download and install Power Scheme Switcher
- Enjoyed this article? Discover how to get the most from your PC and new things to do in Windows Help & Advice. Take advantage of an exclusive offer in our sampler today.