How to use File Explorer in Windows 10
Do more with your PC files
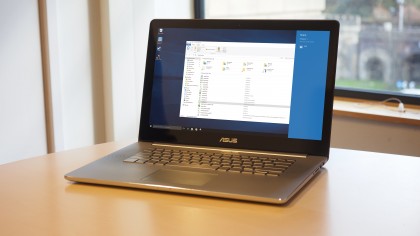
Get the best out of File Explorer
Computers have used the idea of folders to store our files in for decades now. Before Windows, with its visual interface, came along, we had to interact with our PCs using a command line – a single flashing cursor floating in a sea of black.
Back then, you would type in commands to reveal a computer's 'directory structure' and move up and down a hierarchy of folders. Happily, Windows saved us from all that. By using folders, today's File Explorer reveals a PC's directory structure as branches of a tree, making organising files simpler and navigating between folders altogether easier.
File Explorer also lets you perform file-specific actions with a click of the mouse and quickly find the file you want using a simple word or phrase. Read on to discover how File Explorer can make managing your files a breeze.
1. Open File Explorer
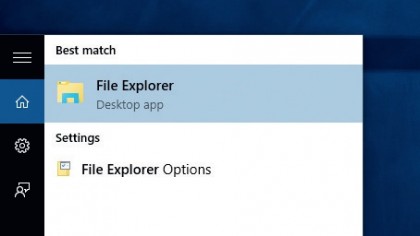
Start by opening File Explorer. You can do this a number of ways. By default, Windows 10 includes a shortcut to the application on the taskbar: click the icon that looks like a folder and File Explorer opens.
You can also type the name of the app into the search box and press [Enter]. Alternatively, hold down the
[Windows key]+[E] on your keyboard for a fast-finger shortcut.
2. Quick Access
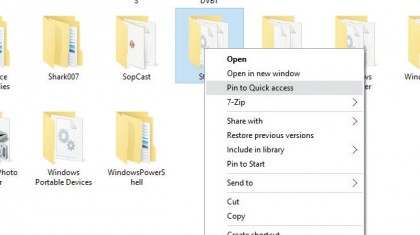
The left-hand navigation pane in File Explorer is the Quick Access area. It acts like a bookmarks bar for your favourite folders and any frequently accessed areas on your PC. You can 'pin' any folder here (the folder remains in its original location) to save you digging around for it later.
To do so, right-click the folder in question and select 'Pin to Quick Access' from the menu.
3. Pinned folders
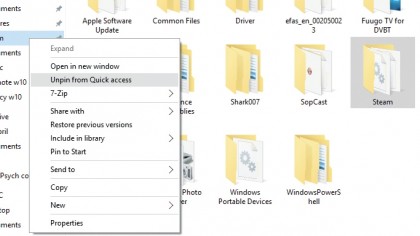
A pinned folder is basically a virtual link to a folder located elsewhere on your PC, but that doesn't stop it from working like any other folder. For example, drag and drop an item onto a pinned folder and it will be moved into it (or copied into it, if it's on another physical drive).
To remove a folder from the Quick Access menu, right-click it and select 'Remove from Quick Access'.
4. Ribbon interface
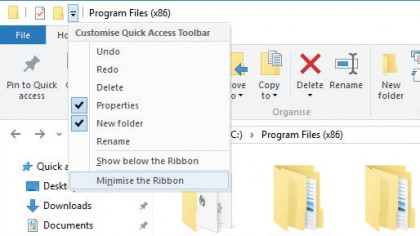
The ribbon interface is home to File Explorer's more advanced functions, which we'll look at in the next step. For now, you can reveal the interface by clicking the Home, Share or View buttons at the top of the window.
To make the ribbon permanently visible, click the downward-pointing icon next to the folder name in the header and uncheck 'Minimize the Ribbon'.
5. Home tab
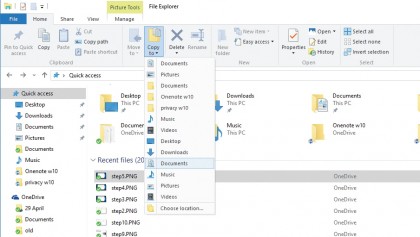
Clicking the Home tab reveals commonly used (and useful) file and folder actions, such as cutting, copying and pasting to the virtual clipboard. The clipboard works as a temporary 'holding pen' for items when you're reorganising files and folders.
The other Home buttons include actions such as move, copy, delete, rename, new item (file, folder etc) and selection tools.
6. Share tools
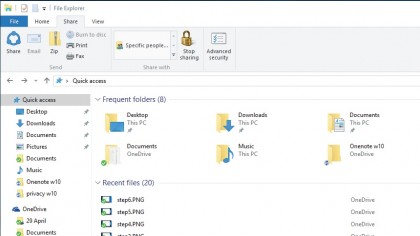
To send a file or folder to someone, open the Share tab. Here you'll find options to share an item over email or to zip it first (this is recommended for large files).
Alternatively, you can burn items to disc, print or fax a document, and also share files with other people on your local network. Click the first Share button and Windows will let you choose which app to use.
7. View tab
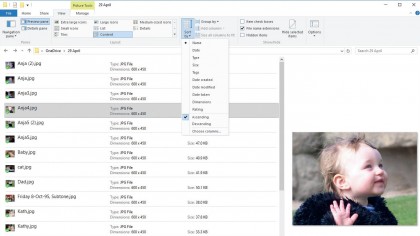
Using the View tab, you can get rid of the left-hand navigation pane and Quick Access menu. You can also hide the Preview pane (used to show larger versions of media files, for instance) and the Details pane (which lists more technical info).
You can make icons bigger or smaller, change sort order and hide items; Windows remembers preferences for each folder.
8. Picture tools
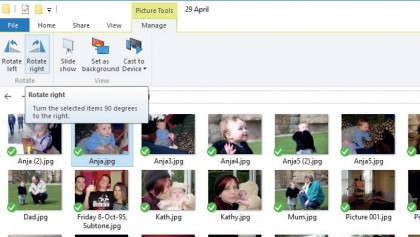
Click on an image and you'll notice a Manage tab appear in the Ribbon and the phrase 'Picture Tools' highlighted above it. Click the tab for options to rotate the selected picture 90 degrees left or right – click again to continue the selected rotation.
You can also start a slideshow of all or selected images (click-drag a selection box over several), or set one as your desktop wallpaper.
9. Search bar
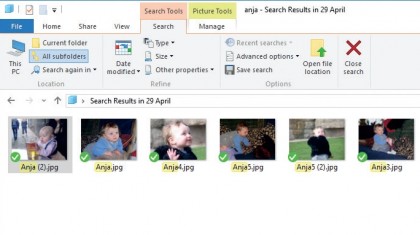
Don't overlook the search bar, which sits right of the location bar. Type a word or phrase here and your search will be limited to the currently open folder (and any subfolders therein).
If your search term occurs within any documents that live inside the open folder, they will also show in the results. Right-click a result and select 'Open file location' to see precisely where it is.
10. This PC
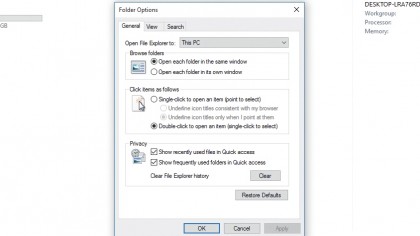
Don't like the way File Explorer opens with your most recently accessed files and folders? Perhaps you'd prefer an overview of your PC's home folders, local drives and network locations on opening? Click 'File' and select 'Change folder and search options.'
Click the 'Open File Explorer to' box at the top of the window and select 'This PC' instead of 'Quick access.' Done!
- Enjoyed this article? Discover how to get the most from your PC and new things to do in Windows Help & Advice. Take advantage of an exclusive offer in our sampler today.