How to use Mac OS X El Capitan's Split view
Arrange apps

Sign up for breaking news, reviews, opinion, top tech deals, and more.
You are now subscribed
Your newsletter sign-up was successful
Window management in OS X has improved over the years, but no matter how carefully you tried to arrange apps, it can still feel difficult to get things where you want them.
Sure, Mission Control can be invoked as a quick way to see everything that you've got open at once and to switch apps with ease, and many apps can be switched to full-screen mode these days to reduce distraction by utilising the whole of your display.
Overall, though, OS X still seems to require you to spend an inordinate amount of time resizing and repositioning windows to set up your working environment.
That's why Apple has come up with the new Split View option in El Capitan. It's ideal when you need to focus on just two apps at once. In fact, it's so good that it could revolutionise how you use apps, especially on small screens like those on the MacBook and MacBook Air, where every pixel counts.
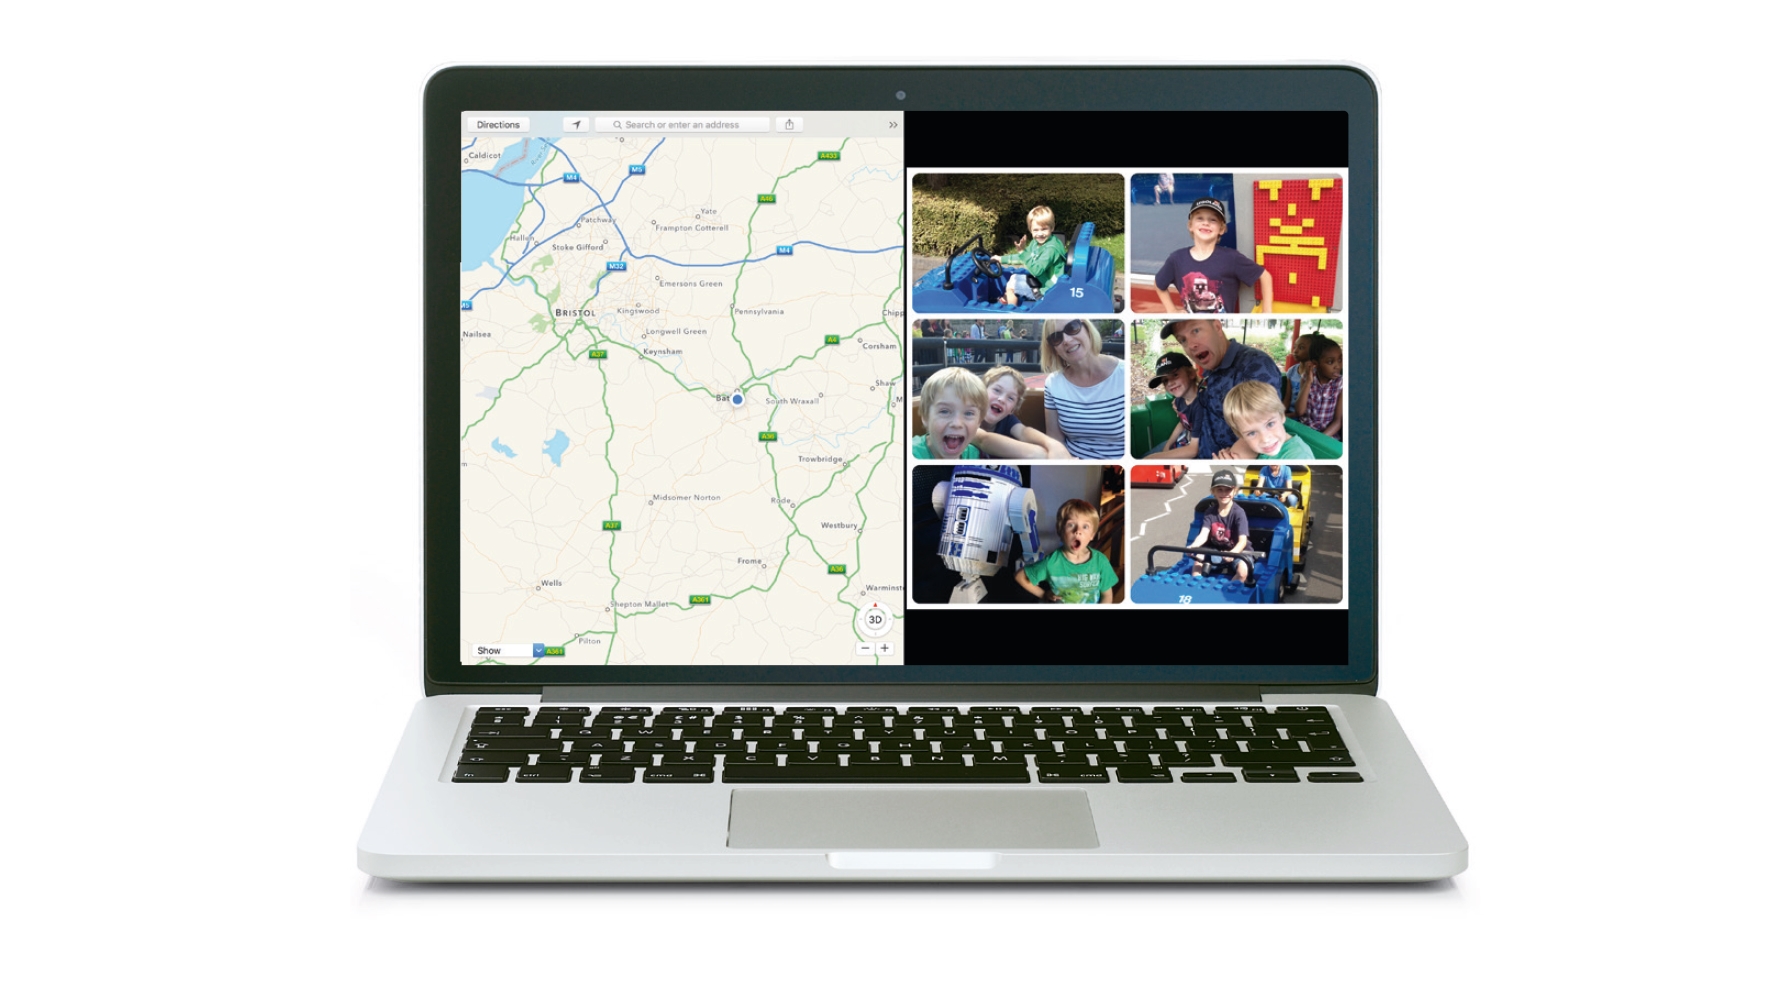
Similar to full-screen mode, Split View puts two apps side-by-side and fills the entire screen as if they're both running full-screen (in fact, whatever apps you want to use in Split View need to support that mode). This provides more space to the content you're working on. You aren't stuck with the split that OS X determines for you.
Between your two apps is a black bar that you can drag left or right to change the amount of space that's allocated to each one. In short, Split View is a really nice way of working. Mastering it is all about knowing where and what to click, so here we reveal its secrets to you. Get ready to change the way you use your Mac forever!

1. Locate your first app
The first step in activating Split View is to make sure both apps you want to run are open. Locate the first app you'd like to use in it, and click and hold on the green button in the top-left corner of its window.
Sign up for breaking news, reviews, opinion, top tech deals, and more.
Now drag the window to the left or right side of the screen, which will be highlighted with a blue overlay. Release the mouse or trackpad to fill that area with the app.

2. Find a second app
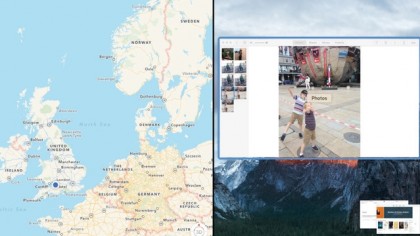
With one app taking up half of your screen, the other windows that are open become thumbnails in the other half. Select the app (or specific window) you want to see on that side of the screen by clicking its thumbnail.
The app will zoom to fill that area. You're now in Split View mode. It is, in effect, like having both apps running in full-screen mode simultaneously.

3. Allocate space to each
Between the two apps is a black line. Put the pointer over the line and it'll change to an arrow icon, indicating you can click and drag to adjust the space allocated to the apps. To exit Split View, move the pointer to the top of the screen to reveal the menu bar and each app's title bar.
Click either app's green button to remove it from Split View; the other remains in full-screen mode.
- Enjoyed this article? Get more tutorials, guides, and tips on how to get the most from your Apple devices inside MacFormat. Take advantage of an exclusive offer in our sampler today.

Graham is the Senior Editor for AI at TechRadar. With over 25 years of experience in both online and print journalism, Graham has worked for various market-leading tech brands including Computeractive, PC Pro, iMore, MacFormat, Mac|Life, Maximum PC, and more. He specializes in reporting on everything to do with AI and has appeared on BBC TV shows like BBC One Breakfast and on Radio 4 commenting on the latest trends in tech. Graham has an honors degree in Computer Science and spends his spare time podcasting and blogging.