How to use Windows 10 privacy settings
Stay private in Windows 10

Windows 10 privacy
Privacy is a hot topic these days. The rise of cloud-based services has seen more users than ever trust their private information to remote servers, at a time when the security of online data has come into question following a spate of high-profile breaches.
What does this have to do with Windows 10 users? Well, it might surprise you to learn in Microsoft's Privacy Statement, the company makes clear its intention to collect your data when you 'create a Microsoft account, submit a search query to Bing, speak a voice command to Cortana, upload a document to OneDrive, or contact us for support'.
However, if you'd rather not hand over your private data, don't worry – it's not too late to roll back these changes. Here we'll run you through some steps to help you take back your privacy in no time.
1. Ad personalisation
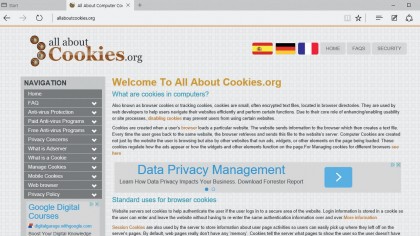
Personalised ads are a form of targeted marketing that companies use online. When you visit a website for the first time, a 'cookie' is downloaded to your PC – a small text file of viewing data that the site uses if you ever return, so that it can tailor the ads you see.
Happily, Windows 10 makes advertising personalisation optional by integrating it into its privacy settings.
2. Disable ads in Windows
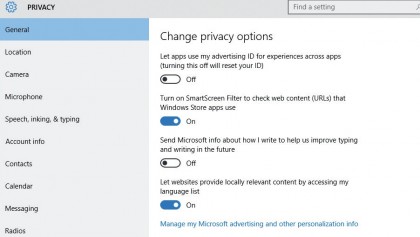
Disabling personalised ads in Windows 10 is a two-step process. First, go to the 'Settings' window by selecting the option from within the Start menu.
Once you're in 'Settings', navigate to the 'Privacy > General' panel via the left-hand column and slide off the button next to the option 'Let apps use my advertising ID for experience across apps'. Turning this off will reset your ID.
3. Disable ads online
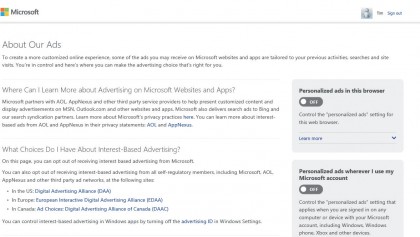
This next step has to be carried out online, so in your web browser, go to Microsoft's webpage for controlling your Ad preferences.. On the web page that appears, select the 'x' or 'Off' button in the box next to 'Personalised ads wherever I use my Microsoft account' and do the same in the box next to 'Personalised ads in this browser'.
4. Wi-Fi Sense
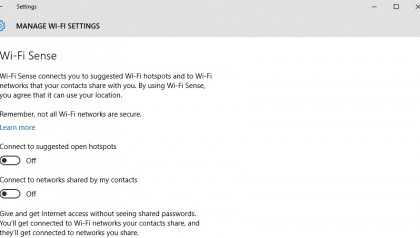
Another new feature of Windows 10 that you may prefer to disable is Wi-Fi Sense, which lets you share access to password-protected Wi-Fi routers.
To achieve this, Wi-Fi Sense shares passwords over an encrypted network to other users' computers that you have approved, but the users themselves never see the password and cannot grant sharing permissions to others.
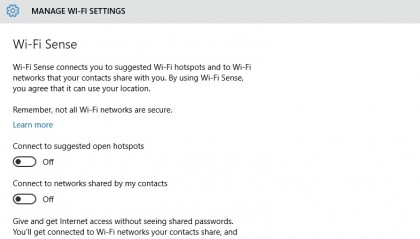
5. Manage Wi-Fi Settings
The advantage of Wi-Fi Sense is that it means you don't have to approve friends every time they come over and try to connect to your wireless network.
But if you'd rather not use it, go to 'Settings > Network & Internet > Wi-Fi > Manage Wi-Fi Settings', and switch off the buttons next to 'Connect to suggested open hotspots' and 'Connect to open networks shared by my contacts'.
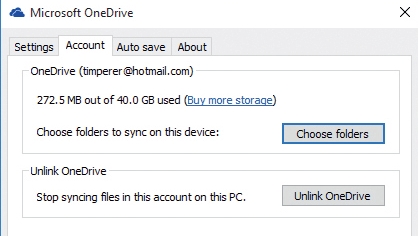
6. Disable OneDrive
OneDrive is Microsoft's cloud service for storing files online and lets users work on files from anywhere. If you have no use for OneDrive, adjust settings so you're no longer bothered by prompts to configure it.
Click the upward arrow on the right-hand side of the taskbar, right-click the OneDrive icon and select 'Settings'. Uncheck the boxes in the window that appears.
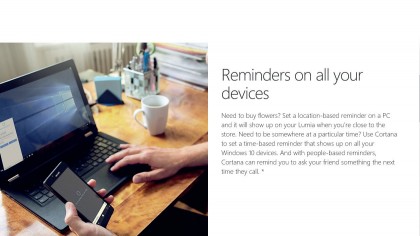
7. Cortana data gathering
Cortana is Microsoft's digital personal assistant built into Windows 10. It's a useful feature that lets you create calendar events, send email, set up reminders plus a range of other actions.
But to perform these duties it has to collect your data. If you've never used Cortana then you have nothing to do, but if you do and you could live without it, here's how to turn it off.
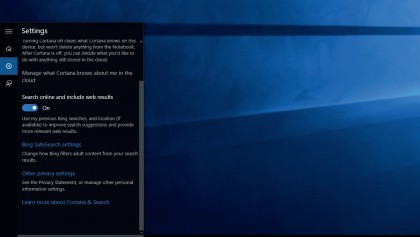
8. Goodbye Cortana
Click the Cortana icon in the taskbar and then select the notebook icon on the left side of the menu. Choose 'Settings'. At the top is a slider for an option that says 'Cortana can give you suggestions, ideas, reminders, alerts, and more'; turn it off.
You'll then see a new option called 'Search online and include web results'. Turn this off if you want to keep searches local.
9. Bing search
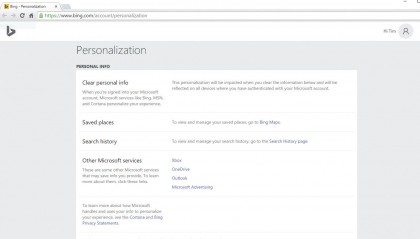
Bing is Microsoft's answer to Google. And it also collects data on your online activities, which then feeds into Cortana and other Windows 10 services.
To turn it off, open 'Settings' and go to 'Privacy > Speech, inking, and typing'. Click the option to 'Go to Bing and manage personal info for all your devices'. Read the notes on the web page that appears; if you're happy, click 'Clear'.
10. Using a local account
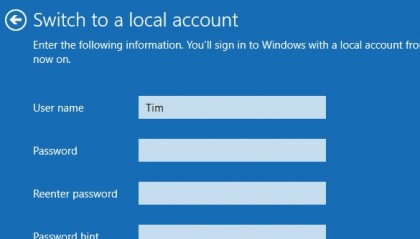
Using a local account in Windows 10 is a privacy-savvy way of limiting the system's access to the cloud. To set one up, go to 'Settings > Accounts > Your account', select the option to 'Sign in with a local account instead' and follow the wizard.
Bear in mind that you'll lose access to any Windows features that are tied to your online Microsoft account, such as Windows Store.
If you're after more ways to protect your privacy in Windows 10, check out our guide on how to fix Windows 10 privacy issues with O&O Shutup 10.
- Enjoyed this article? Discover how to get the most from your PC and new things to do in Windows Help & Advice. Take advantage of an exclusive offer in our sampler today.