How to get gaming on Windows 10
It's not all work and no play
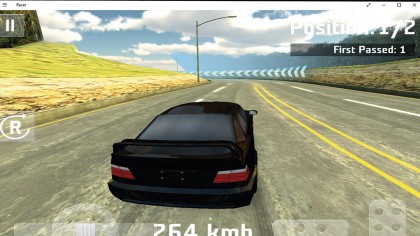
Get gaming on Windows 10
Microsoft has returned to Windows gaming with a vengeance in Windows 10. It's upgraded DirectX to version 12, which finally allows it to talk to your graphics card using more than one processor core.
This means future games supporting DirectX 12 (as well as current games updated to support it) will run much quicker and be more responsive.
Other improvements centre around the new Xbox app, designed to link your PC with your Xbox for streaming games, reviewing your gaming history and staying in touch with your mates on the Xbox live platform.
You can even use it as a remote control for your Xbox One's media content. These new features are all well and good, but there are a few steps you should follow to make sure Windows 10 is set up for gaming heaven – read on to find out what you need to know.
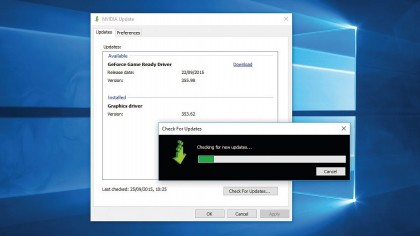
1. Upgrade drivers
Windows 10 won't necessarily have the latest drivers for your setup – it's usually better to install chipset and graphics drivers direct from the manufacturer, such as NVIDIA or AMD for graphics.
Trouble tracking down the latest drivers for your PC? Try a program like Driver Booster Free to see if it can track them down.
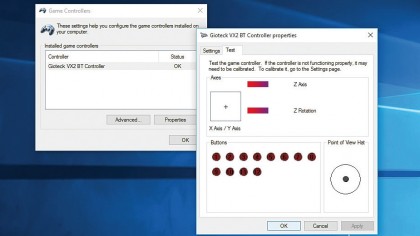
2. Connect controllers
Plug in your game controller if you haven't already – it should be automatically detected and drivers downloaded and installed. Once done, type controllers into the Search box and click 'Set up USB game controllers'.
Click 'Advanced' to choose which controller to use with older programs, and 'Properties' to verify your controller is working correctly (and calibrate it if not).
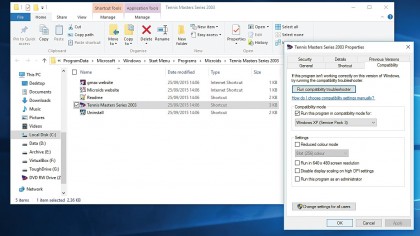
3. Check compatibility
If you've upgraded to Windows 10, check to see if any previously installed games still work – if they don't, visit the game's website to see if a compatibility patch is available or other tips for getting the game to work can be found (for example, using Compatibility Mode – right-click the program shortcut and choose 'Properties > Compatibility' to set this up).
4. Get Steam
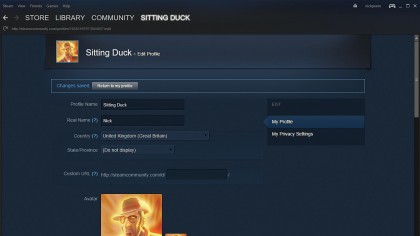
If you're a Steam user, visit store.steampowered.com and click 'Install Steam'. Download and install the main program, then log in with your account (you'll need to enter a code emailed to you to verify this computer).
Once logged in, right-click the program's new taskbar notification area icon to download and restore previously purchased games or access your library.
5. Make Steam your gaming centre
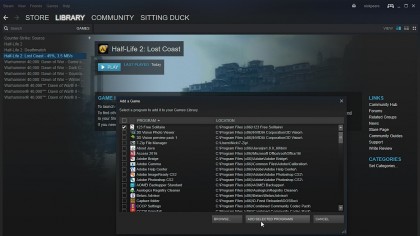
You can add games you've installed independently of Steam to your library, making it your one-stop shop for gaming in Windows 10. To do this, visit your Library page, click '+ Add a Game…' and choose 'Add a Non-Steam Game'.
Steam will list all installed programs on your PC, so it's up to you to identify your games and tick them, then click 'Add Selected Programs'.

6. Replacing missing Windows games
Windows 10 removes the free Microsoft games like Solitaire and Minesweeper. Instead, you can download free ad-supported versions from the App Store (ads can be removed by buying a subscription).
Free alternatives include 123 Free Solitaire – use a website such as alternativeto.net to help you find them.
7. Go Xbox
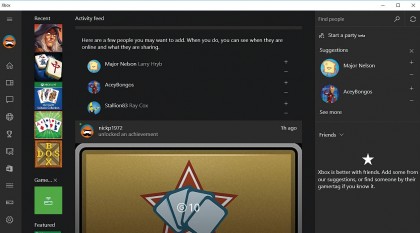
Windows 10 introduces a new app called Xbox, which it hopes will eclipse Steam for gaming. Log in with your Microsoft Account if necessary, then follow the prompts to set up your Xbox account.
Once done, use the icons down the left-hand side to navigate the app, customise your profile, manage your games and even connect Windows to your Xbox One console.
8. Game DVR
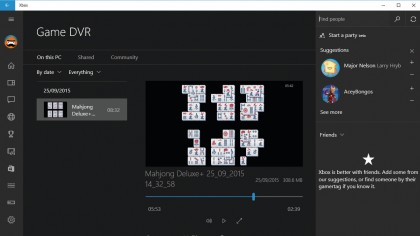
When playing a game in windowed mode (not full-screen), press [Win]+[G] to open the Game bar. From here you can take screen snaps and – if your graphics card supports it – record live footage of your gaming, which you can then organise, rewatch and share with others in the main Xbox app.
Configure Game DVR via its own tab in the Xbox app's Settings screen.
- Enjoyed this article? Discover how to get the most from from your PC and new things to do in Windows Help & Advice. Take advantage of an exclusive offer in our sampler today.