Headshot photography: how to take a professional portrait
Learn how to take a professional headshot with these expert tips

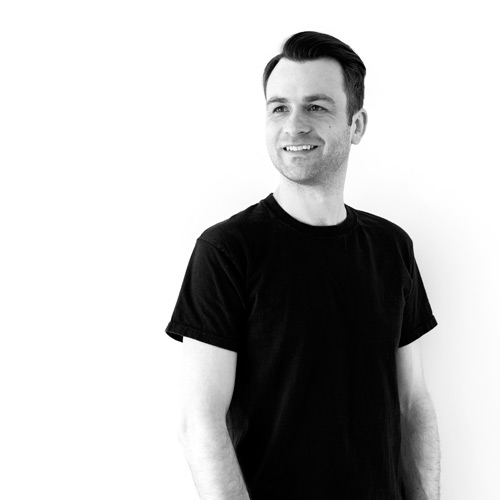
Portraits come wide range of styles, and each type offers an important option for both professionals selling a service, and enthusiasts looking for creative ways to approach personal projects. The headshot is one of the most basic portrait crops available, but it’s also an important one because it puts all focus on the subject without any distractions making them a firm favourite with business people, actors and musicians.
Some portrait photographers sneer at headshots because they don’t see them as being creative. But in reality headshots can be just as creative as any other form of portraiture; in fact, when you’re working with such a tight crop, shooting them can be a real art form because all attention is focused on the sitter, their pose, the lighting and the overall quality of the image. Everything is under scrutiny, so you have to get them just right.
1. Posing the sitter
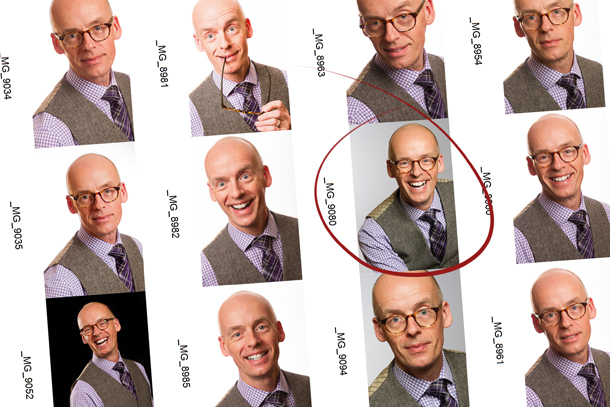
Poses are limited with a headshot, but subtle turns of the head and shoulders can make a huge difference. Plus, you can shoot in both landscape and portrait formats to change the spacing around the sitter and to loosen or tighten the crop. This could range from a tight head crop to almost waist level, so the headshot isn’t quite as restrictive as the name may suggest.
The idea of a headshot is to clearly show the individual engaging with the camera and looking calm, confident and relaxed. So, for this reason it’s essential to put the sitter at ease during the session. Keep a conversation going while you’re shooting, and show the sitter the camera LCD screen so they can see what you’re doing and work with you to get the best images possible.
In terms of facial expression both smiling and more natural expressions work well, so try both. Even if the sitter has said they would like one or the other, it takes less than a minute to fire off a few extra frames, and by doing so you’ll ultimately be able to offer more image options at the end of the session that are suitable for different situations.
2. Lighting options
The most common way to light portraits is using one or two studio lights with a softbox providing diffused key light. If you don’t have a studio kit, off-camera flash can work just as well, but a softbox remains essential for producing an even spread of diffused light. Two lights will always provide more control and options than a single light source, but if you only have one flash you can use a reflector to reduce shadows as required.
Lighting can be as simple as a single light set-up where you position a softbox at a height just above and in front of the sitter’s head and pointing down at a 45° angle. This works well because it provides even light and a pleasing shadow below the nose. A reflector facing upwards on the sitter’s lap will reduce the shadow under the chin.
Get daily insight, inspiration and deals in your inbox
Sign up for breaking news, reviews, opinion, top tech deals, and more.
If you’d like more definition Rembrandt lighting is another simple single light technique where there’s more shadow on the face to add definition. For this, position a flash with a softbox at a 45° angle in front and to the side of the sitter. The idea is to have an upside down triangle of light under the eye on the opposite side of the face to the light source. To reduce shadows you can introduce a reflector and/or a second rim/hair light using a silver umbrella or honeycomb grid.
3. Camera settings
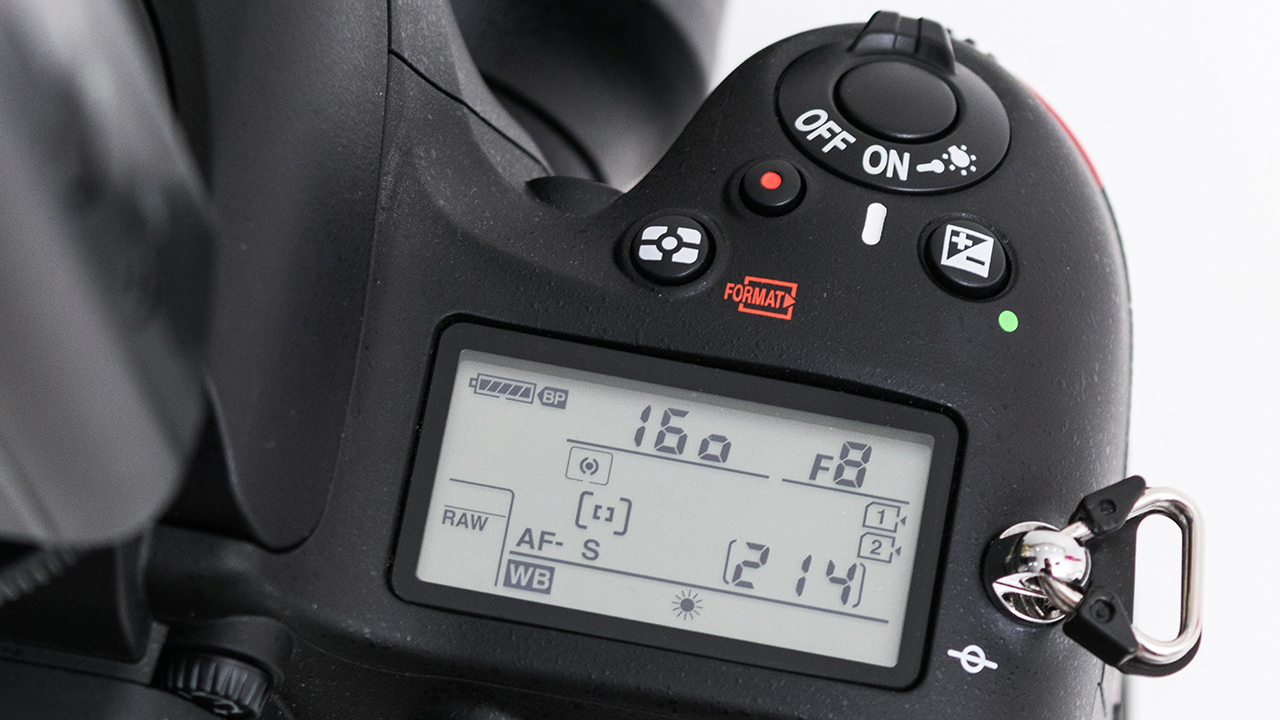
When shooting in the studio it’s essential to shoot in manual mode to lock the camera settings because the semi-automatic shooting modes would provide an incorrect exposure. Set ISO to 100 for the best image quality with shutter speed set to the camera flash sync speed, or a shutter speed close to this: 160/sec – 1/200 sec will be sufficient. Set aperture to f/8 because this will provide the sharpest results for most lenses, and it also gives you leeway to stop down to f/11 if you need to. Finally, set single shot AF to single point, and manually select a focus point close to the sitter’s eyes when composing a shot while looking through the viewfinder.
4. Lighting settings
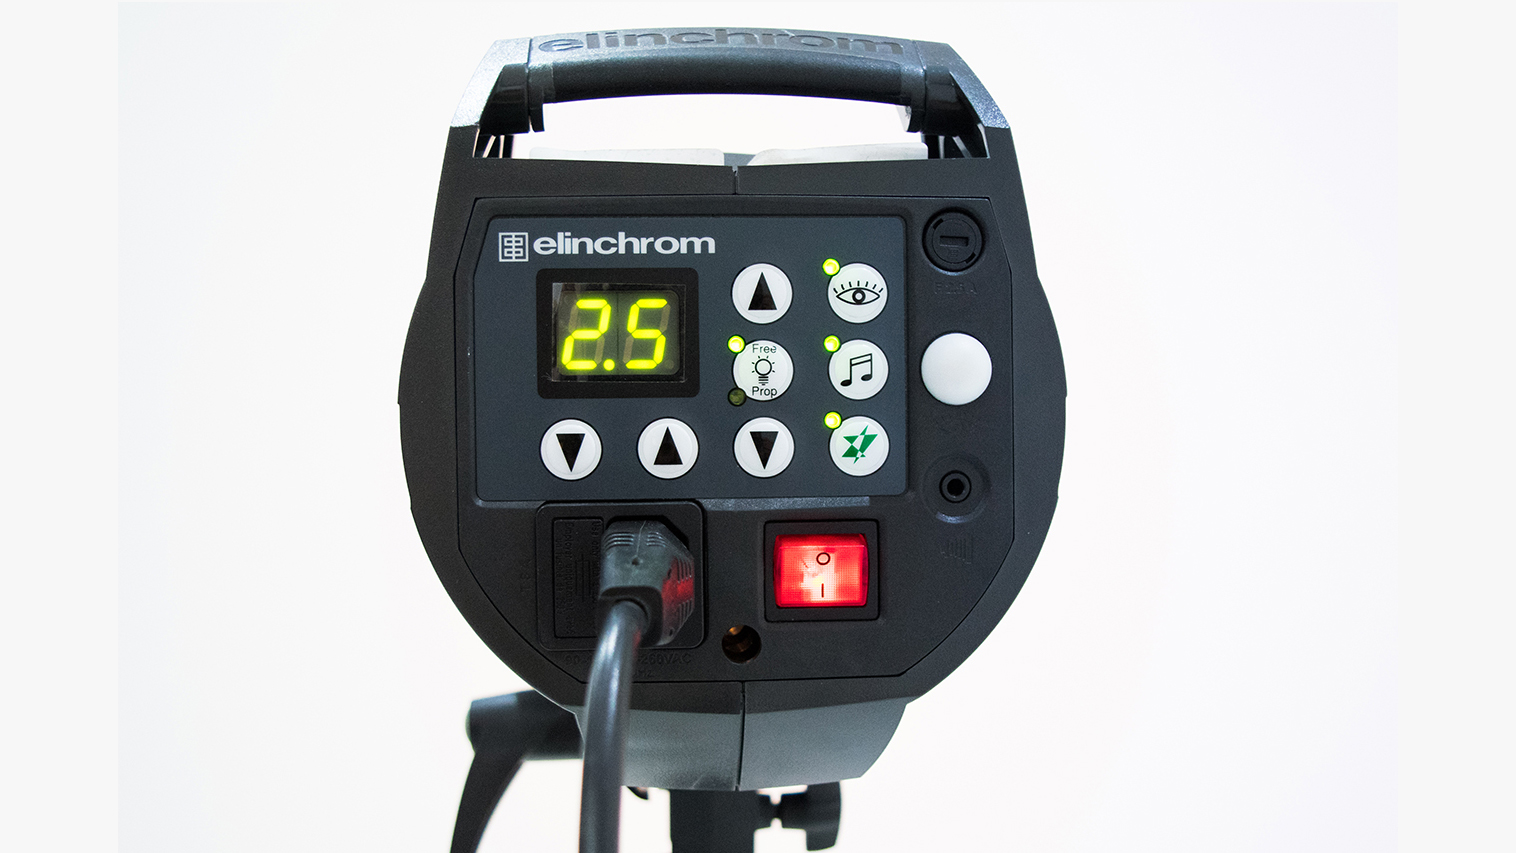
It’s impossible to give precise settings for the power settings for flash because different studio flash heads and flashguns have different power outputs. The best way to work is to set up your camera first with the desired exposure settings, and then either take test shots before adjusting the output until exposure is correct, or by using a light meter. With studio flash start in the region of ¼ power and adjust accordingly, with flashguns begin at ½ power and work from there.
Working out correct exposure from the starting point is pretty easy; simply reduce power output if the resulting image is too light, or increase it if it’s too dark. If you’re shooting at the lowest setting possible and the image is still too light, stop down the lens to f/11 and/or move the light source further away from the sitter.
5. How to get a shallow depth-of-field
When using studio flash or even a flashgun off-camera, reducing the power output enough to both sufficiently illuminate the sitter and be able to shoot at a wider aperture can be difficult, often impossible. The way to get around this is to set up your lighting so everything looks exactly how you want it with the aperture set to f/8. You can then either use a two-stop ND filter to open the aperture up to f/4, or a variable ND to go as wide as f/2.8 or f/1.8. One thing worth noting with the latter is that some cameras will struggle to autofocus with four stops of light being blocked, so you will have to be more patient when it comes to focusing or switch to manual focus.
- Gear guide: Best ND filters: 6 top models tested
6. More than just a white background
Most people have a white background, and they certainly work well for headshots. But if you’d like to use a grey background instead don’t go rushing to your favourite online background retailer just yet. A white background can actually be captured in varying degrees of grey all the way to black, and it all depends on the distance between the sitter of the portrait and the background, and the angle of light. By moving the subject away from the background by about 1-1.5m you’ll get a nice medium grey background because the fall off in light renders it underexposed. If you don’t have a photographic background, a plain white wall works just as well.
7. More than meets the eye
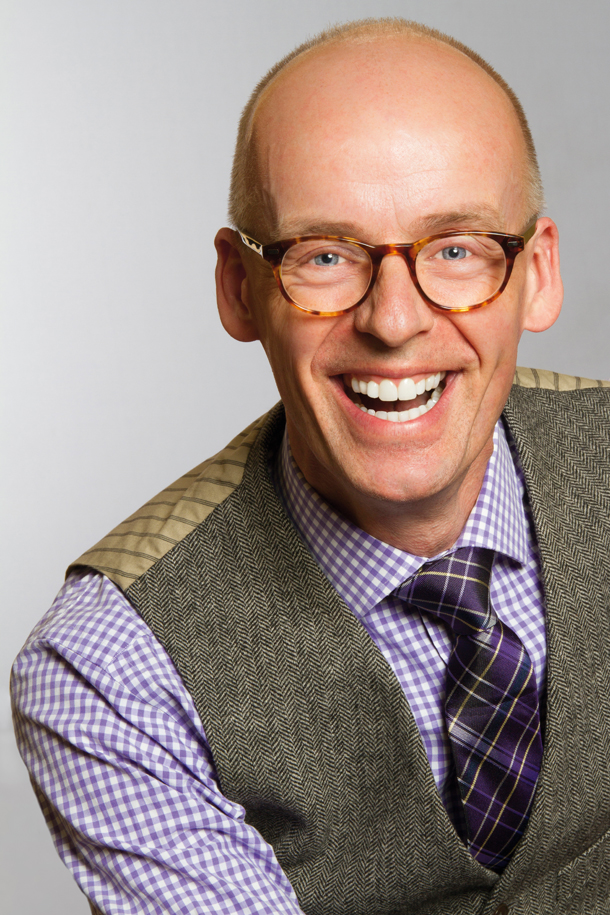
Headshots may not sound like the most exciting type of portrait but they can be as simple or creative as you would like them to be. From pose to lighting to clothes to props to background choice, once you start thinking about the ways you can enhance headshots according to the needs of the client or project, you’ll soon see that the possibilities are as numerous as any other type of photography. In fact, there are professionals out there making a good living from shooting mostly headshots, and others offering the service because it’s one that’s always in demand.
James Abbott is a professional photographer and freelance photography journalist. He contributes articles about photography, cameras and drones to a wide range of magazines and websites where he applies a wealth of experience to testing the latest photographic tech. James is also the author of ‘The Digital Darkroom: The Definitive Guide to Photo Editing’.
