How to add new fonts on Mac
Add some new style

Your Mac comes with various fonts already installed. However, there are many more floating around the blogosphere ready to be installed. When installing new fonts, it's important to get them validated before use. Luckily, Apple built in the validation process in the macOS Font Book.
Besides installing and validating fonts, you can resolve duplicate, remove, disable, and enable fonts.

Installing and validating fonts
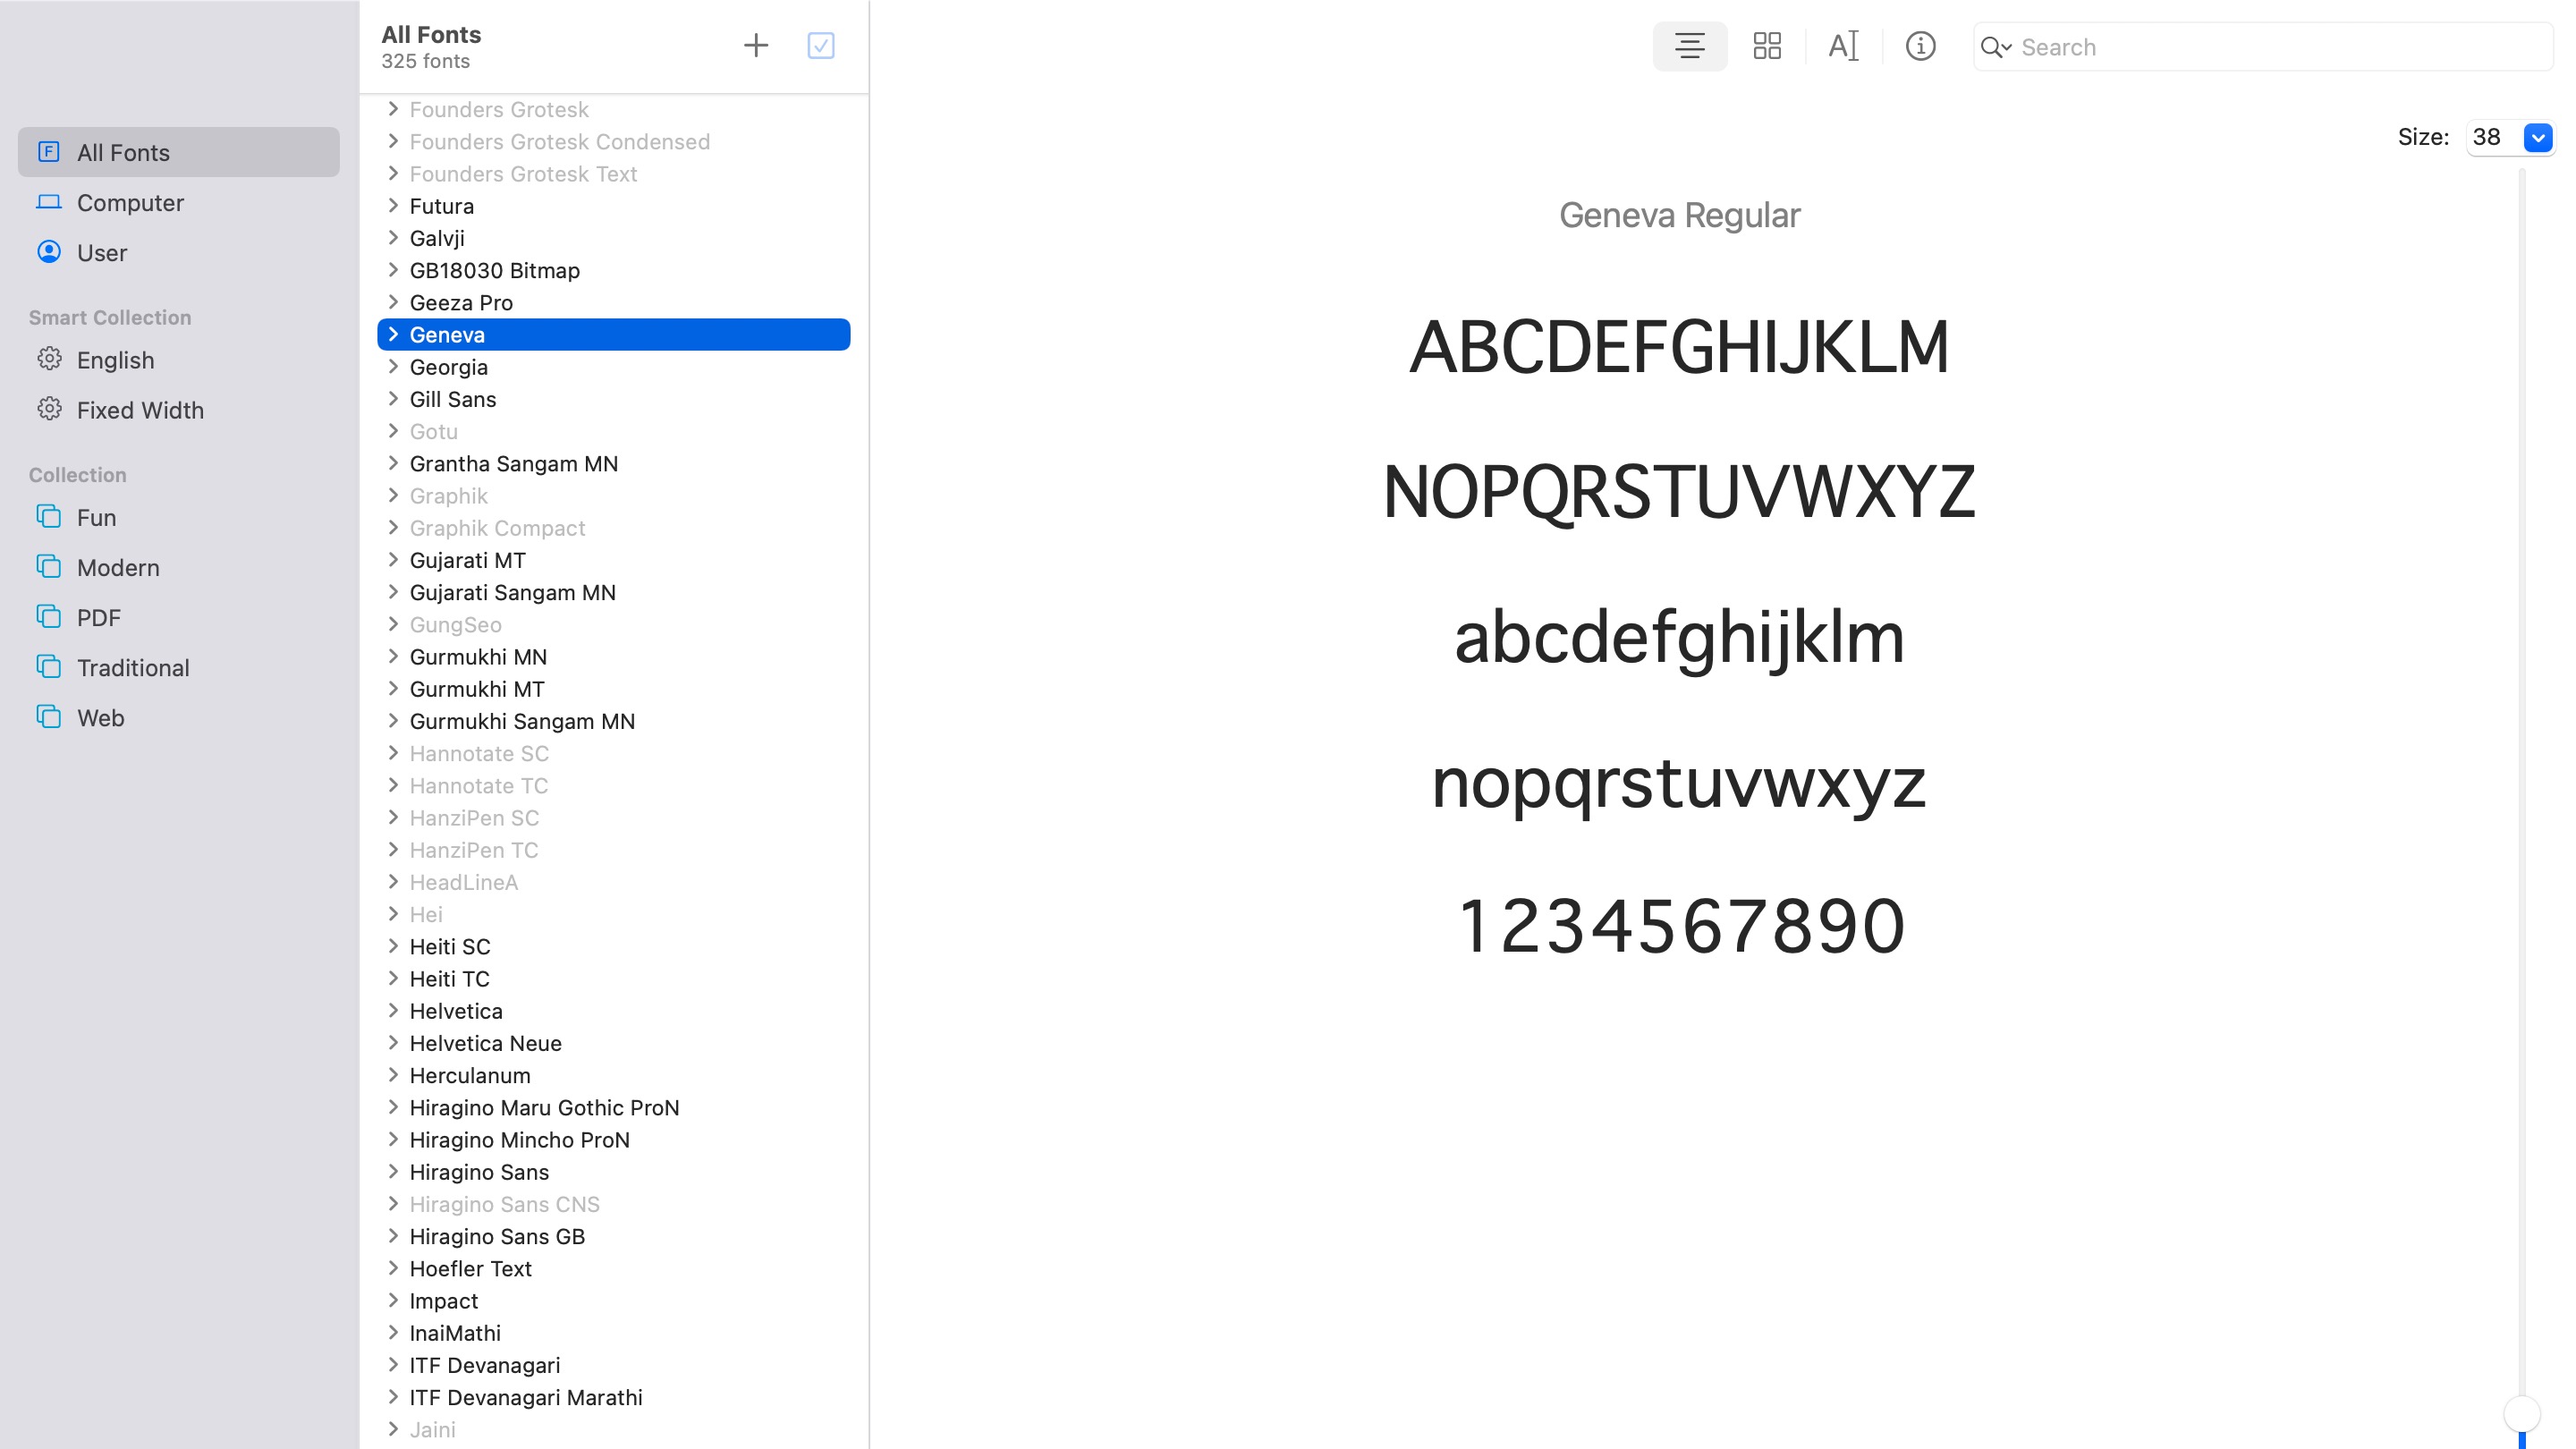
You can find the macOS Font Book by searching for it through 'Spotlight'. You can also find it in the 'Application' folder. To add new fonts, click on the 'Add' button in the Font Book toolbar, then locate and select a font. Click 'Open'. You can also drag new fonts directly into the Font Book app icon. Double-clicking a new font will also begin the installation process.
Once the font is installed, macOS automatically validates it by checking it for errors.
Fonts sometimes get corrupted long after installation. These irregular fonts typically aren't displayed properly or make it impossible to open a document. To resolve this, you can attempt to re-validate the font, which should fix the issue. If this doesn't help, the system will suggest deleting the app.
To validate a font, go into the Font Book, then highlight the troublesome font. Choose File > Validate Font from the Font Book menu bar. In the window, click the arrow next to a font to review details. A green icon indicates the font passed, a yellow icon indicates a warning, and a red icon indicates it failed. Select the checkbox next to a failed font, then click 'Remove Checked'.

Installing system fonts
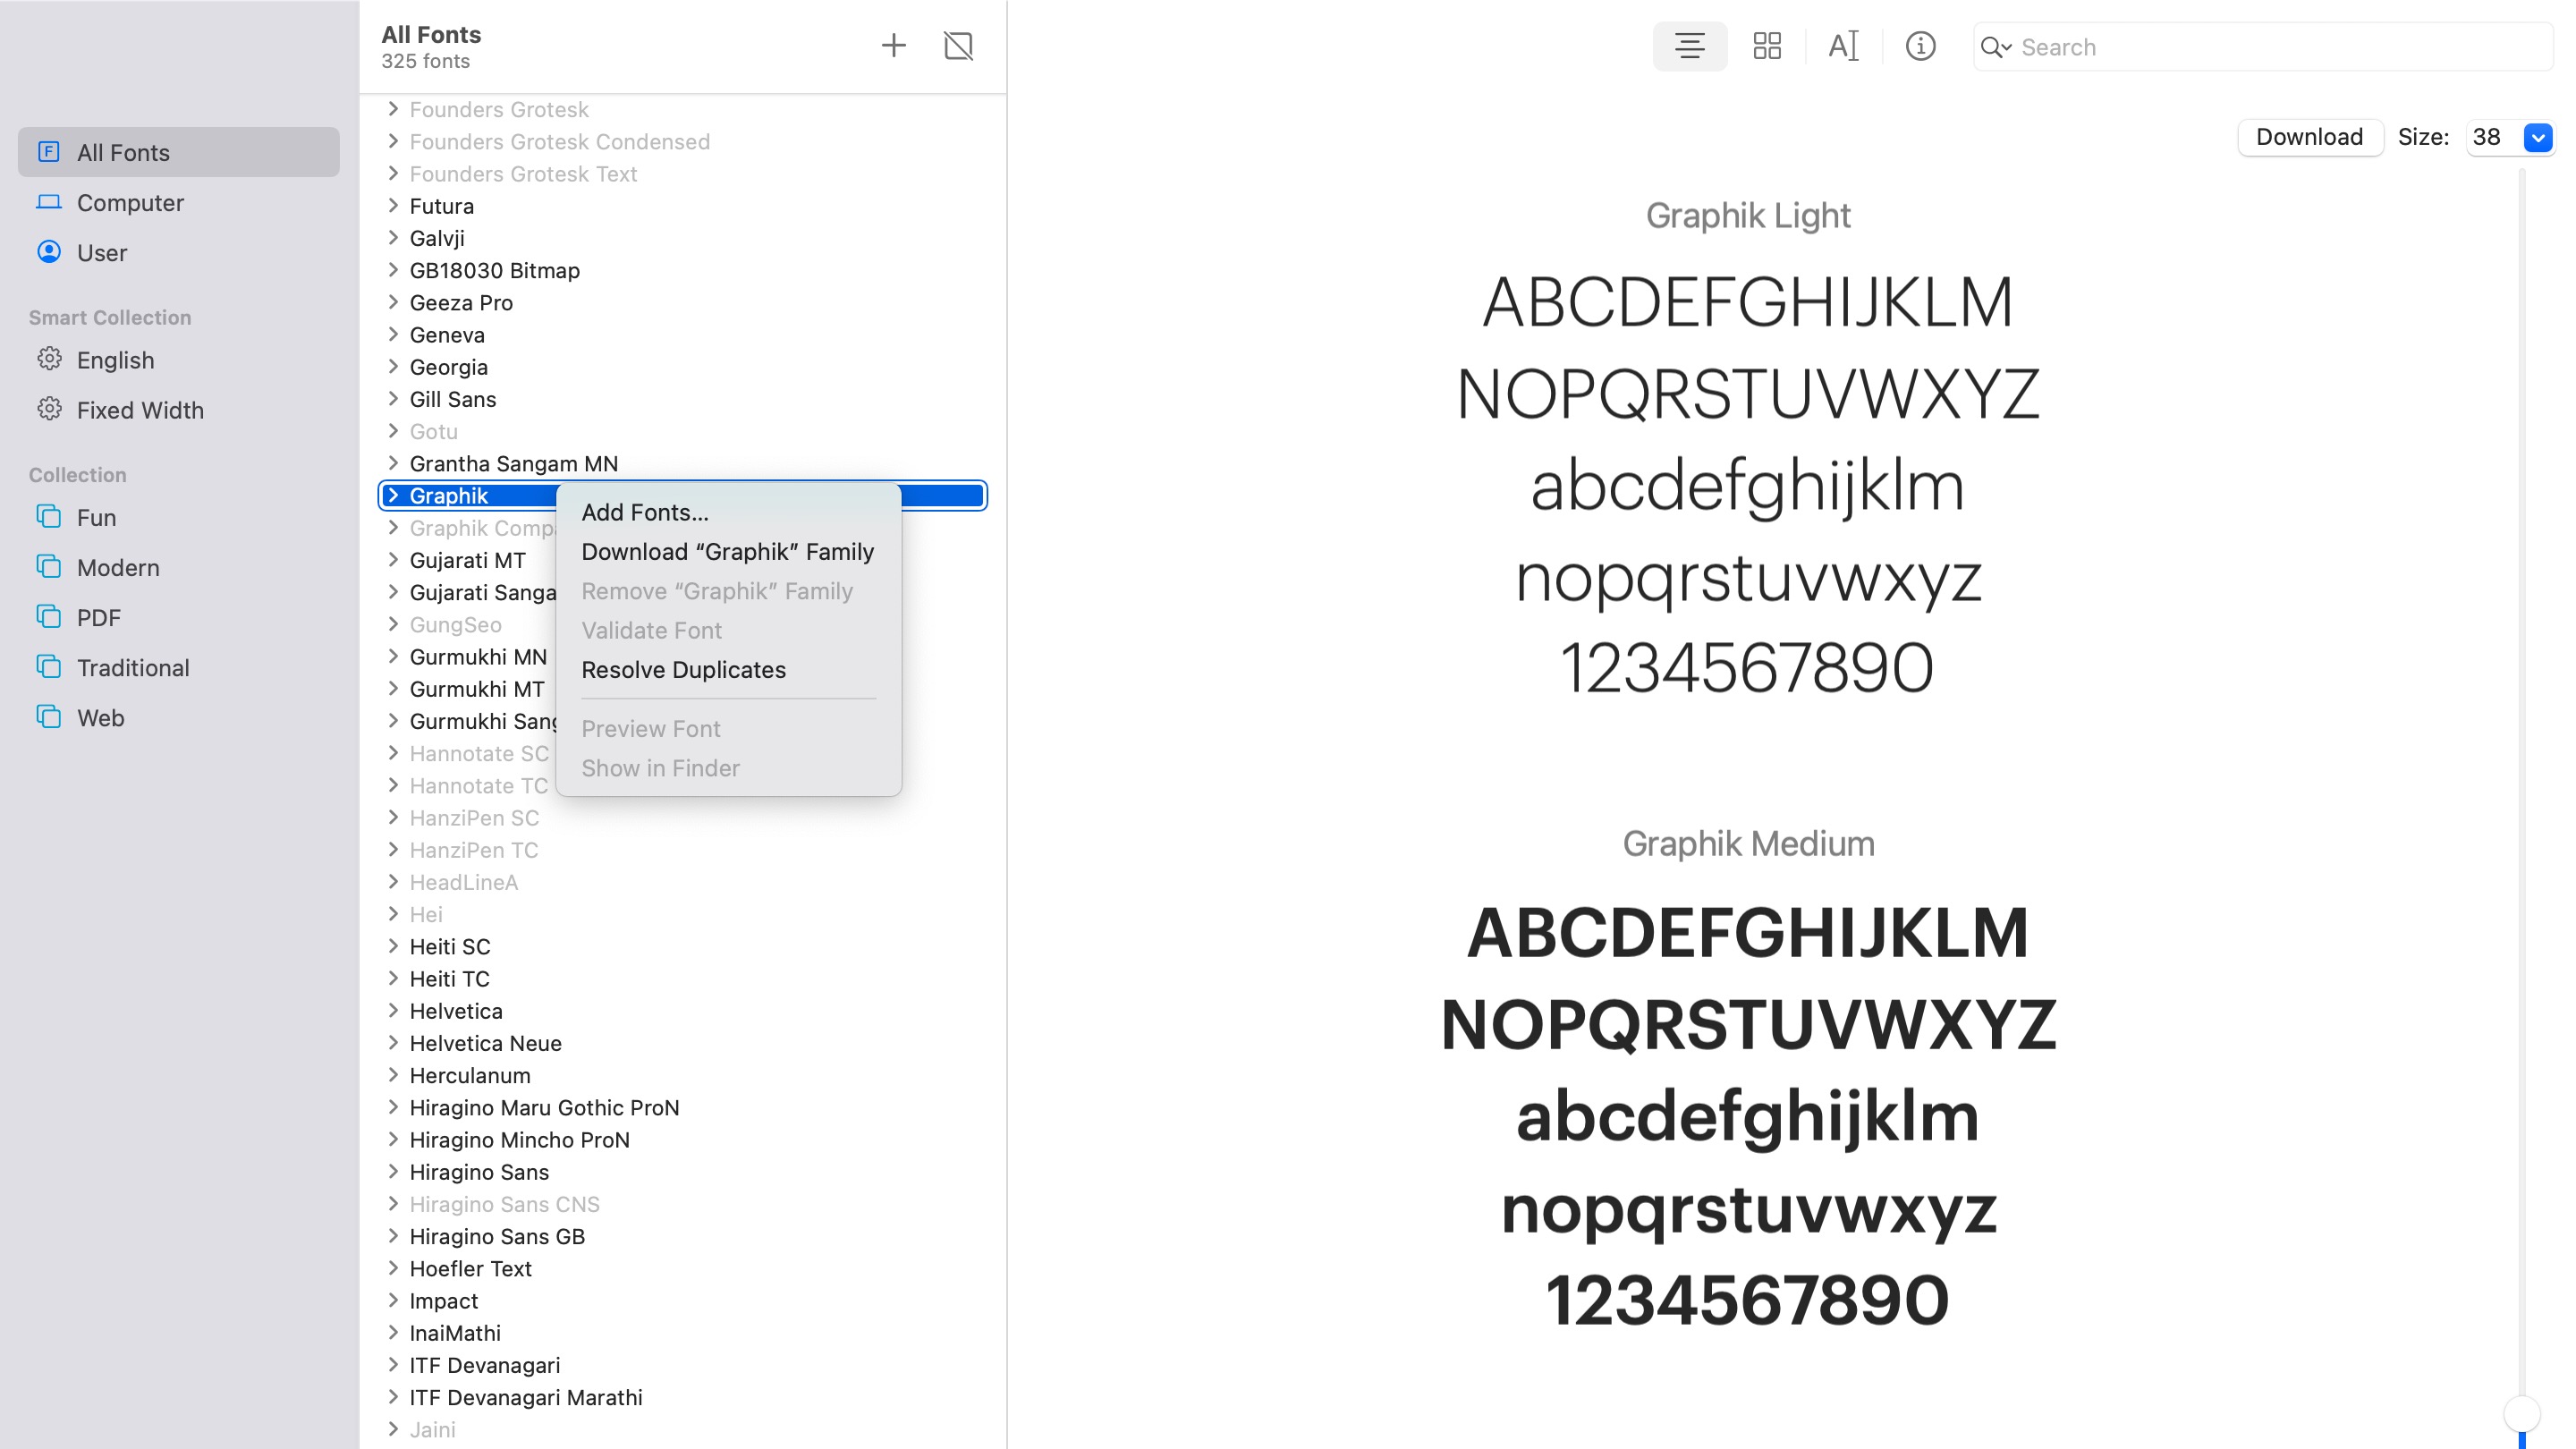
In the Font Book, you'll see system fonts that aren't yet installed but grayed out nonetheless. Right-click on any of these fonts you wish to install. Choose 'Download Font' then 'Download' from the pop-up. The font is now available for your use.
Get daily insight, inspiration and deals in your inbox
Sign up for breaking news, reviews, opinion, top tech deals, and more.

Finding and deleting duplicate fonts
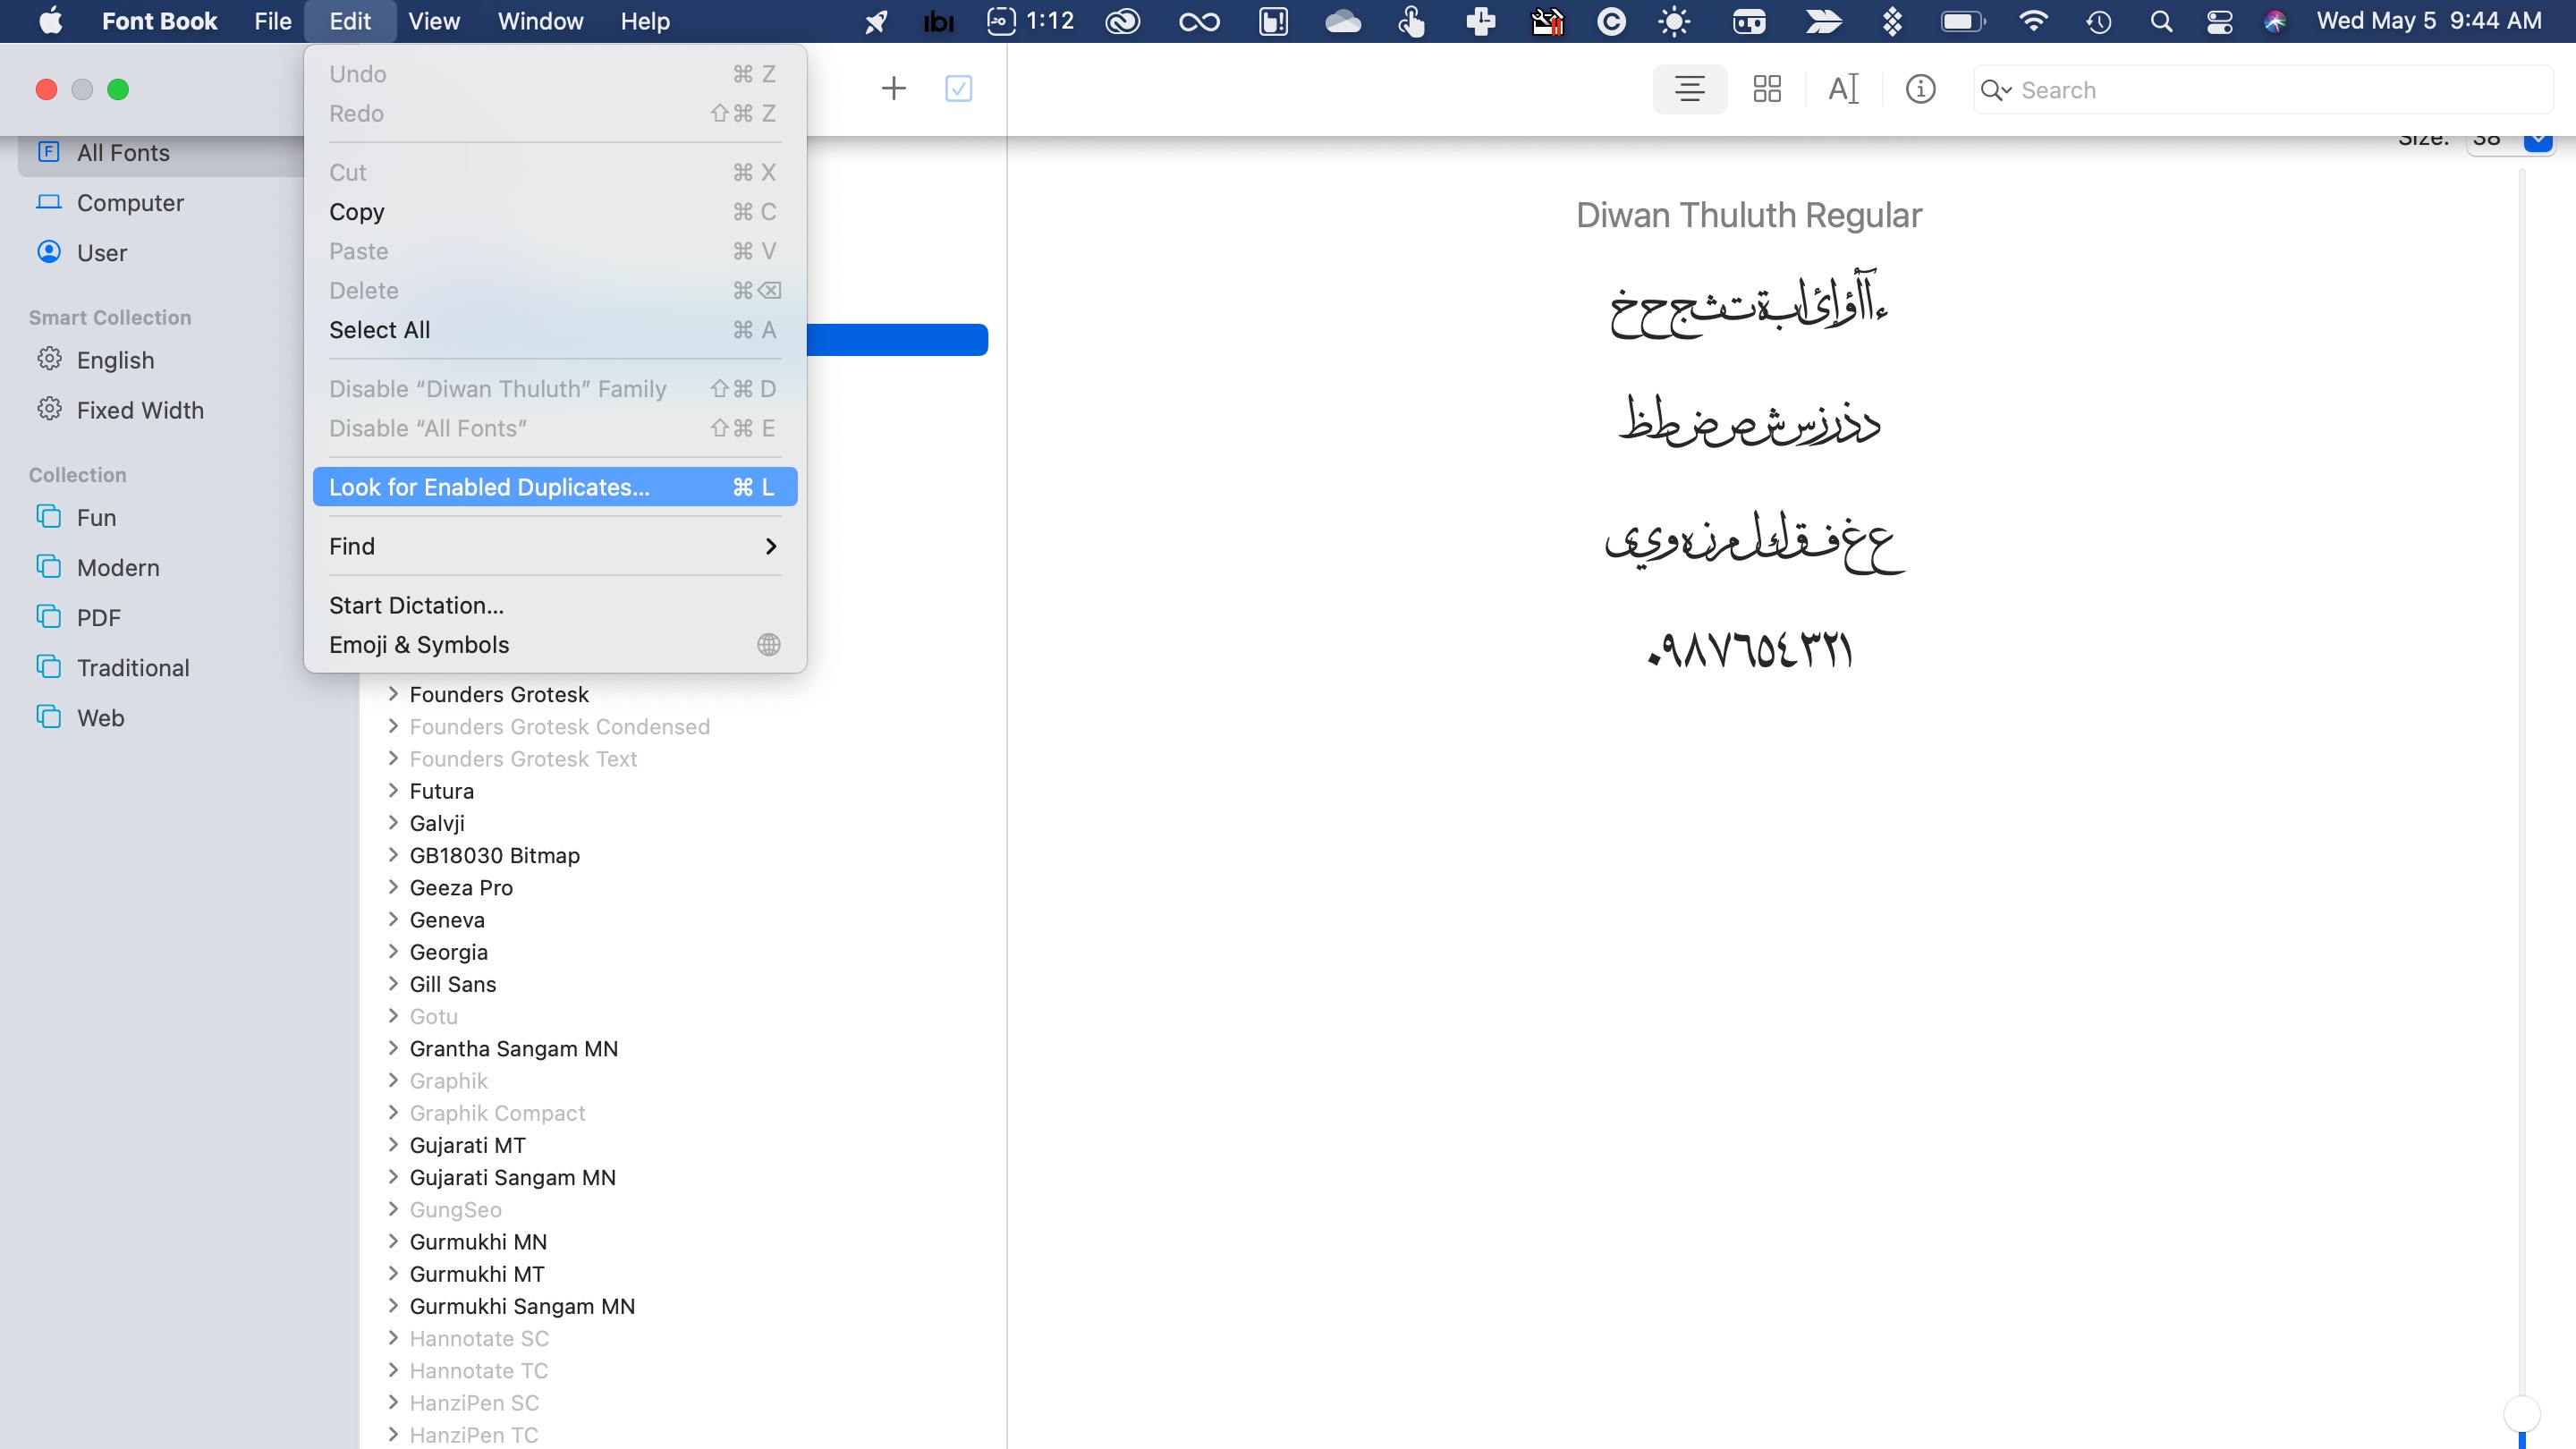
Occasionally, duplicate fonts get installed on macOS. In the Font Book, these are noted by a yellow warning symbol next to the font name. You can also go into the Font app, then choose Edit > Look for Enabled Duplicates.
Apple offers different tools to resolve duplicate font issues. After doing the Enabled Duplicates search above, you can 'Resolve Automatically', which disables or moves duplicate fonts to the 'Trash'. When selecting 'Resolve Manually', you can review and handle duplicates yourself.
You can also look at each duplicate, then select a copy to keep. The one Font Book recommends gets labeled 'Active copy'. Additionally, you can click 'Resolve This Duplicate' or 'Resolve All Duplicates'. After doing so, you can choose 'Resolve duplicates by moving duplicate font files to the Trash.'
Do you need to delete duplicate fonts? Not necessarily unless you're short of storage or have been directed by Apple to remove them.
Removing and disabling fonts
You can both remove and disable fonts in the Font Book. The former permanently removed the font from your computer; the latter deactivates it making the font inaccessible but still on the Mac.
To remove fonts from your Mac, select one or more fonts from the Font Book, then press the 'Delete' key, followed by 'Removed'. The deleted fonts remain in the Trash until you empty them.
To disable fonts or font families, click on the 'Disable' button in the toolbar above the list of fonts. Next, click 'Disable' to confirm. To disable a collection, choose Edit > Disable [Collection]. Disabled fonts are dimmed and labeled Off in the list of fonts.
You cannot delete system fonts.
- Best MacBook and Macs: top Apple desktops and laptops
Bryan M. Wolfe is a staff writer at TechRadar, iMore, and wherever Future can use him. Though his passion is Apple-based products, he doesn't have a problem using Windows and Android. Bryan's a single father of a 15-year-old daughter and a puppy, Isabelle. Thanks for reading!
