How to add the NordVPN extension to Chrome
We'll show you how to enable this VPN right from your browser

NordVPN is a Panama-registered service which provides Virtual Private Network (VPN) products for over a million customers. With advanced encryption, an automatic kill-switch and custom software for each platform, it's no wonder NordVPN is considered among the best VPN services out there.
Priding itself with strict no-logs policy, NordVPN allows you to connect as many as 6 devices simultaneously and has extensions for Firefox and Chrome. All this comes with a 30-day money-back guarantee.
This guide will show you how to add the NordVPN extension to your Chrome browser.
- Check out our list of the best VPN
1. Locate and open your favorite browser. Navigate to the NordVPN website, click on the Get it now button and Sign in (top right corner) if you have an account. If you don’t, then you can sign up for an account and then sign in.
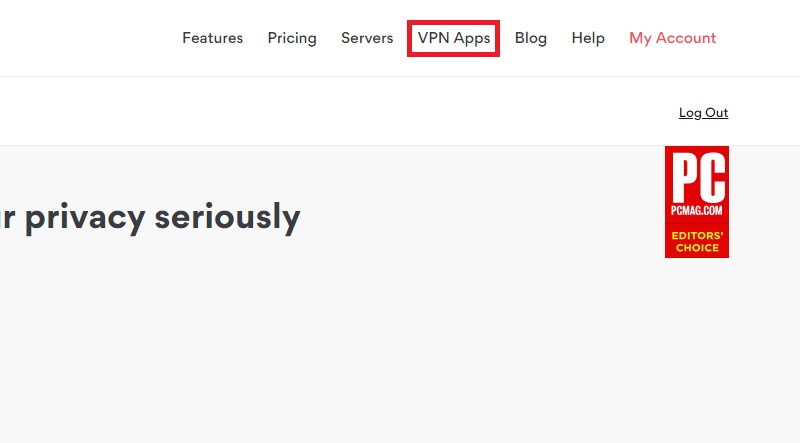
2. Click on VPN Apps in the upper right section of the web page.
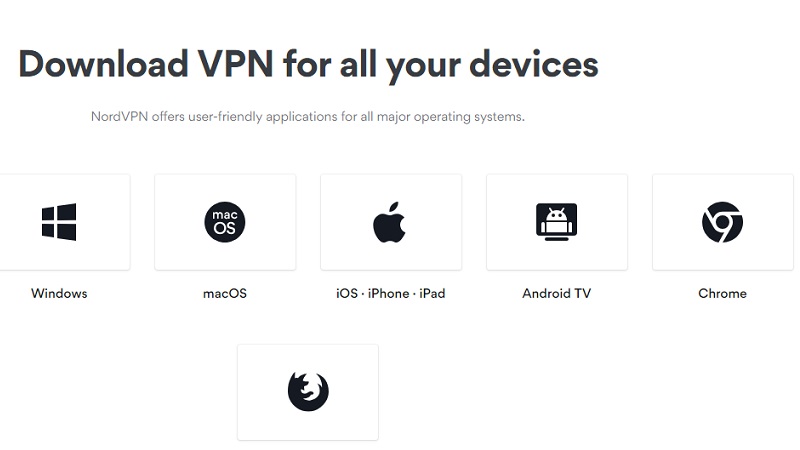
3. Scroll down to the section that says Download VPN for all your devices and click on the Chrome button.
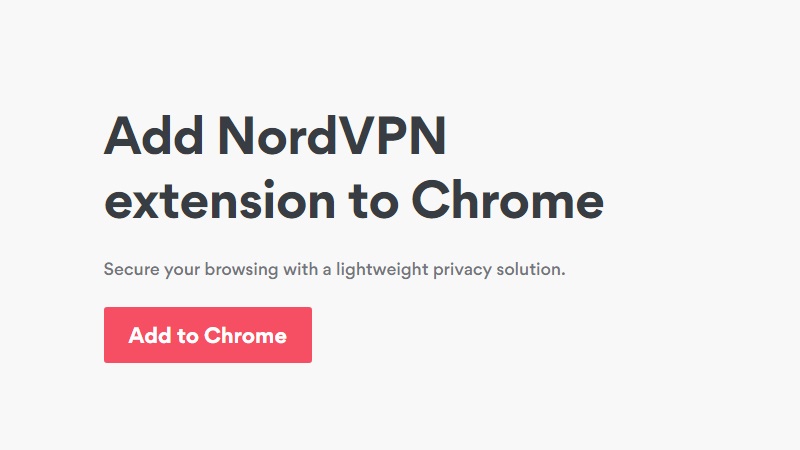
4. Click on the red Add to Chrome button.
Are you a pro? Subscribe to our newsletter
Sign up to the TechRadar Pro newsletter to get all the top news, opinion, features and guidance your business needs to succeed!
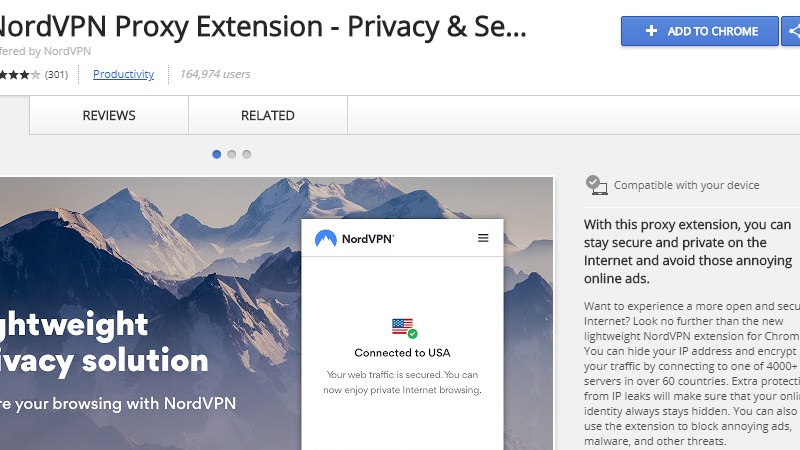
5. Clicking on it will take you to Chrome web store. Click on the blue Add to Chrome button in the top right section of the page.
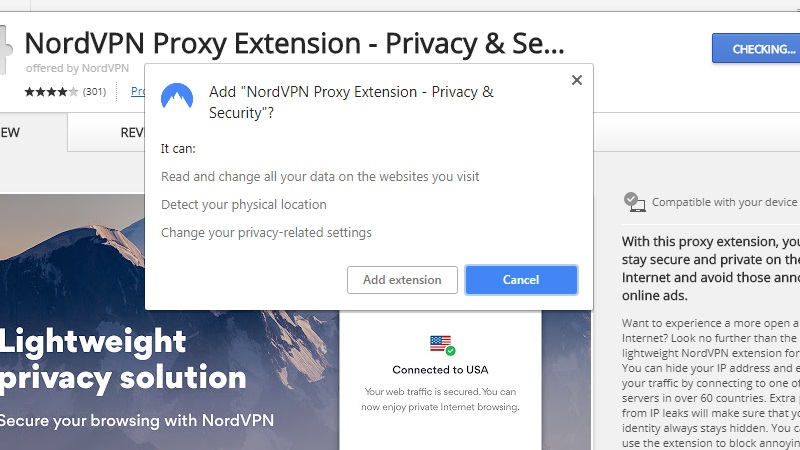
6. A prompt will ask you to confirm the installation of the extension, listing the permissions it will have once you add it to your browser. Select Add extension.
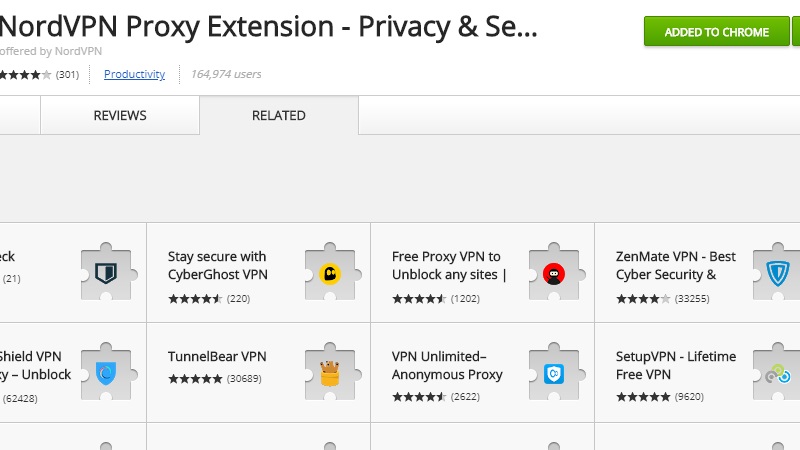
7. After the extension is installed, the blue button will turn green and will now say Added to Chrome.
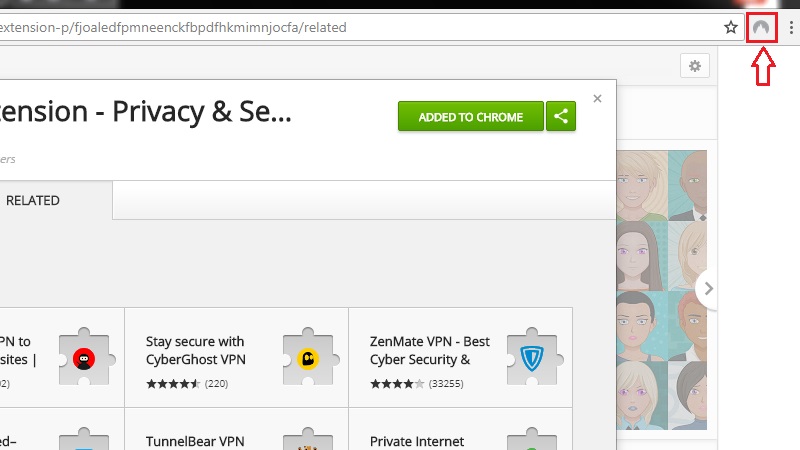
8. An icon will appear in the upper right section of your Chrome window, right next to the address bar.
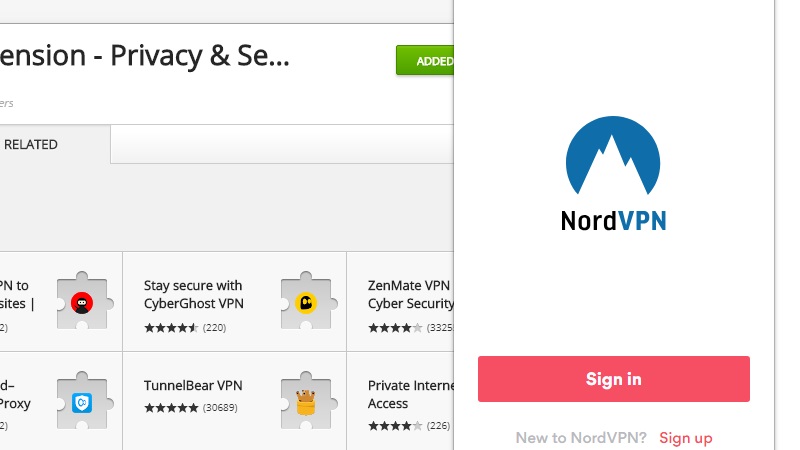
9. Clicking the NordVPN icon will open a box with a red Sign in button. Click on this if you have already signed up. If you haven’t, then there’s a Sign up link just below the button.
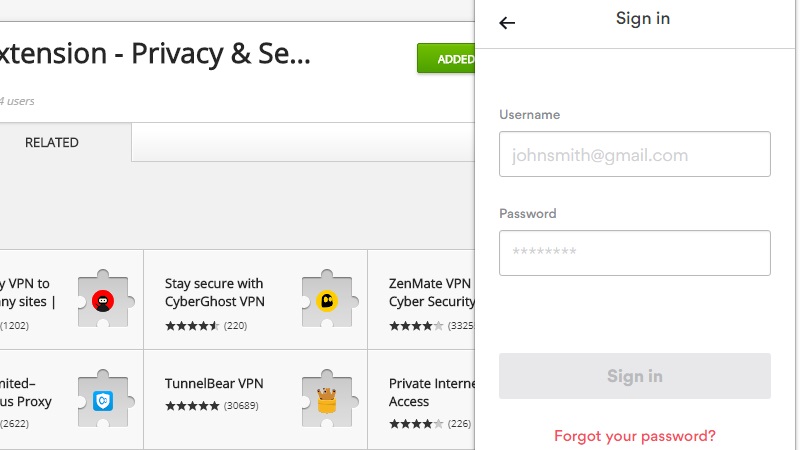
10. Enter your credentials and click Sign in. Notice the little grey NordVPN icon will turn blue.
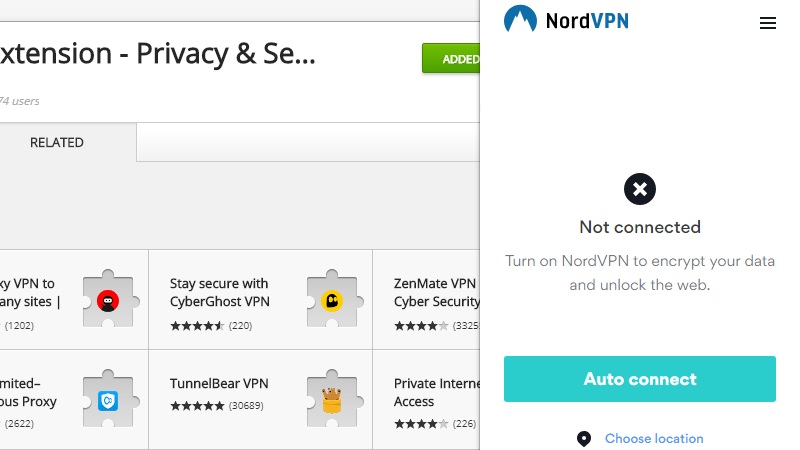
11. Once you’re signed in, you have two options: Auto connect and Choose location.
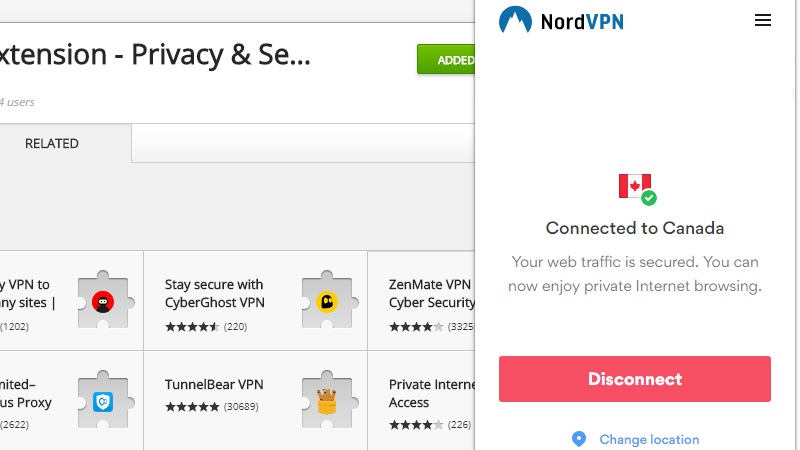
12. Choose location lets you choose the country you want to be shown as your location. Let’s say you chose Canada. Your choice will be confirmed and that’s it, you’ve set up your NordVPN extension. You also have the option to either Disconnect or Change location.
If you don’t care which country will show as your location, then just click the Auto connect button, which means your current country will be shown as your location. Notice the NordVPN icon will turn green once you have connected to any location.

Désiré has been musing and writing about technology during a career spanning four decades. He dabbled in website builders and web hosting when DHTML and frames were in vogue and started narrating about the impact of technology on society just before the start of the Y2K hysteria at the turn of the last millennium.