How to build a Linux-powered smart home
Add some intelligence to your home and offices
openHAB and Mycroft
Use the power of Ubuntu’s openHAB appliance and the Mycroft Voice Assistant to voice-enable your home.
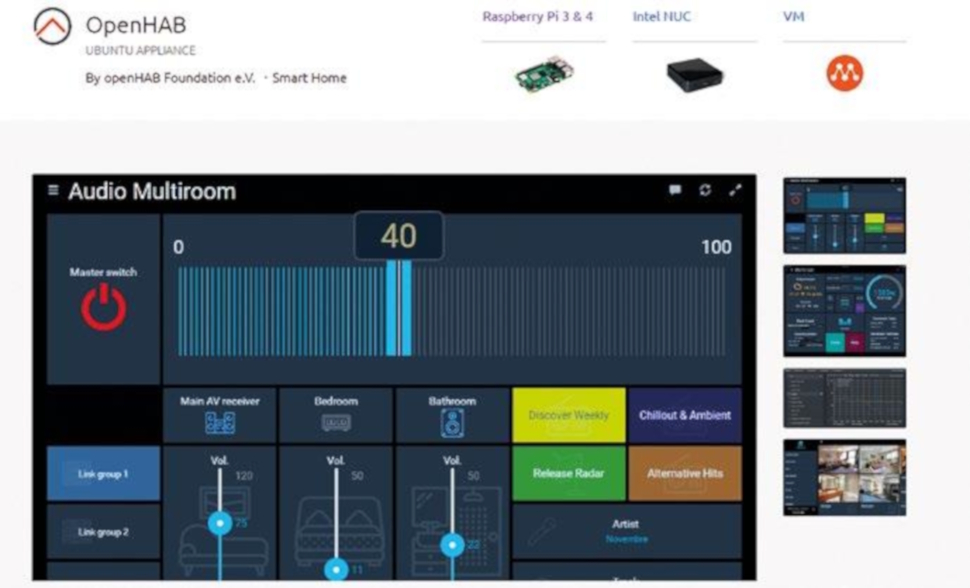
The open Home Automation Bus (openHAB) can connect all the diverse IoT appliances that may or may not be beginning to proliferate around your home.
Typically these devices all have their own, often proprietary applications, but often under the bonnet they use open source protocols – and when they don’t, people have figured them out enough to plug them into openHAB.
We covered installing it (and indeed Mycroft over the page) in the past, but this time around we’re going to do it a little differently, because Canonical recently released the openHAB Ubuntu Appliance for the Raspberry Pi.
This means we can write their SD card image, boot it and have a fully functional web-based home automation server.
In order to use these Ubuntu Appliances (there are currently four others besides openHAB, and more are on the way), you’ll need to sign up for Ubuntu SSO (Single Sign On). It’s free and you can use it all over the Ubuntu web ecosystem.
Once you’ve done this you’ll want to generate an SSH keypair and upload the public key, so that you can use your SSH-reinforced SSO to login to your appliance.
Are you a pro? Subscribe to our newsletter
Sign up to the TechRadar Pro newsletter to get all the top news, opinion, features and guidance your business needs to succeed!
You may already have generated an SSH key, in which case you probably don’t want to overwrite it. Check by running:
$ ls ~/.ssh/id_rsa.pubIf no such file exists, generate it with:
$ ssh-keygen -t rsaand press Enter to accept the default location. Once the key is generated, run:
cat ~/.ssh/id_rsa.puband copy the contents to the clipboard.
Log into Ubuntu SSO and go to the SSH keys section. Paste the contents into the Public SSH Key box and hit the import button.
You can now SSH into Ubuntu services and appliances (from this machine only) using this key. But we still need to log our appliance into Ubuntu’s cloud to fetch it, so follow the three steps below and do that.
Install openHAB
Step 1. Download

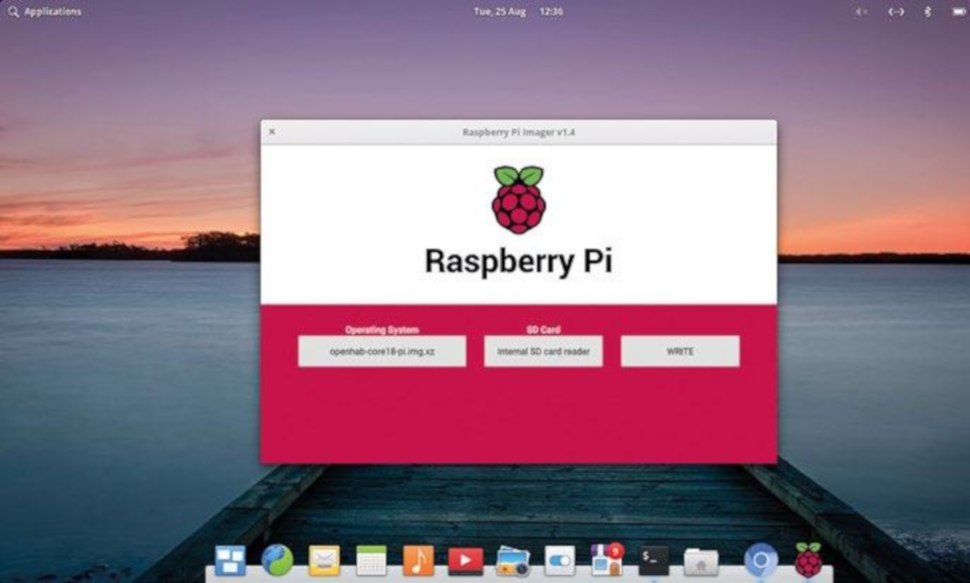
Download the image. It’s about 500MB, but compressed. You’ll need to decompress it with xz -d openhab-core18-pi.img.xz if you’re going to write it out manually with dd in the next step, but the official Raspberry Pi Imager program can do this for you.
Step 2. Write the image to SD card

At least a 4GB card will be required, and possibly more if you go all out with extensions. On a Debian-based distro (including Ubuntu) you can download the Pi Imager and install it with dpkg -i or graphically with Gdebi. Use this to write out the image file.
Step 3. Boot your Pi

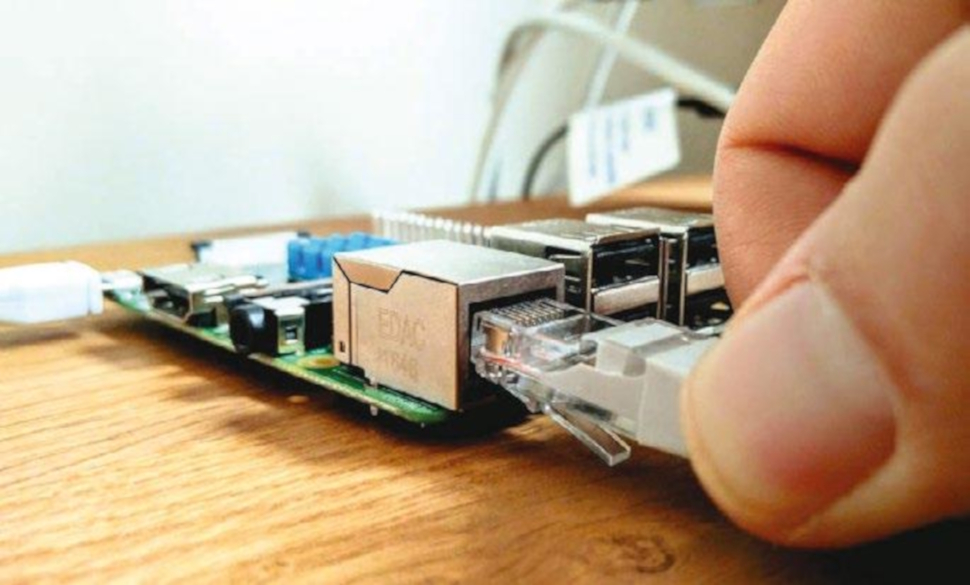
Connect a monitor, keyboard and network cable (optional) to your Pi, insert the freshly minted card, and fire it up. You will see some configuration choices and eventually will be asked for your Ubuntu cloud email address (see above) so that the appliance can be authenticated against your SSH keys.
Once setup is complete, take a note of your Pi’s IP address and connect to it from a browser by entering, for example, http://192.168.0.2:8080.
The openHAB interface is a little confusing at first, especially given that the first step is choose an interface. You can always return to this index page to explore the others. Choose PaperUI and peruse what Bindings (in the Add-ons section) are available, and if any of them match your hardware.
From here, your best friend is the openHAB documentation.
You can customise your appliance however you like. It’s running Ubuntu Core so you can add Snaps from the repos.
Instead of following our later section on Nextcloud, you can get a working install by SSHing into the appliance (the username is the first part of your Ubuntu SSO email) and running:
$ snap install nextcloudVisit the Snapcraft store and let us know how you augmented your appliance. Oh and do check out the others; currently Plex, Nextcloud, Mosquitto and AdGuard have been applianced, and more will surely follow.