How to build a Linux-powered smart home
Add some intelligence to your home and offices
Buster rhyme
You probably already know that Sherlock Holmes had an older brother called Mycroft – and that’s where the Mycroft Home Assistant gets its name.
The Mark I device was a friendly, ET-looking voice assistant that was powered by a Raspberry Pi 3.
We were big fans, but sadly that device is no longer available, and its successor has not yet been released. But that’s fine, because Mycroft’s brains (I think you mean OS – Ed) are open source, and you can run them right now on a Pi 3 or 4.
It’s based on the official Raspberry Pi Linux Buster image, and you can download it from here.
Use the Raspberry Pi Imager again (or use something else if you like) to write the image to an SD card. This time you’ll need at least an 8GB card. When it’s done, put the SD card into the Pi and fire it up.
As with the openHAB appliance, you’ll need a display and keyboard connected to the Pi to run the initial setup, but afterwards, these will not be needed unless something goes wrong.

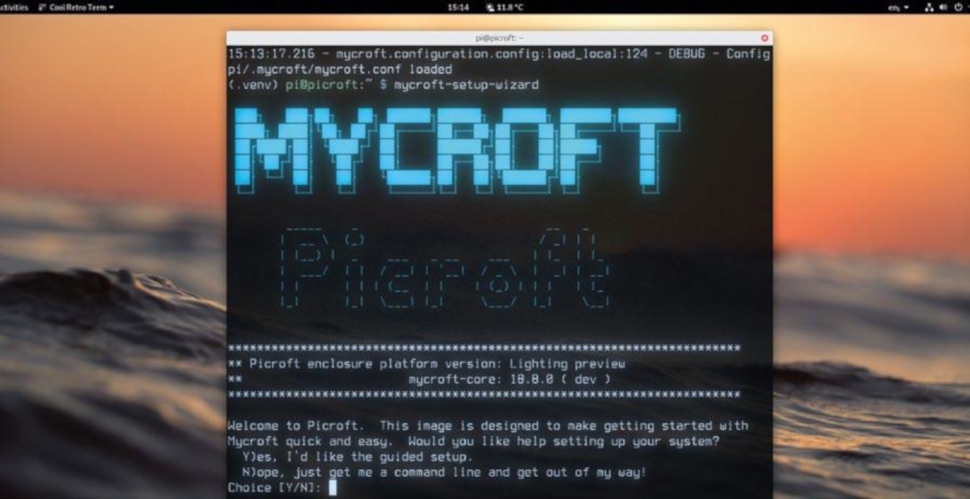
On first boot Picroft will resize its partition to use all available space on the SD card. When it finishes booting a second time, it will ask if you would like some help setting up your system, which you may as well accept.
Sign up to the TechRadar Pro newsletter to get all the top news, opinion, features and guidance your business needs to succeed!
You’ll need a microphone and speakers, and there’s a list of supported hardware at the Mycroft wiki. Some of this will work out of the box, but some devices will need manual intervention.
We used a Seeed Respeaker 4-microphone array HAT, which was easy to set up. Other devices will follow a similar pattern. Just run
$ git clone https://github.com/respeaker/seeed-voicecard.git
$ cd seeed-voicecard
$ sudo ./install.sh
If your network works (try rebooting if it doesn’t!) you could also SSH into your Pi to do this (the default username is mycroft with password pi, which you should change soon).
Then, if you’re using the 3.5mm jack for audio, you may need to run sudo raspi-config , select 7. Advanced Options, A4 Audio, and finally 1. Force 3.5mm jack.
Now reboot to enact the changes. If you run into difficulties with the Respeaker (or other Seeed models), then refer to the driver's documentation.
Reboot and you can pair your device to the Mycroft Home service. You need to set up an account here to use the software, but hey, at least it’s not Facebook.
Only your queries are collected, and these are used to better train speech recognition.
Just follow the prompts to set this up at https://home.mycroft.ai from another device; if your audio is working you should hear some actual verbiage at this point. If not, you can rerun the setup wizard at any time with mycroft-setup-wizard.
Once everything’s working, the Mycroft CLI client will start, and you can talk and type at it to your heart’s content.
Shout the magic wakeword “Hey Mycroft” to prick up it’s digital ears, then try “Tell me a joke”, “What is my IP address?” or “How much wood would a woodchuck chuck if a woodchuck could chuck wood?”.
He likes it when you say “Thank you” too. Responses are again both verbal and on screen/terminal.
You can quit the CLI at any point with :quit and then you can run anything you’d run on a normal Raspberry Pi Linux install.
If you want to get back into the CLI, run:
$ mycroft-cli-clientThere’s a custom audio setup script called audio_setup.sh and don’t forget to check the excellent Mycroft documentation.
Mycroft can be installed on a regular Linux PC either as a Snap Package, through Docker, or straight from their GitHub.
The wake word engine, known as Precise, uses TensorFlow for cutting edge accuracy, which requires the host to have AVX extensions; most machines from the last decade will.