How to build an HR System using OrangeHRM
An advanced self-hosted HR program

OrangeHRM is a leading human resources management (HRM) company offering several products. Its free, open-source HR software is basic in comparison to its premium Advanced package. However, it’s a flexible option that you can customize according to your requirements.
OrangeHRM is a self-hosted product, which means it’s a little more difficult to get started than your average HR program. In this guide, we provide step-by-step instructions to help you get up and running in a simple, hassle-free way.
How to build an HR System using OrangeHRM: Preparation
There are a few different things that you need to do before you can use OrangeHRM. For one, you will need to get your hands on some web hosting. Orange HRM is a self-hosted program, and hosting provides the computing resources and hardware required to power it.
We’ve used Hostinger, a popular web host that’s known for its industry-leading security packages and very competitive prices. Its prices ordinarily start at $1.99 per month, but we’ve managed to secure an exclusive deal and land Hostinger web hosting absolutely free!
One of our favorite things about Hostinger is its Auto Installer, which enables you to install OrangeHRM in a matter of minutes. A full guide to the Auto Installer is available here.
Other web hosts include their own one-click installers, but you may have to install the program manually with some providers. Speak to your host’s support team if you’re having issues.
Step 1: Set your localization settings
Once you’ve logged in to your OrangeHRM dashboard and familiarized yourself with the general layout, you’ll need to do a few things.
Are you a pro? Subscribe to our newsletter
Sign up to the TechRadar Pro newsletter to get all the top news, opinion, features and guidance your business needs to succeed!
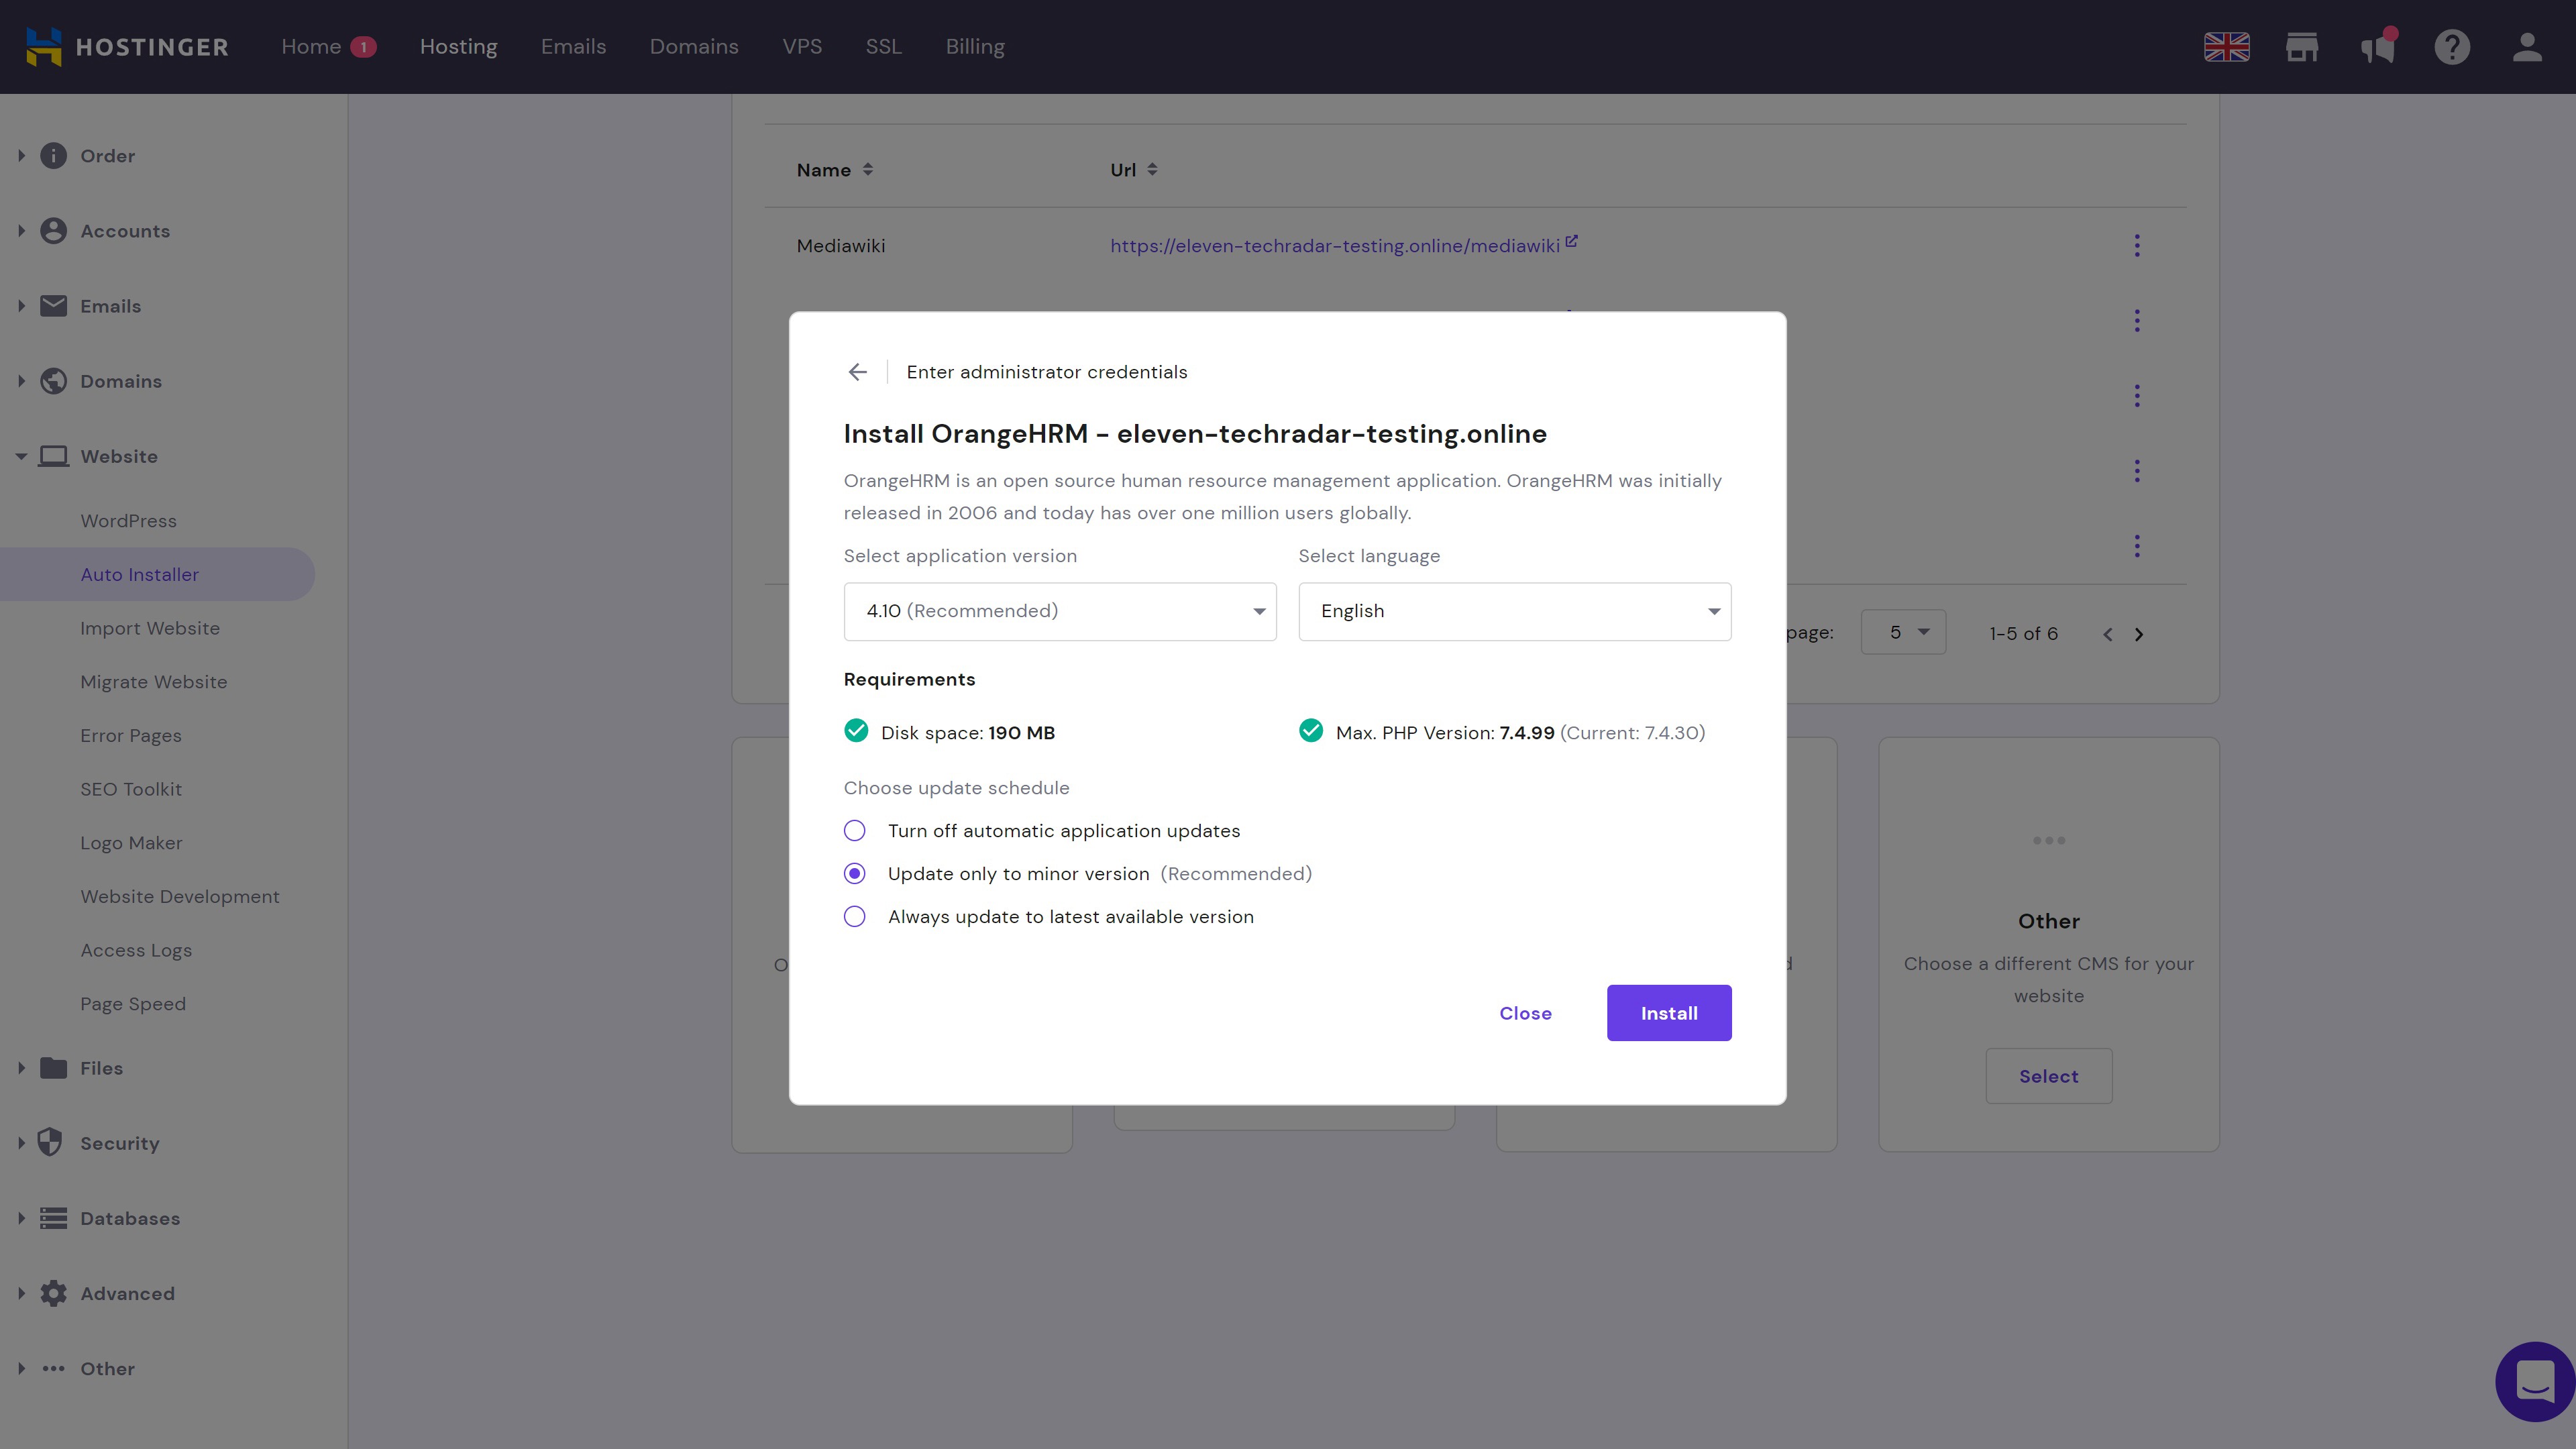
First, update your localization settings. Head to Admin > Configuration > Localization and set your language and date format. Custom languages can be added via Admin > Configuration > Language Packages if your language isn’t pre-installed.
Step 2: Select your modules
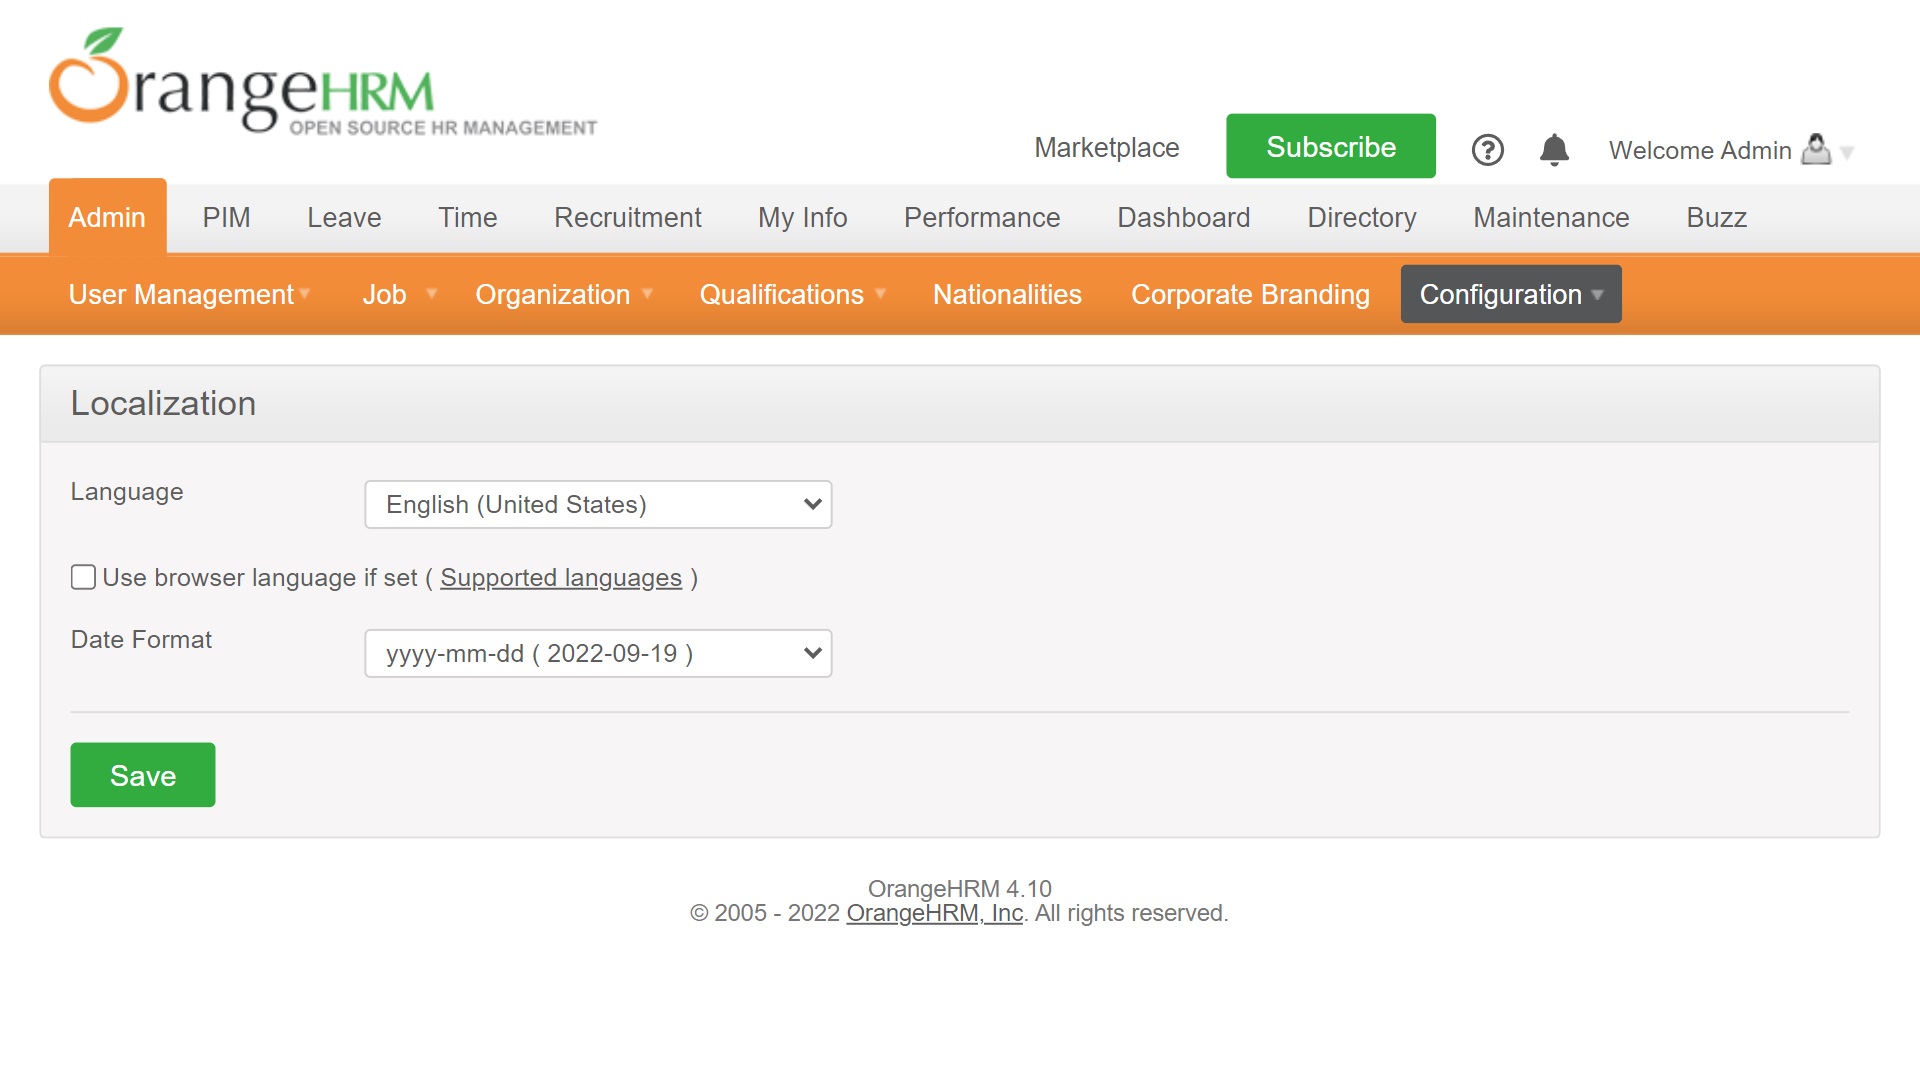
Next up, you will want to select the modules you want to use. Head to Admin > Configuration > Modules, where you will find a list of the modules currently in use. Hit the Edit button to select or deselect modules as required.
Step 3: Email configuration
The OrangeHRM platform enables you to set up various automated emails, but you need to configure your email settings beforehand. Head to Admin > Configuration > Email Configuration and fill in the required fields.
Ensure you use the Send Test Email option to make sure that you’ve entered the correct information.
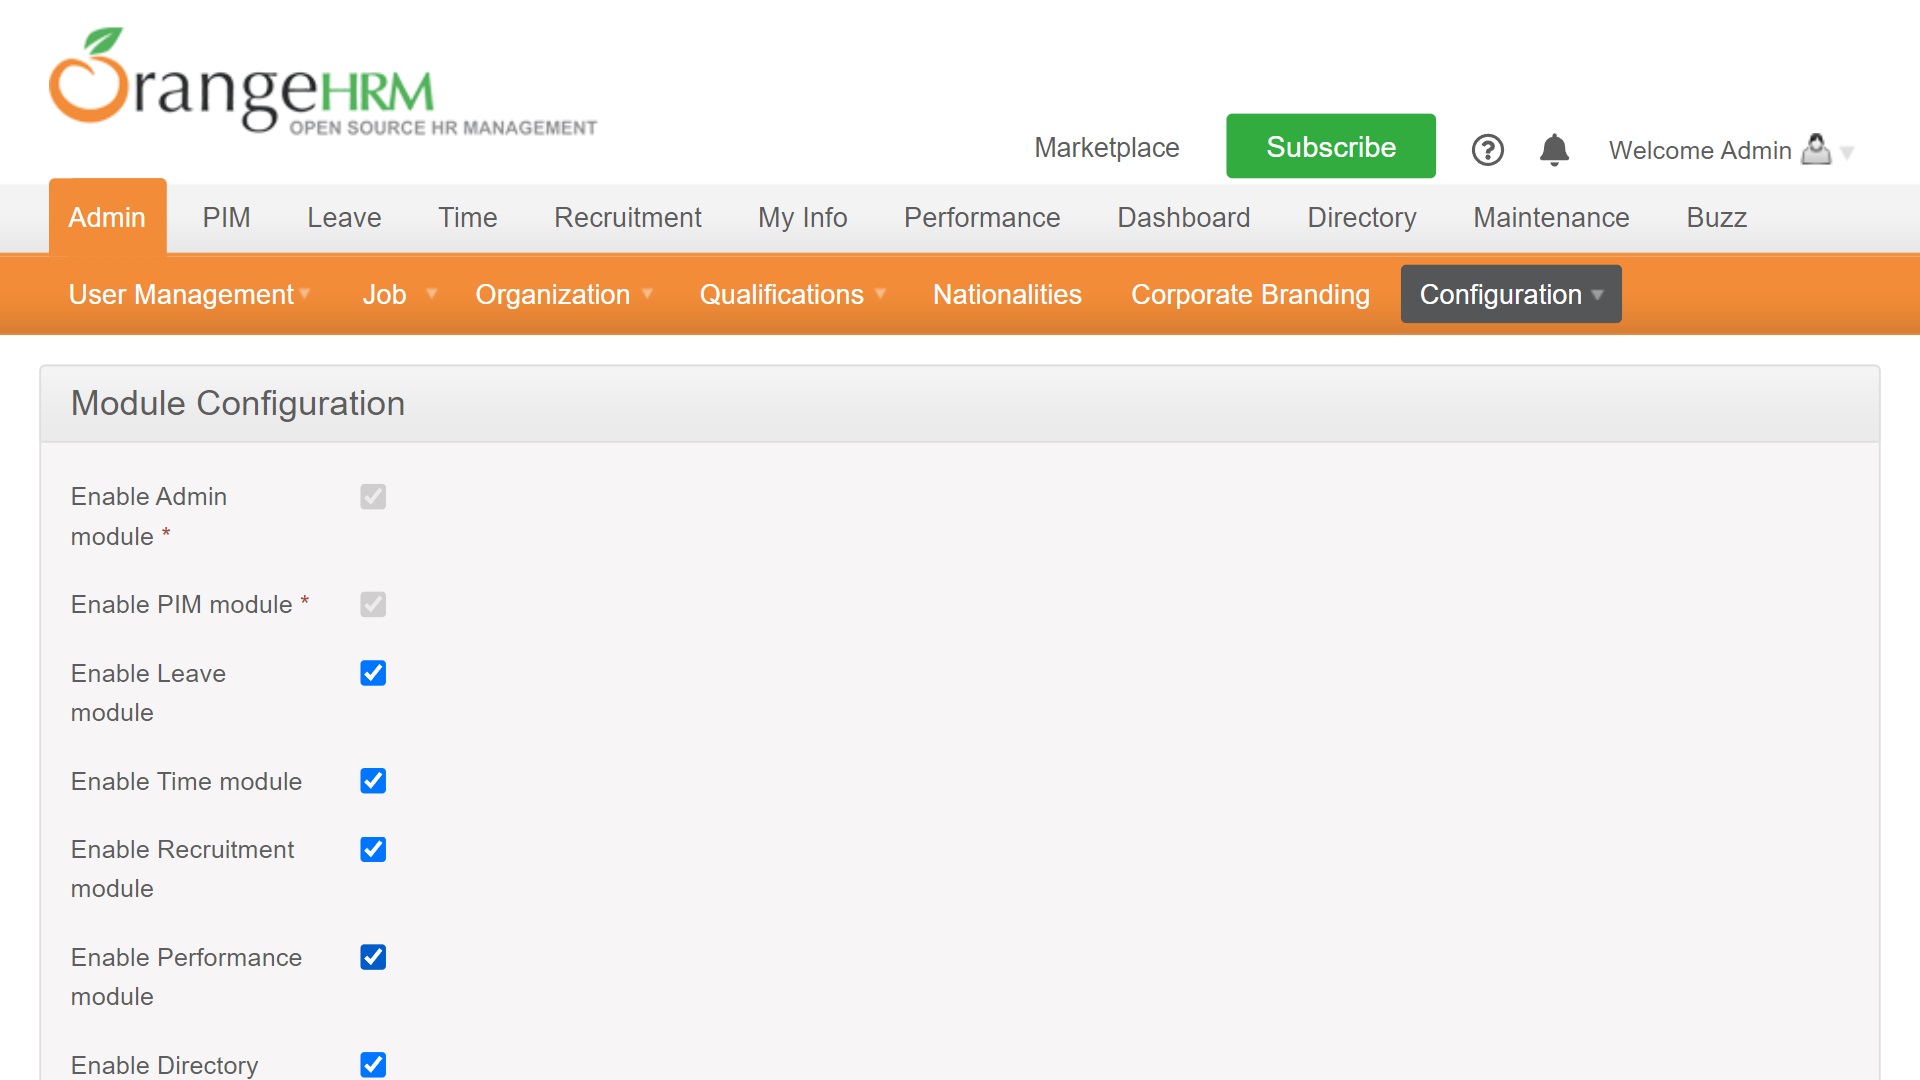
You can turn different types of emails on and off under the Email Subscriptions menu, which can be found under Admin > Configuration > Email Subscriptions. You can also add subscribers to each list here if required.
Step 4: Add organization information
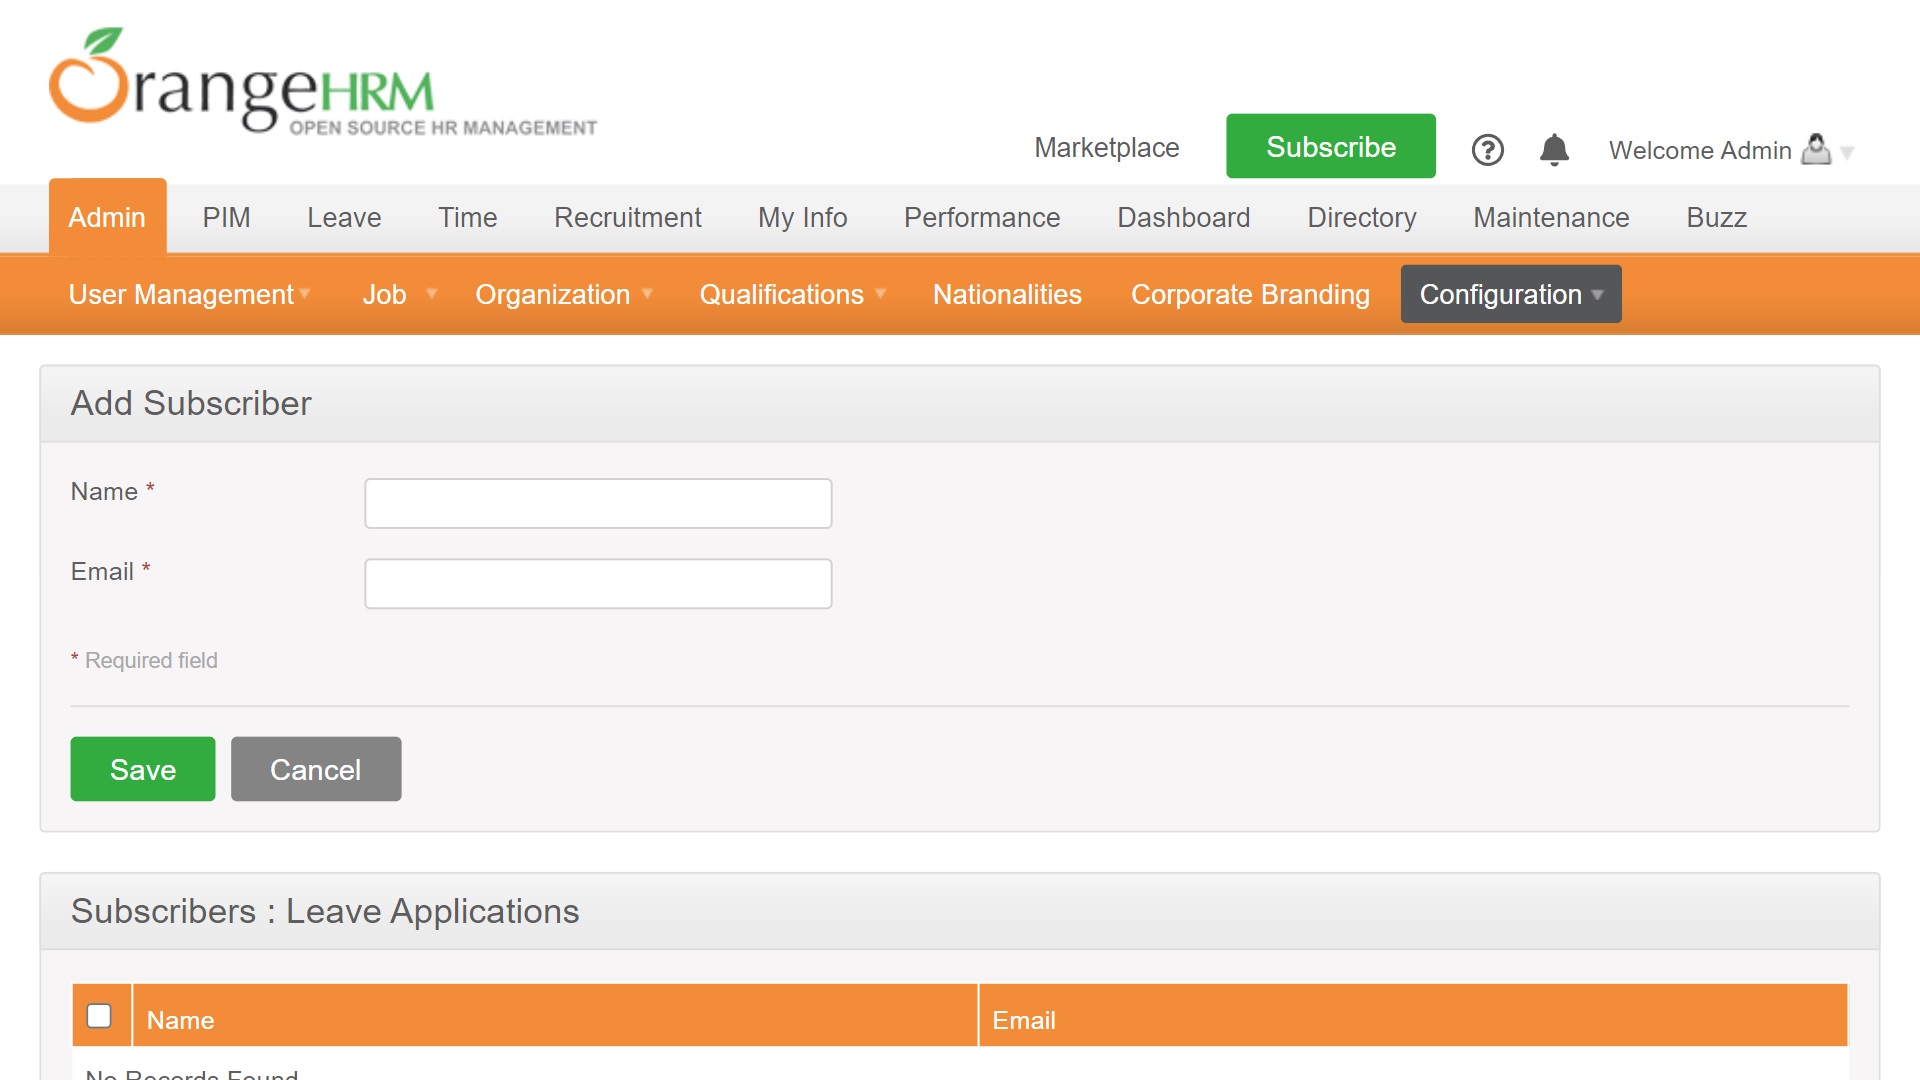
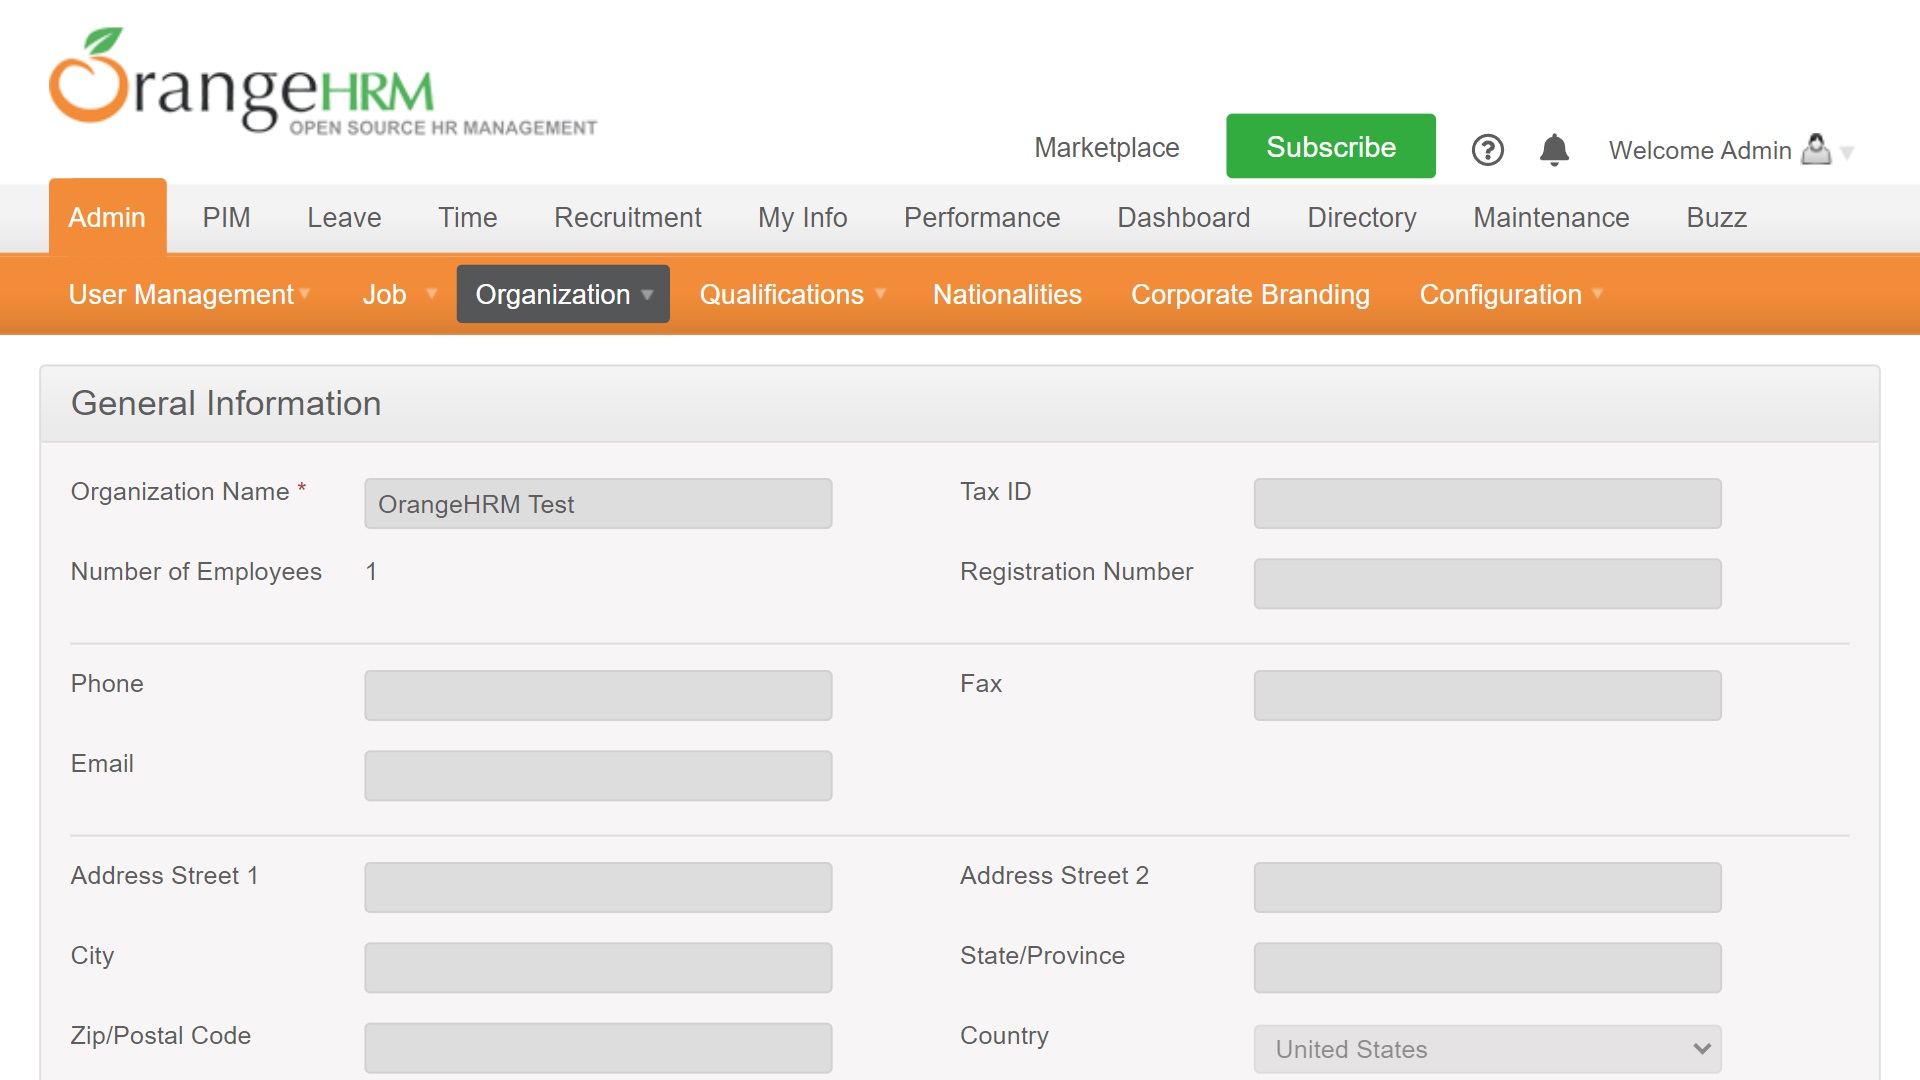
It’s also a good idea to add information about your organization before you begin using OrangeHRM. Head to Admin > Organization > General Information to access your organization information.
To edit the existing information (which will mostly be absent at this point), scroll to the bottom of the page and hit the edit button. You can add things like your Tax ID, registration number, and address.
Step 5: Add operating locations (if required)
If you run a small business with a single office location, you can ignore this. But if you operate from multiple locations, either globally or within the same country, you should add these to OrangeHRM.
Head to Admin > Organization > Locations, and follow the prompts.
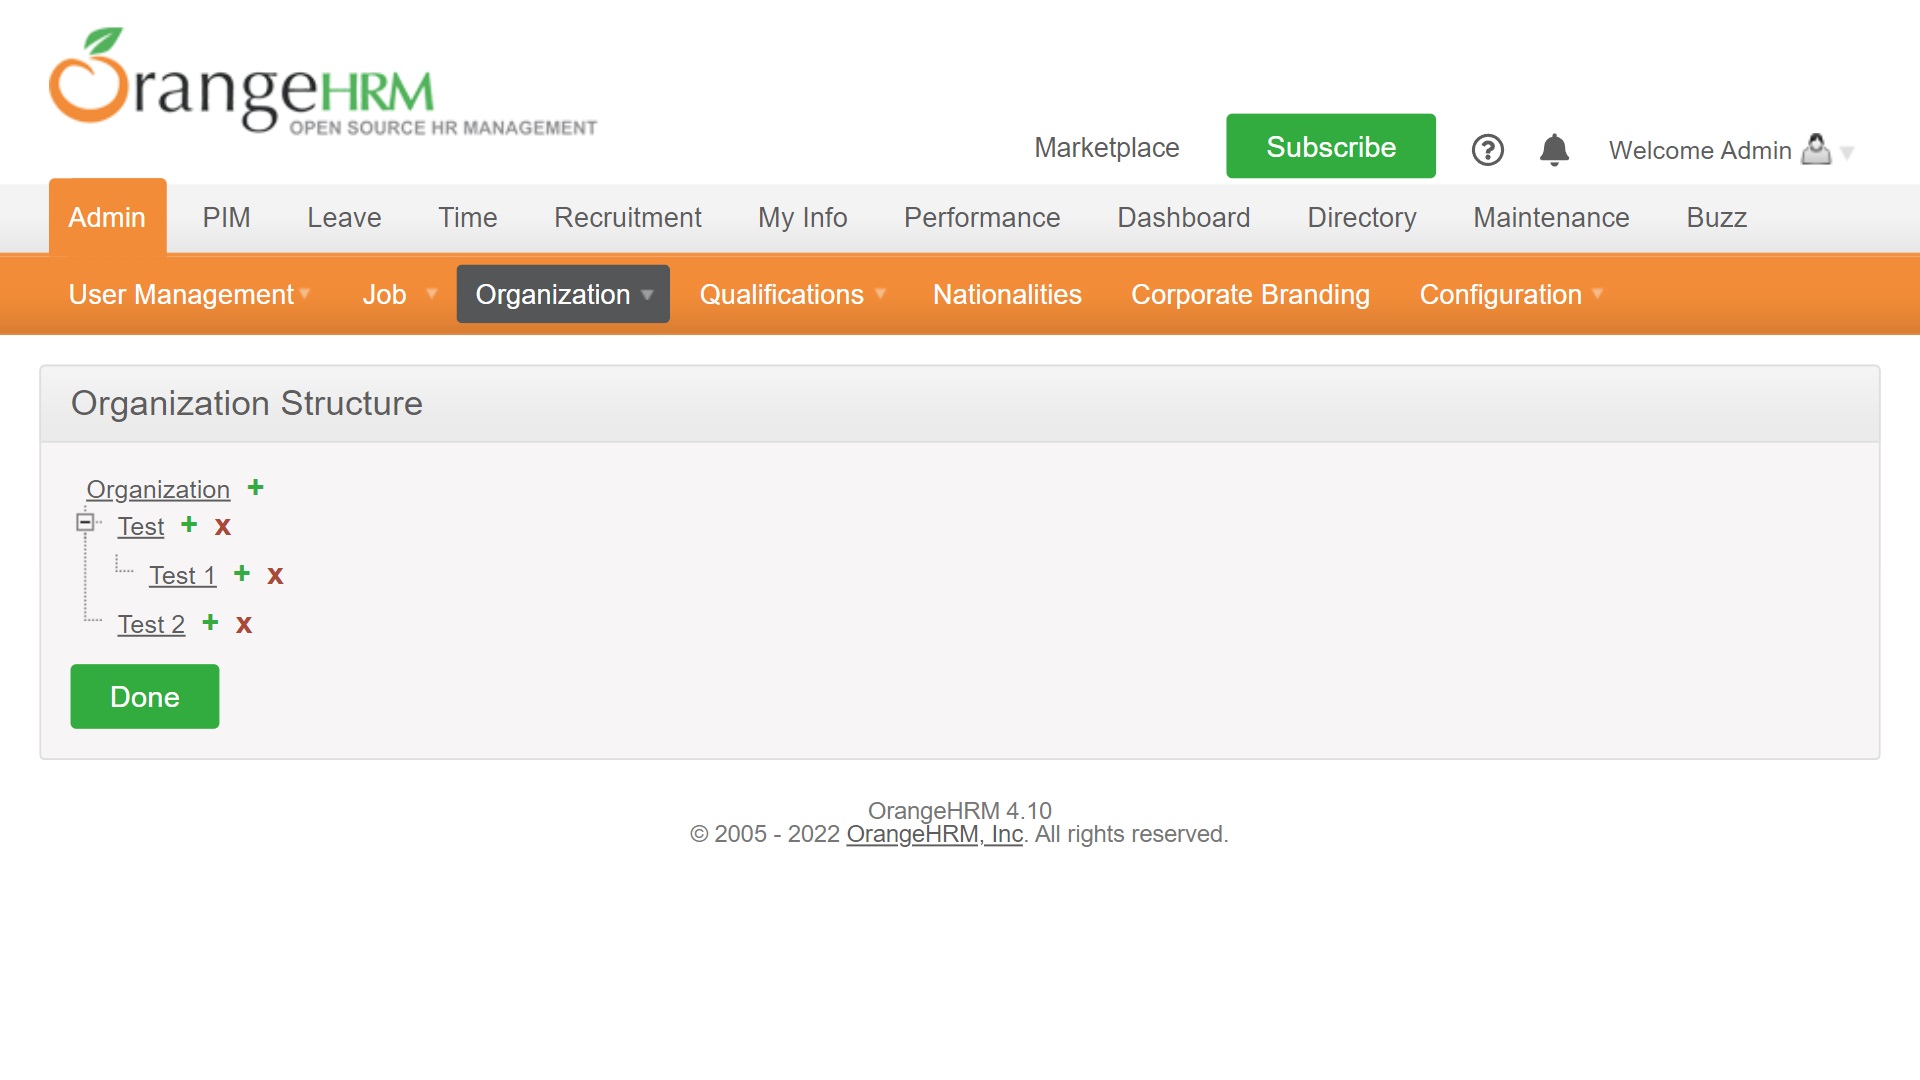
Step 6: Configure your organization structure
Adding information about your organization structure will help you use OrangeHRM’s tools more efficiently. Head to Admin > Organization > Locations, where you can set out your structure in a visual manner. For example, this enables you to see which departments come under other departments or the locations where departments are based.
Step 7: Add job-related information
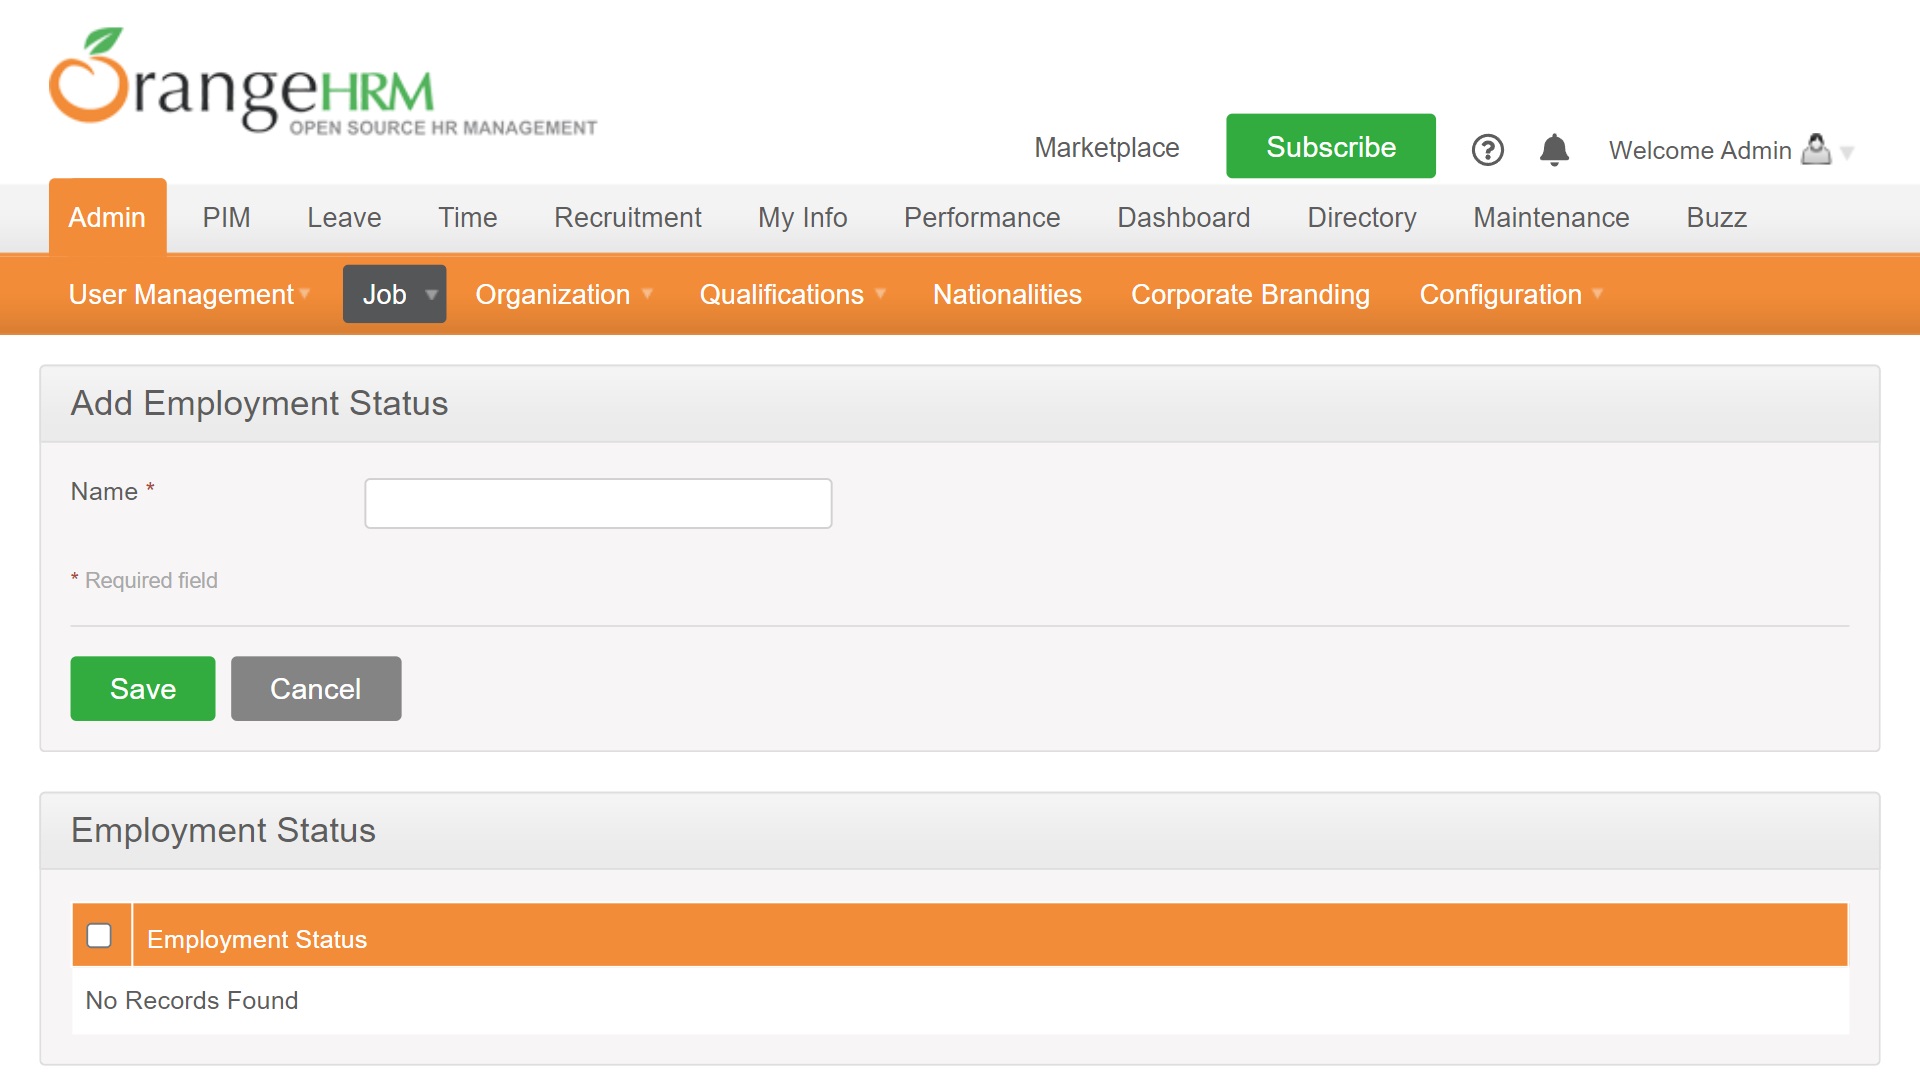
Under Admin > Job, you can add job-related information that applies across your organization. Completing these isn’t compulsory, but we’d suggest taking advantage of them to streamline HR management workflows.
You will find clear instructions about how to add the relevant information under each menu item. Just ignore the options you don’t want to use.
Step 8: Add users
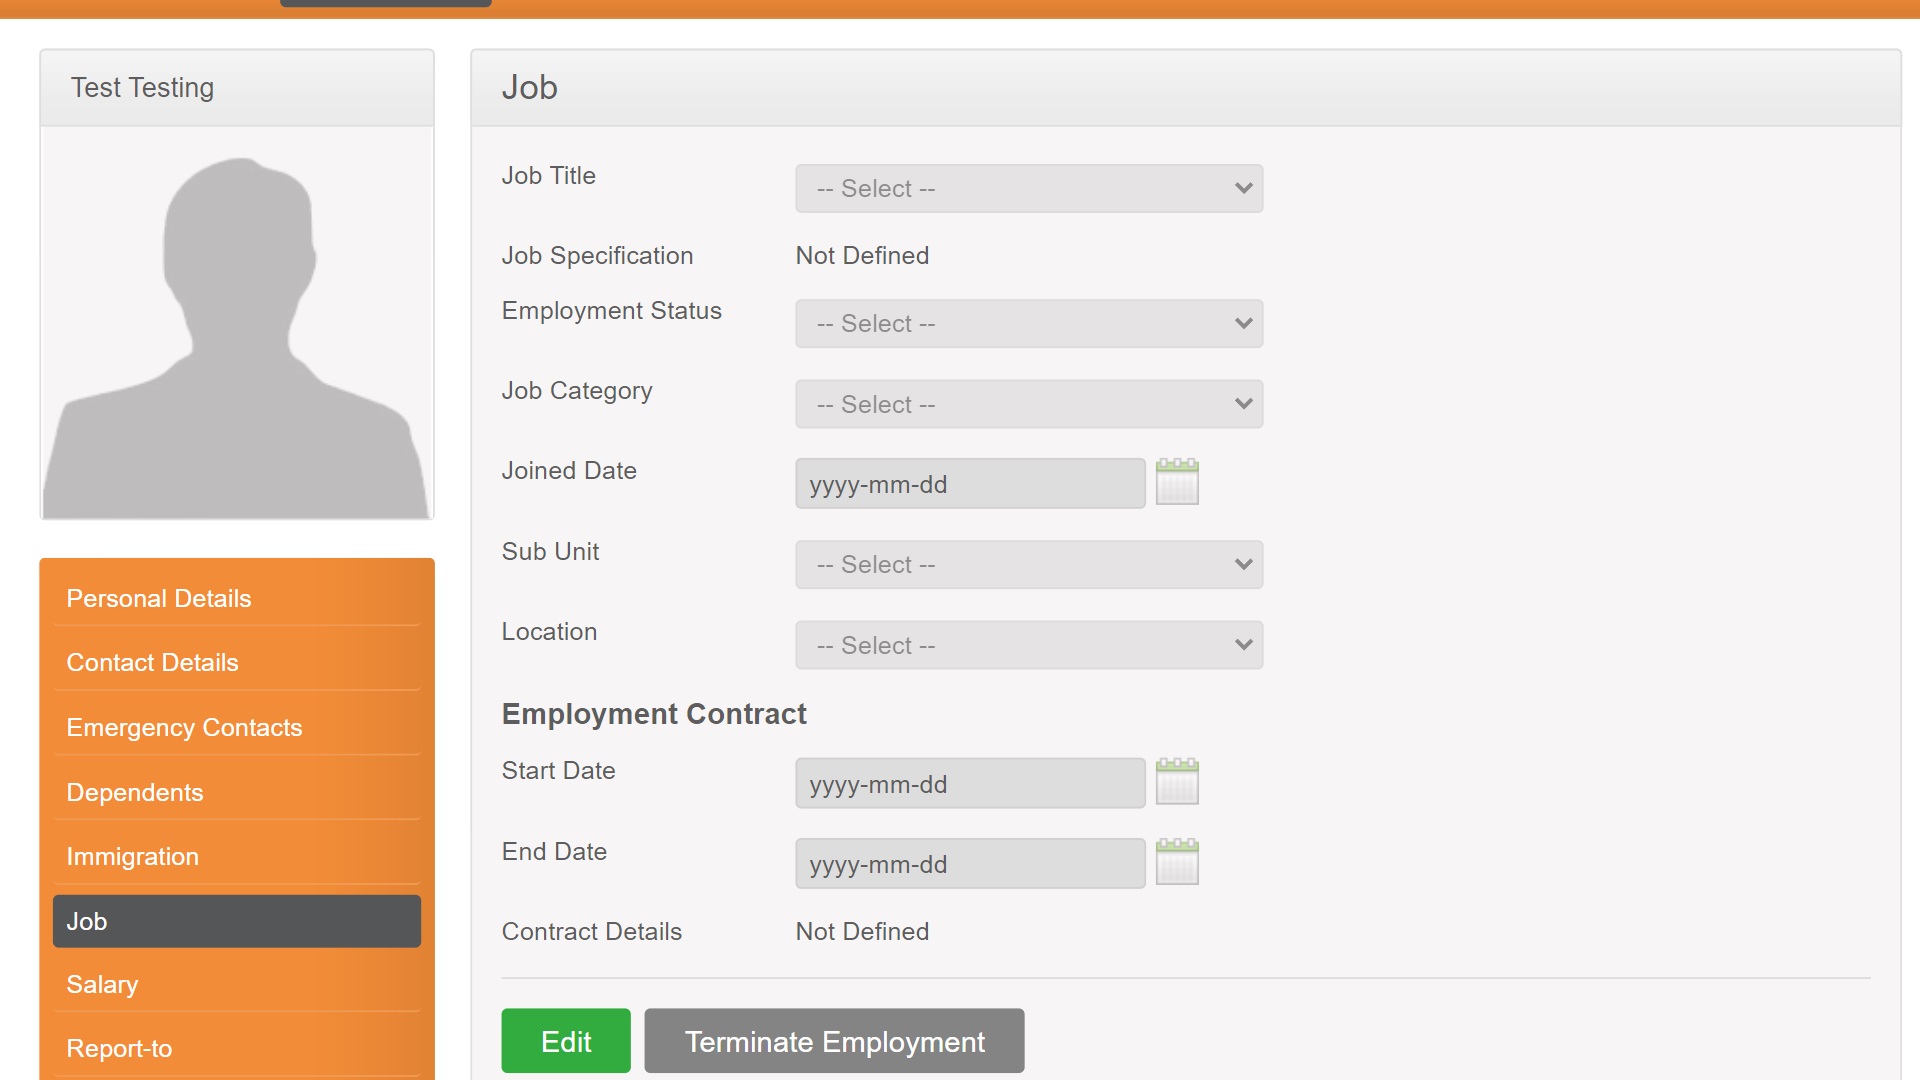
By this point, your OrangeHRM system should be pretty well set up. To add new users and manage existing employees, head to PIM > Employee List and follow the prompts. You can assign job and salary information and add as much information about each employee as required.
Summary
Although it can take a little time to set up, getting started with OrangeHRM is a straightforward process. In this guide, we’ve outlined every step, enabling you to get started in a hassle-free manner.
If you’d like to use a simpler alternative to OrangeHRM that doesn’t require hosting, browse our guide to the best HR software available today. Alternatively, check out our complete HR software buying guide to learn more about the features you should be looking for.
Read more in this series:
- How to start a blog with Joomla
- Build your own CRM using SugarCRM
- How to host your files online using Nextcloud Hub
- How to start your own help desk with Hesk
- How to generate your own invoices using Invoice Ninja
- How to install live chat software with Sales Syntax
- Run your own ecommerce platform with PrestaShop
- How to create your own website with Soholaunch
- How to launch your own website with WebsiteBaker
- How to learn search engine optimization with SEO Panel
- How to kickstart your own Ancestry.com alternative with webtrees
- How to install a free ERP software called Dolibarr
- Demand gen vs lead gen: What's the difference?
- Host your own private forum with MyBB
- Build your own calendar application with WebCalendar
- Set up your own groupware service with Tiki Wiki CMS
- How to build your own email marketing service with phpList
- A Google Photos alternative: Store your photos online with Piwigo
- How to start with project management using The Bug Genie
- Make your own poll platform with LimeSurvey
- Roll out your own Wikipedia clone with MediaWiki
- How to host your own learning management software with Moodle LMS
- Set up an accounting system with FrontAccounting
- Produce your own bills with BoxBilling
Daniel is a freelance copywriter with over six years experience writing for publications such as TechRadar, Tom’s Guide, and Hosting Review. He specializes in B2B and B2C tech and finance, with a particular focus on VoIP, website building, web hosting, and other related fields.
