How to change your activity status in Microsoft Teams
Don't want to be disturbed? Here's how to set your Microsoft Teams status

Microsoft Teams calls can sometimes be a little overwhelming. Although video conferencing solutions have provided a much-needed method for facilitating remote collaboration, they have also made it difficult to focus. Sometimes, you just need a moment or two to reply to emails or get on with a solitary project.
If that’s an experience you’ve been through, there’s a way to update your Microsoft Teams activity status to ensure that potential callers know when you’re available and when you’re not. As long as you ensure this is always up to date, you should be able to guarantee that Teams is only a help to your productivity levels, not a hindrance. If you want to know how, follow these steps below:
Step One: Check your current status

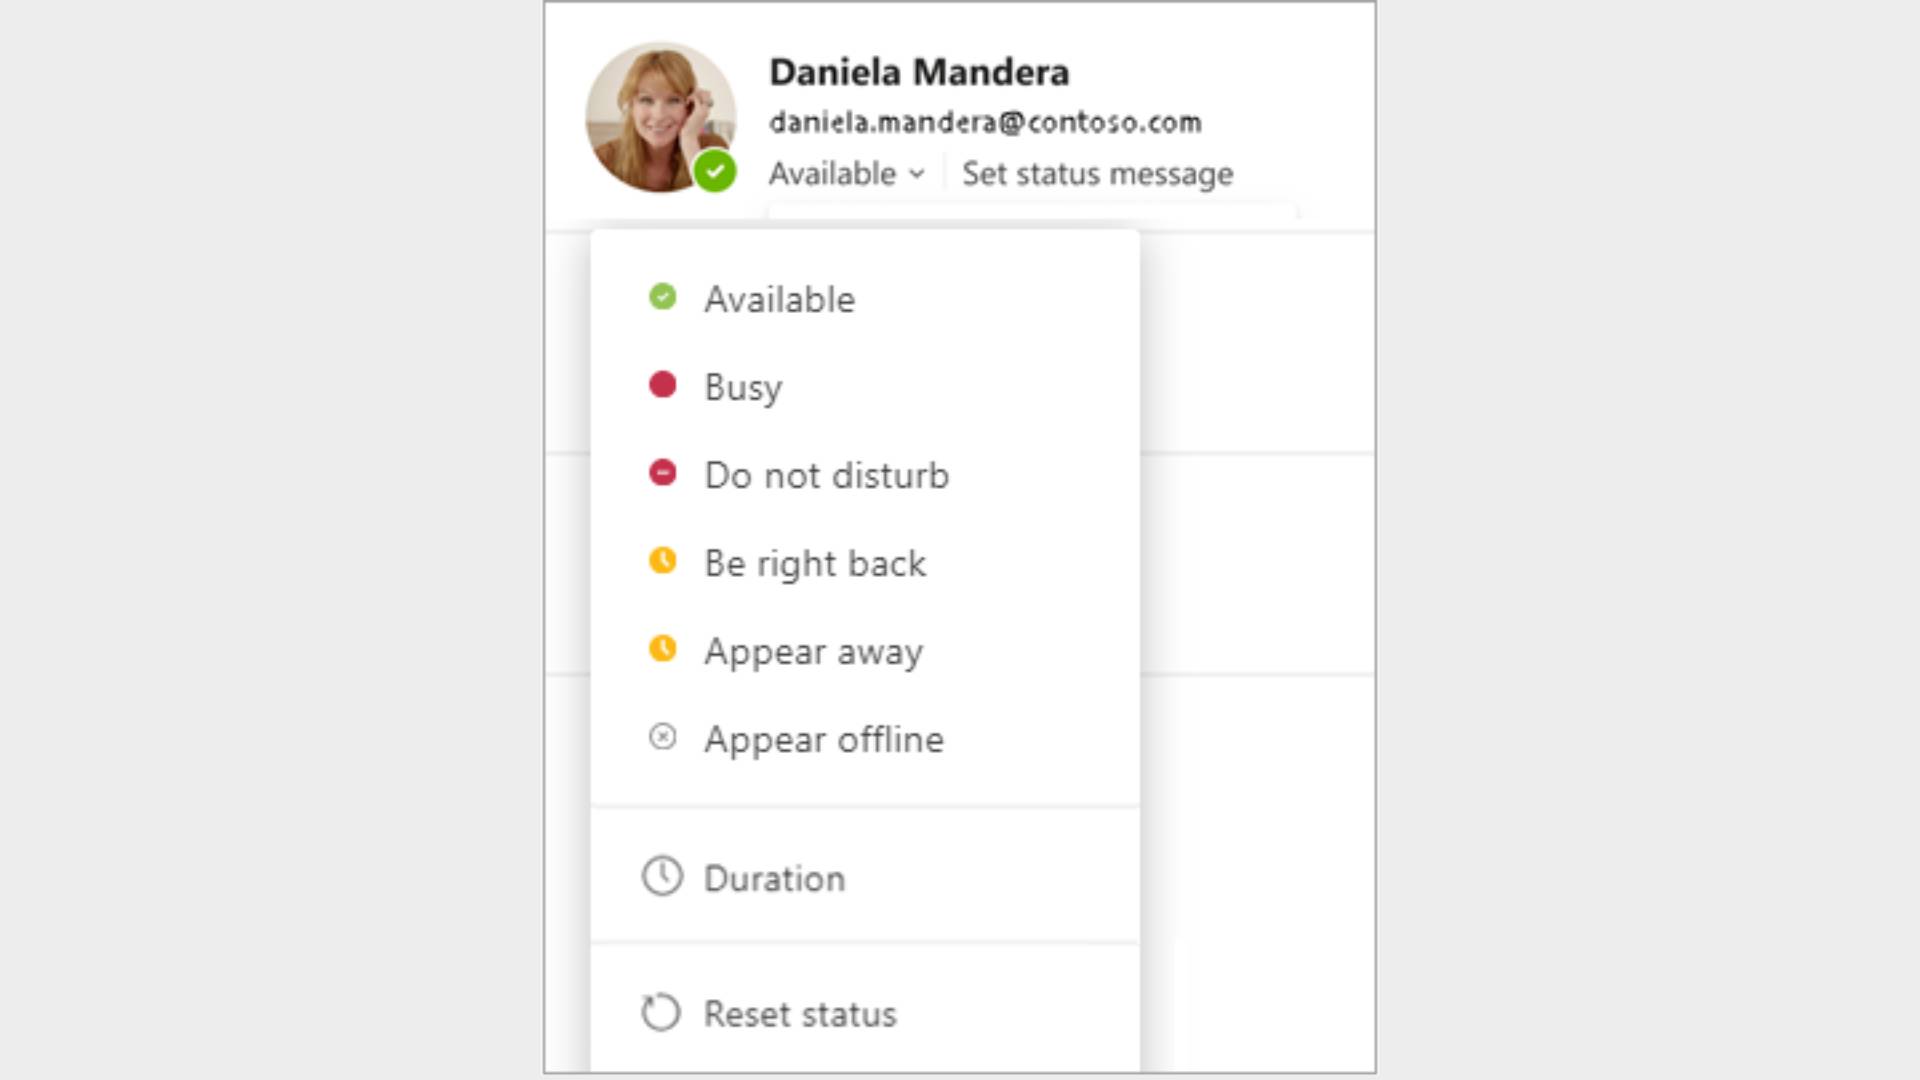
Before your go tinkering with your Teams activity status, it’s important you fully understand what you’ve currently got it set as. The little colored dot next to your profile shows your availability and can be set to: “Available”, “Busy”, “Do not disturb”, “Be right back”, “Appear away”, or “Appear offline”.
“Available” tells other users that you are active in Teams and don’t have any other appointments in your calendar. Don’t worry about switching from “Available” when you’ve powered your computer down either. Teams automatically sets your status to “Away” whenever your device is locked, in sleep mode, or shut down.
“Busy” is the right status to choose if you want to concentrate on something but still want to receive Teams notifications. “Do not disturb,” on the other hand, should be your status when you don’t want notifications to appear.
“Be right back” is never set automatically by Teams but can be used to inform other users that you are only going to be away from the platform for a brief period. “Appear away,” meanwhile gives you some breathing space if you don’t want to respond to messages right away. While “Appear offline” means you will appear as though you are not signed in to Teams but will still receive notifications.
Step Two: Manually change your status

There are a few different ways of manually changing your status in Teams. The first, and easiest, is to simply click on your profile. This will present you with the six options mentioned above. Simply click the one you want and you’re good to go. The same drop-down will also let you set a duration for your chosen status, so if you know you’re going on a one-hour lunch break, you can ensure that you are set up as “Available” when you return. You can also select “Reset status” if you want Teams to resume autiomatically setting your status based on your activity.
Are you a pro? Subscribe to our newsletter
Sign up to the TechRadar Pro newsletter to get all the top news, opinion, features and guidance your business needs to succeed!
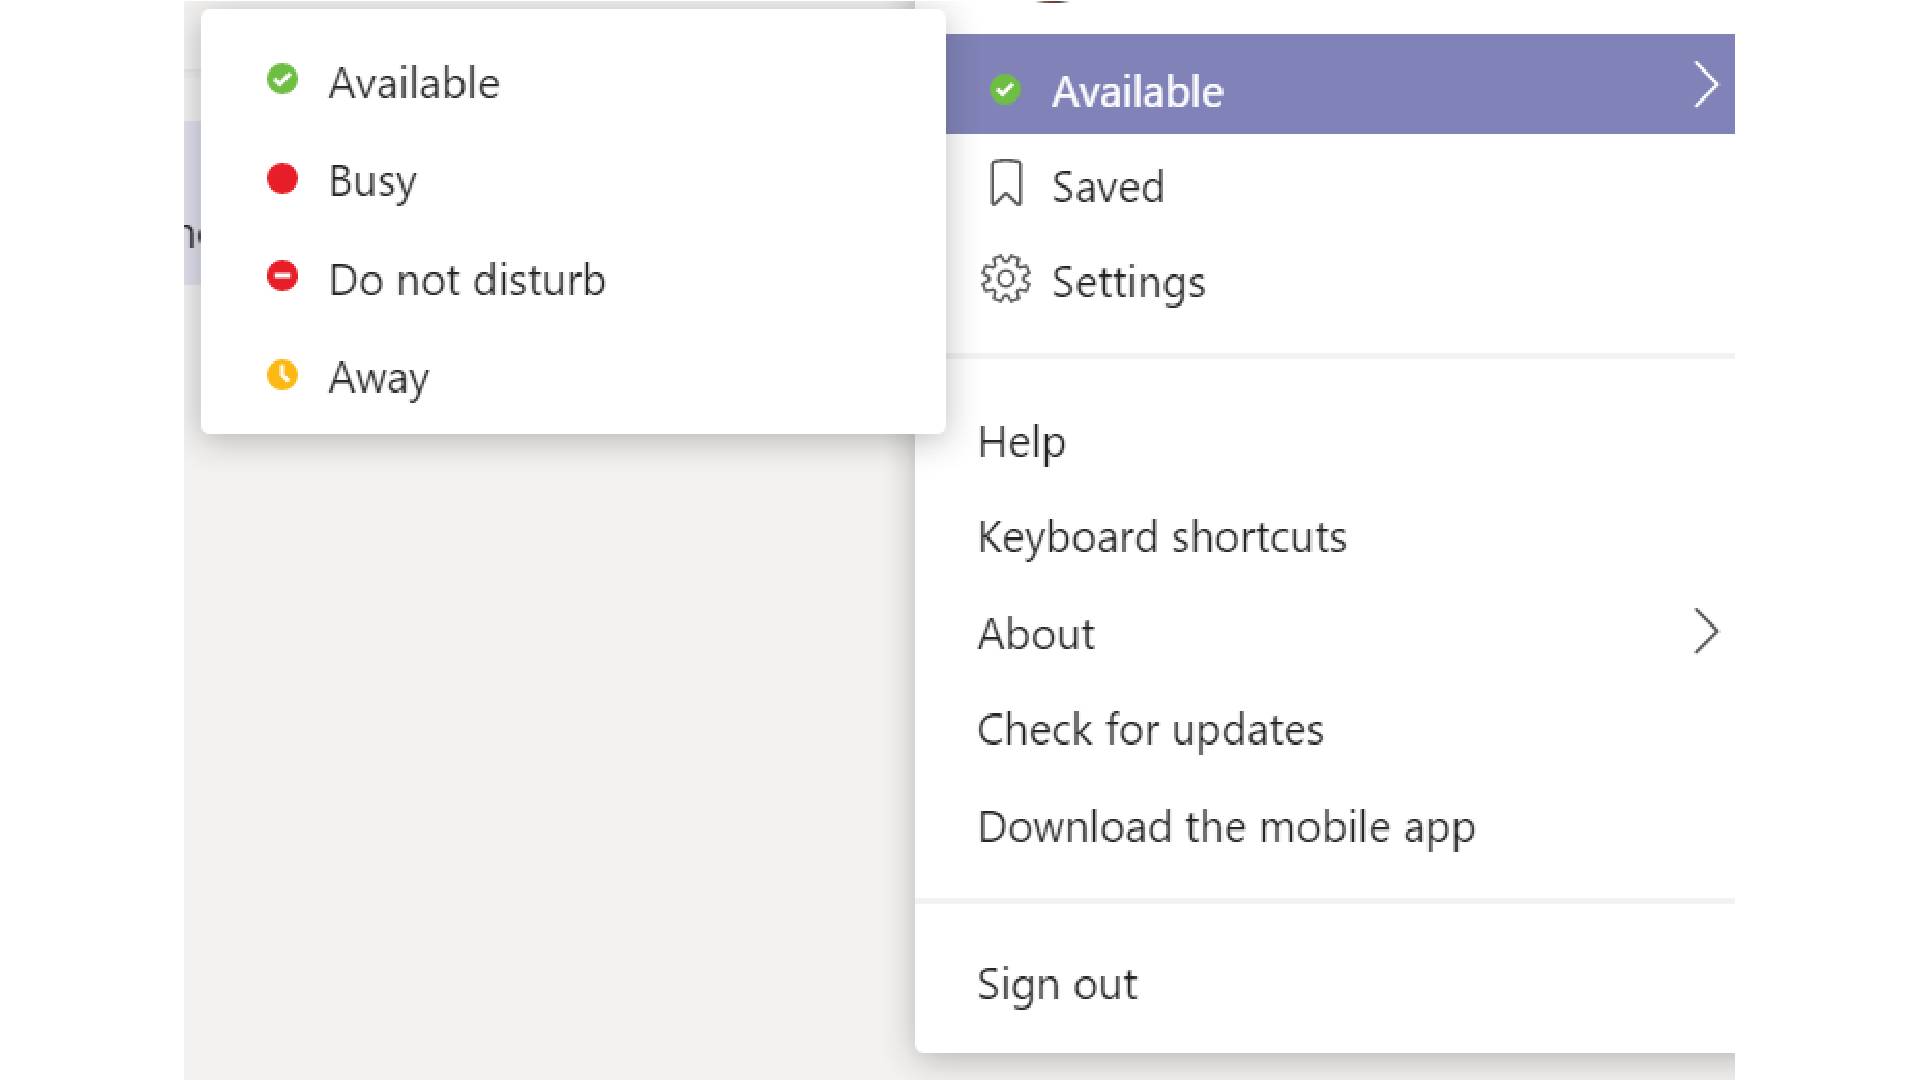
For mobile users, setting your Teams status is also straightforward. Simply select “Menu” and then click on your current status to see the same options that you have access to with the desktop version. For anyone that prefers things to be a little more complicated, however, your Teams status can be set using the command line. If you type, /available, /busy, /dnd, /brb, /away, or /offline, you can set your activity status to the relevant category.
Step Three: Set your status message

It’s worth noting that there’s more to your Microsoft Teams status than simply changing the color of that little dot next to your profile picture. Users can go a step further and actually set a status message to provide a more detailed update on their current availability.
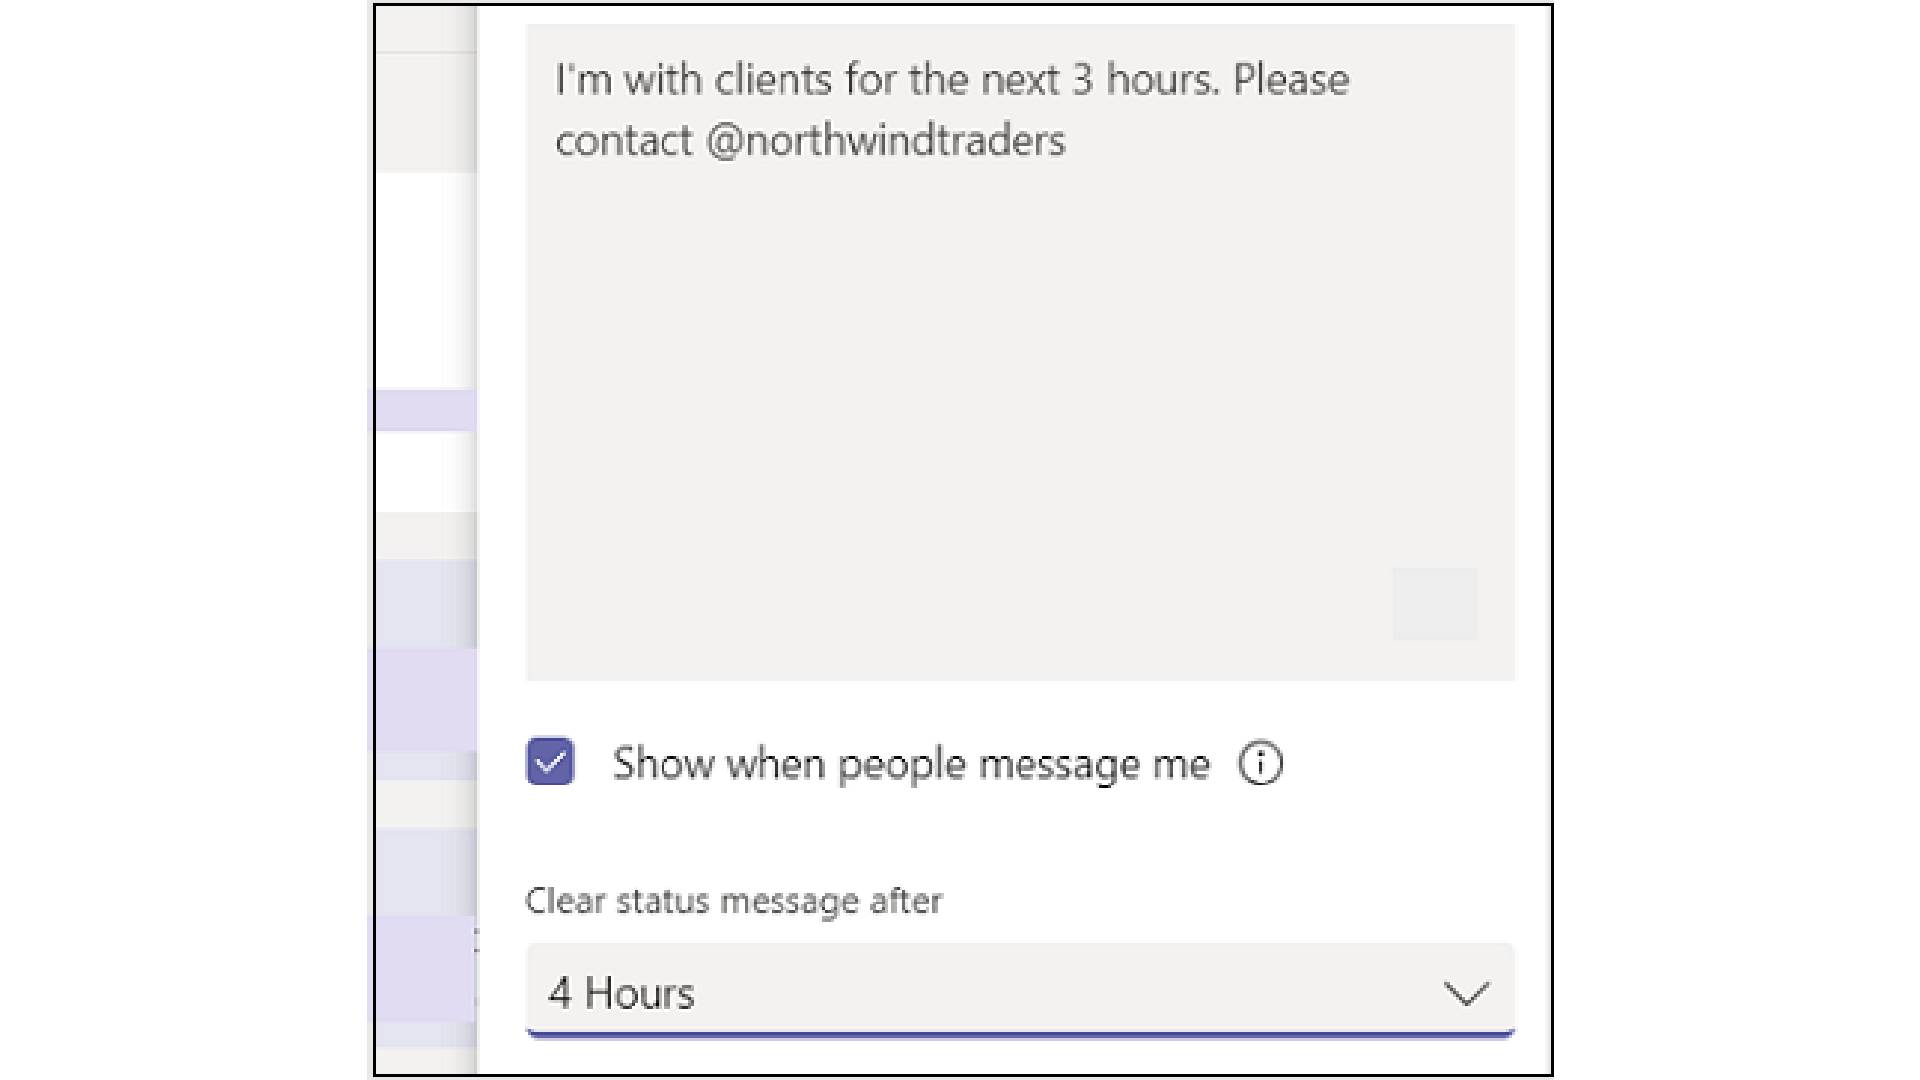
In order to create a status message, go to your profile and click on “Set Status Message”. You can then type out the status update of your choosing, informing other Teams users that you are, say, at a company conference, an external business meeting, or simply taking the day off. Another major benefit of the status message is that you can tag other Teams users. So if you are going to be unavailable for a fair while, you can tag someone using the “@” symbol, notifying other users to contact them in your absence instead.
Status messages have a maximum character limit of 280 and can be accompanied by a set timeframe for expiration. If a status message is still in use, however, it will prove difficult to miss. It is displayed above the conversation box when you start a one-to-one chat with the relevant individual, whenever you @ that person, or when you click on their contact card.
Step Four: Follow someone else’s status

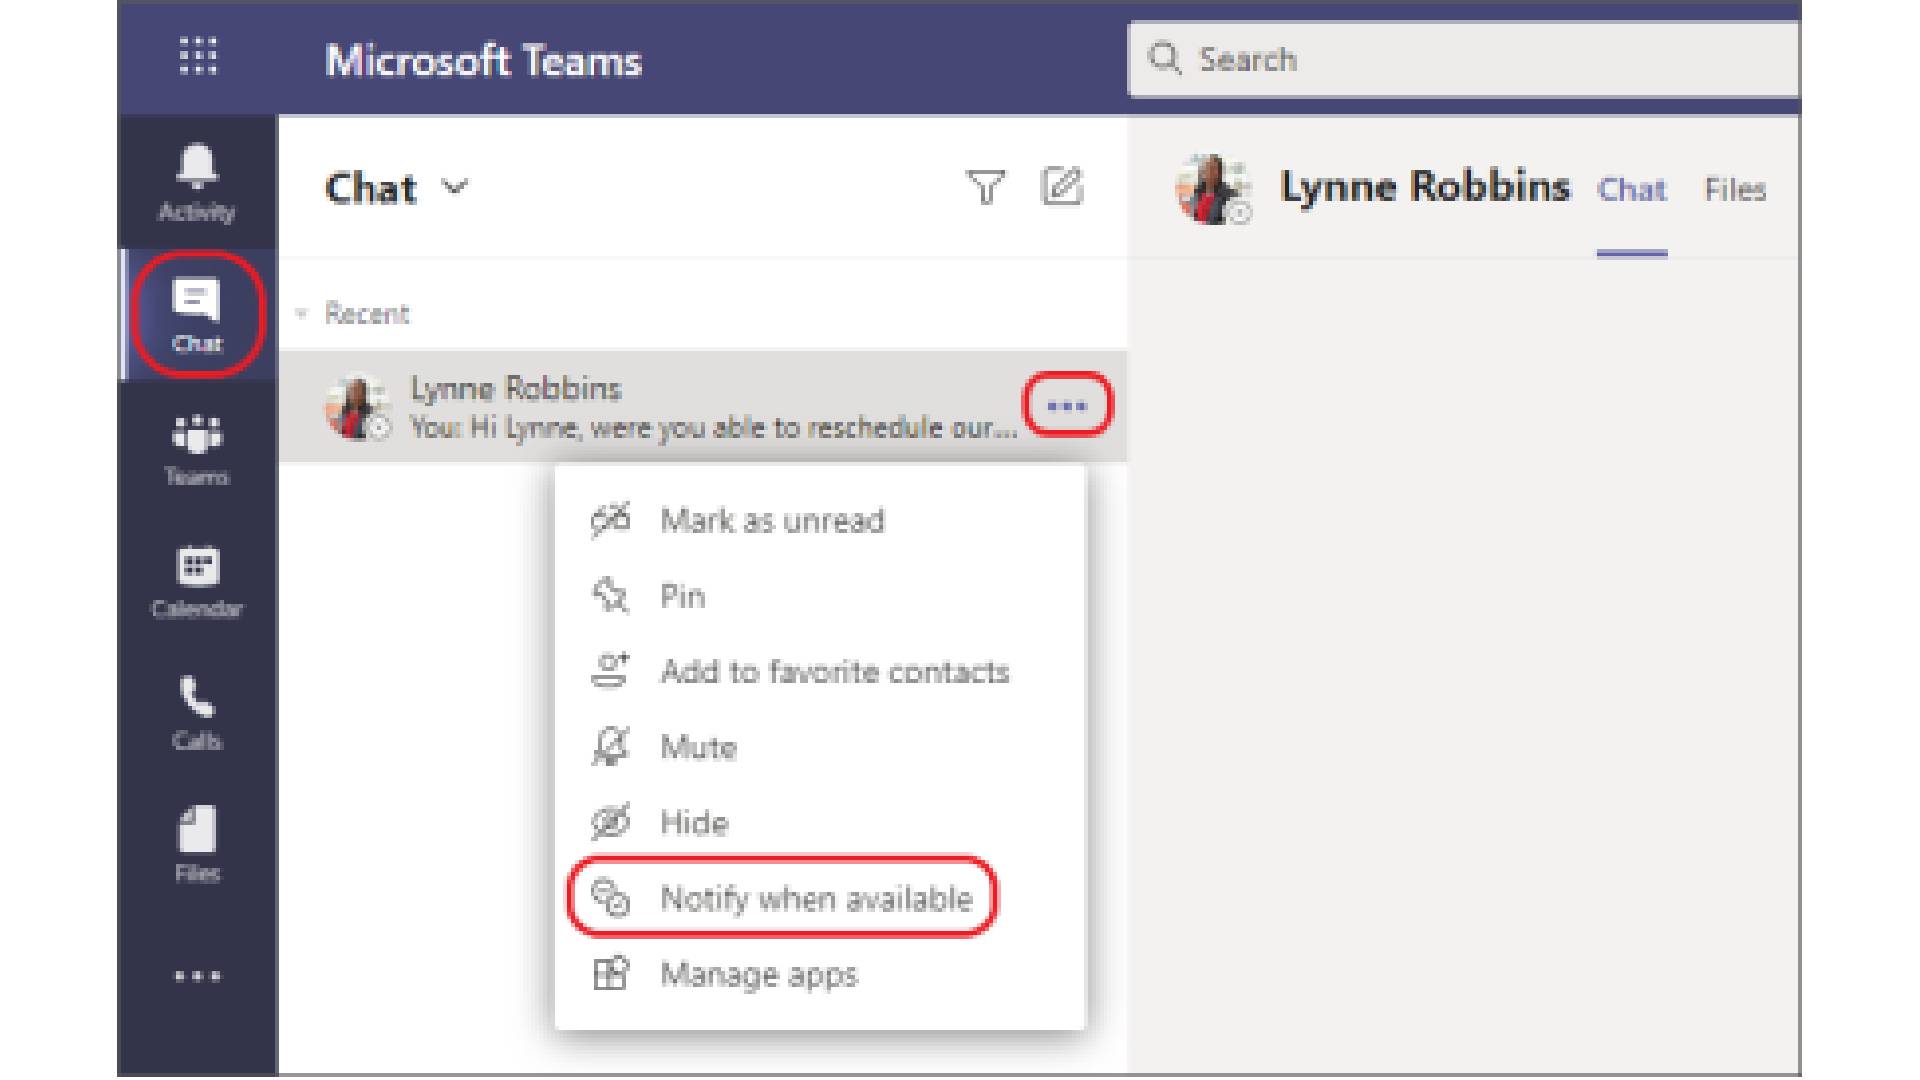
If you collaborate with one particular individual frequently, it might be useful to receive regular updates on their availability. If you want to be sent notifications informing you of a specific user’s status, click on “Settings” under your profile in the top-right corner of the screen.
Then, click on “Notifications” and under “People” select the “Edit” function. From here you can specify the names of any people that you would like to follow. Once they’ve been added, you’ll receive notifications any time they set their status to “Available” or “Offline.” If these notifications are no longer useful for a particular individual, simply click the “Turn off” button next to the person in question.
Barclay has been writing about technology for a decade, starting out as a freelancer with ITProPortal covering everything from London’s start-up scene to comparisons of the best cloud storage services. After that, he spent some time as the managing editor of an online outlet focusing on cloud computing, furthering his interest in virtualization, Big Data, and the Internet of Things.
