How to change your Apple Watch band
Switch straps in four simple steps
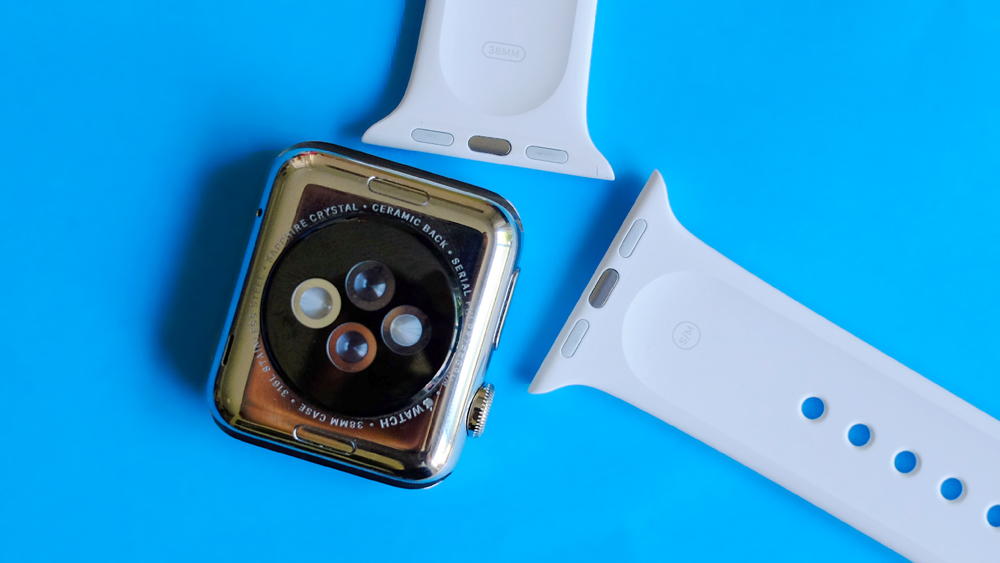
If you've bought an Apple Watch, you'll want to personalize it and make it reflect your look.
The good news is switching Apple Watch bands is easy and we've put together this guide to talk you through the four steps you'll need to complete to be able to give your watch a whole new look.
The issue: the Apple Watch does not use a standard watch band. Where some other smartwatches can take any old 22mm strap, the Apple Watch uses a proprietary system that needs bespoke accessories. Typical Apple, in other words.
This guide will talk you through how to change the band on any version of the Apple Watch as all three iterations so far use the same straps and technique. Some third-party straps may work differently, but if you buy an official Apple Watch strap you're certain to be covered by the guide below.
Step one: Removing the band
It's a remarkably simple system. You don't need any tools, and you can remove the band in under a minute.
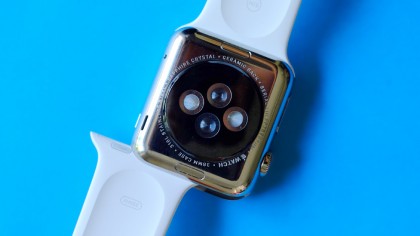
First, flip your Apple Watch over. At the top and bottom of the rear, you'll see two little buttons, sitting flush with the casing.
Pressing one in releases the band on that side (there's no need to try to press both at once). Once depressed, you can simply slide that part of the strap out - it's almost too simple.
Get daily insight, inspiration and deals in your inbox
Sign up for breaking news, reviews, opinion, top tech deals, and more.
Step two: Picking a band
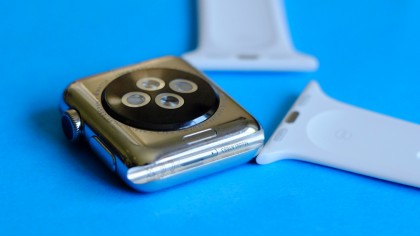
The most important thing to remember when picking a new Apple Watch band is that there are different designs for the 38mm and 42mm watch sizes.
Your first instinct may be to head to the Apple Store. Sure enough, it offers a whole bunch of official Apple Watch designs, and they're certain to be incredibly well-made.
However, they certainly aren't cheap. The low-end silicone Sports Band cost upwards from £39 ($49, AU$79): this is for a piece of rubber with a couple of bits of metal set into it.
The prices only go up from there, to around £129 ($149, AU$229) for the (in)famous, polarising Milanese Loop band, climbing all the way up to £379 ($449, AU$679) for the steel link band.
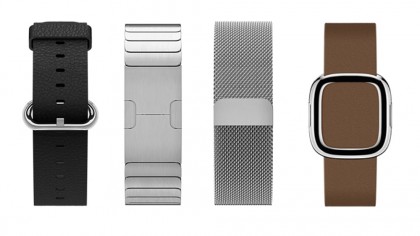
Don't have a gold-plated house? Maybe it's time to try a third-party band. Despite being a proprietary system, there are loads of Apple Watch bands out there.
- Ready to buy a new strap? Read our guide to the best Apple Watch bands
Step three: How to use a standard watch band
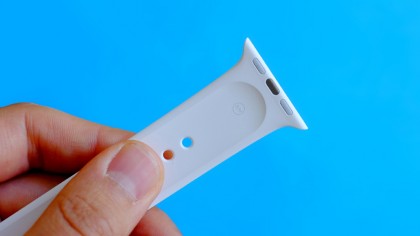
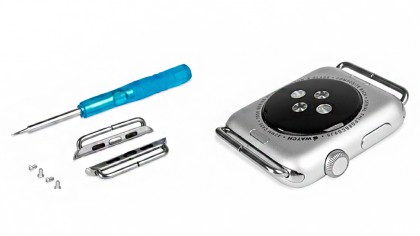
Have a watch band you love the feel of? Sure enough you can use standard-design watch bands with the help of an adapter. These are basically just bungs that hook into Apple's proprietary system, while offering an outer loop you attach your bog-standard watch band to.
There are a few different designs out there, though. Olixar makes an adapter using tiny screws to keep the outer loop in place, while the Click Polymer one that uses a telescopic strap insert that you might find a bit more flexible. Have a look, see which you prefer.
These adapters accept 22mm straps, the standard size for unisex or 'male' watches.
A word of warning: there's no approvals system needed for a third-party company to make an Apple Watch band, because they're quite simple, mechanical things. Buy a dirt-cheap one off eBay and you may not be too happy with what you end up with.
Step four: Installing your band
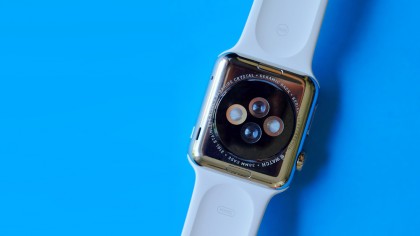
Now we have our replacement band, it's time to put the thing in. It couldn't get much simpler.
You just slide it in until you hear a click, which is the fastening part in the strap clicking into place in the watch. How does it work? The opposite of the way you may assume. The Apple Watch uses a magnetic fastening system, where a metal element in the band is 'sucked into' an indent in the watch.
Pressing the button on the Apple Watch's back pushes this little metal bit out again, letting you remove the band.
Andrew is a freelance journalist and has been writing and editing for some of the UK's top tech and lifestyle publications including TrustedReviews, Stuff, T3, TechRadar, Lifehacker and others.
