How to clean AirPods (or any wireless earbuds) safely and without damaging them
We detail how to safely deep clean your little white earpieces and case
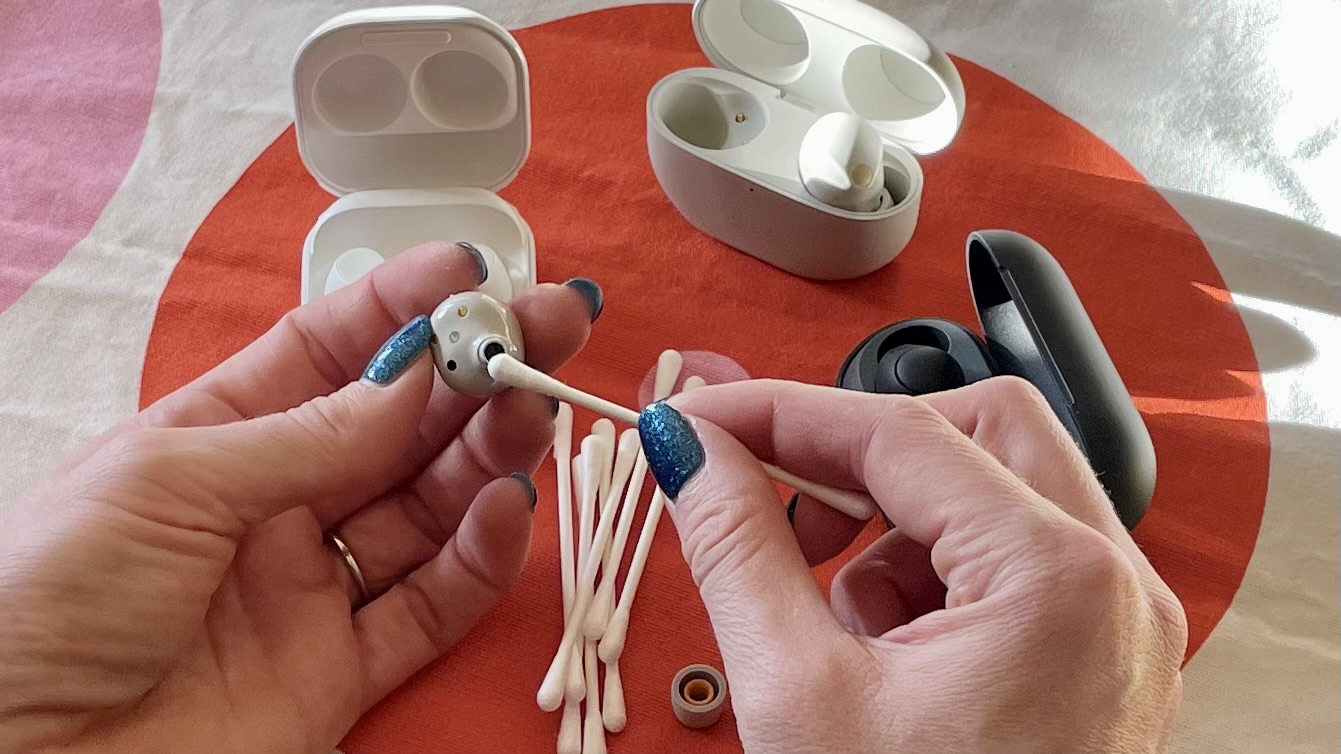
- Microfiber cloth
- Soft-bristled brush or silicon pastry brush
- Compressed air
- Cotton buds
- 70% isopropyl alcohol (aka rubbing alcohol, optional)
Worried about keeping your handy and oh-so-pocketable ice white earbuds clean? It's been a while since the AirPods Pro 2 came out (in September 2022, to be precise) but whether you were an early adopter or not, it's a a good concern to have. These little items sit in your delicate outer ear canal, after all – nobody wants a foreign body in their ear, or worse, a nasty ear infection.
The best wireless earbuds and the best AirPods share a common goal: to come with you everywhere and deliver music to your ears. But public places such as the gym, the subway, coffee shops, canteens and your office desk have all proved prime locations for gathering dirt.
If you’ve recently noticed that your AirPods or earbuds aren't sounding as clear, neutral and detailed as you remember, won't charge properly or even seem susceptible to crackling or disconnecting, grubbiness over the connections, mesh or ear tips could be to blame.
If your earbuds' mesh and grilles are exposed in an open-earbud design with no silicon tip covering them (like Apple's 2019 AirPods, the original wired EarPods, or the 'buds squirrelled away in the back of the Nokia 5710 XpressAudio, say) those little crevices collect dust and general grime like you wouldn't believe.
Even the very best noise-cancelling earbuds aren't immune here – and in this article, we walk you through the best ways to clean your earbuds and their case.
Quick steps for how to clean your earbuds
- Remove your AirPods or earbuds from their case, remove any ear tips and use a clean, dry, soft-bristled brush to remove dust and debris from the mesh speaker (or microphone) grilles
- Clean the exterior of the case with a soft, lint-free microfiber cloth – you should not need any cleaning agents or water
- Open the case and direct a quick blast of compressed air over the charging points to dislodge dust that could be affecting their charging efficacy
Step-by-step guide for how to clean your earbuds
Fancy watching this information, as well as reading it? TechRadar’s US Editor in Chief, Lance Ulanoff, recently appeared on US morning show Live with Kelly and Ryan to talk viewers through the best ways to spring-clean their tech. Skip to the 2:03 mark of the video (embedded below), where Lance explains how to clean your earbuds quickly and efficiently if you're strapped for time.
If you’ve got a bit of a gap in your schedule right now though – or your buds are just really really dirty – read on for some alternative, in-depth methods and tips for cleaning your earbuds.
Get daily insight, inspiration and deals in your inbox
Sign up for breaking news, reviews, opinion, top tech deals, and more.
1. Take the earbuds out of their case and remove the ear tips
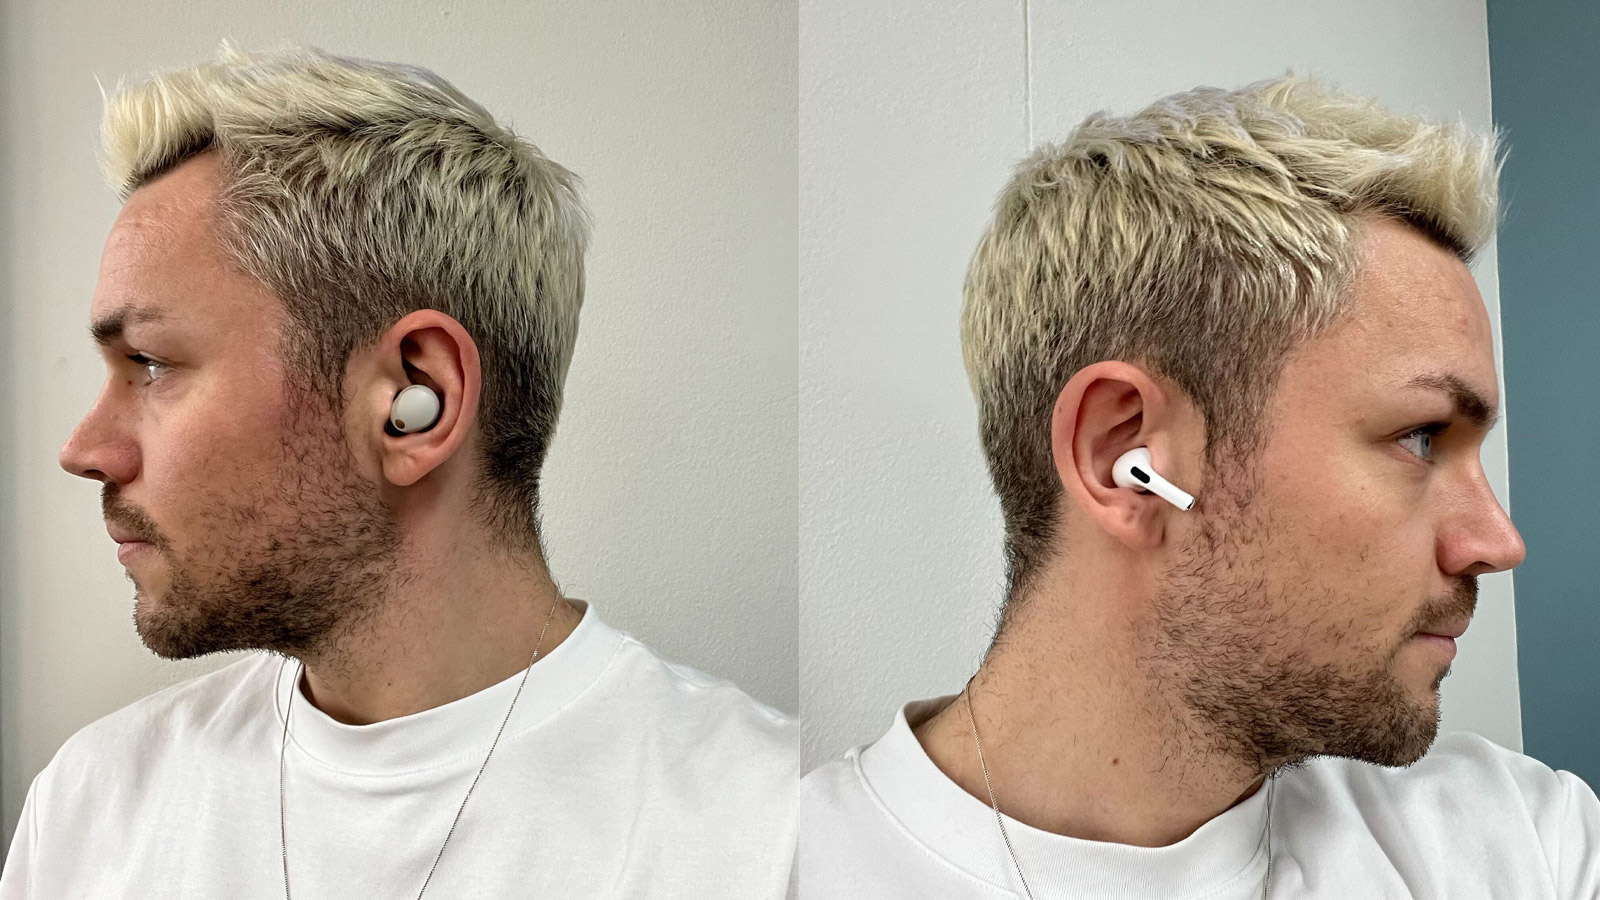
First things first: get the things out of your ear (or their case) and remove the ear tips. It might seem too obvious to mention, but you won't be using any pointed sharp objects here – piercing fine speaker mesh would not be a good idea.
If your ear tips are silicon, washing them in a solution made up of 5ml liquid dish soap and 250ml warm water will work wonders. Just try to keep that away from your driver-filled earpieces and their case, even those boasting a healthy IP rating.
2. Really gunky 'buds? Grab a cotton swab moistened with 70% isopropyl alcohol

That's rubbing alcohol to you and me. Now, liquids and electronics don't mix, so tread very carefully here – you don't want any moisture going beyond the grilles and into the drivers – but if there's a bunch of gunk on your earbuds (it's ear wax; it's perfectly natural, our bodies produce it to protect our ears and keep 'em clean, so we shouldn't get grossed out) a Q-Tip is a tool specifically designed to help.
Your earbuds' speaker grilles, mic outlets and charging points are about the size of a grain of rice, remember, so dragging a cotton swab over the area you want to clean will not be a lengthy job. Fiddly yes; lengthy, no.
3. Use a soft-bristled brush or small silicon pastry brush over the grilles

The key to this is that the brush is clean, dry, and hasn't been used for applying egg-wash any time recently.
Don't have a pastry brush at home? A soft-bristled manual toothbrush or toothbrush head (if you've gone electric) will work – just don't use your current one. Or your partner's.
Moving the brush gently around the grilles in little circular motions, after the rubbing alcohol trick, should remove even the most stubborn globs of wax.
4. Blow compressed air into the case, over the charging ports
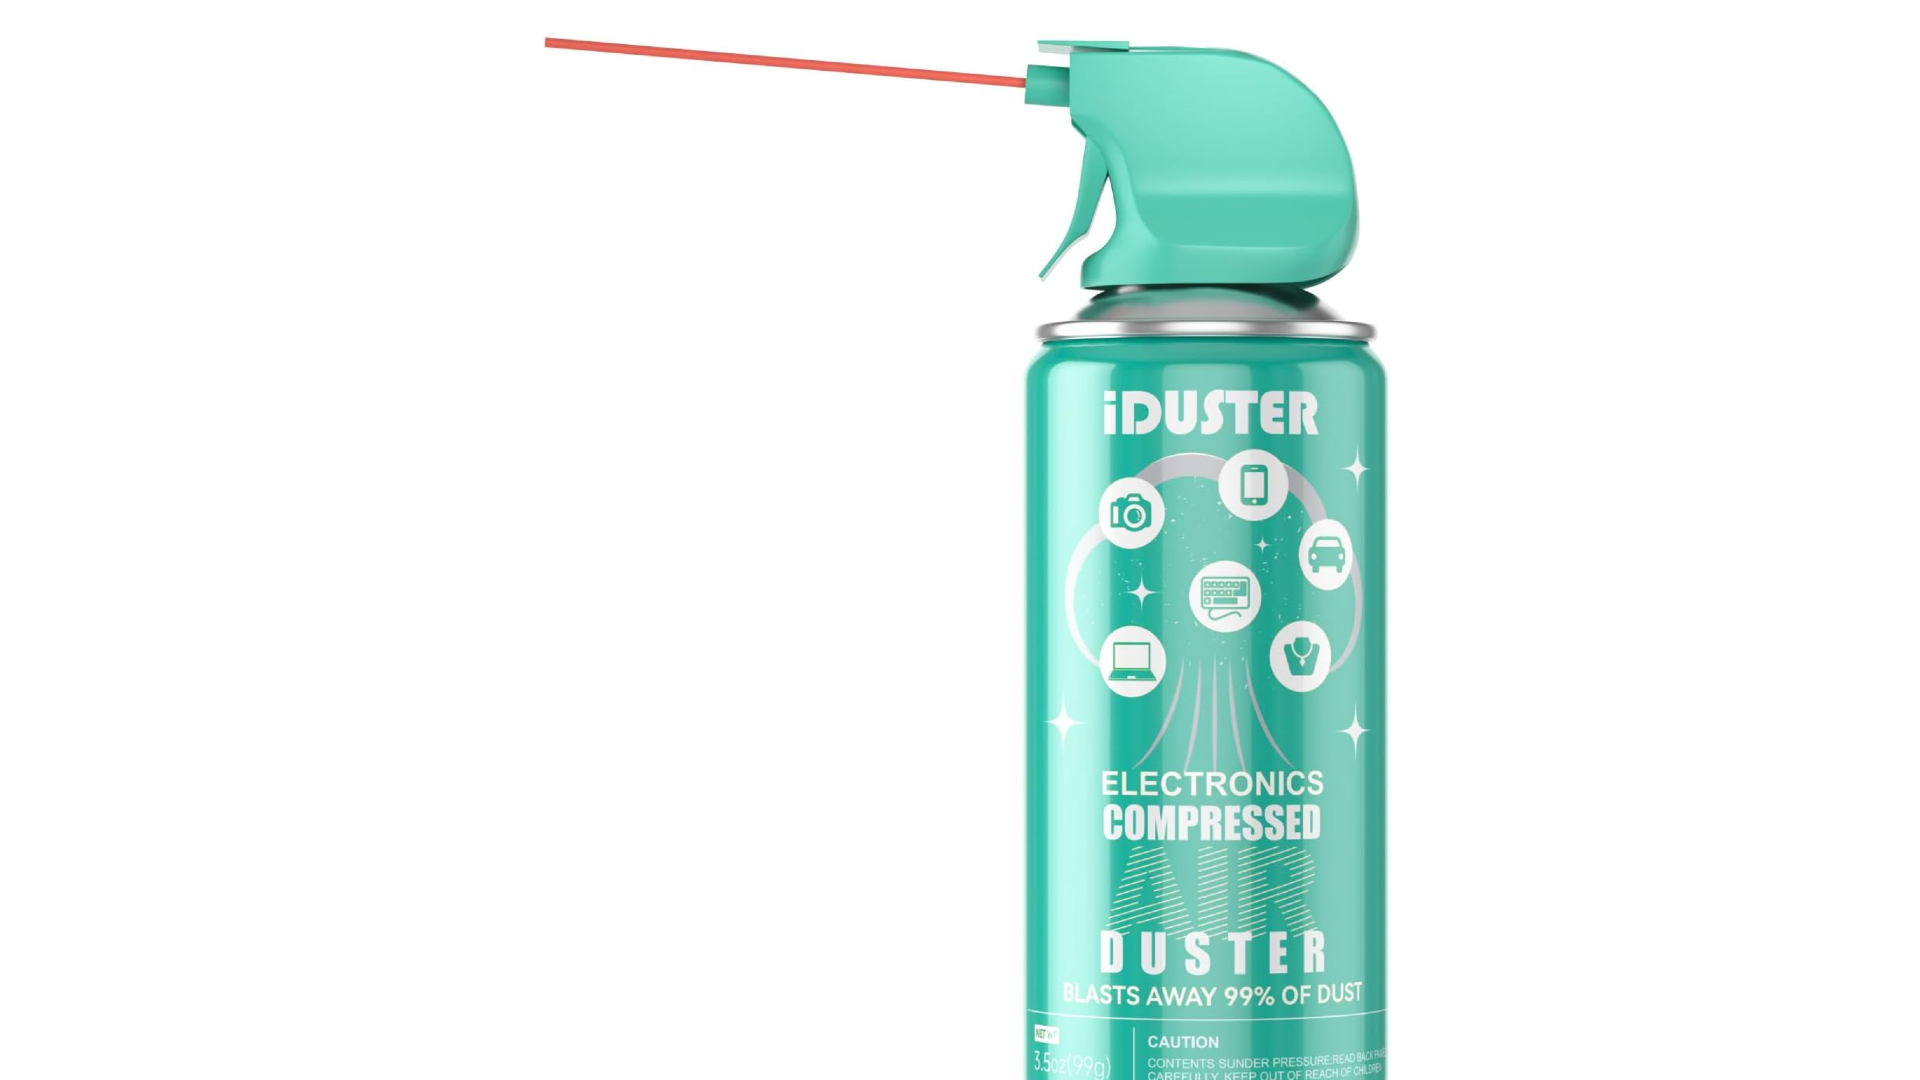
If you’ve got a canister of compressed air at your disposal (and if you don't, you can pick one up on Amazon for just a few dollars), use it to blow compressed air over the charging ports of each earbud.
When using your can of compressed air, think short, sharp blast of no more than a second or two just to dislodge dust particles, rather than long bursts.
5. Take a microfiber cloth to the case – and rub

This step is self explanatory, really. You shouldn't need any water or potentially abrasive cleaning agent unless they're stained (and AirPods are white aren't they? So, it happens) but if you do think you need something more than just a cleaning cloth and a bit of effort to shift the dirt, dipping the cloth in the solution above (5ml liquid dish soap and 250ml warm water) and wiping the case carefully, taking particular care when it comes to the USB-C charging port, is your step-up option.
6. Make sure the ear tips are dry before replacing
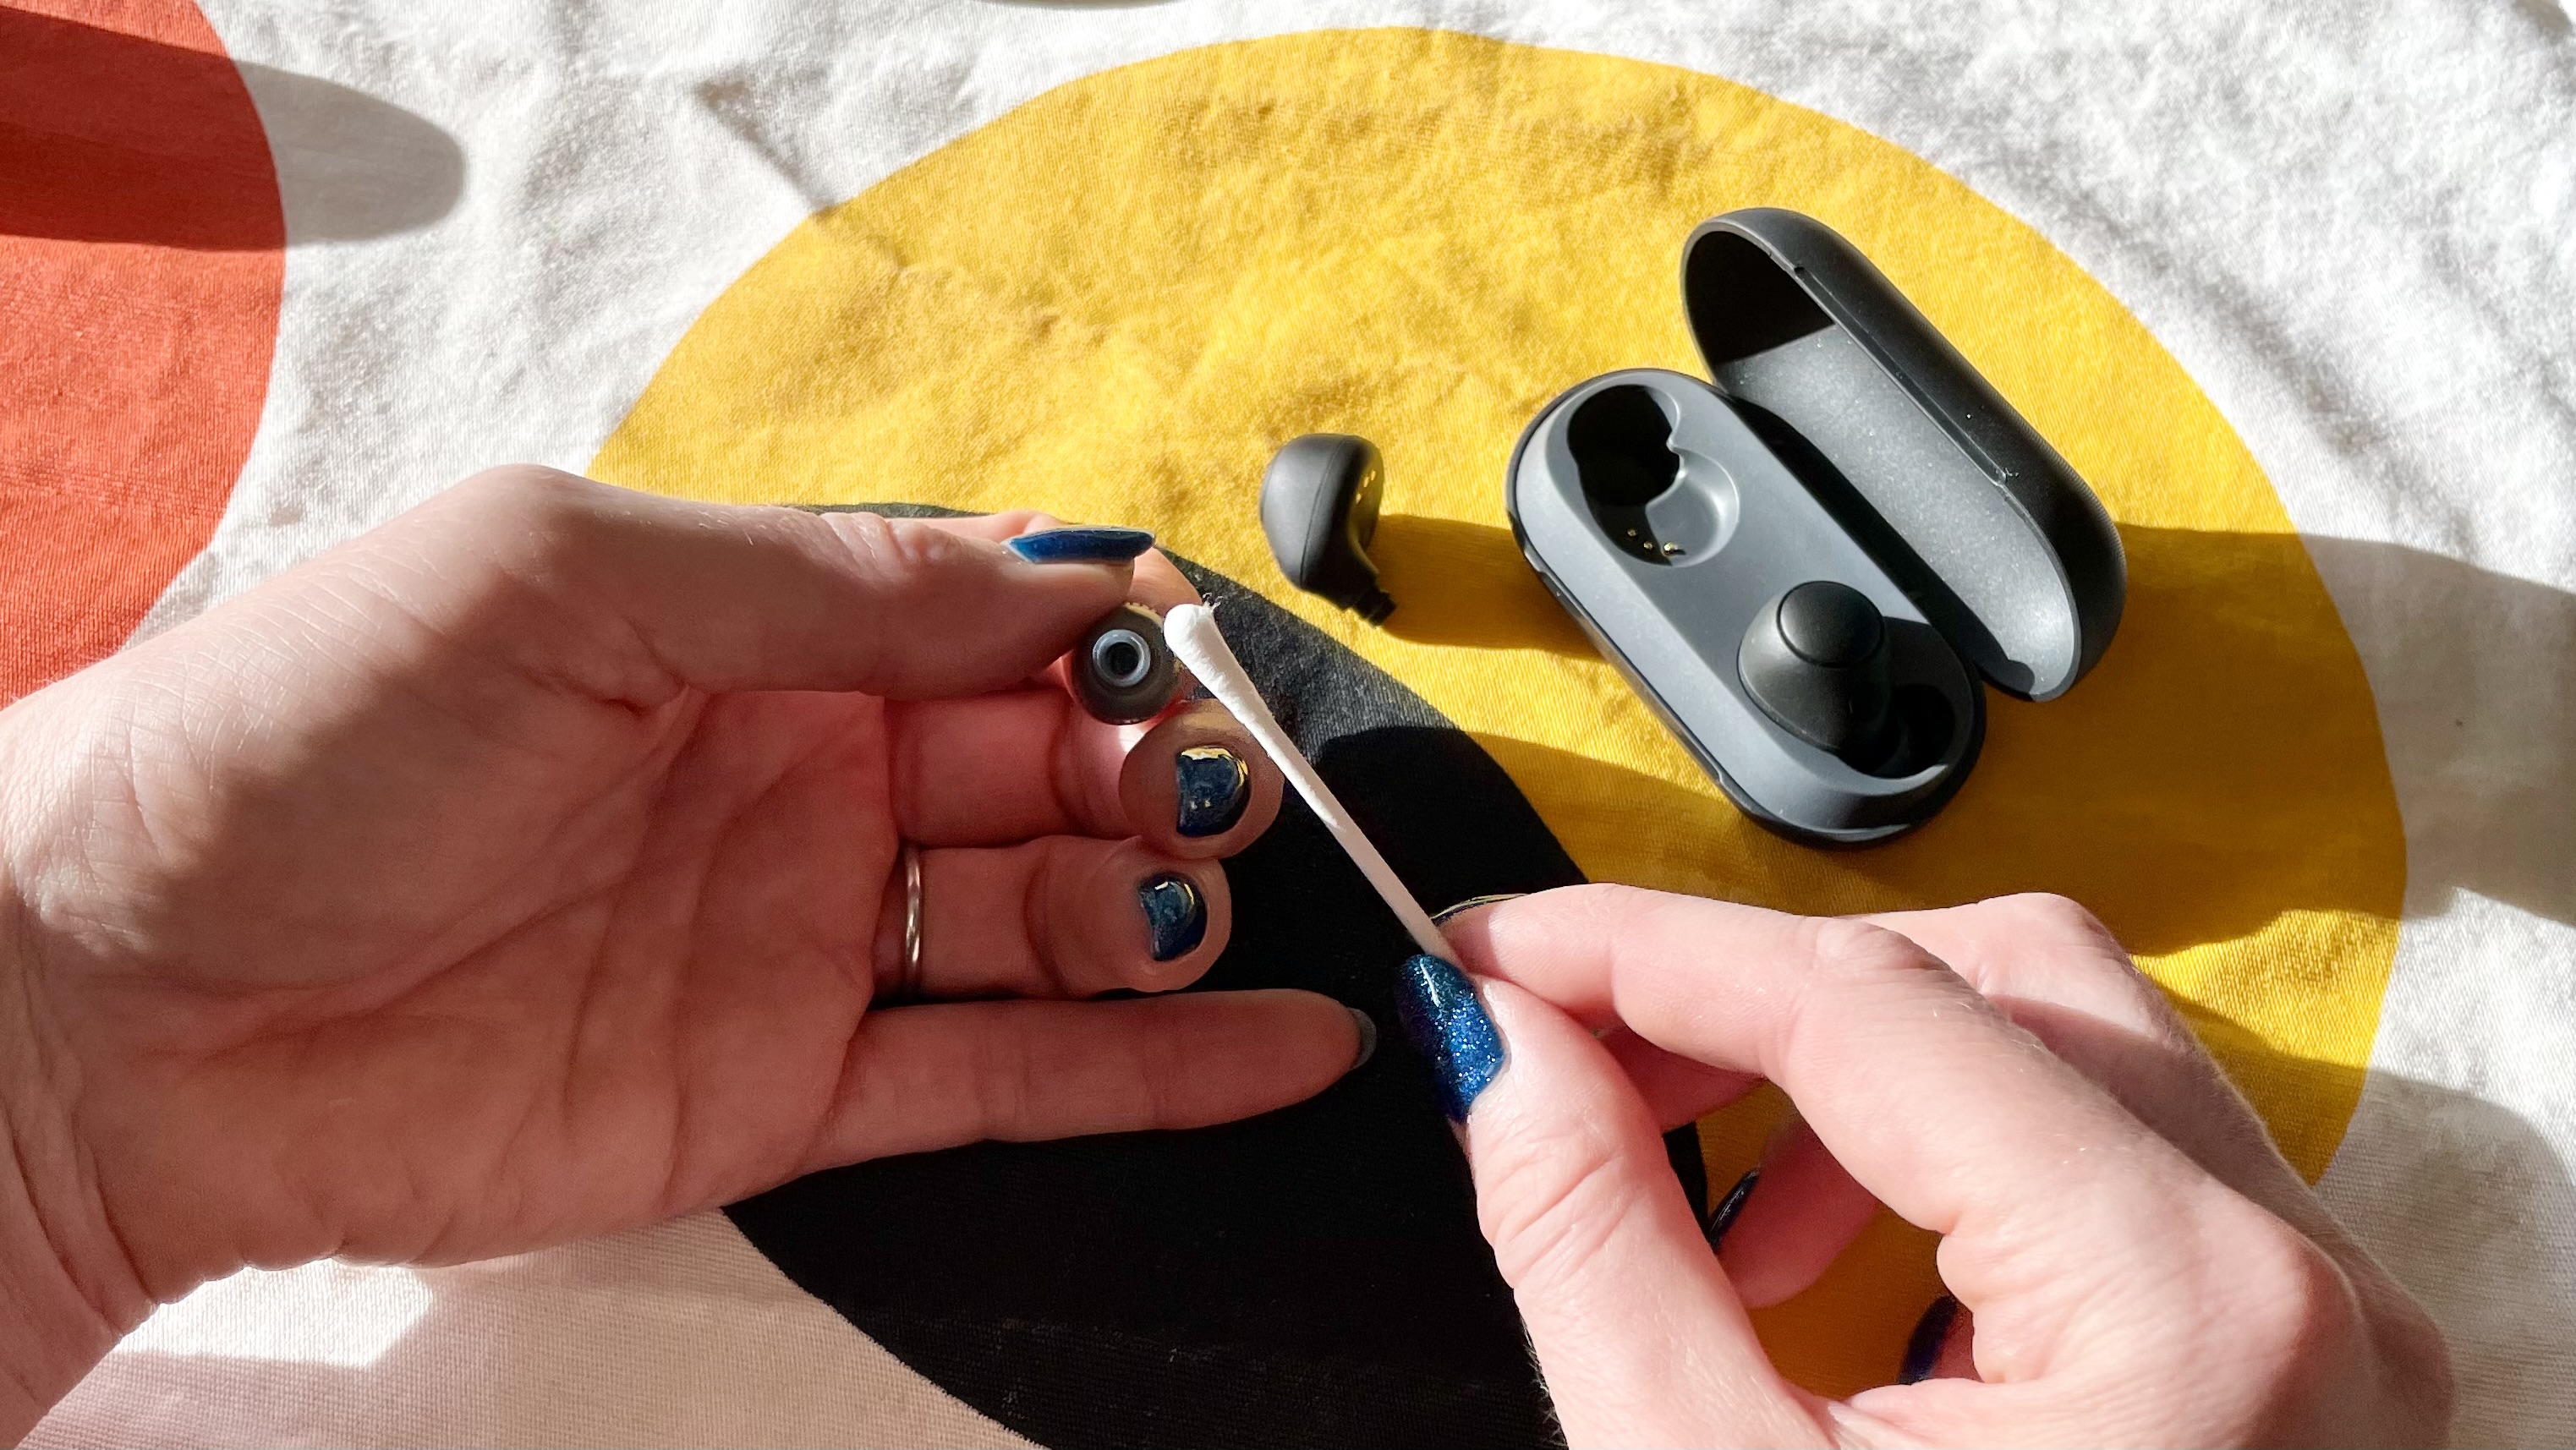
Leaving your ear tips to dry thoroughly (you can usually turn most silicon tips inside out, which helps) before fitting them again is best practice. Sure, most earbuds today come with an IP rating, but why test it?
A quick once over with that soft microfiber towel when they're dry, et voila! Your earbuds should look and sound like new.
Useful tips
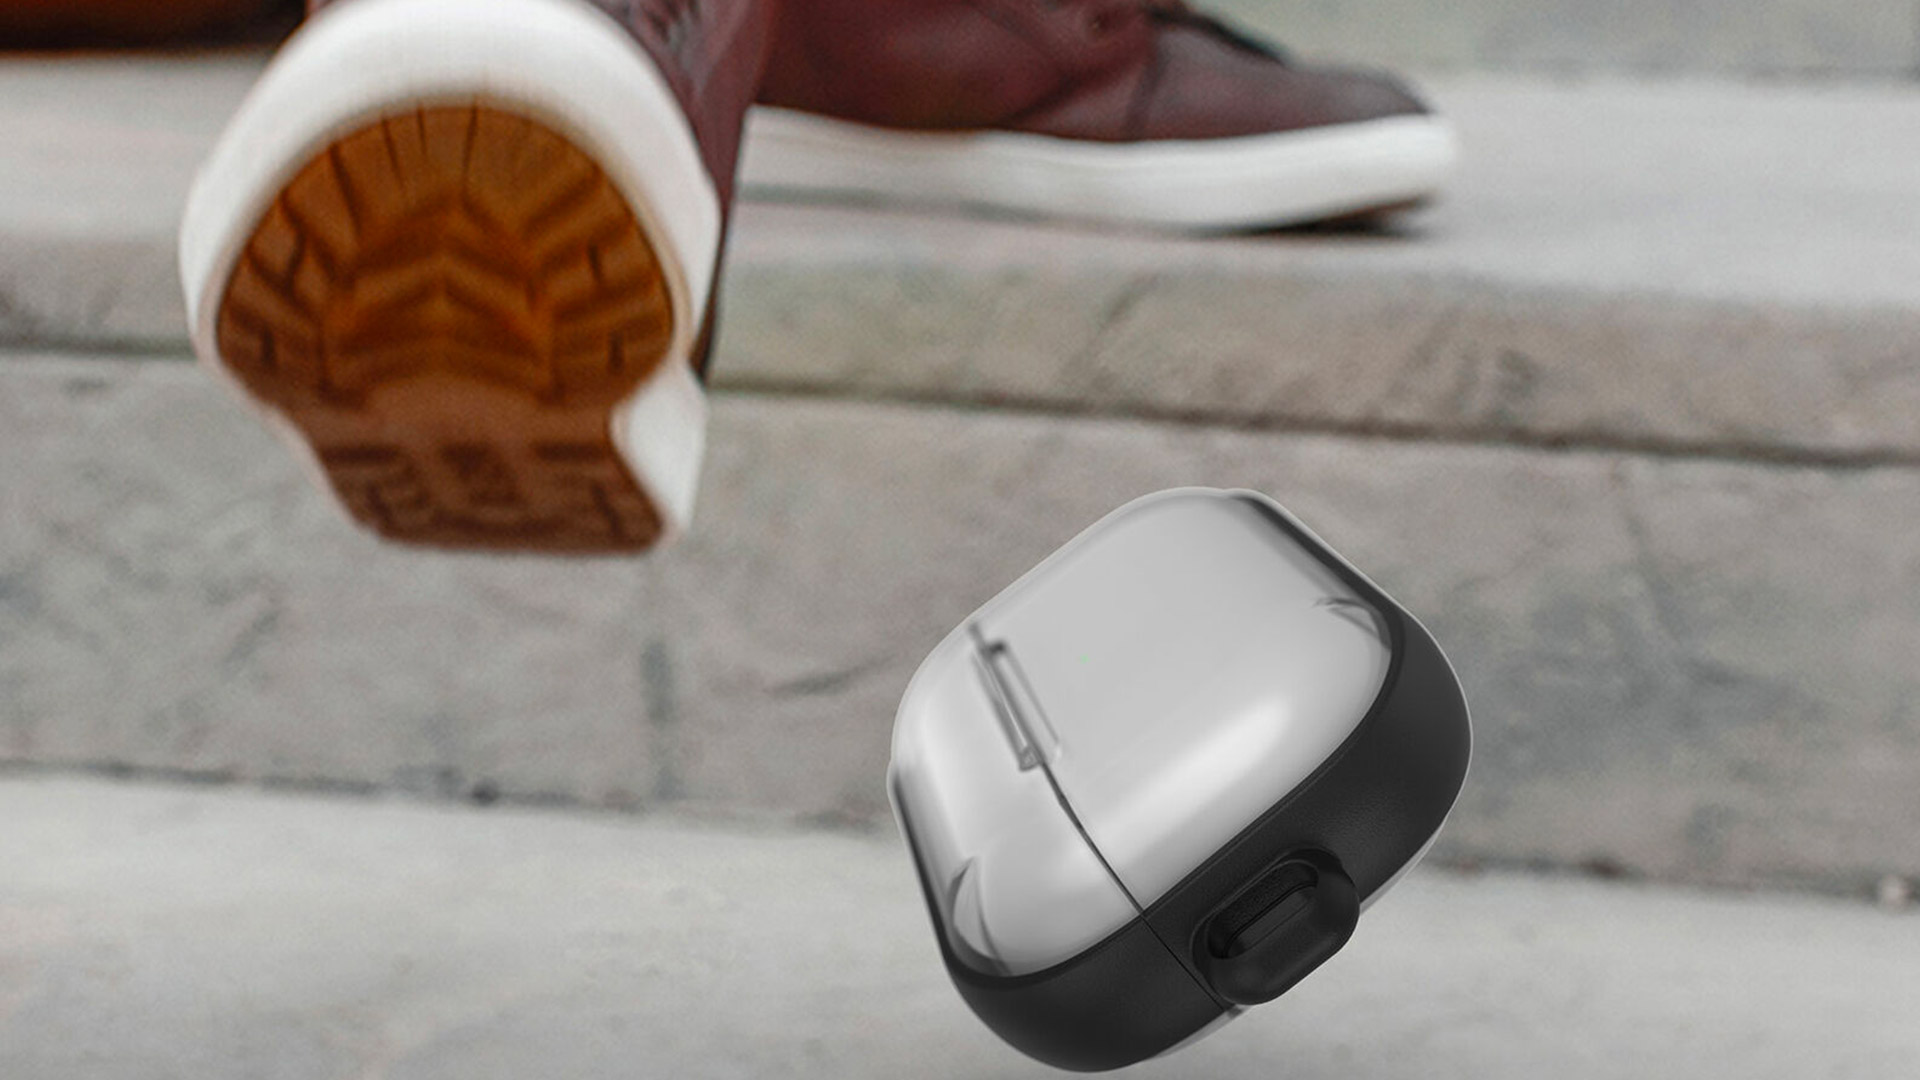
It might seem tempting, but simply blowing into your AirPods or wireless earbuds case in the hopes of dislodging whatever's in there would be a bad idea. It's extremely difficult for us mere mortals to replicate the air pressure of a compressed air canister, you see, and human breath also contains too much moisture to be advisable.
If there's a lot of ear wax on those little grilles, rubbing alcohol really is your friend since it dissolves wax pretty effectively given time. Leave a little on a moistened cotton bud, work it around the mesh, then wait. Again, use sparingly (don't saturate either the bud or the grille – that would be bad) but in small quantities when all else has been tried, it can do the trick.
Look, if hardened wax is really clogged on there, we have seen people take a Swiss army knife to their earbuds to sort of delicately cleave it off, (and some AirPods cleaning kits feature quite the pointy-looking tool, don't they?) but this is not something we'd advise, unless you've the steady hand of a surgeon.
You may also like

Becky became Audio Editor at TechRadar in 2024, but joined the team in 2022 as Senior Staff Writer, focusing on all things hi-fi. Before this, she spent three years at What Hi-Fi? testing and reviewing everything from wallet-friendly wireless earbuds to huge high-end sound systems. Prior to gaining her MA in Journalism in 2018, Becky freelanced as an arts critic alongside a 22-year career as a professional dancer and aerialist – any love of dance starts with a love of music. Becky has previously contributed to Stuff, FourFourTwo and The Stage. When not writing, she can still be found throwing shapes in a dance studio, these days with varying degrees of success.