How to connect a Roku streaming stick to your TV

Knowing how to connect a Roku streaming stick to your TV can seem daunting, but it's well worth learning. After all, Roku streaming sticks are a fantastic way to easily - and affordably - gain access to thousands of entertainment apps all packed into one small, portable device. With a Roku streaming stick, you'll no longer be limited to the handful of apps featured on your smart TV.
In fact, so long as your TV has at least one HDMI port, you'll be able to use any of the best Roku streaming sticks to access the litany of apps that are downloadable on Roku's streamers.
Such apps include big-name favorites like Netflix, Disney Plus, and Prime Video. Alternatively, more specialized apps like Funimation and BritBox are available if you're looking for a more specific entertainment fix.
But if you've just bought a new Roku streaming stick - or have never set up a streaming device for your TV before - knowing how to connect it to your TV and setting it up are necessary steps in order to make use of it in the first place.
As such, we've prepared a guide going through everything you need to know about how to connect a Roku streaming stick to your TV. From the initial connection, through the setup process, we'll go step by step to show you not only how to connect and set up your Roku streaming stick, but also how to get the most out of it on day one.
Setting up your Roku streaming stick

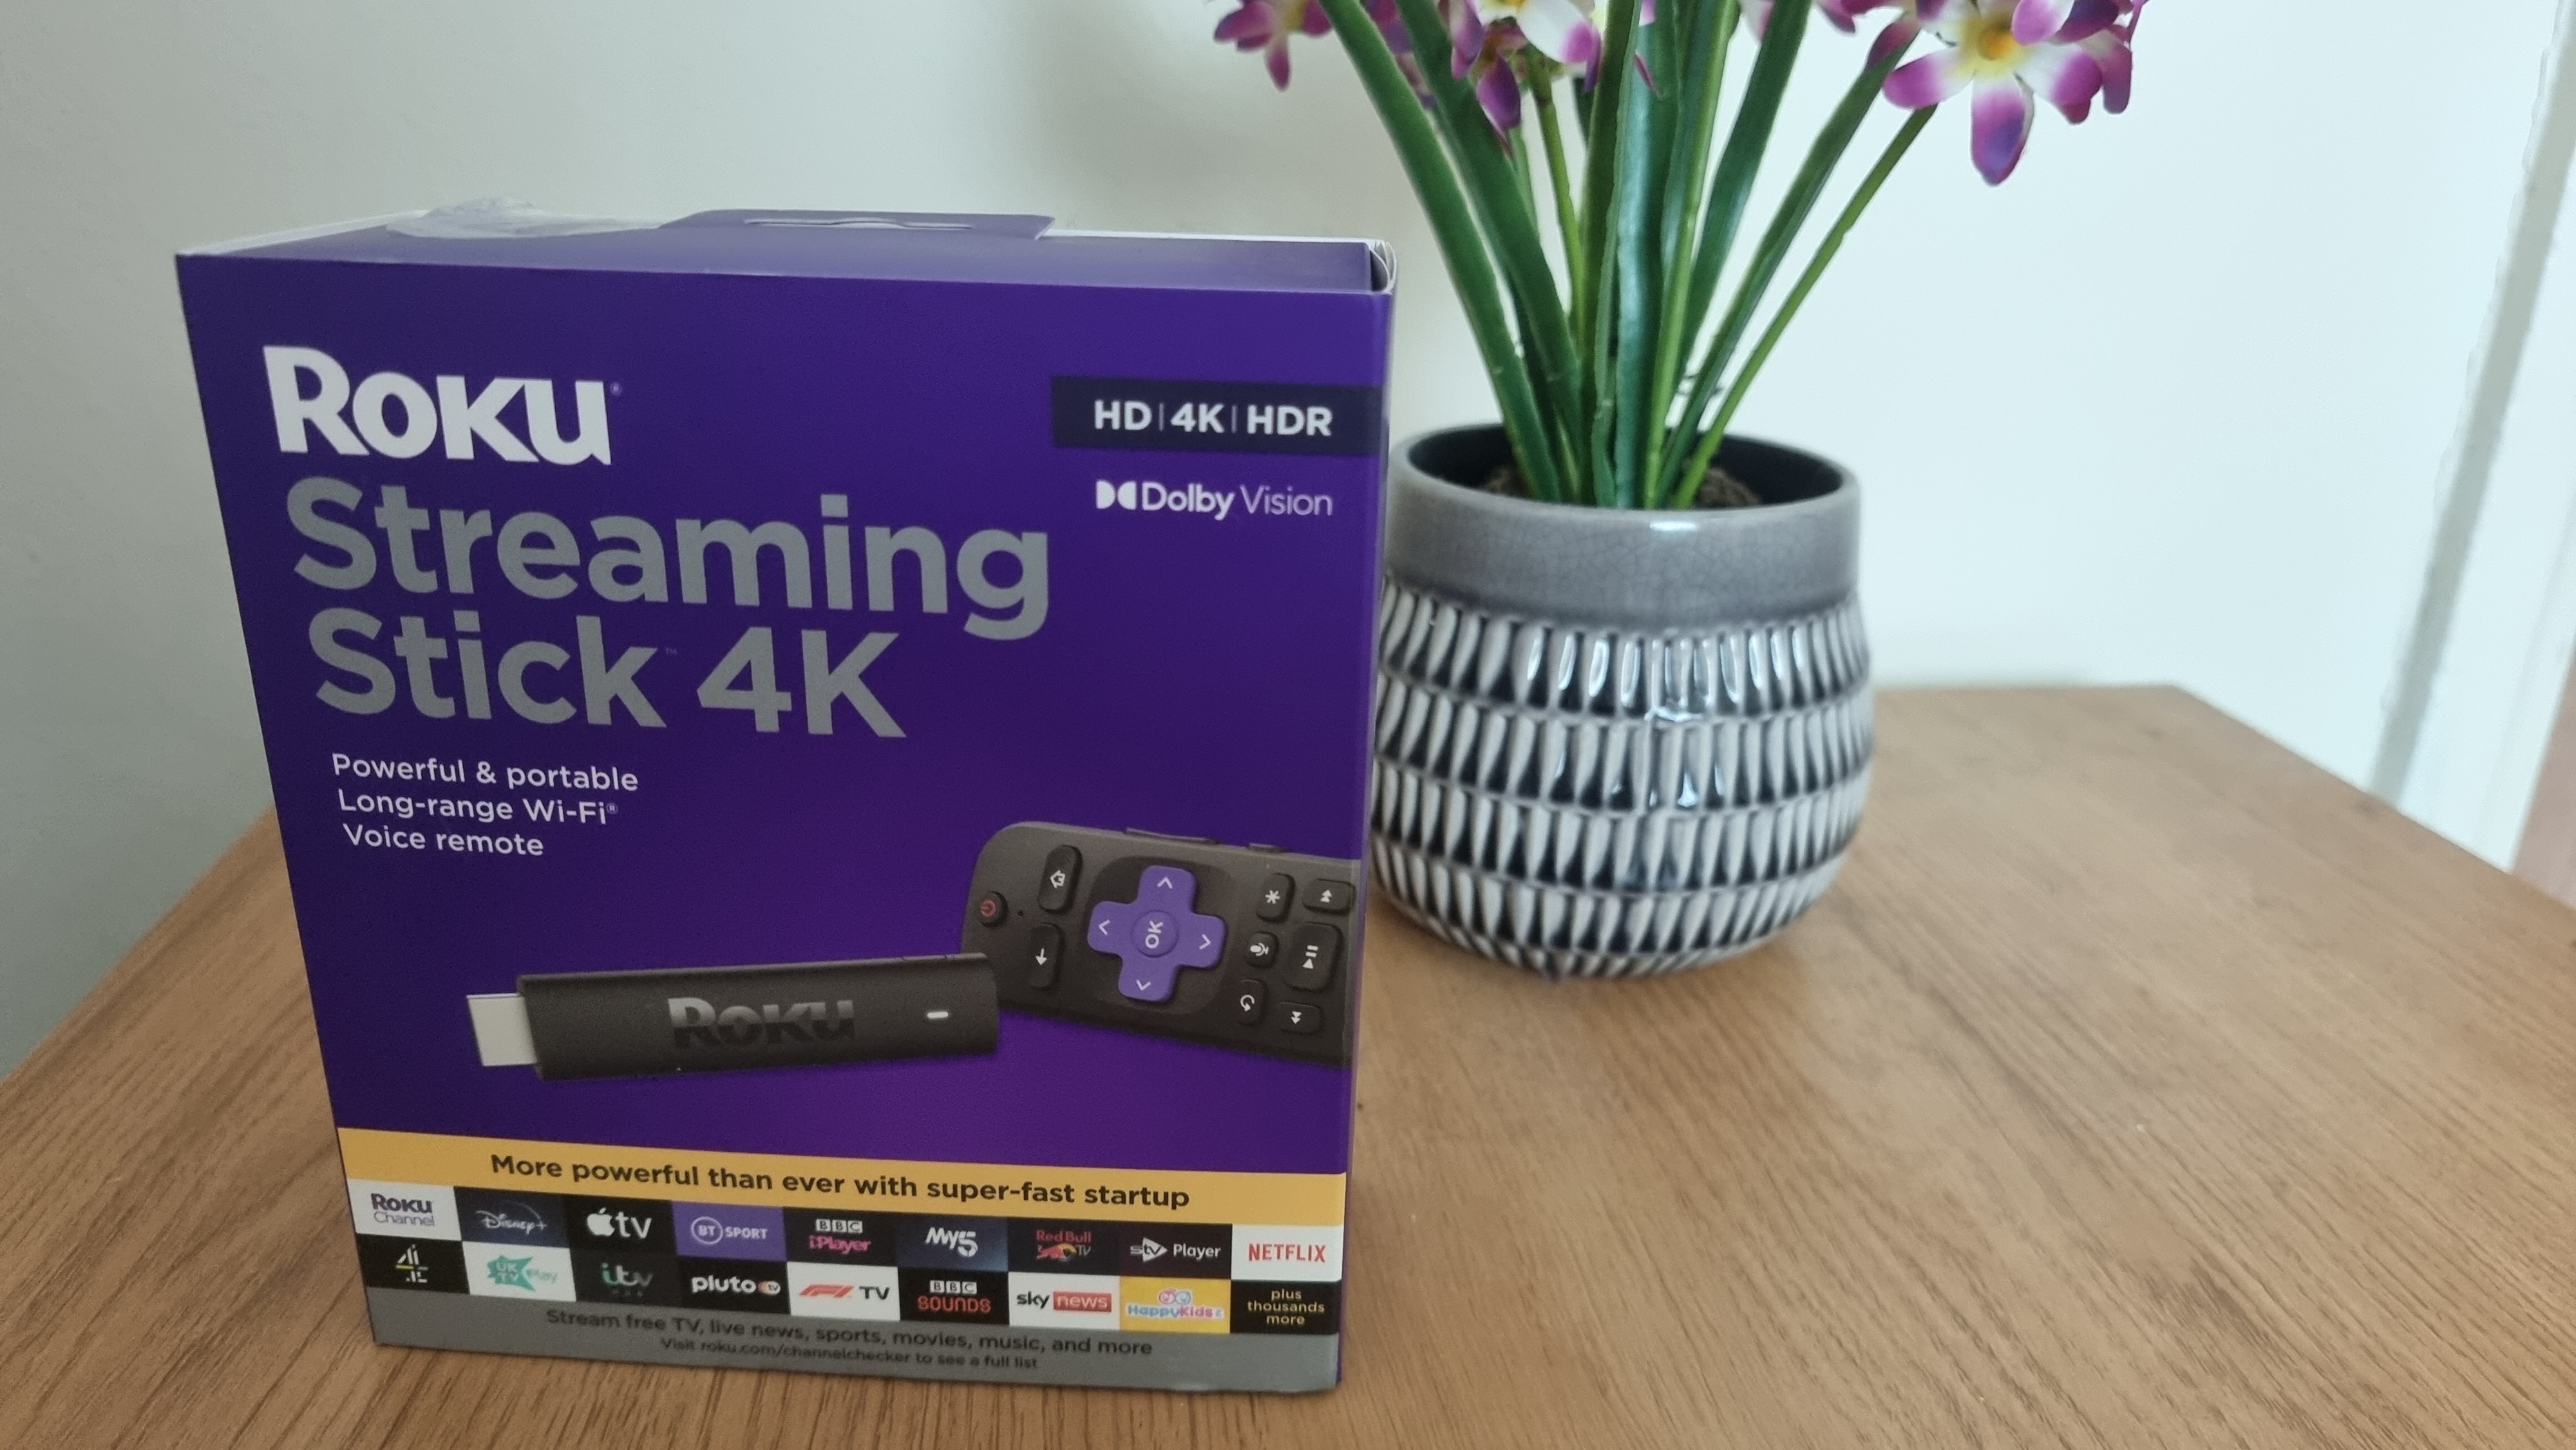
Before we connect the Roku streaming stick to the TV, we first need to go over everything included in the box. Assuming your streaming device is brand new and yet to be unboxed, you'll find a number of items inside.
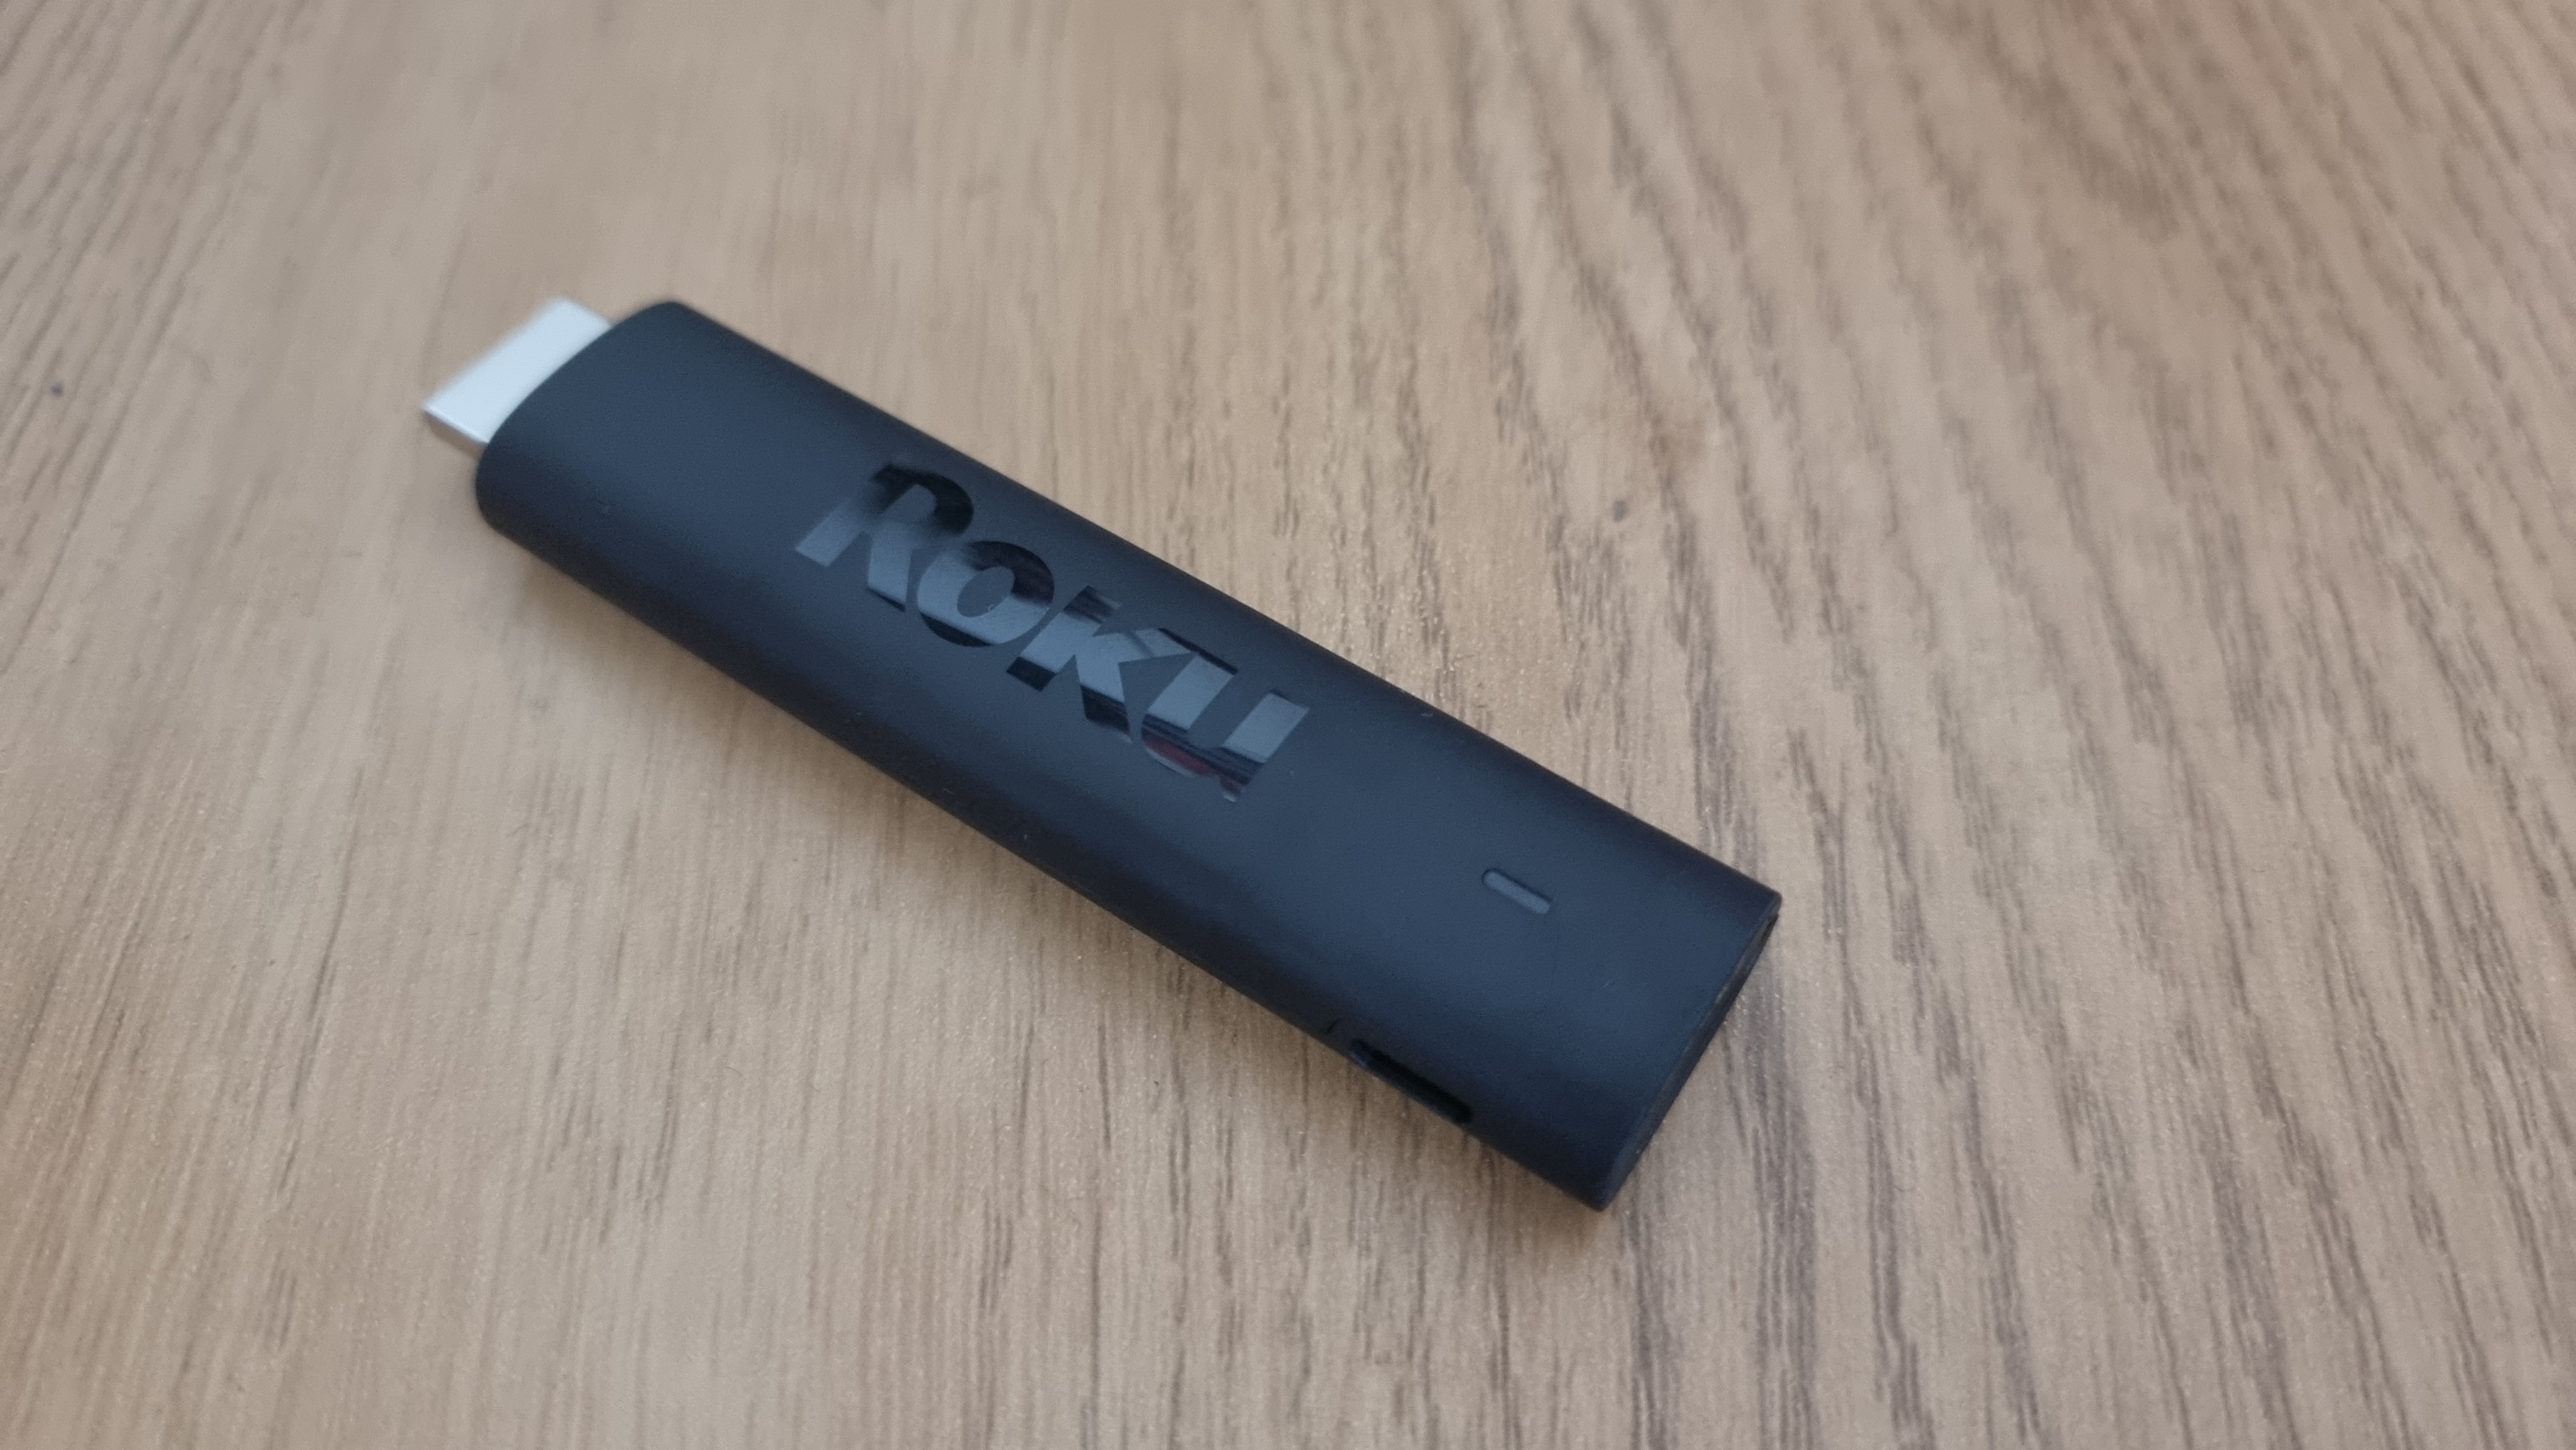
First is the Roku streaming dongle itself. This will fit into the back of your TV via an HDMI connection. Unfortunately, it's not as simple as just plugging the stick into your TV, as there are a few other simple steps we'll have to take care of first.
Sign up for breaking news, reviews, opinion, top tech deals, and more.
In the box, you'll also find US and UK power adapters, as well as a USB power cable with a built-in WiFi receiver. Finally, your Roku remote and a pair of AAA batteries to power it are inside the box, too. We'll need this to browse through Roku's operating system once we've got it all set up.
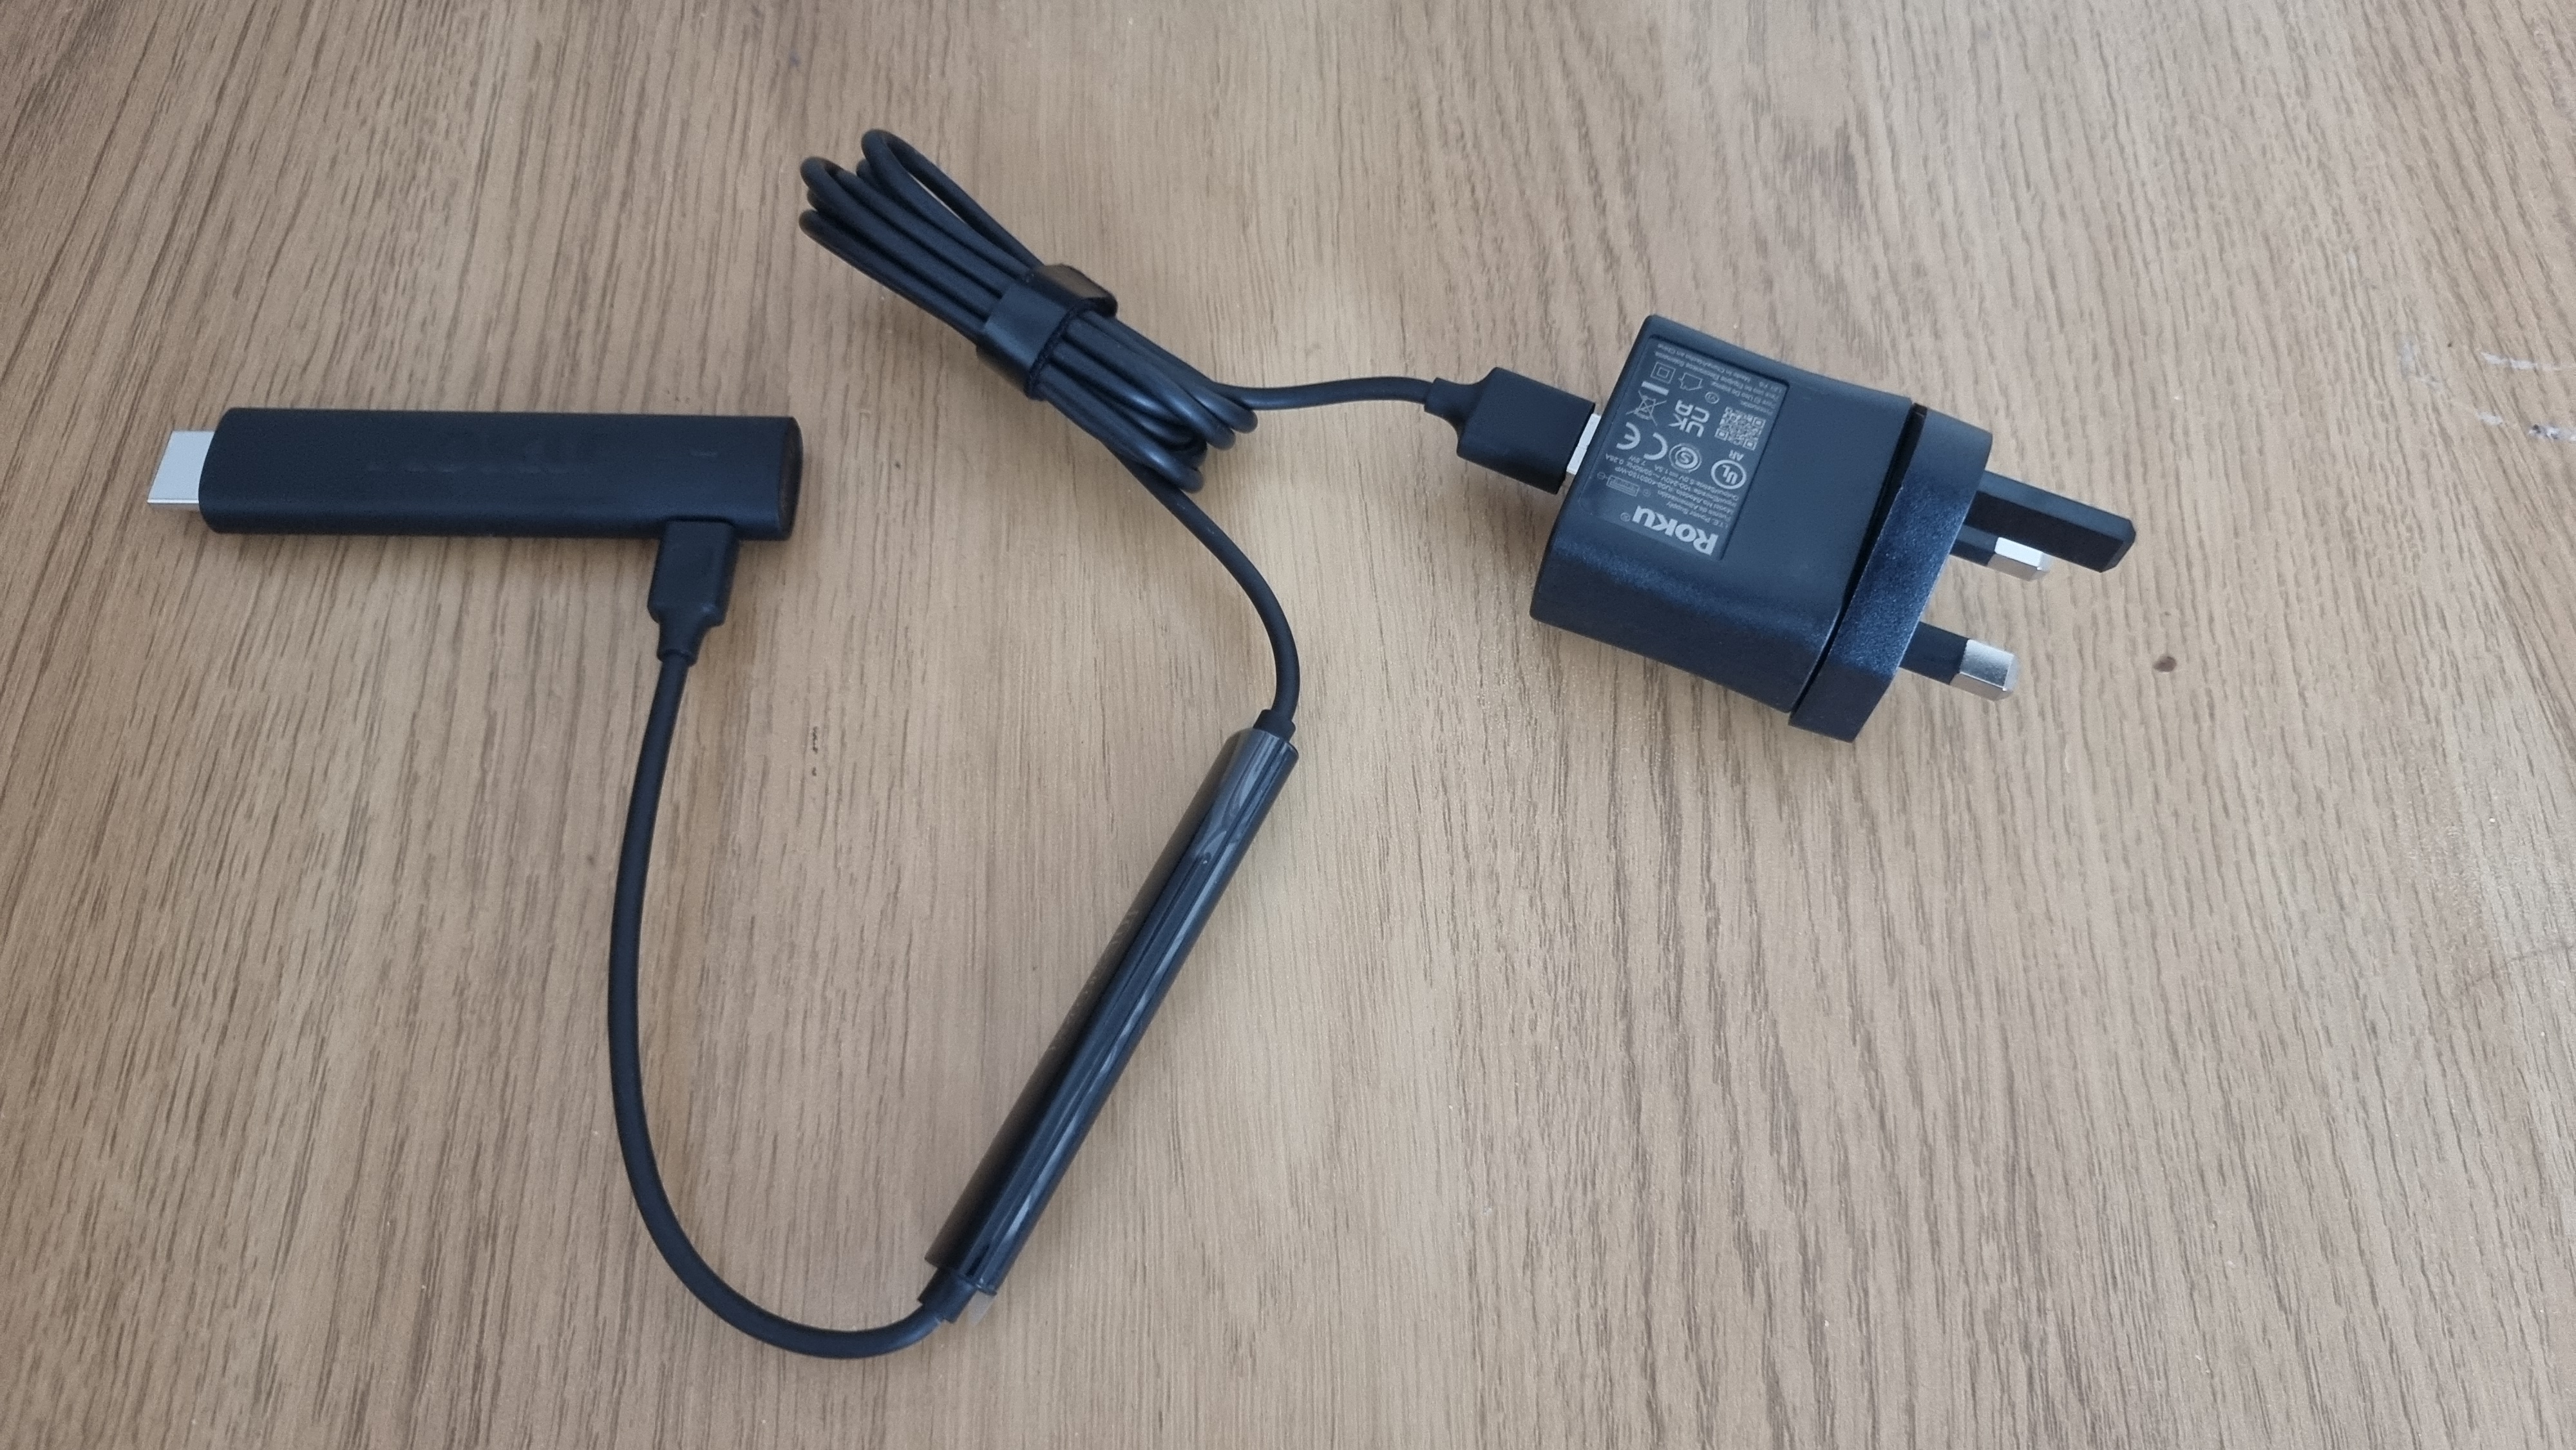
First, connect your Roku streaming stick (we used the Roku Streaming Stick 4K, but the same will apply to other models) to the power adapter using the USB power cable. The smaller USB port connects to the streaming stick, while the larger USB port goes into the power adapter.
Now we're ready to connect the Roku streaming stick to your TV, which will then let us begin the setup process.
How to connect a Roku streaming stick to your TV

Now that we've made the connection between the Roku streaming stick and the power adapter via the USB power cable, the next step will be to hook it up to the TV.
First, find a free outlet (ideally close to your TV) and plug in the power adapter. You'll need to use the correct adapter based on your country's socket type, so ensure you have either the international or UK adapter slotted depending on your region.
Alternatively, if your TV has a USB port, you can eschew the need for the adapter entirely and power your Roku streaming stick via the TV. However, Roku recommends the use of the power adapter for the best streaming experience possible.
This secondary option will help if you don't have a free outlet close to your TV. One thing to keep in mind, though, is if you see a red light flash on the Roku streaming stick. This means that your TV isn't providing enough power to the device, and thus must instead be connected to an outlet with the included power adapter.
Once that's plugged in, take the Roku streaming stick, ensure it's still connected to the USB power cable, and slot it into one of your TV's HDMI ports. These will usually be located on the back or on the side of your TV, but their location will differ depending on the model.
Next, turn on your TV, and use your TV's remote to select the HDMI source your Roku streaming stick is plugged into (HDMI 2, for example). If everything has been connected correctly, you'll see the initial Roku setup screen where you'll be prompted to pair your Roku remote and select your device's general language.
What's next?
With that, you've successfully connected your Roku streaming stick to your TV in just a few simple steps. From there, you just need to follow the on-screen setup process, which will include pairing the remote, and connecting the device via WiFi, in order to begin browsing the Roku operating system and start downloading the best streaming apps available - or even a selection of the lesser known ones.
There's really never been a better time to own a Roku streaming stick, either. The company's latest update, Roku OS 11, is being made available for free in the coming weeks, and will automatically download to your streaming device. The update is bringing a swathe of quality additions, including an option to smartly boost voiced dialogue for a more enjoyable and accessible movie-watching experience.

Rhys is TRG's Hardware Editor, and has been part of the TechRadar team for over four years. Particularly passionate about high-quality third-party controllers and headsets, Rhys strives to provide easy-to-read, informative coverage on gaming hardware of all kinds. As for the games themselves, Rhys is especially keen on fighting and racing games, as well as soulslikes and RPGs.