How to connect or switch to an IPVanish server on Android
We show you how to pick the best server for your needs
Boasting with 1,000+ servers located in over 60 different countries, the US-based IPVanish is as good as it gets when it comes to a VPN (Virtual Private Network) server coverage. Users have a wide range of servers to choose from, including those for regular browsing or specifically optimized for individual needs.
This guide will show you different ways to connect to, as well as change an IPVanish server on the Android app.
- Check out our list of the best VPN services
Option #1 - Quick Connect
1. Start the app
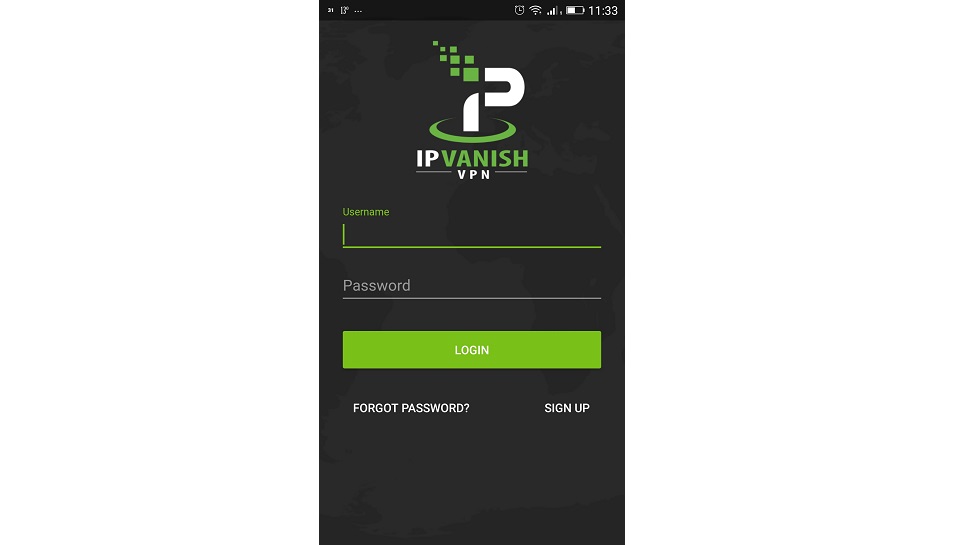
Locate and open your IPVanish Android app.
2. Login
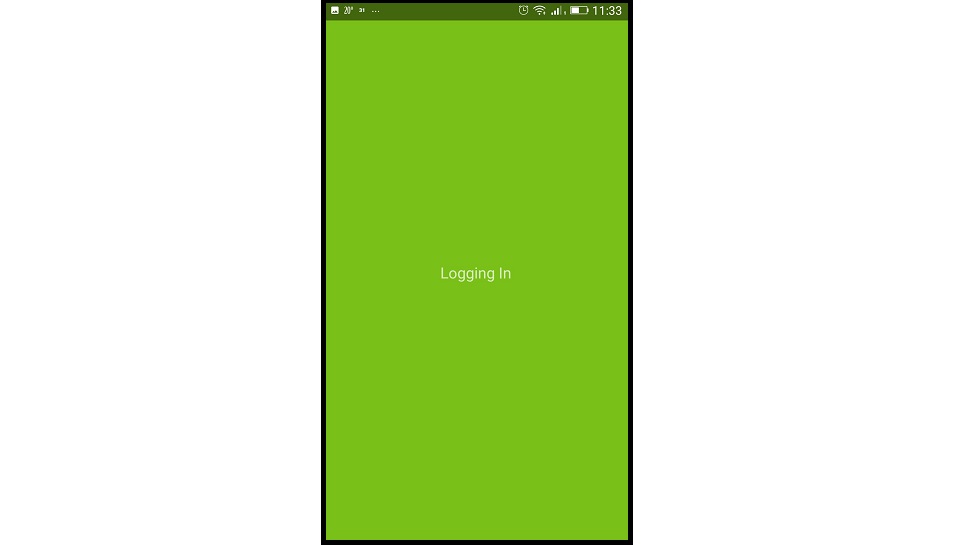
If this is your first time opening the app, you will need to enter your login credentials and tap the green Login button to proceed. You will briefly see a green screen with words Logging In.
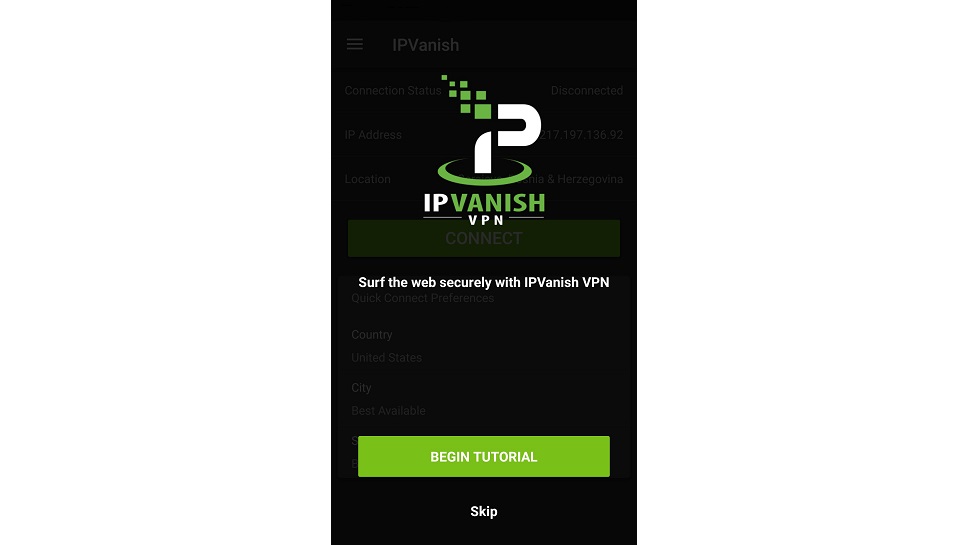
You will also see a message offering you a tutorial through IPVanish. You can proceed with the tutorial or simply tap Skip to enter the app immediately.
Are you a pro? Subscribe to our newsletter
Sign up to the TechRadar Pro newsletter to get all the top news, opinion, features and guidance your business needs to succeed!
3. Connect to a server
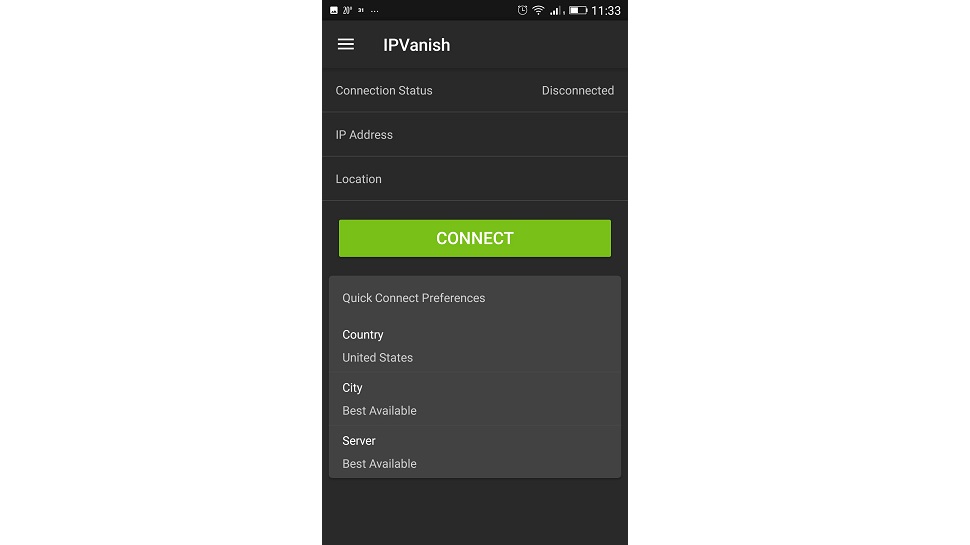
When you open the app, you will see a screen showing your current location and IP address when not connected to a VPN server.
Below the green Connect button, you can see the Quick Connect Preferences. When you first open the app, the preferences will be set to the best available server in the United States. You can change these preferences any time by tapping on any of the selections (Country, City, Server).
To connect to the quick connect server, tap the green Connect button.
4. Confirm
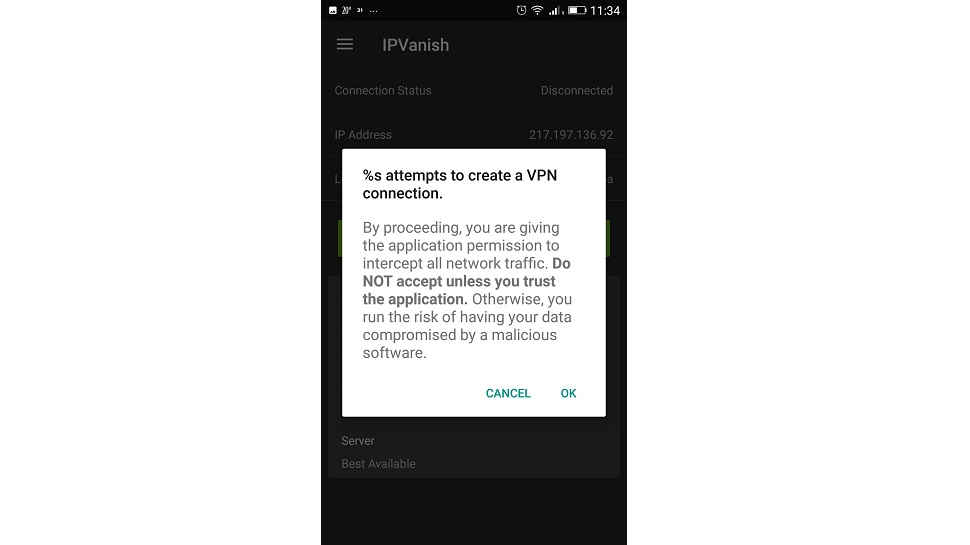
A message will pop up, asking you to confirm that you’re giving the permission to the application to intercept your network traffic. Tap OK.
5. You’re now connected
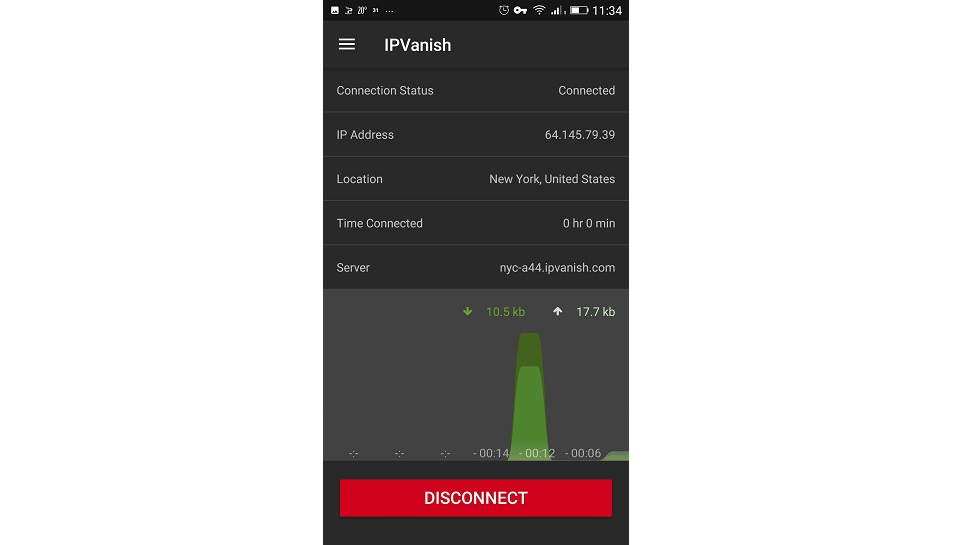
Disconnect any time by tapping the red Disconnect button. Notice there’s also a ‘key’ icon in the status bar (the topmost part of your device’s screen) whenever you’re connected to a VPN server. You can also disconnect by pulling down the status bar, tapping the little down arrow, and tapping the Disconnect button.
Option #2 - Server List

1. Start the app
Locate and start your IPVanish Android app.
2. Go to menu
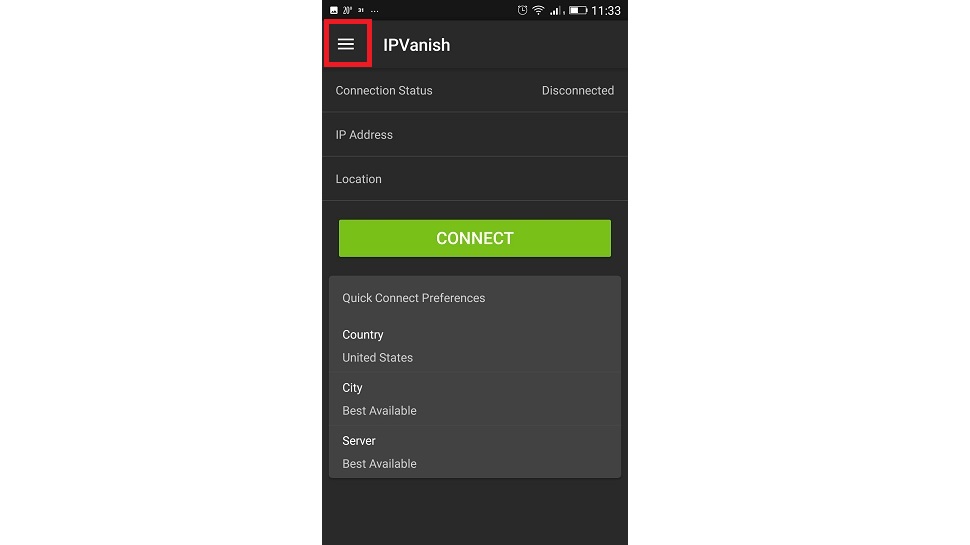
Tap the menu icon in the top left corner of the app window (the ‘hamburger’ icon, three stacked horizontal lines).
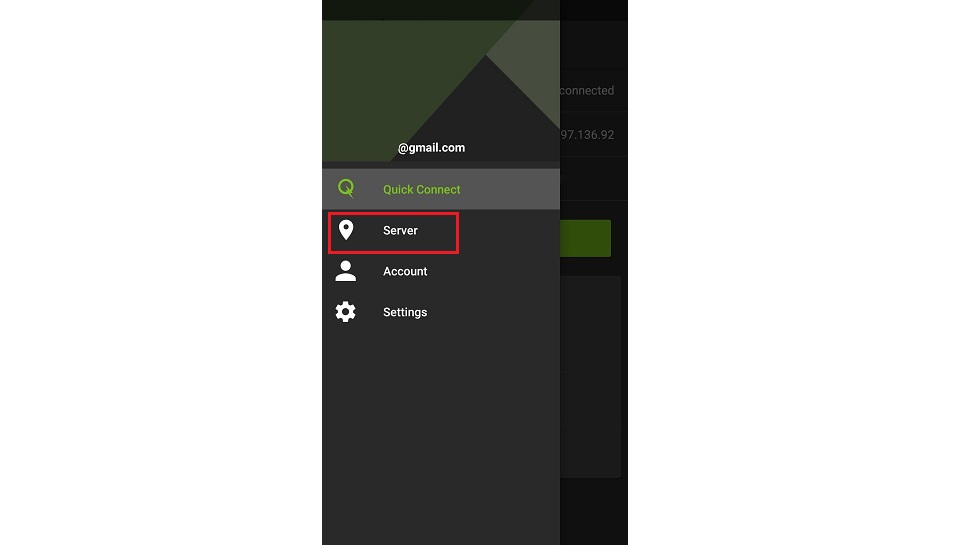
3. Go to Server list
In the menu, tap Server.
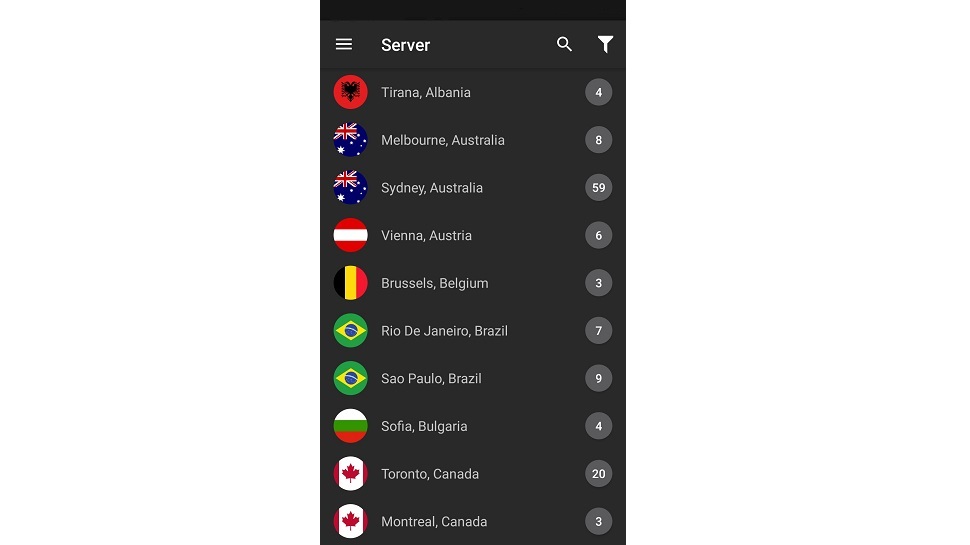
4. Select a server
Tap on any server you want to connect to.
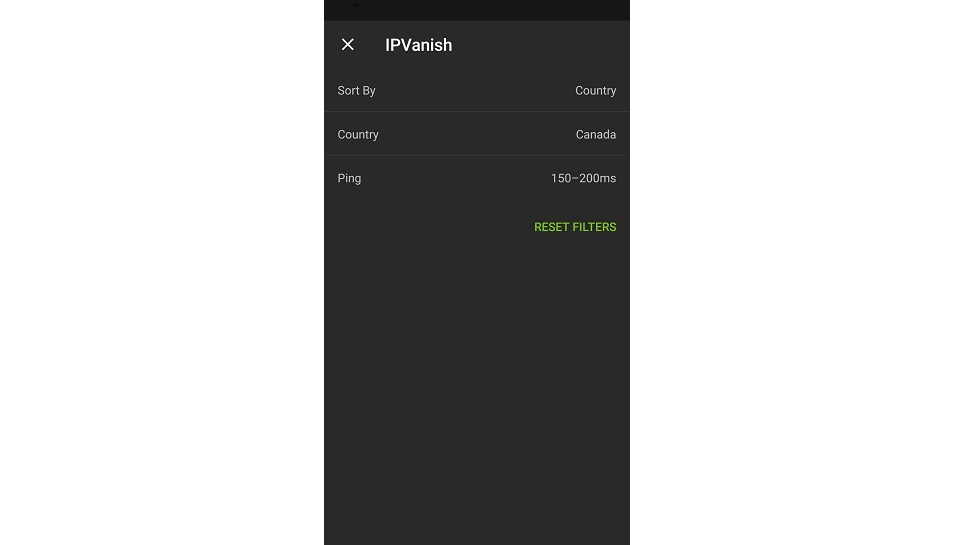
5. Use filters
You can narrow down your choice by tapping the ‘funnel’ icon in the top right corner of the app window.
After selecting the filters, tap the X button in the top left part of the window to go to the filtered list. Tap any server on the list to connect.
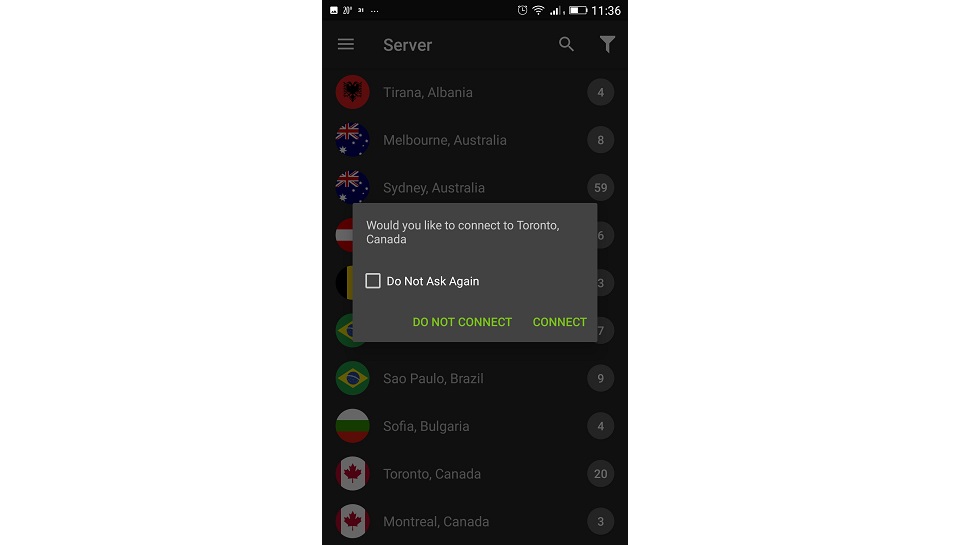
6. Confirm
A message will pop up asking if you want to connect to that server. Tap Connect.
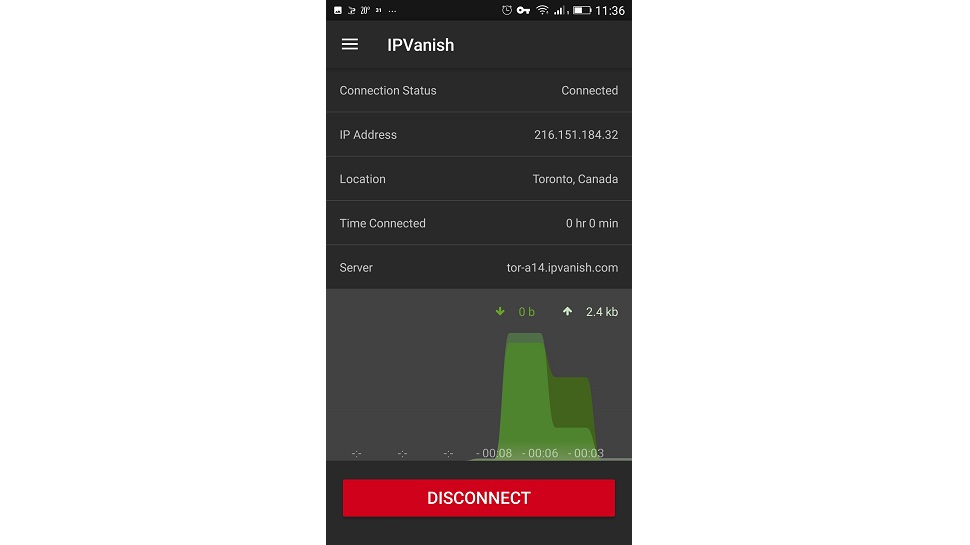
7. You’re connected
You will now see all the information about your current VPN connection. If you want to disconnect, you can do so by tapping the red Disconnect button or pulling down the status bar and changing the IPVanish status there.
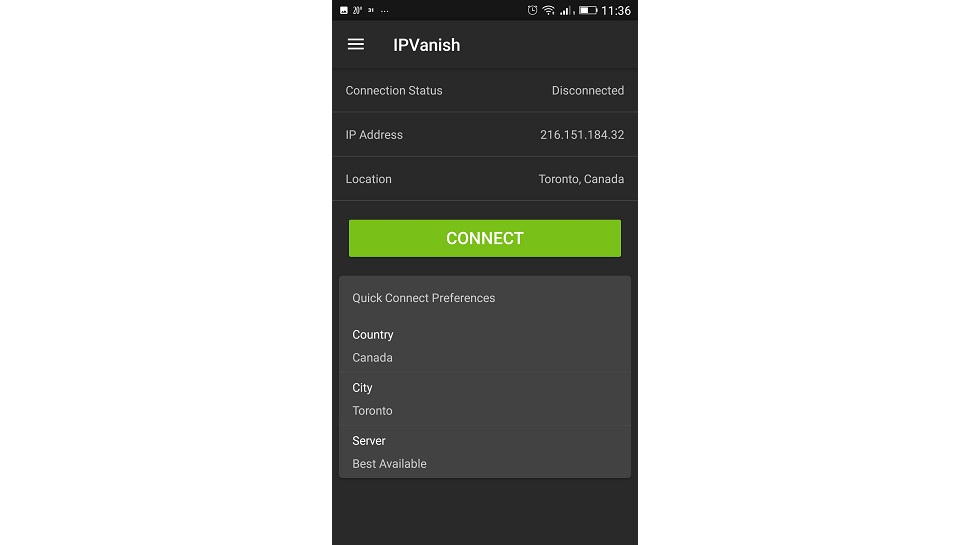
After you disconnect, your last chosen server will remain in your Quick Connect preferences so you can quickly connect to it next time.

Désiré has been musing and writing about technology during a career spanning four decades. He dabbled in website builders and web hosting when DHTML and frames were in vogue and started narrating about the impact of technology on society just before the start of the Y2K hysteria at the turn of the last millennium.