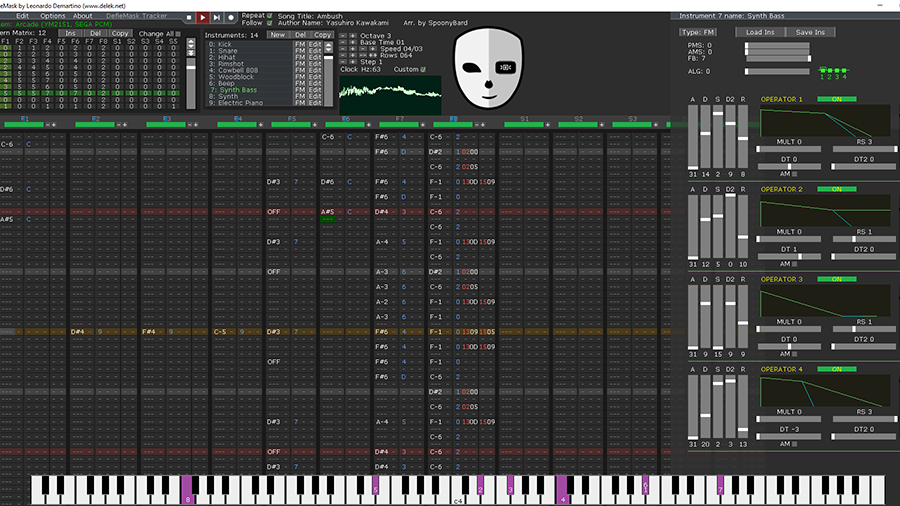
Introducing 8-bit music
Chiptune music is iconic, and it’s not going away. Even decades after the system left the market, C64 tunes - made with the computer’s character-filled, awesome sounding SID chip - are highly revered.
But the SID isn’t even half of it; we have the Yamaha YM2151 chip to thank for the amazing sound of Sega’s 80s and 90s arcade games, and the NES’ simple 5-channel audio unit, properly mastered by composers like Nintendo’s Koji Kondo, is responsible for some of the most striking digital music ever created.
- From 8-bit to Chiptune: the music that changed gaming forever
Making your own chiptune isn’t exactly straightforward, but at least we have the ideal tool at our disposal: Deflemask.
It’s a music tracker, similar to classic apps like ImpulseTracker, which emulates a host of classic sound chips (Sega Genesis/Megadrive, both versions of the C64 SID, the aforementioned YM2151, Sega Master System, NES, Game Boy and PC Engine) and offers up all the tools you need to make something awesome that, in theory, should even play back on real hardware.
- Welcome to TechRadar's Console Gaming Week, celebrating each and every pixel of video gaming greatness. Head over to our hub for what you've missed so far.
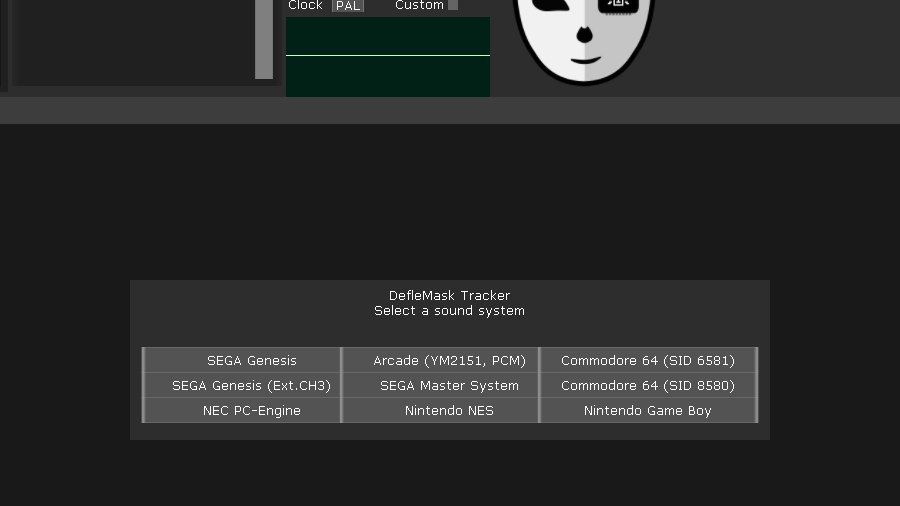
1. Around the interface
Deflemask’s interface won’t be at all obvious if you’ve never used a tracker before, even if you’re a seasoned pro with today’s digital audio workstations.
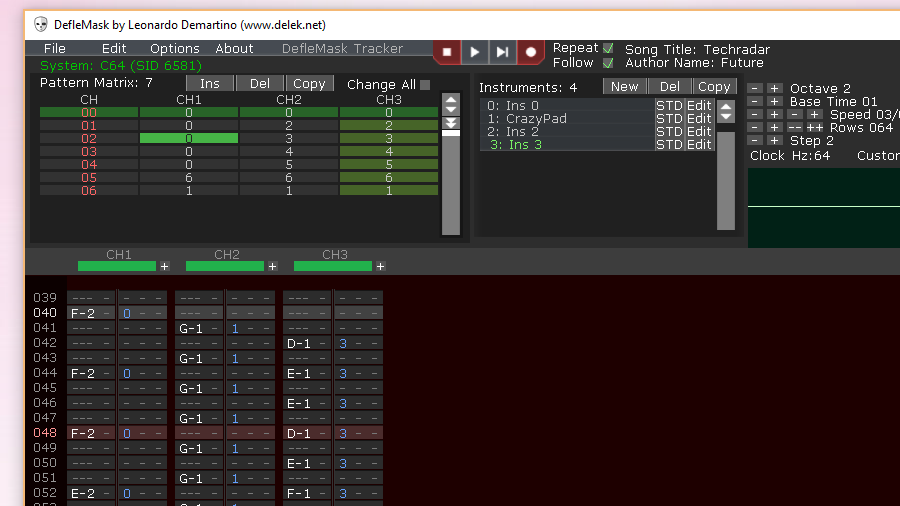
The main area is the pattern window, which contains note data in a vertical format. Each row, from left to right, contains subcolumns for the pitch, volume, instrument number, an effect, and the value of that effect.
Above the main pattern window is the pattern matrix, which we’ll come to a little later, and the instrument window, in which you can define the instruments used in your song. Head to Options > Change System, and let’s start working with the raw grungy sound of the C64 SID chip.
2. First notes
Pressing play now won’t yield much in the way of results, since we have no pitches laid down in our pattern.
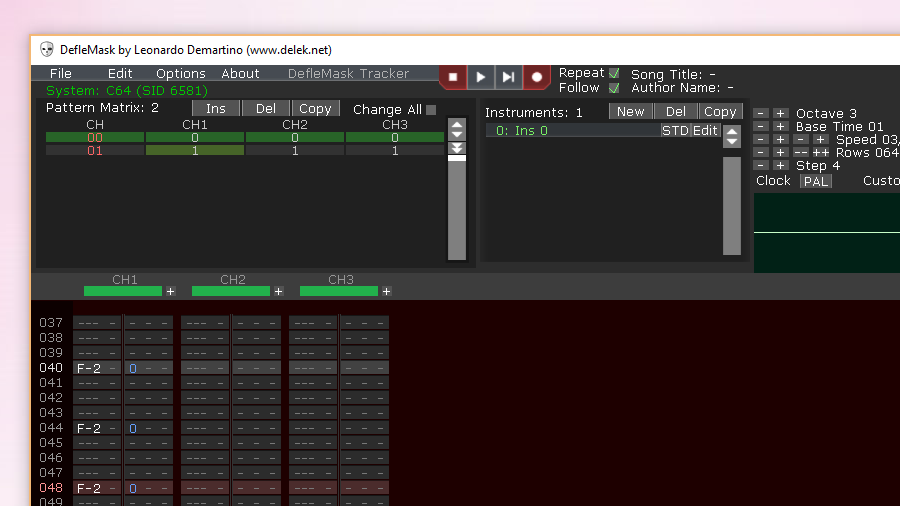
At the top of the interface, change the ‘step’ value to 4 -- which tells Deflemask we want to write notes every four steps -- and click the topmost note of the left column of the pattern window.
Click the record button (or hit Space) to tell the software you want to write notes, then either use the on-screen musical keyboard or the letter keys on your actual keyboard to lay in a few pitches.
These will use the default instrument, 0, which you’ll see written next to the pitch in blue. Hit play to hear your melody loop away.
3. Sounds and speed
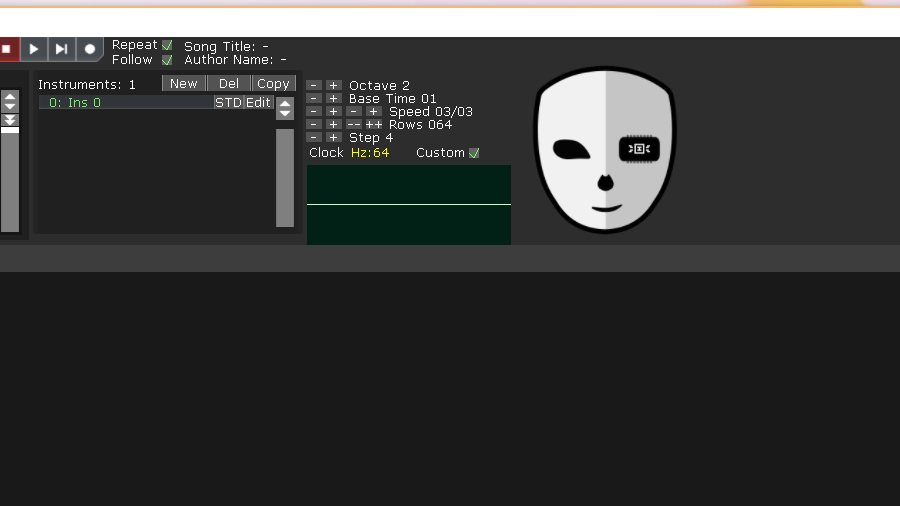
Stop the music for now. You can use the Octave setting towards the top right of the interface to adjust how low or high you’re playing, but note that it won’t affect notes you’ve already recorded.
There are a couple of global parameters you may want to play with, though; set your music playing again, and click the ‘clock speed’ button to switch between 50Hz PAL playback and 60Hz NTSC playback, or click the appropriate radio button to set a custom frequency.
Bear in mind this won’t be replicated if you try to run your music on real hardware, so it’s worth sticking to the original values when composing. Try adjusting the speed controls, too -- you’ll see the actual BPM of your tune marked in the bottom right hand corner of the window.
4. Choices, choices
You can use a host of different instruments in your tunes. You’re not, thankfully, restricted to basic bleeps and bloops, though don’t expect a C64 to start producing wild orchestral sounds.
It’s an 8-bit computer, after all. If you want to set about changing your sound, click the edit button next to your instrument to begin tweaking its parameters. The specifics of the SID are slightly too complex for us to go into - but here is a 1983 article that should get you up to speed. Now let’s have a play with those parameters and manipulate the SID chip into to creating a reasonably fat bass sound.
5. Big bass
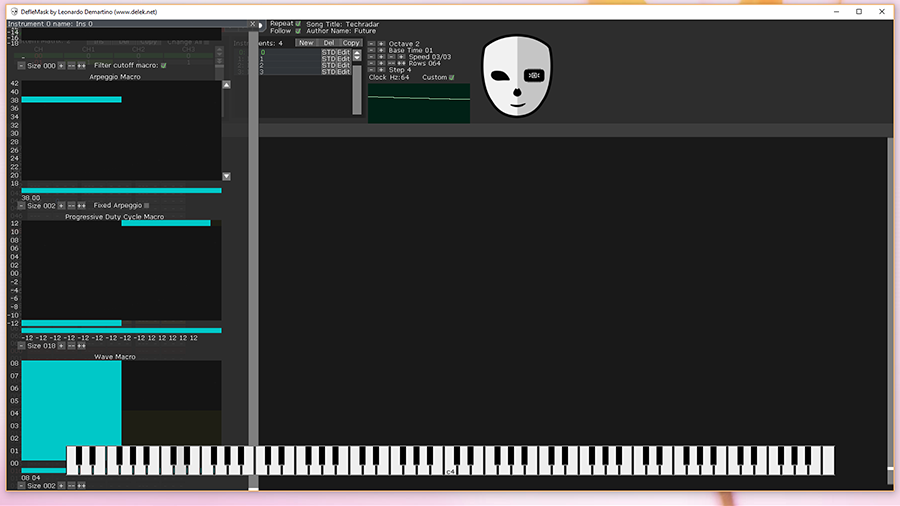
While twiddling away on your keyboard so you can hear the changes, change the waveform to pulse, drop the attack and decay to zero, and push the sustain all the way to maximum.
In the arpeggio window, click the plus button below and increase the steps to 2. Click in the window to adjust the first step to a high pitch around 38, and leave the second step at 0 - this gives us a good click when the note plays, rather than a soft start.
Finally, set the progressive duty cycle macro to 18 steps, setting the first half at -12 and the second half at 12, then create a two-step wave macro, with step one at 8 and step two at 4.
6. More instruments
With our fat bass in place, it’s time to add some more sounds. Use the ‘new’ button in the instrument pane to create a new instrument, and play around with the noise waveform to create yourself a snare drum sound.
Record it onto the second channel in the same way you recorded your original bass sound. Now create another new instrument.
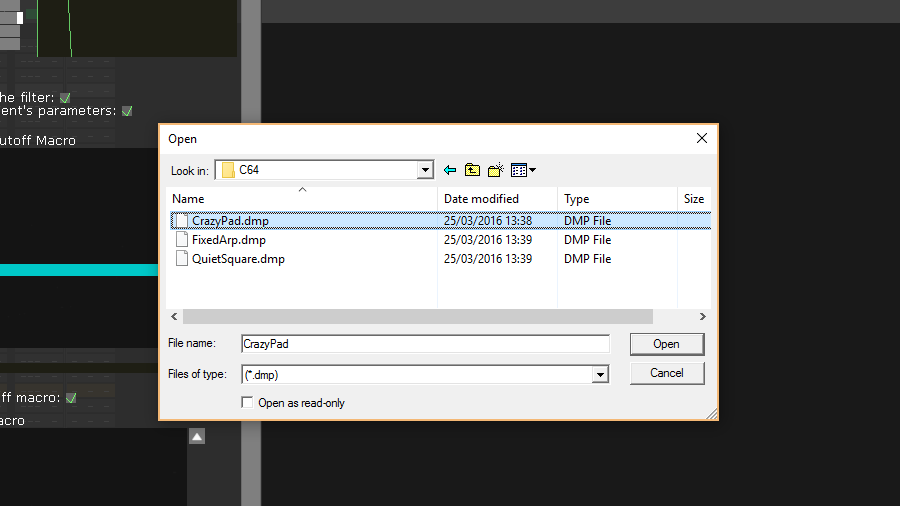
This time we’re going to cheat; open up its edit window and click ‘load ins’ at the top. Head into the C64 folder, and open up the file CrazyPad.dmp to add a, yes, crazy-sounding pad to your song.
Record it as you wish. Note that, as long as you don’t overlap with any existing notes, you can record more than one instrument in each channel. You can also, if you’re having trouble creating your own sounds, open up one of the many demo tunes included, and save one of the instruments from there.

7. Pattern play
The pattern matrix window at the top left gives you a number of options for creating a complete song.
Click the ‘Ins’ button to create a new pattern or three, and you should see the length of your song increase in the main pattern window.
Left- and right-clicking any of the cells beneath each channel allows you to change their value and, essentially, repeat the contents of a particular channel’s pattern wherever you see fit.
If you’ve made, for example, a drum beat that you’d like to plug away while a melody runs, this is a perfect way to duplicate it. Any changes you make to the original will be reflected in the new pattern.
Note that you don’t have to do things this way - a song full of non-replicating patterns is perfectly acceptable, though it’ll take up marginally more memory, which has to be a consideration if you’re considering putting your tune on a 32K C64.
8. Export it
As much as we’d love to, we’re not going to reveal the secrets of musical genius here. Mainly because we’re still working on the composition aspect of our game.
But once you’ve got something which matches up to the work of classic C64 composers like Rob Hubbard and Chris Huelsbeck, you can export it in a format the C64 itself can understand.
Use File > Save ROM to save a SID file, then transfer this to a C64 disk image using the likes of D64 editor. Include SIDPlay () on the same disk, and get it to your C64.
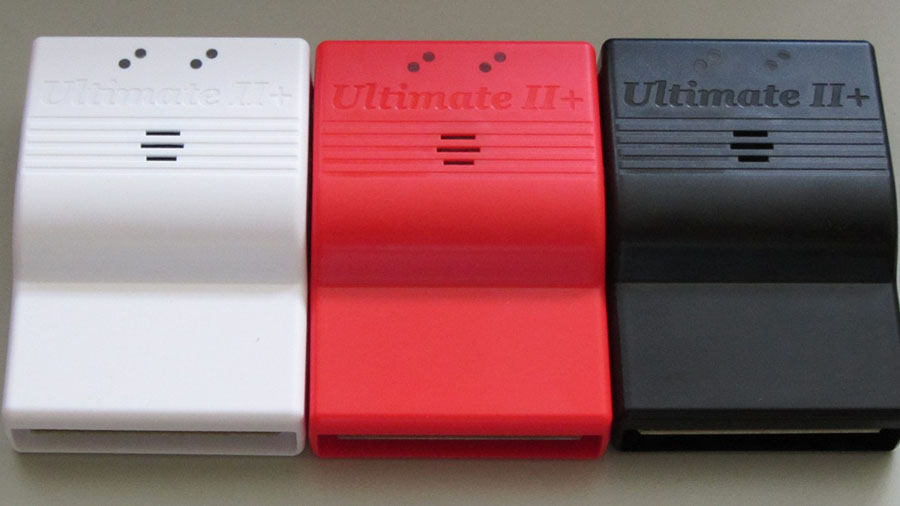
An SD-compatible 1541 Ultimate cartridge is a great way to extend your C64’s life and try new things on real hardware.