How to downgrade macOS
Ask yourself why before you do it

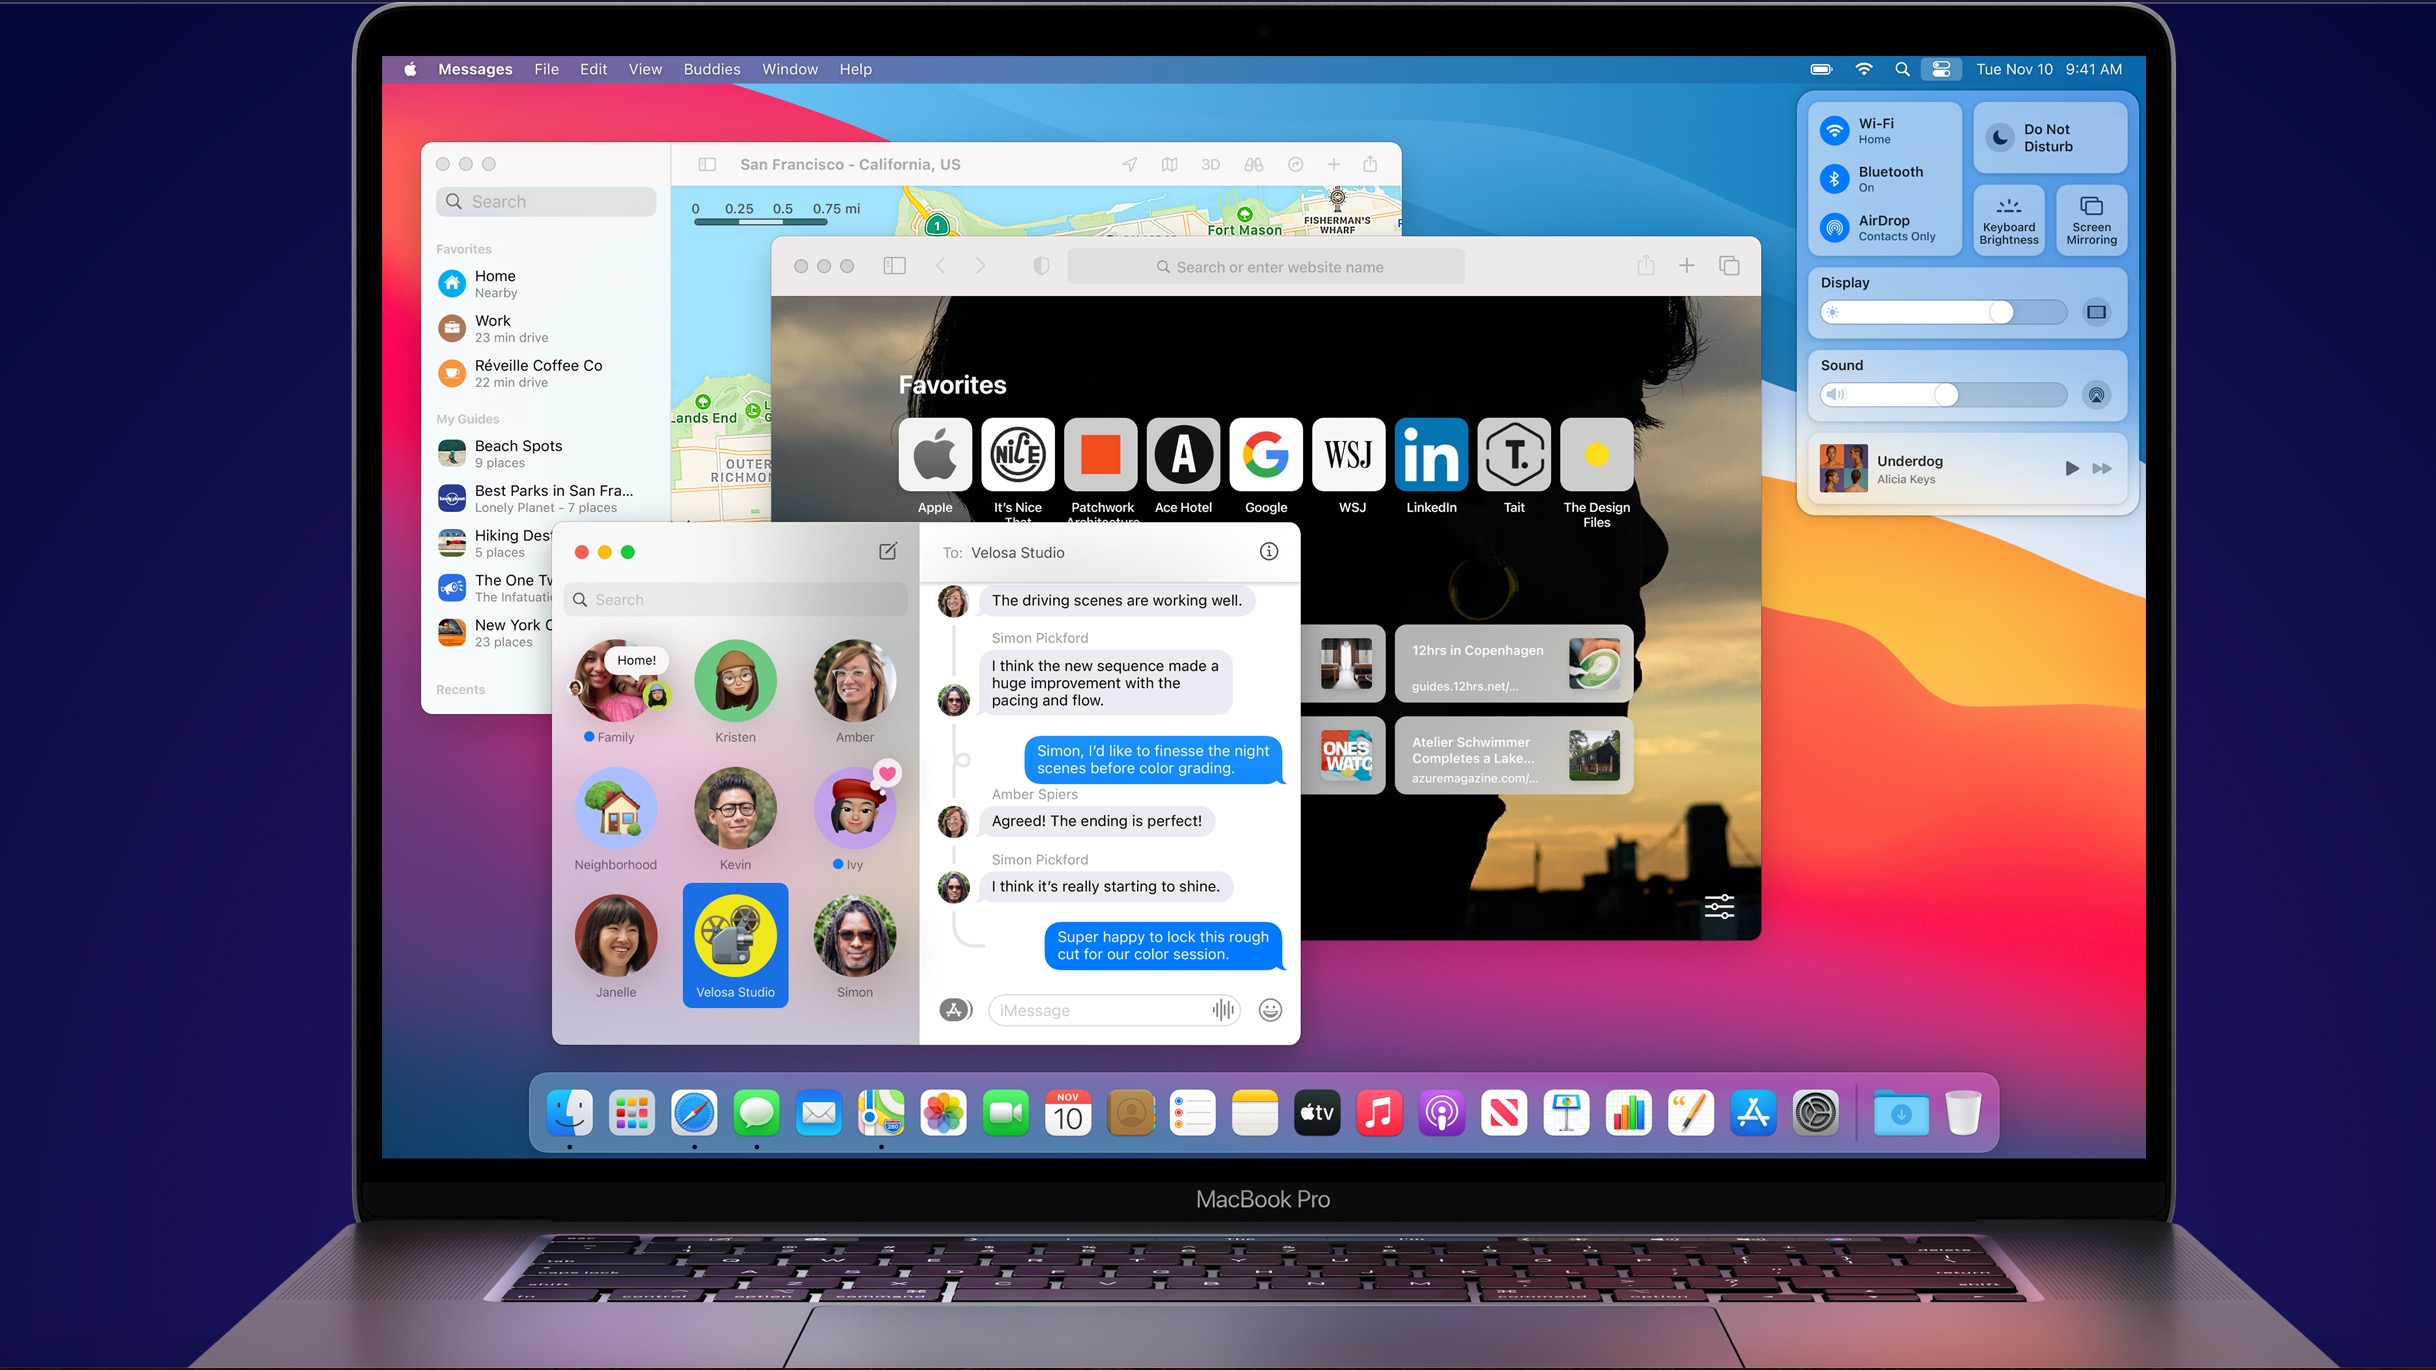
Apple makes it pain-free to update Macs to the latest version of macOS. Better still, these updates are free. The newest macOS version, Big Sur, is one of the most feature-packed versions on record offer a nice mix of new and updated tools. Despite this, there are a few reasons you might have no choice but to downgrade to a previous macOS version. For example, you might find one of your most essential apps doesn’t work with Big Sur, or maybe your job requires testing apps on previous versions.
Whatever the reason, downgrading your Mac to a previous version of macOS is possible — although it’s not nearly as simple as the upgrade process.

Before getting started
Apple releases a new version of macOS in September, October, or November each year. Historically, this version is first revealed at the Worldwide Developers Conference (WWDC) in June. Until the official release, the version is tested through a software testing process that sees regular beta versions released for developers and users of Apple's public beta software program.
Despite months of testing, no operating system version is completely free of bugs. It also takes time for outside app developers to make the necessary changes to support the new version fully. These are two reasons some like to delay upgrading their machines until a bug fix (or two) is released.
Everyday Mac users have little reason to downgrade to previous macOS versions. Apple knows this, and it's probably the main reason downgrading is such a long process.
Therefore, you should take a deep breath and pause before taking these steps. For most folks, it's not at all necessary.
- We show you how to fix common macOS Big Sur problems
Backup your files
If you've decided to downgrade, be sure to back up your Mac's files. Ideally, you should already be backing up your computer regularly either through Time Machine or another solution. Before moving forward, make one final backup copy. This copy probably won't be used, but it's good to have in case something goes wrong during downgrading.
Get daily insight, inspiration and deals in your inbox
Sign up for breaking news, reviews, opinion, top tech deals, and more.
Decide how to downgrade
There are two ways to downgrade your Mac to a previous version. You can restore through Time Machine or install macOS from a USB.
Taking the Time Machine route is the easiest, although this assumes you have a Time Machine backup of your system that pre-dates your installation of macOS Big Sur. Otherwise, a downgrade using Time Machine is not an option.
Third-party solutions such as Carbon Copy Cloner work much in the same way. But again, you need a copy of your files taken before you updated to macOS Big Sur for this to work.
Using an external USB or another type of drive to downgrade is the best choice when you don't have backup files. In this case, you'd start from scratch with a new copy of macOS.
Downgrading using Time Machine
To use Time Machine and take your Mac back to another macOS version, use the following steps. This process involves using the ‘Command’ + ‘R’ command, which works differently on Intel-based machines than those with Apple silicone. And yet, Apple silicone doesn’t support macOS versions older than Big Sur, so the difference is irrelevant here.
To downgrade macOS via Time Machine, plug your Time Machine backup drive into your Mac, then restart the computer. As soon as the screen goes dark, hold down the ‘Command’ + ‘R’ keys until the Apple logo appears. Next, choose the option, ‘Restore From Time Machine Backup’ and click ‘Continue’. You’ll need to click ‘Continue’ one more time.
Next, choose your ‘Restore Source,’ which will be the name of your external device. On the list, pick the last backup made in a previous version of macOS. In this case, it would be the final version of macOS Catalina.
Once the restore process is complete, you can use Time Machine backup to restore individual files as necessary. This is a manual process, however.
Downgrading using a boot installer
You must first create a boot installer for a downgraded version of macOS. Once you've done this, you can install this version onto your computer. As a reminder, you cannot downgrade Macs using Apple silicon.
To do this, connect the bootable installer to your Mac. Then go into the Apple menu and select System Preferences > Startup Disk. Choose the external drive as your startup disk, then click ‘Restart’. Make sure your computer is connected to a Wi-Fi connection.
Once the Mac reboots, select ‘ReInstall macOS’ from Utilities. Choose ‘Continue’. Once this process is complete, your Mac has been downgraded to a previous version of macOS. Use Time Machine to restore previous files, if possible.
- Check out the best Macs on the market
Bryan M. Wolfe is a staff writer at TechRadar, iMore, and wherever Future can use him. Though his passion is Apple-based products, he doesn't have a problem using Windows and Android. Bryan's a single father of a 15-year-old daughter and a puppy, Isabelle. Thanks for reading!
