How to enable two-factor authentication on Android
Secure your Google Account with Two Step Verification.

How to enable Two Factor Authentication on Android
Two-factor authentication is an extra layer of security for your Google Account. It means unauthorised people won't be able access your e-mails in Gmail, your saved bookmarks or internet history, even if they know your password.
This is done by sending a special six digit code to your phone, the first time you sign in from a new location. Both the code and your password are required to sign in. This hugely increases the security of your account.
In this guide, we'll explore how to secure your Google account, firstly through providing recovery information, then setting up Two Step Verification itself.
1. Security Check Up
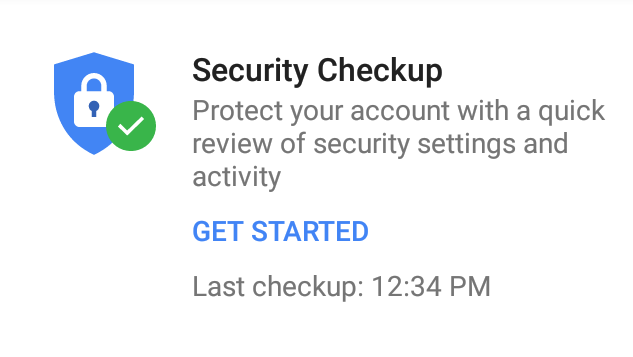
On your Android device go to Settings > Google > Sign in and Security. Alternatively use your web browser to navigate to the Google Account security website.
Click 'Get Started' to begin the process of reviewing the security settings for your account. You will be asked to sign in with your Google Account password.
In the 'Add Recovery Information' click 'Add Phone' if your current mobile number is not listed. Google will send you an SMS with a verification code. In future Google can use this number to alert you of suspicious account activity.
Feel free to add an alternative recovery e-mail address while you're here then click 'Done'.
2. Verify Connected Devices
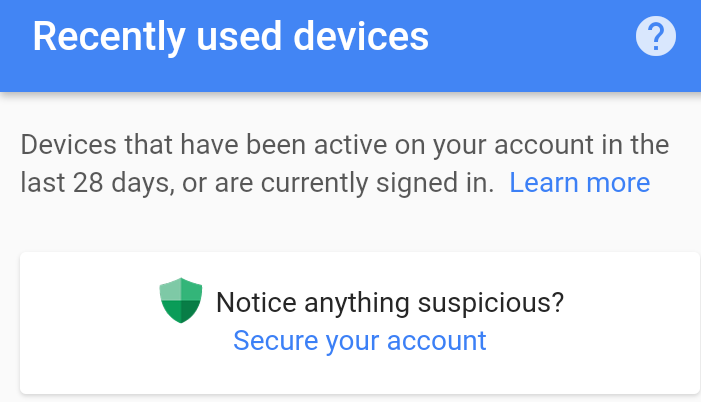
On the Sign in and Security page of your Android Device, click 'Recently Used Devices'. Alternatively scroll down to this section in your web browser.
If you notice anything suspicious click 'Secure your Account', then on 'Change Password'. Even if you recognise a device is listed, if you no longer use it, change your password now.
If you click the 'Change Password' button, you'll be asked to sign in with your current password, then set a new one. Google passwords must be at least 8 characters in length. Try to use a mixture of upper and lower case as well as numbers.
3. Check App Permissions
The final step before setting up what Google refers to as '2-Step Verification' is to check which apps are connected to your Google account and their level of access. The reason for this is that they may be able to keep on accessing your account even after you set up 2-Step Verification, so it's important to know exactly what is going on.
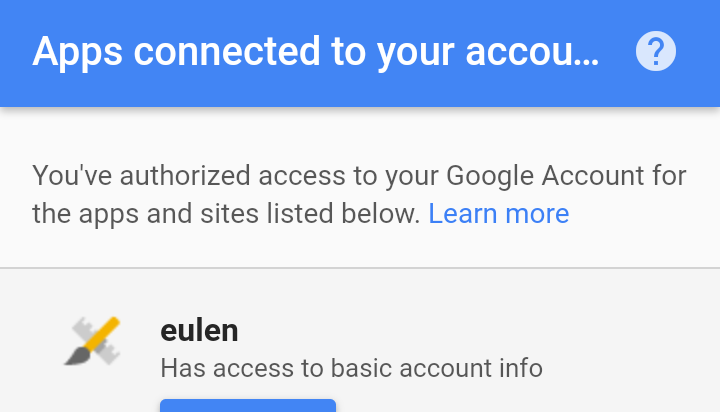
In the 'Sign in and Security' section of your Android device or web browser, scroll down to the section 'Apps Connected to your Account'. If you see any apps you don't recognise click on either the name of the app or 'Manage Apps' to display the 'Remove' button.
4. Set up Two Step Verification
Again in the 'Sign in and Security' section of your Android device or web browser scroll down to '2-Step Verification'. Click the word 'Of'", then 'Get Started'. You'll be asked to sign in again.
You'll first be asked to set up your phone and which number you want to use. By default this is the recovery number we set up earlier but enter another here in you prefer.
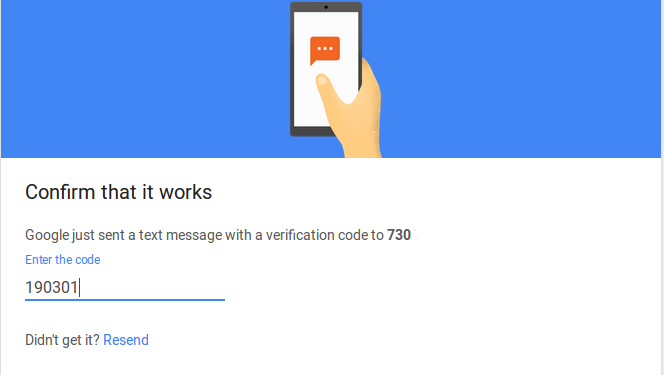
Choose 'Text Message' or 'Phone Call' under 'How do you want to get codes?' then 'Try it'. Enter the code you received and click 'Next', then 'Turn On'.
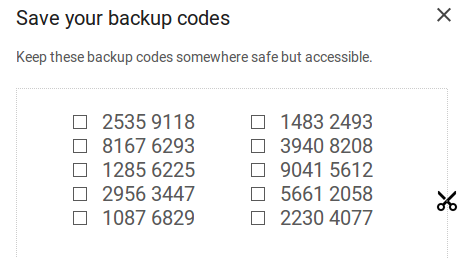
5. Print off your backup codes
Should you lose access to your Android device, Google provides backup codes, which can each be entered once only to sign into your account.
If you're using an Android device, switch to a computer with a printer for this step and navigate to Google sign-in options.
Scroll down to the section marked 'Set up an Alternative second step' and then on 'Set up' underneath the 'Back up Codes' section.
Click 'Print' or write these codes down, then store them in a safe place.
You'll be given ten one-use codes by default but you can come back here and click 'Get New Codes' if you wish.
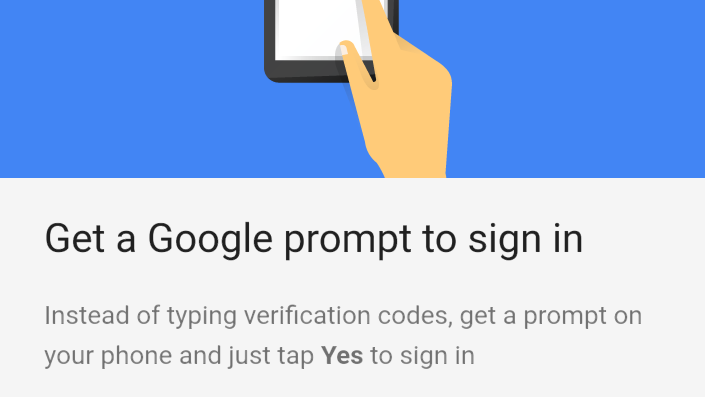
6. Set up Google Prompt
Re-entering codes sent via SMS each time you sign in from a new location can be tedious. For this reason you can enable 'Google Prompt'. On your Android Device go to the 'Sign in and Security' section and click 'On' besides '2-Factor Authentication'.
Click 'Set Up' underneath 'Google Prompt' then 'Get Started' to complete the process. You may need to update Google Play services to get this working.
If your handset isn't compatible, consider using an Authenticator app like 'Google Authenticator', which is available from the Google Play Store. Once installed click 'Set Up' under 'Authenticator App' to begin.
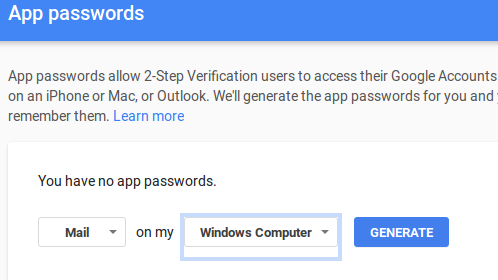
7. Set up App passwords
App passwords allow people using 2-Step Verification to access their account through third party apps, such as people who send and receive Google e-mails through Microsoft Outlook.
On your Android device or Computer head to the 'Sign in and Security' page and select the correct app and device from the dropdown menus on the screen.
The page will then display a 16 character password. You do not have to remember this but make sure to copy and paste it into the password field on your application as it won't be displayed again.
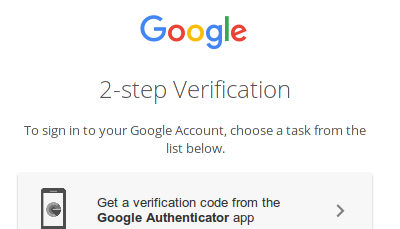
8. 2-Step Verification issues
If you lose a device using an app-specific password, go to the App passwords page on your Android device or computer and click 'Revoke' under the name of the relevant app.
If you're having trouble signing into your Google account, click on the link marked 'Try another Way to sign in' at any time. You'll see options to sign in using some of the secondary methods such as entering one of your backup codes.
If you have none of these 'Ask Google for Help' and re-enter your phone number they'll get back to you in 4-5 business days.
Nate Drake is a tech journalist specializing in cybersecurity and retro tech. He broke out from his cubicle at Apple 6 years ago and now spends his days sipping Earl Grey tea & writing elegant copy.