How to fly your DIY Raspberry Pi drone
Flying your own drone

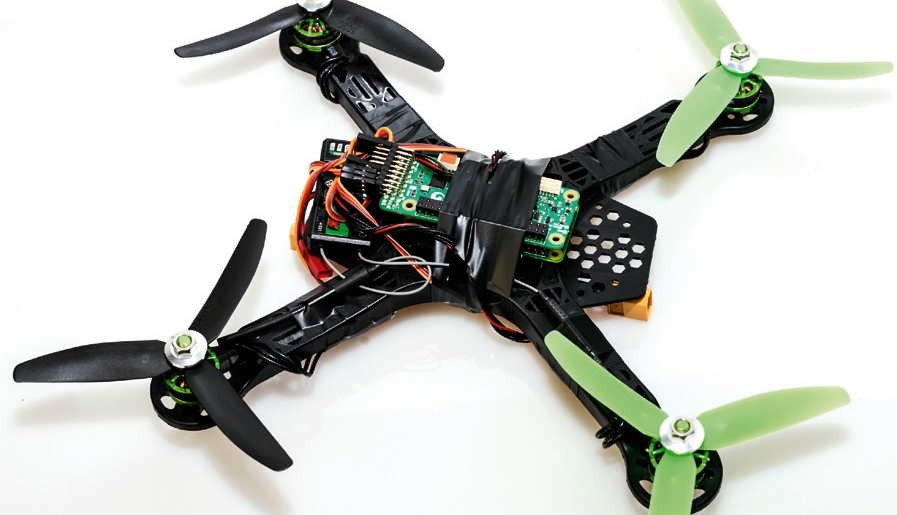
We've shown you How to build your own drone, and once you’d fitted all the cables and powered up you'll hopefully have been able to enjoy your first flight.
However, if you’ve found that your drone has a tendency to fly off in a random direction, or doesn’t seem to respond in the way you want, we’re now going to take a look at the delicate process of connection and calibration.
The calibration of the drone will be carried out using software called APM, which enables us to calibrate the RC unit with the PXFMini autopilot module.
We’ll also need to do some more primitive calibration through the RC transmitter in order to get the four electronic speed controllers (ESC) outputting the same power to the motors to enable even and steady flight. We’ll also take this one stage further by attaching a GPS module.
What you need
Before we get started you’ll need to make sure you have your drone built, and that you’re using the PXFmini and Raspberry Pi Zero as the heart and brains respectively. You’ll also need to have connected a PPM compatible RC unit and receiver to the PXFMini.
In order to connect the drone to your Linux system you’ll also need a wireless connection, as the PXFMini doesn’t have a network socket, and you can’t create the connection required through USB.
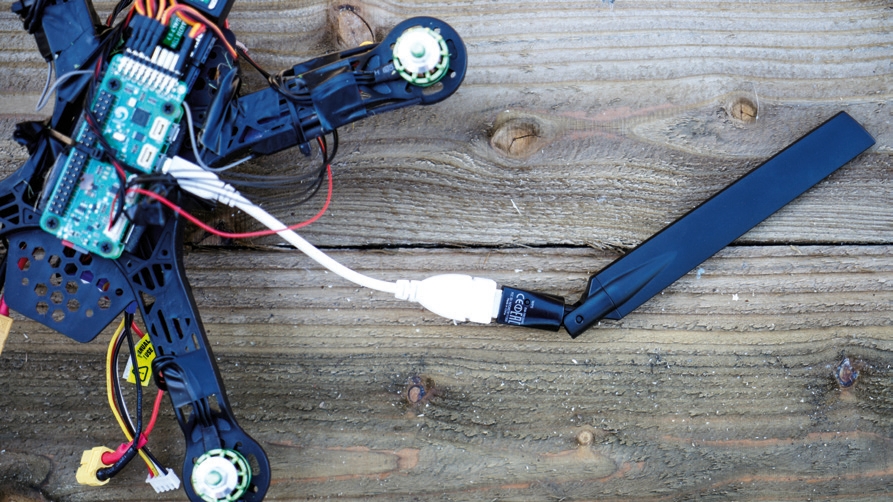
The wireless dongle we’ll be using will create a 5GHz connection, so you’ll need to make sure that your computer’s Wi-Fi is compatible. The dongle used is the Edimax EW-7811UAC (Make sure you buy this version rather than the USC). This wireless dongle is going to slot directly into the micro USB port on the side of the Pi Zero and as long as you purchased the kit you should have the standard USB to micro USB converter ready to get the dongle fitted.
Get daily insight, inspiration and deals in your inbox
Sign up for breaking news, reviews, opinion, top tech deals, and more.
In the first part of this feature we’ll take a look at how to connect using Linux and go on to open the APM software which will enable us to start calibrating the drone so that level flight is possible. Once that’s out of the way we’ll make a huge leap in the functionality of the drone by fitting a GPS module – this part is surprisingly easy.
Making a wireless connection
Before connecting the dongle make sure that the four propellers, along with the bolts and washers, are removed from the motors. Some of the commands and features that we’ll be looking at may fire up the motors, and with the dongle connected the result could get a bit messy. The wireless dongle is quite large and in this project we’ll only be using it to configure the drone, and to make sure that all settings are correct and the drone itself is properly configured. So once configured and before flight remember to remove it.
Connect the dongle to the USB port of the Raspberry Pi Zero using the micro-B-to-female-A USB cable.
Now make sure that the APM Planner 2.0 software is downloaded and installed on your system. This is the main product page and there you’ll find a link to the download for the Linux version, or whichever operating system you're using.
Depending on your version of Linux you’ll also need to download and install the software drivers for the wireless dongle. Once you have the software and dongle installed, and the drone prepared, connect the power and let the Pi Zero boot. Once it has run through the boot sequence you’ll hear the familiar beep highlighting that everything is correct.
Now go to your computer’s Wi-Fi connections and select ‘erle-brain-mini-denim’ and enter the password ‘holaerle’ after a few moments the connection should be made. Now load up APM Planner 2.0.
The manufacturers have already done a great deal of the hard work for you when it comes to the hard coding of the autopilot. All we need to do is fine tune these settings for the drone we have built. In APM click the ‘Mandatory’ tab. The section we need to look at is the Drone type, just to make sure that ‘‘X’ Style’ is highlighted.

Now we need to look at the three types of calibration for the drone; Compass, Accel Calibration, Radio and finally ESC Calibration. Click on ‘Compass’ and make sure you have enough room to swing a cat (or drone). This space is essential for this part of the setup process.
The basic premise is that you need to rotate the drone around every axis, and this includes swinging the drone around in large arches and rotating the drone. To get started and for more detailed instructions just hit the ‘Live Calibration’ button.
Once the process is complete click on ‘Accel Calibration’. Again click the ‘Calibrate’ button to get started. When you start following the instructions for this section it all seems quite easy, laying the drone upright, nose-up and nose-down etc, but it’s critical that you get these as accurate as possible.
These levels will be used by the drone in flight so if they’re slightly out you will find that the drone will become erratic and hard to control. A good tip here is to use a table pushed up firmly against a wall. The skirting around a floor gets in the way for this process so the perfect flat surfaces of the tabletop and wall make perfect level and vertical guides for the drone during this part of the calibration process.
Now before we go on to configure the RC Unit and ESC we’ll just check that the changes that we’ve made have had an effect. Click on the ‘Flight Data’ menu option at the top of the screen.
On the top-right of the screen you’ll see the Primary Flight Display which shows the drone's level. Here the image should show the green horizon meeting up with the two horizon markers. If not, as we found when we first did the calibration using the floor and wall with Skirting, you may see the line slightly askew or not quite central to the lines.
If all looks good with the level horizon then pick up the drone and tilt and move it to see the effect. You should see the horizon onscreen adjust as you move the drone around, showing that the on board sensors are active and working.